
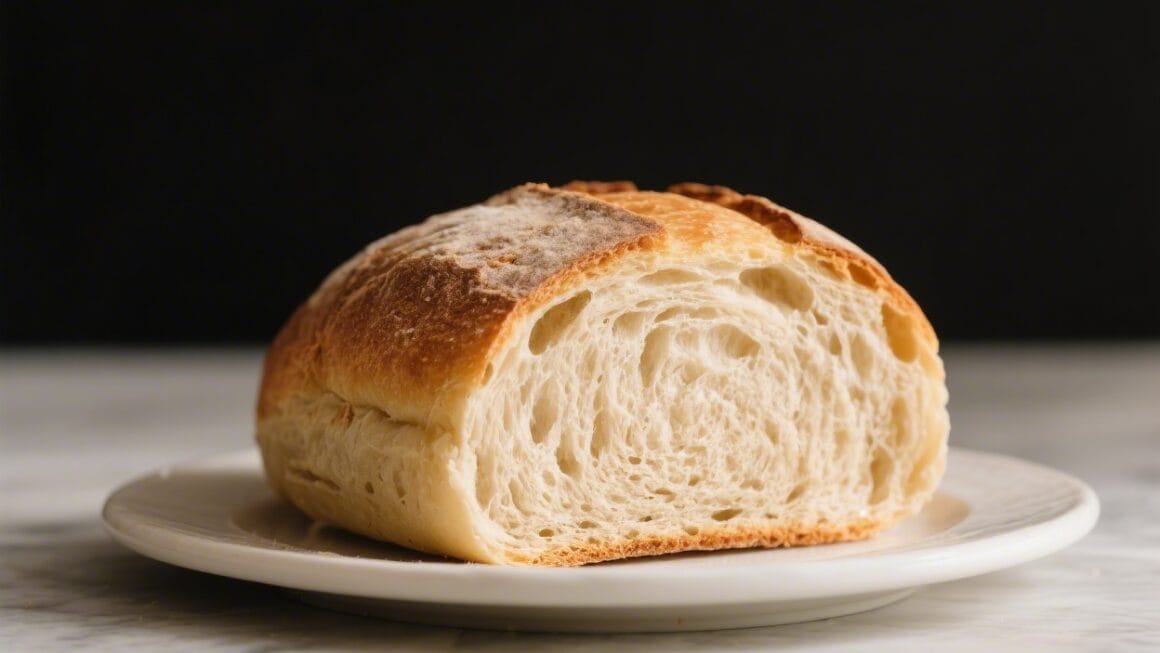
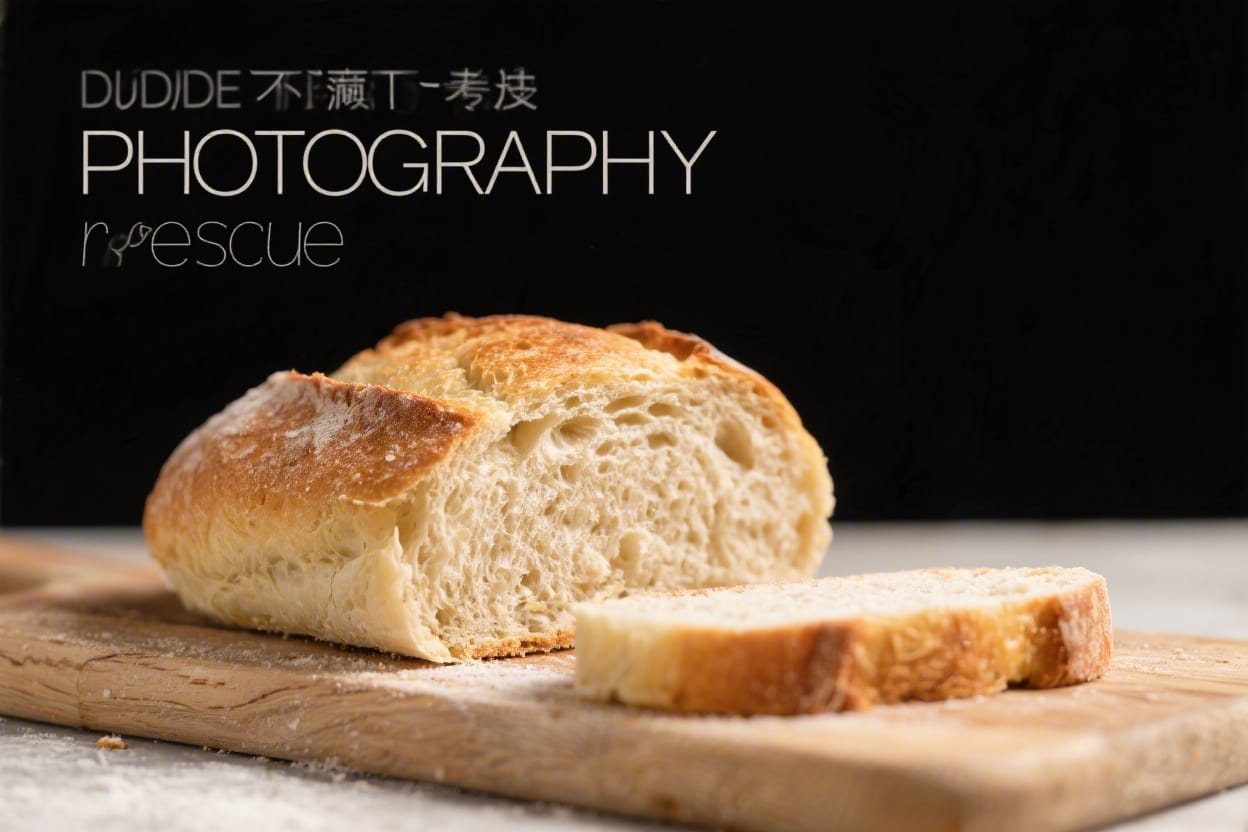
Why Did My Bread Not Rise Fix – Simple Steps to Rescue Your Loaf
Nothing deflates your baking mood like a stubborn loaf that refuses to puff up. If your bread didn’t rise, you’re not alone—and it’s usually fixable. Think of this as your friendly troubleshooting guide plus a reliable “rescue” recipe to get you back on track today. We’ll walk through what went wrong, how to fix it, and a foolproof method to make a loaf that rises well. By the end, you’ll have both confidence and a soft, springy bread to show for it.
Why This Recipe Works
Why did my bread not rise fix – Why Did My Bread Not Rise Fix – Simple Steps to Rescue Your Loaf Nothing deflates your baking mood l
This “fix” recipe is designed to be forgiving and clear. It uses a simple dough, a short preferment for extra lift, and easy temperature cues to keep yeast happy. By focusing on water temperature, gluten development, and proofing time, you give the dough everything it needs to rise. It also includes visual checkpoints so you know exactly when to move to the next step.
Ingredients
Why did my bread not rise fix – If your bread didn’t rise, you’re not alone—and it’s usually fixable
- 2 1/4 teaspoons (one packet) instant or active dry yeast
- 1 1/4 cups warm water (100–110°F; comfortably warm, not hot)
- 1 tablespoon sugar or honey
- 3 cups bread flour (or all-purpose flour, plus 1–3 tablespoons extra if needed)
- 1 1/2 teaspoons salt
- 2 tablespoons olive oil or melted unsalted butter
- Optional: 1 tablespoon milk powder for tenderness
Instructions
Why did my bread not rise fix – Think of this as your friendly troubleshooting guide plus a reliable “rescue” recipe to get you back
- Proof the yeast (if using active dry): In a bowl, combine warm water and sugar. Sprinkle yeast over the top and wait 5–10 minutes until foamy. If nothing happens, stop and replace your yeast. For instant yeast, skip proofing and mix directly with dry ingredients, but still warm the water.
- Mix the dough: In a large bowl, add flour, salt, and milk powder (if using). Stir in the yeast mixture and oil. Mix until a rough dough forms and no dry flour remains.
- Knead for structure: Knead by hand 8–10 minutes (or 5–7 in a mixer) until smooth and slightly tacky. The dough should stretch into a thin “windowpane” when gently pulled. If too sticky, add flour 1 tablespoon at a time. If too dry or tight, add water 1 teaspoon at a time.
- First rise (bulk ferment): Place dough in a lightly oiled bowl, cover, and let rise in a warm spot (75–80°F) until doubled, about 60–90 minutes. If your kitchen is cool, use the oven with the light on or place the bowl over a warm (not hot) surface.
- Shape: Gently deflate, shape into a tight loaf or round. For a sandwich loaf, roll into a log and tuck the ends. Place in a greased 8.5×4.5-inch loaf pan or on a parchment-lined sheet.
- Second rise (proof): Cover and let rise until it’s about 1 inch above the pan rim (or puffy and springy if free-form), 40–60 minutes. The dough should slowly spring back when gently pressed with a fingertip.
- Preheat and bake: Preheat oven to 375°F (190°C). Score the top if free-form. Bake 28–35 minutes until deep golden and the internal temp is 195–200°F. If browning too quickly, tent with foil.
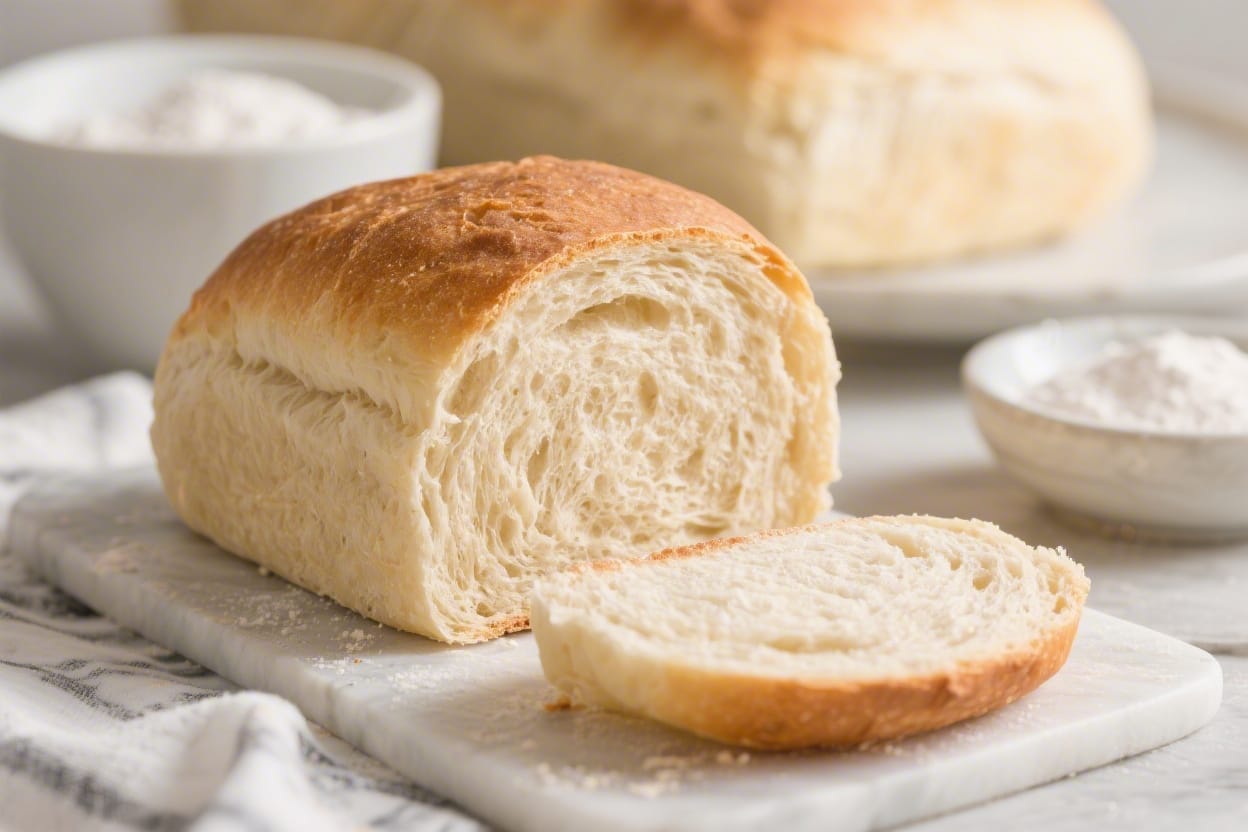
- Cool: Remove from pan and cool on a rack at least 1 hour before slicing. This sets the crumb and keeps it soft.
How to Store
- Room temperature: Wrap cooled bread in a clean towel or store in a bread box for 2–3 days.
- Freeze: Slice, wrap tightly, and freeze up to 3 months. Toast straight from frozen.
- Avoid the fridge: Refrigeration dries bread out faster and tightens the crumb.
Benefits of This Recipe
- Beginner-friendly: Clear cues and checkpoints reduce guesswork.
- Reliable rise: Proper hydration and kneading create strong gluten for lift.
- Flexible: Works with bread or all-purpose flour and both instant or active dry yeast.
- Great texture: Soft crumb, light chew, and a gentle, golden crust.
Pitfalls to Watch Out For
- Dead yeast: If your yeast doesn’t foam in warm water with sugar, it’s inactive. Replace it.
- Water too hot or too cold: Above 120°F can kill yeast; below 95°F slows it down.
- Under-kneading: Weak gluten leads to a dense loaf. Knead until smooth and elastic.
- Over-proofing: Dough that inflates too much can collapse. Do the fingertip test—slow spring-back is perfect.
- Cold environment: Low room temps stall fermentation. Create a warm, draft-free spot.
- Too much flour: Heavy, dry dough won’t rise well. Aim for slightly tacky, not sticky.
Variations You Can Try
- Whole Wheat Blend: Use 2 cups bread flour + 1 cup whole wheat. Add 1–2 teaspoons extra water as needed.
- Herb and Garlic: Mix in 1–2 teaspoons dried herbs and 1 minced garlic clove during mixing.
- Olive Oil Loaf: Increase oil to 3 tablespoons for a softer crumb and richer flavor.
- Seeded Top: Brush with water or egg wash and sprinkle sesame, poppy, or sunflower seeds before baking.
- Slightly Sweet: Add an extra tablespoon of sugar or honey for a softer, tender loaf.
FAQ
Why didn’t my bread rise the first time?
Common culprits are old or dead yeast, water that’s too hot or too cold, a cold room, not enough kneading, or adding too much flour. Check yeast freshness first—if it doesn’t foam in warm water with sugar, it’s done.
Can I save dough that didn’t rise?
Sometimes. Move the dough to a warmer spot and give it more time. If it still doesn’t budge after an hour, knead in a small amount of fresh, proofed yeast and let it rise again. Texture may be slightly tighter, but it can still bake up well.
How warm should the room be for proofing?
Aim for 75–80°F. Use your oven with the light on, place dough near but not on a warm appliance, or set the bowl over a warm (not hot) water bath to create a gentle, consistent environment.
Is instant yeast better than active dry?
Both work. Instant yeast can be mixed directly with flour and often rises a bit faster. Active dry usually needs proofing in warm water first. Use what you have and adjust the method accordingly.
How do I know if I’ve kneaded enough?
The dough should feel smooth and springy, not shaggy. When stretched gently, it should form a thin, translucent “windowpane” without tearing immediately. If it rips, knead a little longer.
My dough doubled, but collapsed in the oven. Why?
That’s often over-proofing. The dough expanded too much and lost strength. Next time, bake when it’s puffy and springs back slowly to a gentle poke, not when it’s ballooned to the max.
Can I use all-purpose flour?
Yes. Bread flour gives more chew and rise due to higher protein, but all-purpose flour still works well. You may need a touch less water and a bit more kneading for structure.
What’s the ideal internal temperature for baked bread?
Target 195–200°F in the center for standard sandwich loaves. This ensures a fully set crumb without drying it out.
Wrapping Up
If your bread didn’t rise, it’s usually a simple fix: fresh yeast, proper water temperature, enough kneading, and warm proofing. This straightforward recipe walks you through each step with easy checks along the way. Keep it simple, trust the cues, and you’ll pull a tall, proud loaf from the oven. Next time you ask “why didn’t it rise,” you’ll already know how to make it right.
Printable Recipe Card
Want just the essential recipe details without scrolling through the article? Get our printable recipe card with just the ingredients and instructions.