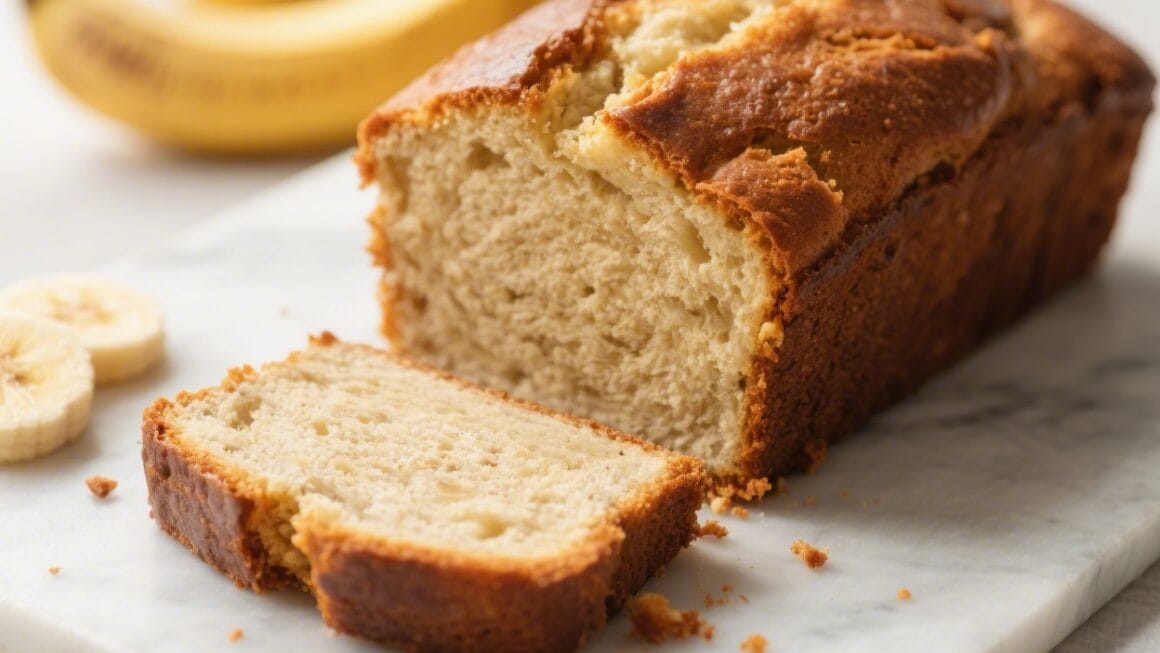
Sweet pull-apart bread is one of those cozy bakes that instantly makes a kitchen feel warm and welcoming. It’s soft, buttery, and layered with cinnamon-sugar goodness that peels off in satisfying, sticky pieces. Think of it as a cross between cinnamon rolls and a classic loaf—easy to share, fun to eat, and just right with coffee or tea.
If you’re new to baking with yeast, this recipe is a forgiving place to start. It’s approachable, rewarding, and tastes like a weekend morning.
What Makes This Special
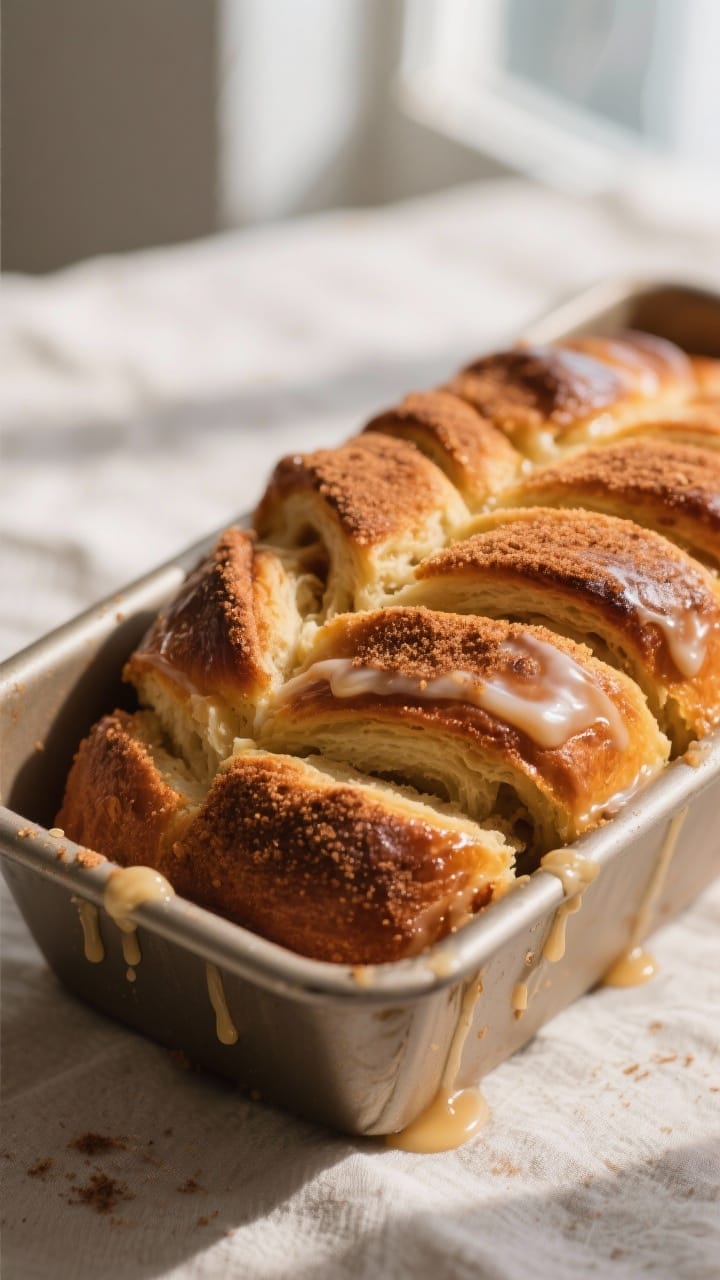
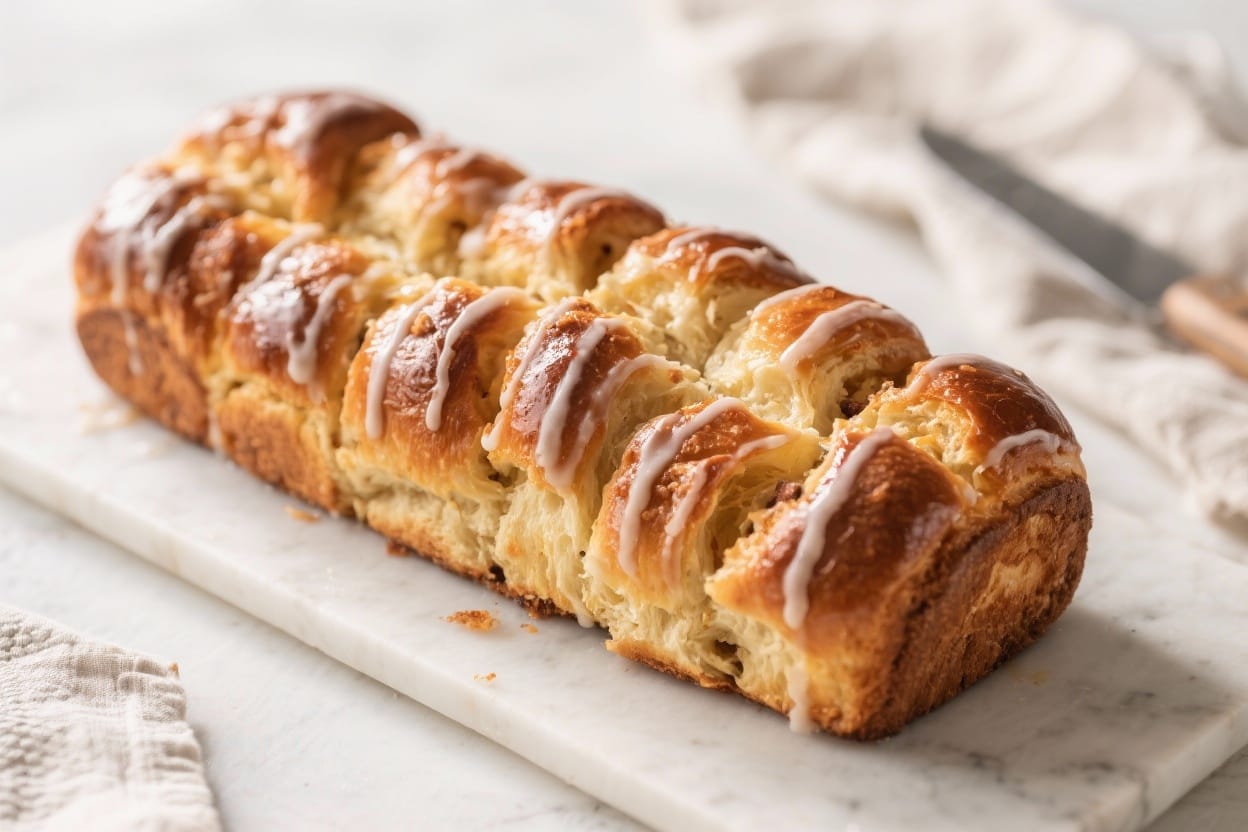
This bread isn’t just delicious—it’s interactive. You don’t slice it; you pull it apart, layer by layer.
The dough is tender, the edges caramelize slightly, and every bite gets a bit of buttery cinnamon.
It also feels impressive without being complicated. The stacking method looks fancy, but it’s simple once you try it. Plus, you can flavor it however you like: citrus zest, chocolate, nuts, or even a cream cheese glaze.
Ingredients
- For the dough:
- 3 cups (360 g) all-purpose flour, plus more for dusting
- 1/4 cup (50 g) granulated sugar
- 2 1/4 teaspoons (1 packet) instant yeast
- 1/2 teaspoon fine salt
- 1/2 cup (120 ml) whole milk, warm to the touch (about 110°F/43°C)
- 1/4 cup (60 ml) water, warm
- 1/4 cup (57 g) unsalted butter, melted and cooled slightly
- 2 large eggs, room temperature
- 1 teaspoon vanilla extract
- For the filling:
- 1/2 cup (113 g) unsalted butter, melted
- 3/4 cup (150 g) granulated sugar or light brown sugar
- 1 1/2 tablespoons ground cinnamon
- Pinch of salt
- Optional glaze:
- 1/2 cup (60 g) powdered sugar
- 1–2 tablespoons milk or cream
- 1/2 teaspoon vanilla extract
Instructions
- Mix the dry base. In a large bowl, whisk together flour, sugar, yeast, and salt.This helps the yeast distribute evenly and prevents clumps.
- Combine wet ingredients. In a separate bowl, whisk warm milk, warm water, melted butter, eggs, and vanilla. The liquids should feel warm, not hot, to avoid harming the yeast.
- Bring the dough together. Pour the wet mixture into the dry ingredients. Stir with a sturdy spoon until a shaggy dough forms.If it feels very sticky, dust with 1–2 tablespoons more flour.
- Knead until smooth. Transfer to a lightly floured surface and knead for 6–8 minutes, or use a mixer with a dough hook for 5–6 minutes. The dough should be soft, slightly tacky, and elastic.
- First rise. Place the dough in a lightly greased bowl, cover, and let rise in a warm spot until doubled, about 60–90 minutes. A gentle poke should leave a slow spring-back.
- Prepare the filling. Stir sugar, cinnamon, and a pinch of salt together.Keep the melted butter separate for brushing.
- Shape the dough. Punch down the dough and roll it into a large rectangle, roughly 12×18 inches (30×45 cm). Brush generously with melted butter and sprinkle the cinnamon sugar evenly over the surface.
- Cut and stack. Cut the rectangle into 5–6 long strips. Stack the strips on top of each other like a tall sandwich.Then cut the stack into 5–6 equal sections to make small rectangles.
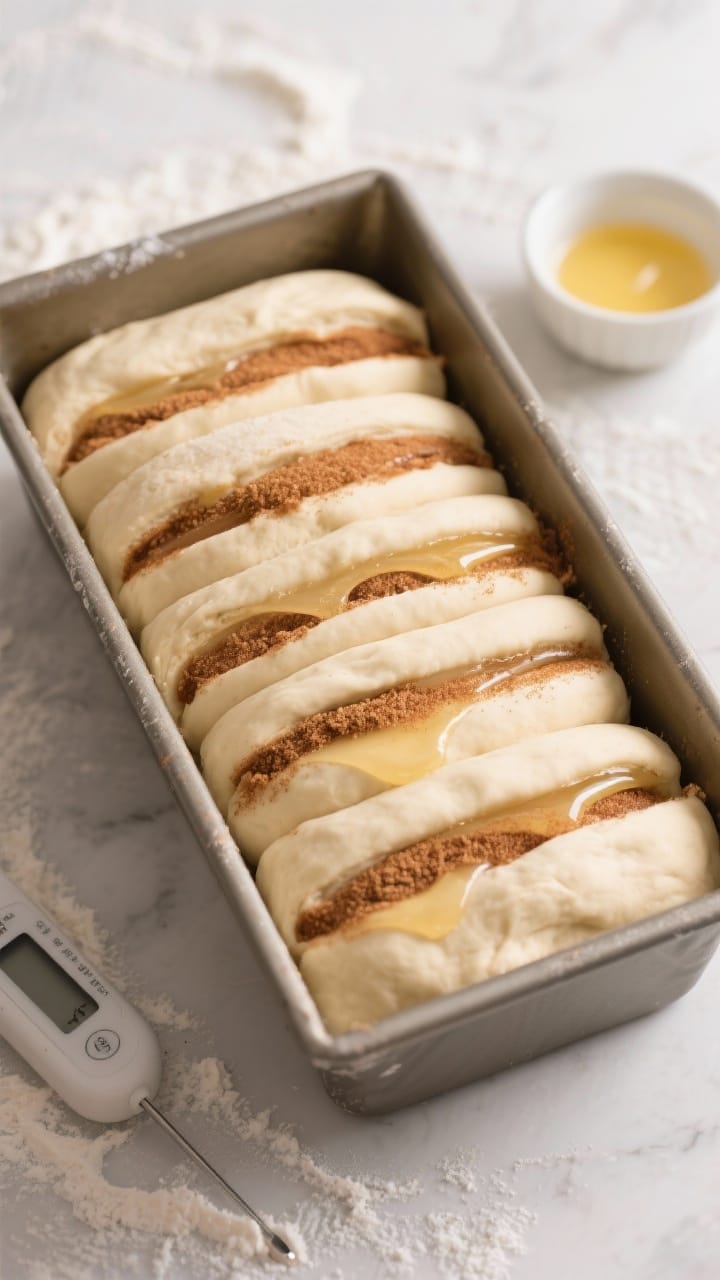
- Load the pan. Grease a 9×5-inch loaf pan. Stand the stacked rectangles upright in the pan, like a row of books. Don’t worry if it looks messy—imperfections bake into beautiful layers.
- Second rise. Cover loosely and let rise 30–45 minutes, until puffy and just peeking over the rim.Meanwhile, preheat the oven to 350°F (175°C).
- Bake. Bake for 30–35 minutes, until deep golden brown on top and the center registers about 195–200°F (90–93°C). If it’s browning too fast, tent with foil for the last 10 minutes.
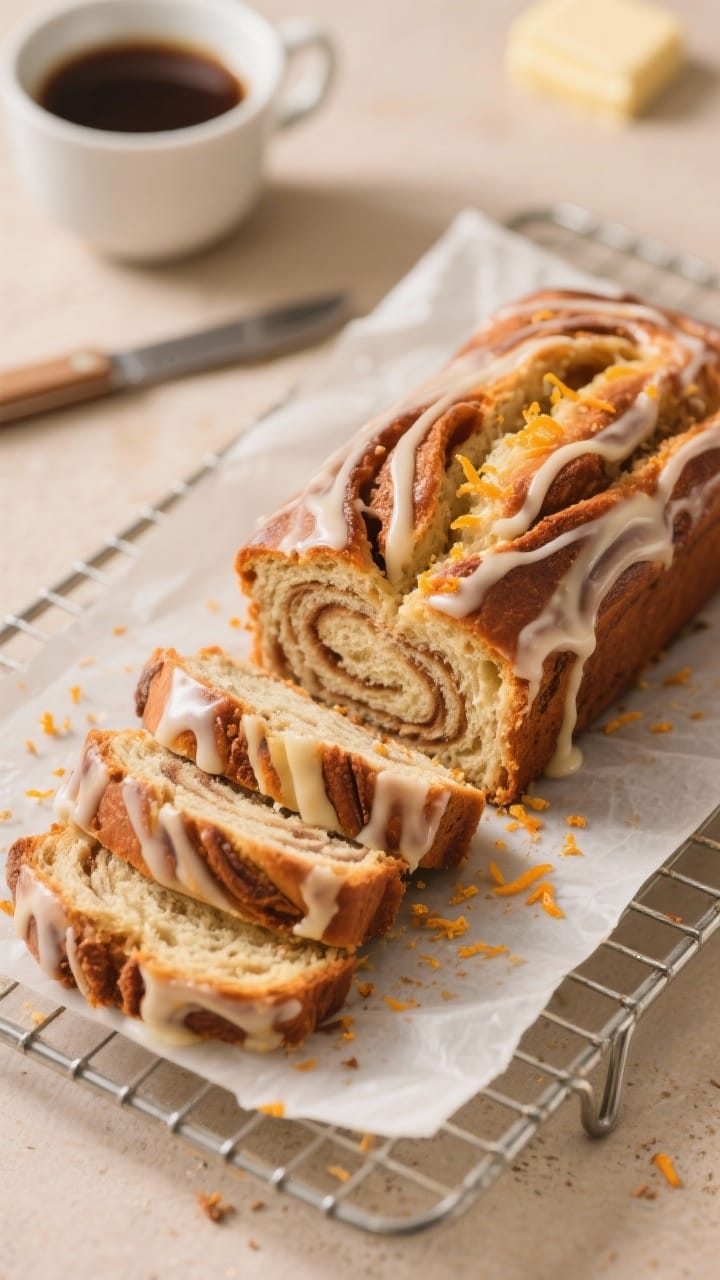
- Cool and glaze. Let the loaf cool in the pan for 10 minutes, then run a knife around the edges and transfer to a rack. Whisk the glaze ingredients and drizzle over the warm bread.Serve warm for the best texture.
How to Store
- Room temperature: Keep in an airtight container for up to 2 days. Rewarm slices in the microwave for 10–15 seconds to refresh.
- Refrigerator: Not ideal, as it can dry the crumb. If needed, wrap well and reheat before serving.
- Freezer: Wrap the loaf (or portions) tightly in plastic and then foil.Freeze up to 2 months. Thaw at room temperature and warm in a low oven (300°F/150°C) for 10–12 minutes.
Health Benefits
This is a treat, but it can still fit into a balanced approach. The eggs and milk add a bit of protein and contribute to a satisfying texture.
Using whole milk and real butter means more flavor, so smaller portions still feel indulgent.
For a lighter take, you can reduce sugar in the filling by 2–3 tablespoons without losing much sweetness. Swapping half the flour for white whole wheat flour adds fiber and a mild nutty note. A handful of nuts like walnuts or pecans brings healthy fats and crunch.
Pitfalls to Watch Out For
- Overheating the liquids: If the milk and water are too hot, they’ll kill the yeast.Aim for warm bathwater temperature.
- Too much flour: A stiff dough bakes dense. Keep it slightly tacky; dust lightly as needed.
- Underbaking the center: The top can brown before the middle is done. Use a thermometer or tent with foil to finish baking without burning.
- Skipping the second rise: This short rest helps the layers expand, giving that pull-apart texture.
- Cutting while piping hot: Let it cool 10 minutes, or the layers may collapse and the sugar can scald.
Variations You Can Try
- Lemon sugar: Mix 2 teaspoons lemon zest into the sugar and finish with a lemon glaze.
- Apple-cinnamon: Add finely diced sautéed apples between layers.Keep pieces small so the loaf bakes through.
- Nutty maple: Swap half the sugar for maple sugar and sprinkle chopped toasted pecans between layers.
- Chocolate hazelnut: Spread a thin layer of chocolate-hazelnut spread instead of butter, and reduce the sugar by a couple of tablespoons.
- Cardamom orange: Use cardamom in place of cinnamon and add orange zest to the dough and glaze.
- Brown butter: Brown the butter for the filling for a deeper, nutty flavor.
FAQ
Can I make the dough ahead?
Yes. After the first rise, punch down the dough, cover tightly, and refrigerate overnight. Bring to room temperature, shape, and continue with the second rise the next day.
Do I need instant yeast, or can I use active dry?
You can use active dry yeast.
Bloom it in the warm milk and water with a pinch of sugar for 5–10 minutes until foamy, then proceed. Rising times may be slightly longer.
My bread is gummy in the middle. What happened?
It likely needed more time.
Every oven is different, and tightly packed layers take a bit to cook through. Tent with foil and extend baking by 5–10 minutes until the center is 195–200°F.
Can I make this in a bundt pan?
Yes, but assemble differently. Roll small dough balls, dip in butter, toss in cinnamon sugar, and layer in the pan.
Bake a bit longer and test for doneness in the center.
What if I don’t have a rolling pin?
Press the dough out with your hands on a lightly oiled surface. It doesn’t need to be perfect; the rustic layers still bake beautifully.
How do I keep the top from over-browning?
Check at the 20-minute mark. If it’s already golden, loosely tent with foil to protect the top while the center finishes baking.
Can I reduce the sugar?
Yes.
Reduce the filling sugar by 2–4 tablespoons and skip the glaze if you prefer. The bread will still be flavorful thanks to the butter and spices.
In Conclusion
Sweet pull-apart bread is the kind of bake that brings people to the table. It’s soft, layered, and just indulgent enough to feel special.
With simple ingredients and a friendly method, it’s a great weekend project or holiday centerpiece. Make it your own with a favorite spice, a citrus twist, or a drizzle of glaze—and enjoy the peel-and-share magic while it’s still warm.
Printable Recipe Card
Want just the essential recipe details without scrolling through the article? Get our printable recipe card with just the ingredients and instructions.