Sourdough Ciabatta Bread Recipe – Light, Airy, and Full of Flavor
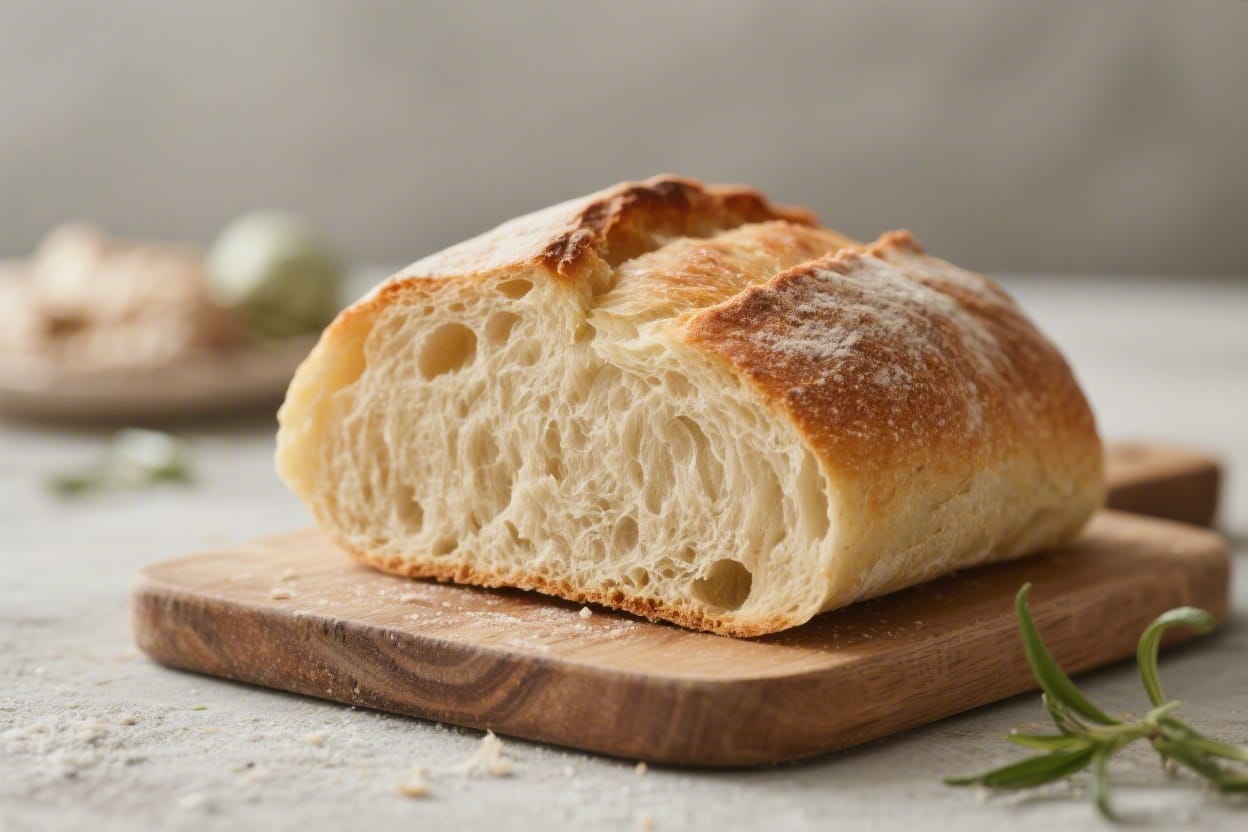
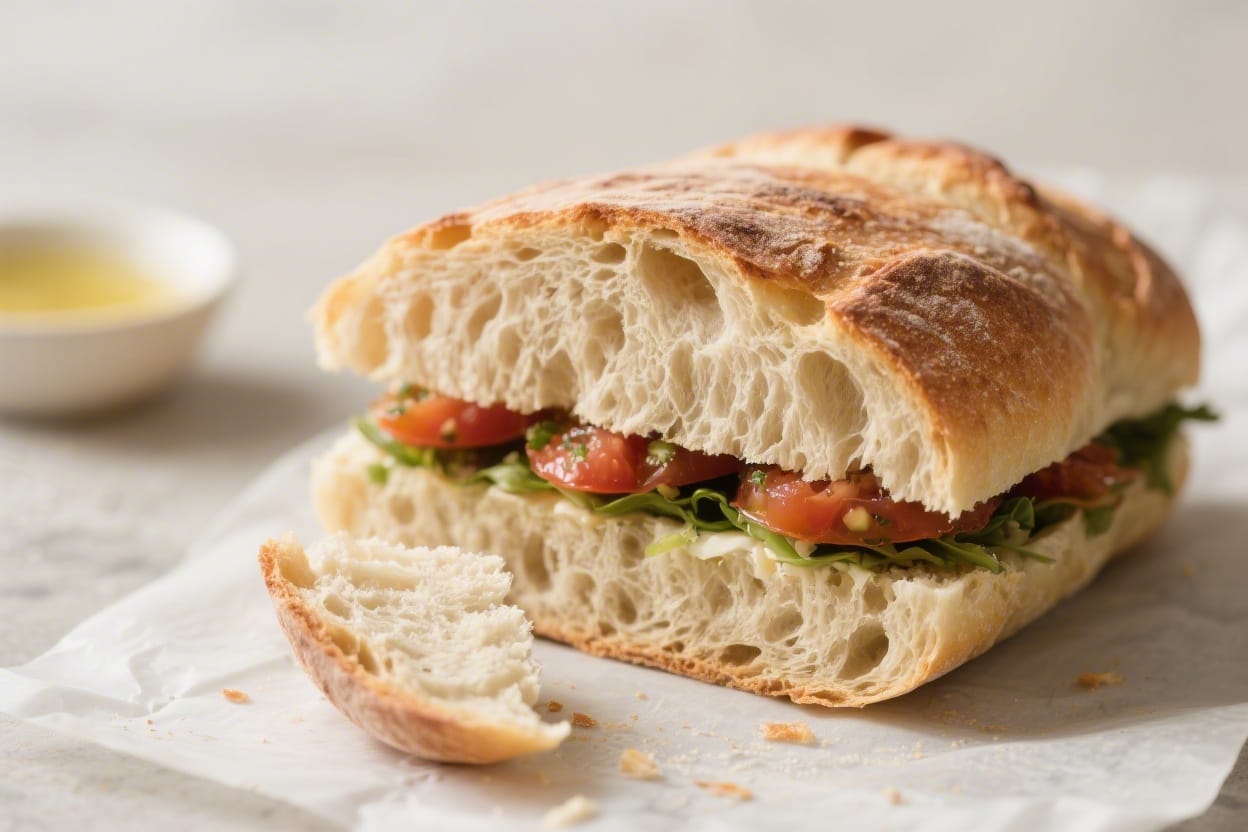
Ciabatta is the kind of bread that makes simple food feel special. With its open crumb and crisp crust, it’s perfect for sandwiches, bruschetta, or tearing and dipping in olive oil. This sourdough version adds a gentle tang and better keeping quality, without commercial yeast. You’ll handle a very wet dough, but don’t worry—time and technique do the heavy lifting. Follow along and you’ll get bakery-style results at home.
What Makes This Special
Sourdough ciabatta bread recipe – Sourdough Ciabatta Bread Recipe – Light, Airy, and Full of Flavor Ciabatta is the kind of bread that
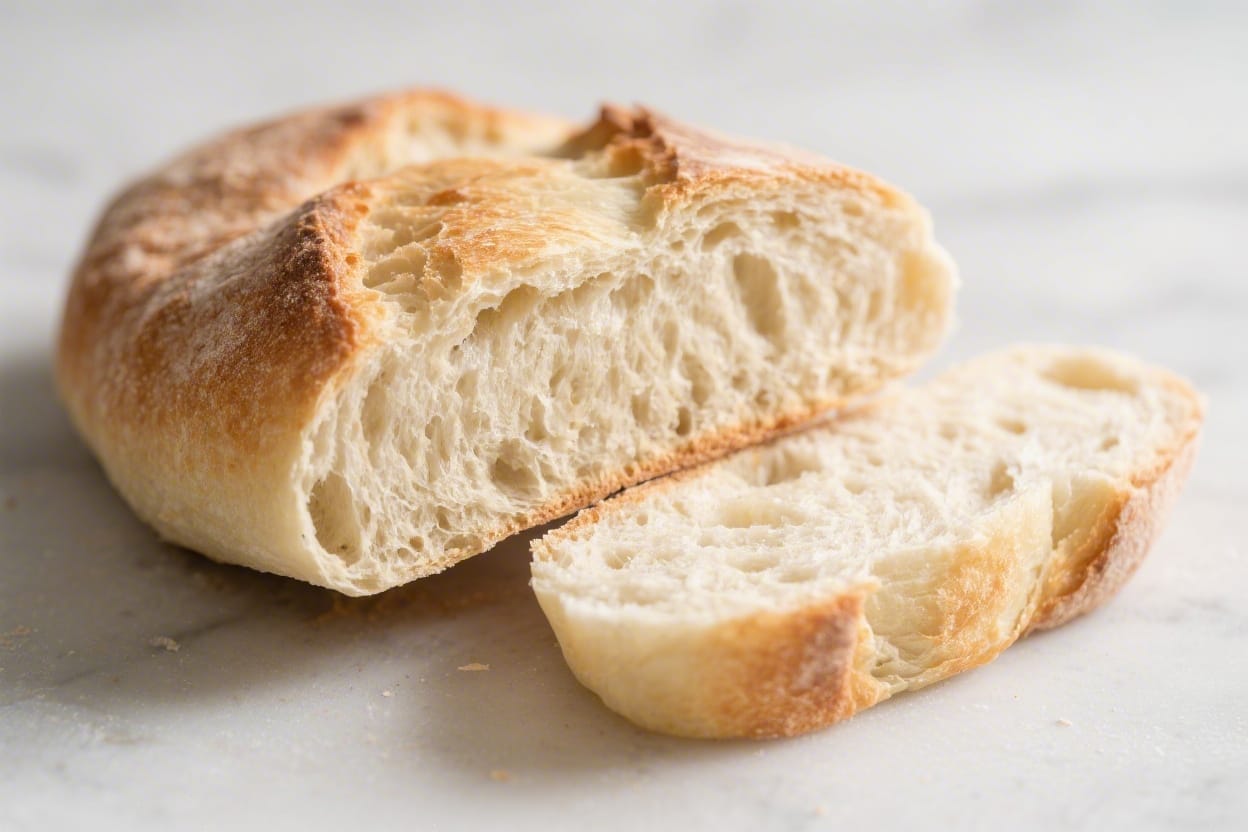
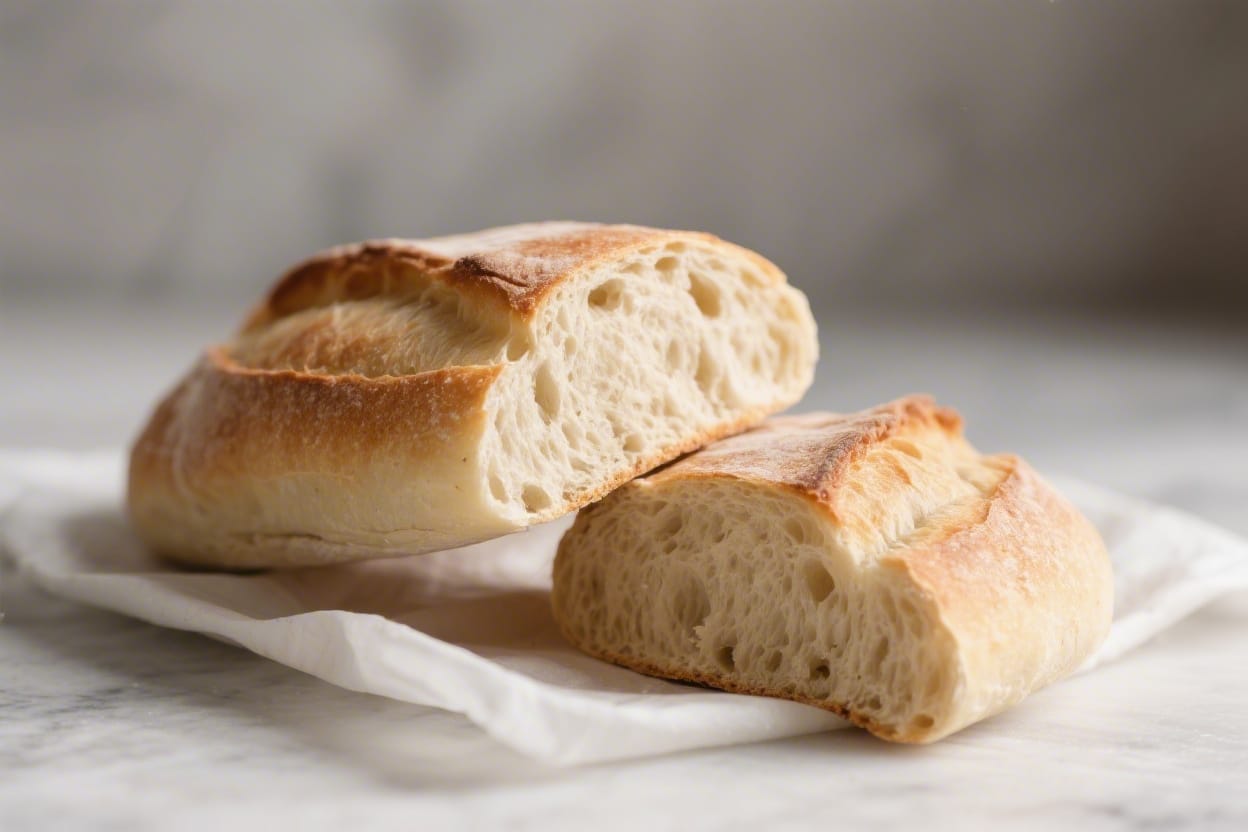
This recipe leans on a long, cool fermentation that builds flavor and structure naturally. You’ll use stretch-and-folds instead of heavy kneading, which keeps the dough airy and easy to manage. The hydration level is high, creating those signature big holes and a light, springy crumb. A gentle shaping method preserves bubbles, and a hot bake gives you a thin, crackly crust. It’s simple, minimal-ingredient baking with standout results.
Ingredients
Sourdough ciabatta bread recipe – With its open crumb and crisp crust, it’s perfect for sandwiches, bruschetta, or tearing and dipping
- Active 100% hydration sourdough starter: 120 g (about 1/2 cup)
- Warm water (75–78°F / 24–26°C): 430 g (about 1 3/4 cups)
- Bread flour: 500 g (about 4 cups, spooned and leveled)
- Olive oil: 1 tablespoon (optional, for a softer crust and flavor)
- Fine sea salt: 12 g (about 2 teaspoons)
- Extra flour or fine semolina: for dusting
Instructions
Sourdough ciabatta bread recipe – This sourdough version adds a gentle tang and better keeping quality, without commercial yeast
- Make sure your starter is active. Feed your starter 6–8 hours before mixing, or overnight if your kitchen is cool. It should be bubbly, doubled, and pass the float test. If it’s sluggish, give it another feeding and wait.
- Autolyse the dough (30–45 minutes). In a large bowl, mix water and starter until dissolved. Stir in the bread flour until no dry spots remain. The dough will look shaggy and sticky. Cover and rest 30–45 minutes to hydrate the flour and start gluten formation.
- Add salt (and oil) and mix. Sprinkle in the salt and add the olive oil if using. Pinch and fold the dough with wet hands until incorporated. The dough will feel looser at first, then slightly tighter as salt strengthens the gluten.
- First rise with stretch-and-folds (2.5–3 hours). Cover and rest at warm room temperature (75–78°F). Perform 4 sets of stretch-and-folds every 30 minutes: with wet hands, lift one side of the dough and fold it over itself; rotate the bowl and repeat four times. After the last set, let the dough rest until slightly puffy, jiggly, and increased by about 50%.
- Cold bulk fermentation (optional but recommended, 8–12 hours). For deeper flavor and easier handling, cover the bowl and refrigerate overnight. The dough will continue to develop structure without overproofing. If skipping this step, move on when dough is aerated and billowy.
- Prepare the work surface. Generously flour a large board or counter with a mix of flour and semolina. Ciabatta dough is sticky—flour your hands and use a dough scraper to help.
- Gentle pre-shape. Turn the dough out onto the floured surface. Try not to deflate it. Dust the top with flour and gently coax it into a rectangle using your fingertips and the scraper. Don’t press hard; preserve those bubbles.
- Divide and final shape. Cut the rectangle into two equal pieces for two loaves. Lightly stretch each piece into a longer slipper shape, about 10–12 inches. Fold a third of the dough over the center, then the opposite third on top (like a letter), and flip seam-side down. Dust well and transfer to a floured couche or well-floured kitchen towel.
- Proof (35–60 minutes). Cover and let the loaves rest at room temperature until puffy, lighter, and slightly wobbly when you jiggle the board. They shouldn’t spread completely flat but will look relaxed. Avoid overproofing; you still want oven spring.
- Preheat the oven with steam setup. Place a baking steel or stone on the middle rack and a cast-iron skillet or pan on the bottom rack. Preheat to 475°F (245°C) for at least 45 minutes. This heat is key for a thin, crisp crust and open crumb.
- Transfer to the oven. Invert the loaves onto a parchment sheet so the seam is now on the bottom. Gently stretch to length if needed. Slide the parchment onto the hot steel or stone. Carefully pour a cup of hot water into the lower pan to create steam, then close the oven quickly.
- Bake. Bake with steam for 12 minutes. Vent the steam by removing the lower pan (or briefly opening the door). Continue baking 12–15 more minutes until deeply golden, with a thin, crackly crust. Internal temperature should be around 208–210°F (98–99°C).
- Cool completely. Transfer to a rack and let cool at least 1 hour before slicing. Cutting too soon compresses the crumb and makes it gummy.
Keeping It Fresh
Ciabatta is best the day it’s baked, but it keeps well with a few tricks. Store at room temperature in a paper bag or wrapped in a clean towel for up to 2 days. Avoid sealed plastic—it traps moisture and softens the crust. For longer storage, slice and freeze in a freezer bag. Reheat directly from frozen in a 350°F (175°C) oven for 8–10 minutes or toast slices as needed.
Benefits of This Recipe
- Big flavor, simple ingredients: Just flour, water, salt, and starter—fermentation brings the complexity.
- Light, open crumb: High hydration and gentle handling create those signature holes.
- Better keeping quality: Sourdough’s natural acidity helps the bread stay fresh a bit longer.
- Flexible schedule: The overnight cold fermentation fits easily around work or family time.
- Versatile use: Great for sandwiches, panini, bruschetta, or as a hearty side for soups and salads.
What Not to Do
- Don’t over-knead: Traditional kneading tightens the dough and reduces the open crumb. Use stretch-and-folds instead.
- Don’t add lots of extra flour: The dough should be sticky. Too much flour makes it dense and tough.
- Don’t skip preheating: A ripping-hot oven and surface drive oven spring and crust.
- Don’t overproof: If it gets too airy and slack, it won’t spring in the oven and may bake up flat.
- Don’t slice hot: Patience pays off—cooling sets the crumb and keeps it moist.
Recipe Variations
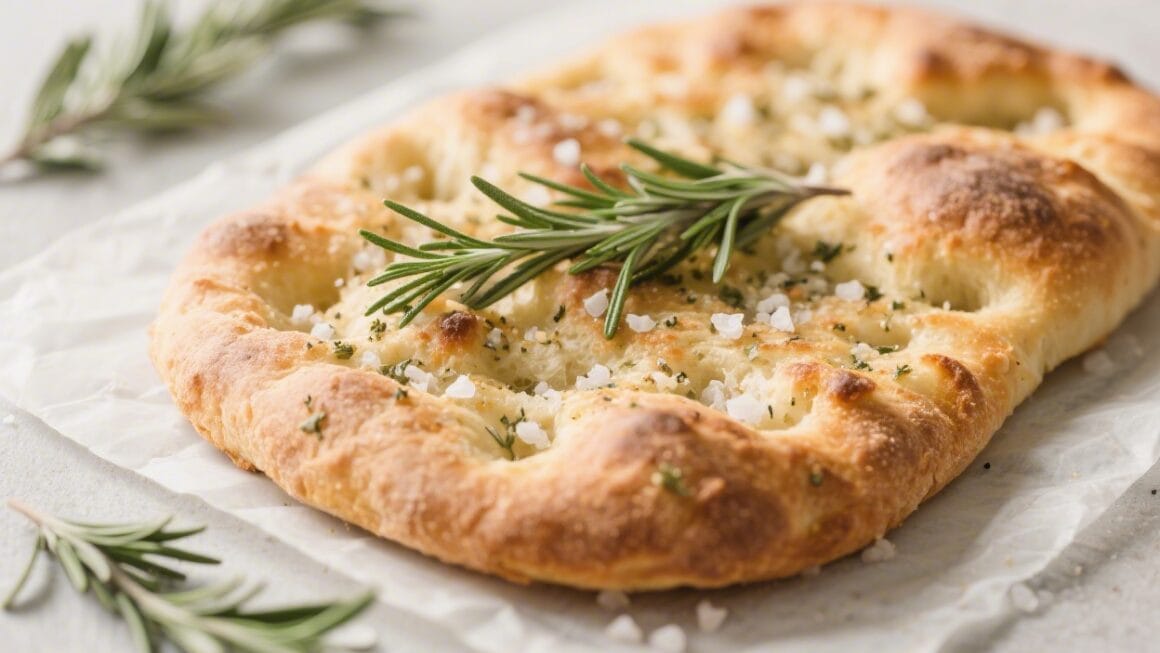
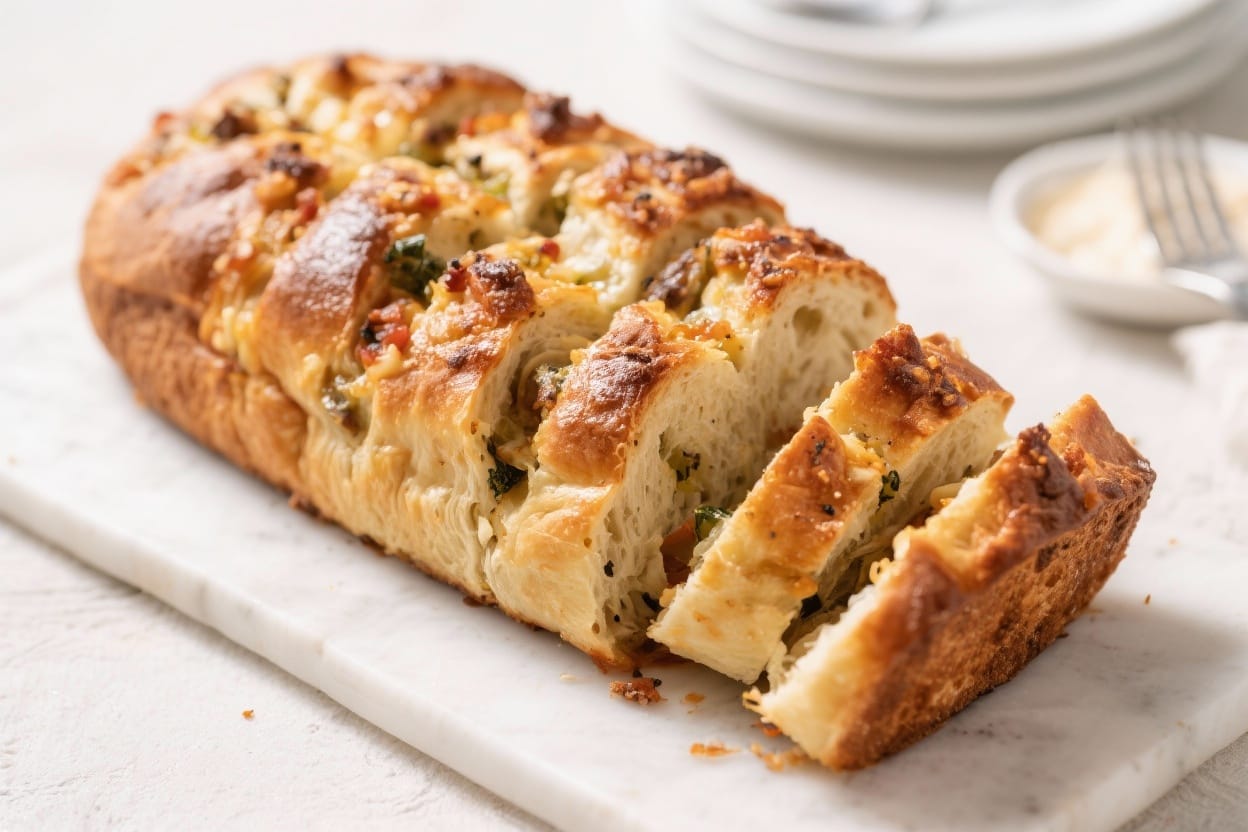
- Olive and Herb: Gently fold in 1/2 cup chopped, well-drained olives and 1–2 tablespoons chopped rosemary or thyme during the last set of stretch-and-folds.
- Semolina Blend: Replace 15–20% of the bread flour with fine semolina for a sunny color and subtle sweetness.
- Whole Wheat Lift: Swap 20–25% of the flour for whole wheat. Add an extra 10–20 g of water if the dough feels stiff.
- Garlic Oil Finish: Brush warm loaves with garlic-infused olive oil for a fragrant, softer crust.
- Mini Ciabattas: Divide into 6–8 pieces for individual sandwich rolls. Shorten the bake by 3–5 minutes after venting steam.
FAQ
How do I know my dough is hydrated enough?
Ciabatta dough should feel very wet, stretchy, and a bit jiggly. If you can scoop it and it holds a tight ball, it’s likely too dry. Look for a dough that relaxes quickly on the bench yet still has strength after the stretch-and-folds.
Can I skip the cold fermentation?
Yes, but the overnight chill improves flavor and makes the dough easier to handle. If you skip it, be sure the dough has risen about 50% and feels airy before shaping. Keep an eye on proofing time, which will be shorter at warmer room temps.
What if my starter is weak?
Give it a few days of consistent feedings at room temperature. Use it at peak activity—domed, bubbly, and doubled in size. If needed, extend bulk fermentation until you see visible aeration and jiggly movement in the dough.
Do I need a baking stone or steel?
They help a lot with oven spring and crust. If you don’t have one, preheat an inverted sheet pan and slide the parchment onto it. You’ll still get good results, but expect a slightly softer bottom crust.
Why is my ciabatta flat?
Common reasons are overproofing, underdeveloped gluten, or cool oven temperatures. Next time, add one more set of stretch-and-folds, shorten the final proof slightly, and verify your oven is fully preheated. Handle gently when transferring to avoid deflating.
Can I use all-purpose flour?
Yes, but bread flour’s higher protein builds stronger gluten and a more open crumb. If using all-purpose, reduce water by 10–20 g if the dough feels too loose, or add one extra fold to build strength.
How do I get a thinner, crisper crust?
Use strong initial steam, then vent after 10–12 minutes. Bake until you reach a deep golden color, and let the loaf cool fully on a rack. Reheat briefly before serving if the crust softens after storage.
Final Thoughts
This sourdough ciabatta bread recipe balances ease and craft. With a little patience, a hot oven, and gentle handling, you’ll get loaves that look and taste like they came from a bakery. Once you nail the feel of the dough, it becomes second nature. Keep notes on timing and dough behavior in your kitchen, and each bake will get better. Enjoy the crackle, the aroma, and that beautiful open crumb.
Printable Recipe Card
Want just the essential recipe details without scrolling through the article? Get our printable recipe card with just the ingredients and instructions.