Soft Sugar Buns Recipe – Fluffy, Sweet, and Easy
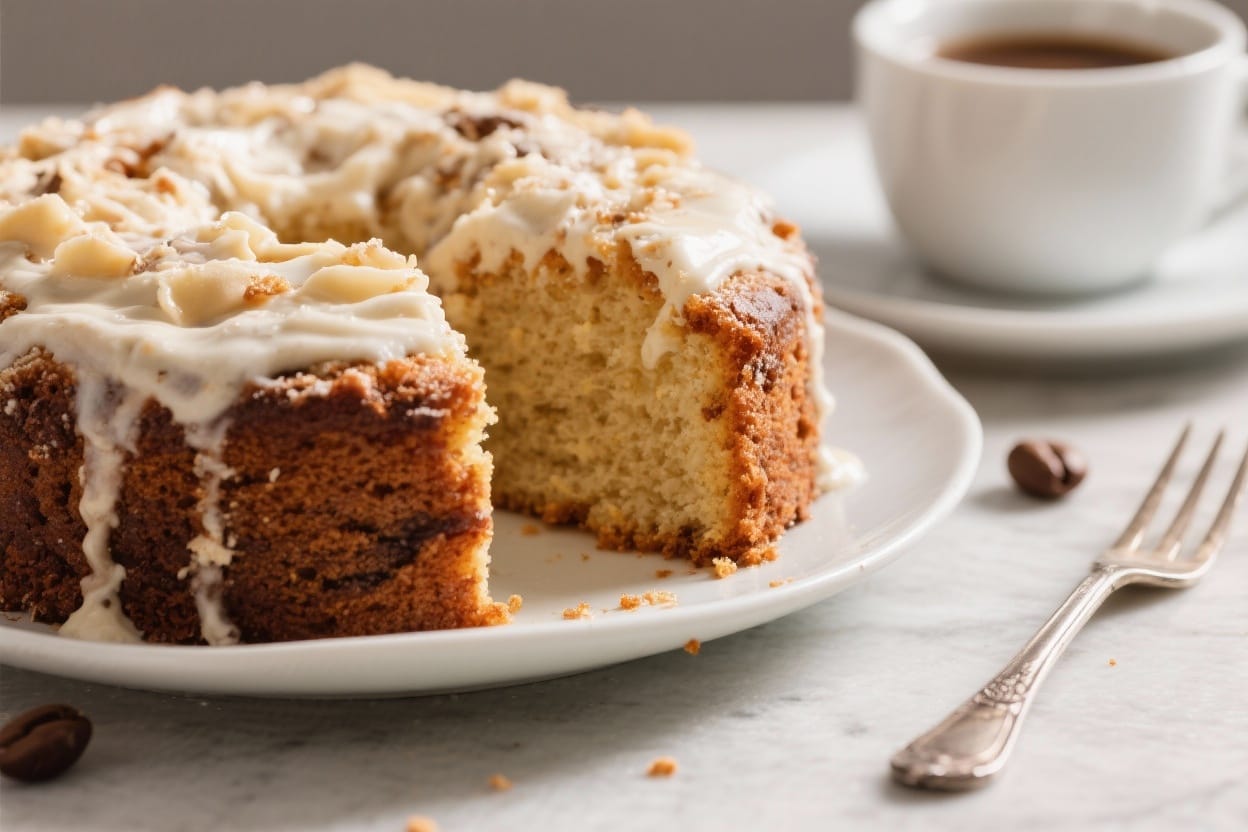
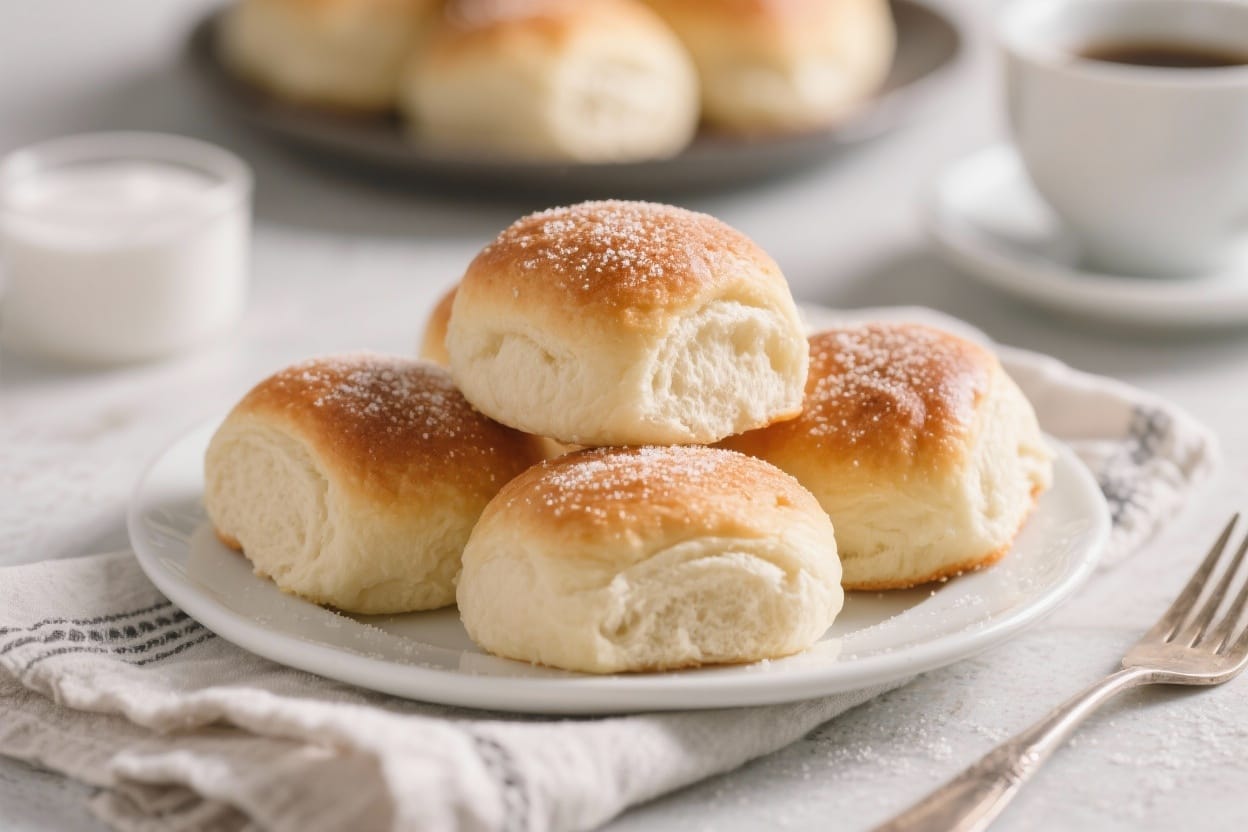
Soft sugar buns are the kind of bake that makes your kitchen feel warm and welcoming. They’re fluffy, lightly sweet, and perfect with coffee or tea. You don’t need special skills or fancy tools—just a little patience and a good mix of simple ingredients. These buns stay tender, have a delicate crust, and carry the perfect hint of vanilla and butter. If you love comforting, bakery-style bread at home, this recipe is for you.
Why This Recipe Works
Soft sugar buns recipe – Soft Sugar Buns Recipe – Fluffy, Sweet, and Easy Soft sugar buns are the kind of bake that makes you
This recipe balances richness and lightness. Milk, butter, and eggs create a soft, tender crumb that stays fresh for days. A touch of sugar sweetens the dough without making it heavy. The method uses a warm, enriched dough and a gentle rise, so the buns puff up beautifully. A final brush of butter and a sugar sprinkle give them that classic, lightly crisp top.
Ingredients
Soft sugar buns recipe – They’re fluffy, lightly sweet, and perfect with coffee or tea
- 3 1/4 cups (390 g) all-purpose flour, plus extra for dusting
- 1 packet (2 1/4 tsp) instant yeast (or active dry yeast)
- 1/2 cup (100 g) granulated sugar, divided (some for dough, some for topping)
- 1 cup (240 ml) warm milk (about 110°F/43°C)
- 1 large egg, room temperature
- 5 tbsp (70 g) unsalted butter, softened (plus 2 tbsp melted for brushing)
- 1 tsp fine sea salt
- 1 tsp pure vanilla extract
- Optional: 1/4 tsp ground nutmeg or 1 tsp lemon zest for a subtle flavor twist
- Optional topping: coarse sugar or cinnamon sugar
Instructions
Soft sugar buns recipe – You don’t need special skills or fancy tools—just a little patience and a good mix of simple ingredi
- Warm the milk. Heat the milk until it’s warm to the touch but not hot. If using active dry yeast, stir the yeast and 1 teaspoon of sugar into the warm milk and let it sit for 5–10 minutes, until foamy. If using instant yeast, you can skip the proofing and add it directly to the flour.
- Make the dough base. In a large bowl, whisk together the flour, remaining sugar, salt, and instant yeast if using. Add the warm milk (with proofed yeast if applicable), egg, vanilla, and softened butter.
- Mix and knead. Stir with a wooden spoon until a shaggy dough forms. Turn it onto a lightly floured surface and knead for 8–10 minutes, until smooth and elastic. You can use a stand mixer with a dough hook on medium-low for 6–8 minutes. The dough should be soft and slightly tacky, not sticky.
- First rise. Place the dough in a lightly greased bowl, cover with a clean towel or plastic wrap, and let rise in a warm, draft-free spot for 60–90 minutes, or until doubled in size.
- Shape the buns. Punch down the dough to release air. Divide into 12 equal pieces (about 65–70 g each). Roll each piece into a smooth ball by cupping your hand over the dough and moving it in a circular motion on the counter.
- Second rise. Arrange the balls on a parchment-lined baking sheet or in a greased 9×13-inch pan, spaced slightly apart. Cover and let rise for 30–45 minutes, until puffy and nearly doubled.
- Preheat the oven. Heat to 350°F (175°C). If you like, brush the tops lightly with milk for extra color.
- Bake. Bake for 16–20 minutes, until the tops are lightly golden and the center of a bun reads about 190°F (88°C) on an instant-read thermometer. Avoid overbaking to keep them soft.
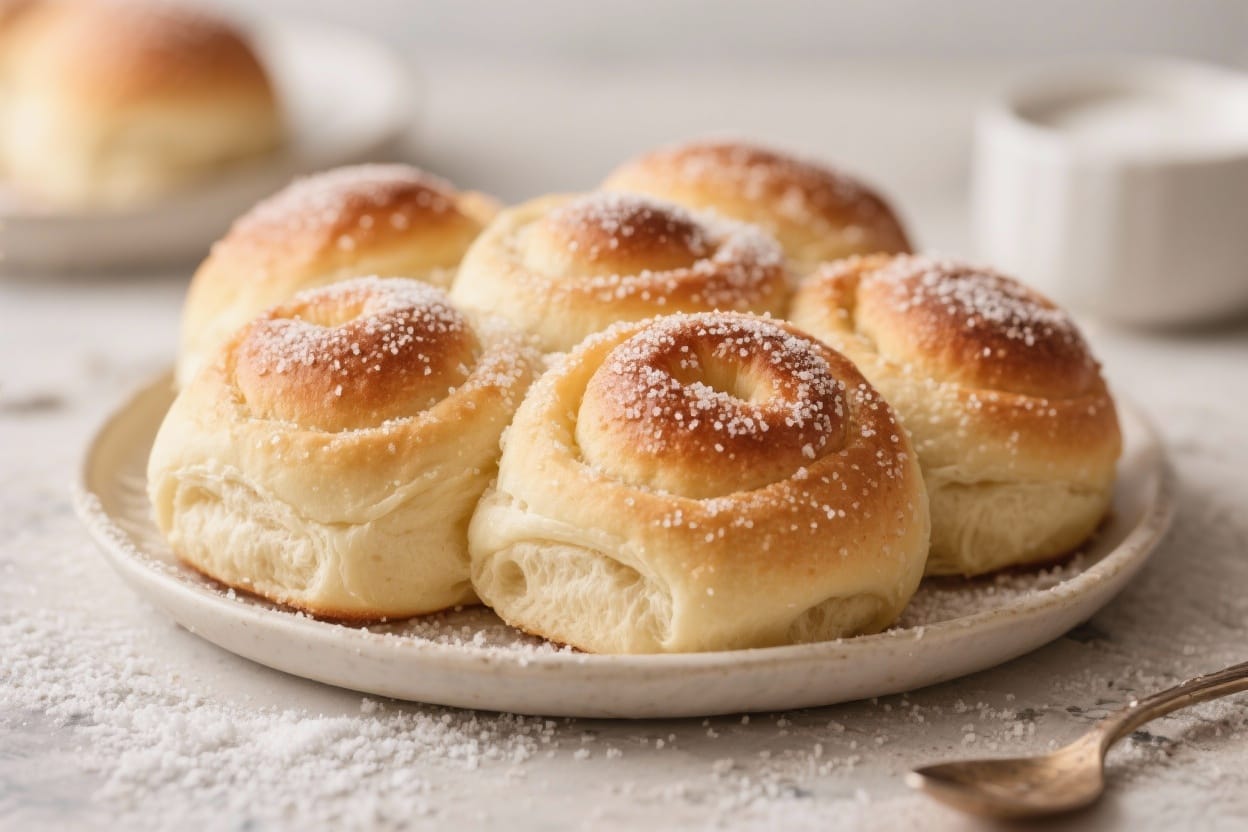
- Finish with butter and sugar. While warm, brush the tops with melted butter and sprinkle generously with granulated or coarse sugar. For a twist, use cinnamon sugar.
- Cool slightly and serve. Let the buns rest for 10 minutes before serving. They’re best warm, with a little extra butter or jam.
Storage Instructions
- Room temperature: Store in an airtight container for up to 3 days. Add a paper towel to absorb moisture and keep the tops from getting sticky.
- Freezer: Wrap individually and freeze for up to 2 months. Thaw at room temperature, then warm in a 300°F (150°C) oven for 5–7 minutes.
- Reheating: A quick 10–15 seconds in the microwave softens them nicely, but finish with a brief oven warm-up if you want a light crust.
Health Benefits
These buns are an occasional treat, but they can fit into a balanced diet. Milk and egg contribute protein and calcium, supporting bones and satiety. The dough uses butter for richness, so a little goes a long way—one bun can satisfy a sweet craving without going overboard. If you want a bit more fiber, you can swap a portion of the flour with white whole wheat flour.
What Not to Do
- Don’t overheat the milk. Hot milk can kill the yeast and prevent the dough from rising.
- Don’t add too much flour. A slightly tacky dough bakes up tender. Extra flour makes buns dense and dry.
- Don’t rush the rises. Under-proofed dough leads to tough, tight buns. Wait for the dough to visibly puff and relax.
- Don’t overbake. Pull them when they’re just golden. Overbaked buns lose moisture fast.
- Don’t skip the butter brush. That final melted butter keeps the crust soft and helps the sugar stick.
Alternatives
- Flour: Substitute up to 1 cup of the all-purpose flour with bread flour for extra chew, or with white whole wheat for a heartier bun.
- Dairy-free: Use a neutral dairy-free milk (like oat or almond) and plant-based butter. Choose one without strong flavors for the best result.
- Flavor boosts: Add lemon zest, orange zest, or a pinch of cardamom for a bakery-style aroma. A teaspoon of almond extract can be lovely too.
- Fillings: Tuck a spoon of jam, chocolate chips, or cinnamon sugar into the center of each dough ball before shaping for a surprise middle.
- Toppings: Swap plain sugar for cinnamon sugar, pearl sugar, or a light vanilla glaze (powdered sugar plus a splash of milk and vanilla).
- Egg-free: Replace the egg with 3 tablespoons of unsweetened applesauce or yogurt. Texture will be slightly different but still soft.
FAQ
Can I make the dough ahead?
Yes. After the first rise, shape the buns and place them in the pan. Cover tightly and refrigerate overnight. Let them sit at room temperature for 45–60 minutes before baking, until puffy.
What if I only have active dry yeast?
Use the same amount, but proof it in warm milk with a little sugar first. Wait for it to foam before mixing into the dough.
How do I know the dough has enough gluten?
The dough should feel smooth and springy. When you stretch a small piece, it should form a thin, slightly translucent “window” without tearing easily. If it tears right away, knead a few minutes longer.
Why are my buns dense?
Common reasons include cool dough, under-proofing, or too much flour. Make sure the dough is soft and rises until noticeably larger, and measure ingredients accurately.
Can I bake these as pull-apart buns?
Yes. Arrange them close together in a 9×13-inch pan so they touch as they rise. They’ll bake into a soft, tear-apart slab with tender sides.
How sweet are these buns?
They’re gently sweet with a sugary top. If you prefer sweeter, add 2–3 extra tablespoons of sugar to the dough or finish with a simple glaze.
Can I use a bread machine?
Yes. Add the ingredients in the order recommended by your machine and run the dough cycle. Then shape, rise again, and bake as directed.
What’s the best way to re-crisp the tops?
Warm the buns in a 325°F (165°C) oven for 5–7 minutes. If needed, brush a touch of melted butter and add a pinch of sugar before warming.
How can I add more moisture?
If your kitchen is dry, slightly increase the milk by 1–2 tablespoons. Also, avoid adding extra flour during kneading unless the dough is truly sticky.
Can I use self-rising flour?
It’s not ideal here since the recipe already includes yeast and salt. Stick with all-purpose or a mix with bread flour for the best texture.
In Conclusion
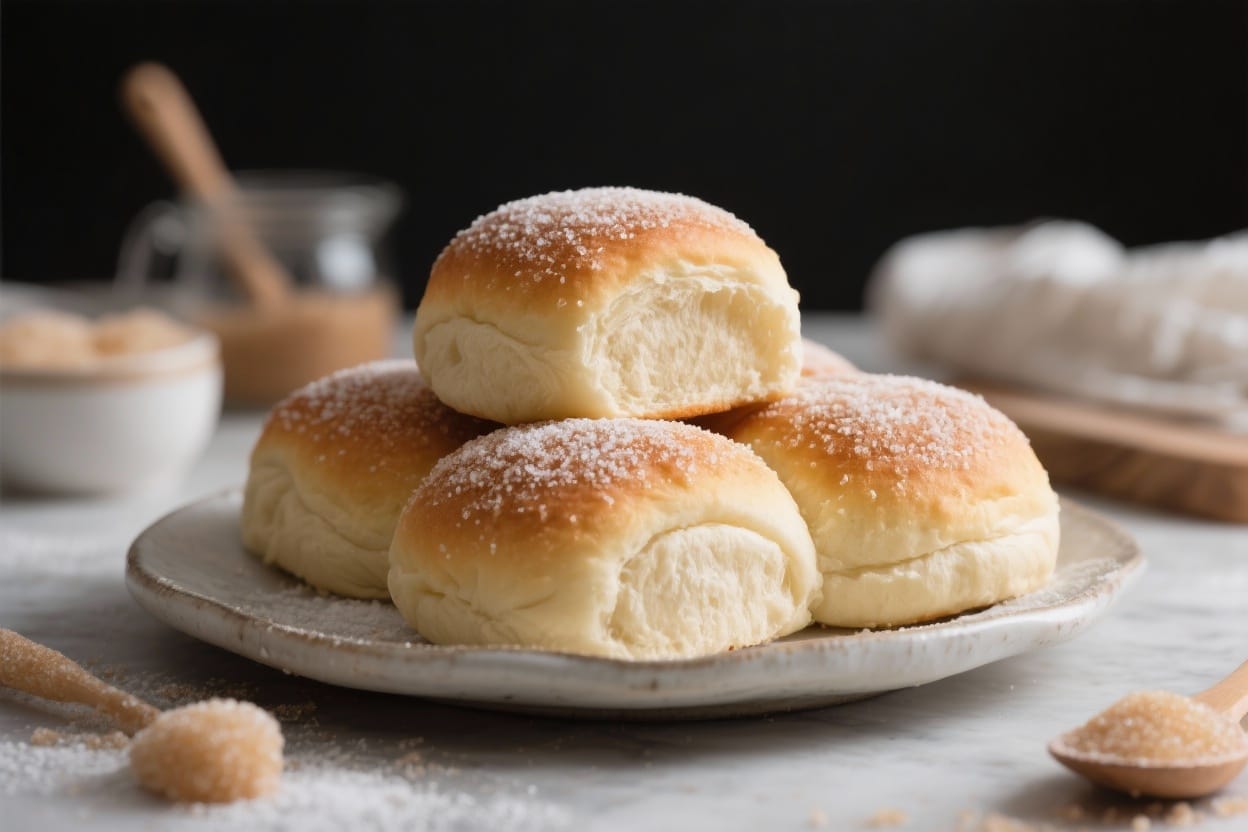
These soft sugar buns are simple, cozy, and endlessly versatile. With a tender crumb, buttery finish, and just the right sweetness, they’re perfect for breakfast, dessert, or an afternoon snack. Follow the gentle rises, keep the dough soft, and don’t overbake. You’ll have warm, bakery-style buns that feel special every single time.
Printable Recipe Card
Want just the essential recipe details without scrolling through the article? Get our printable recipe card with just the ingredients and instructions.