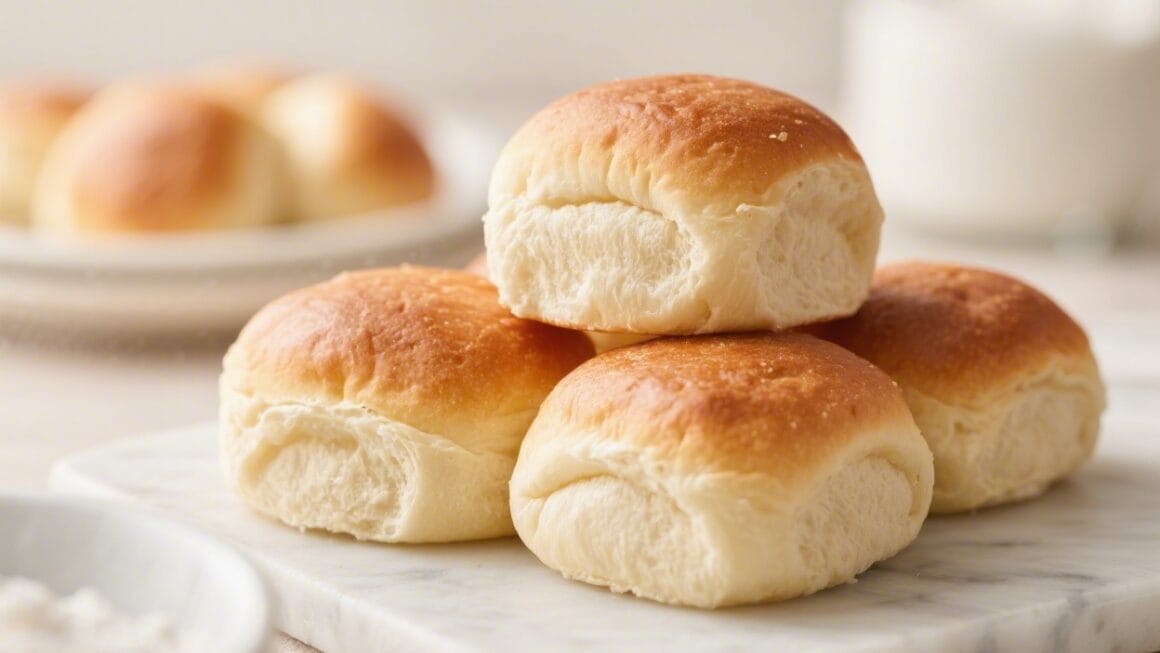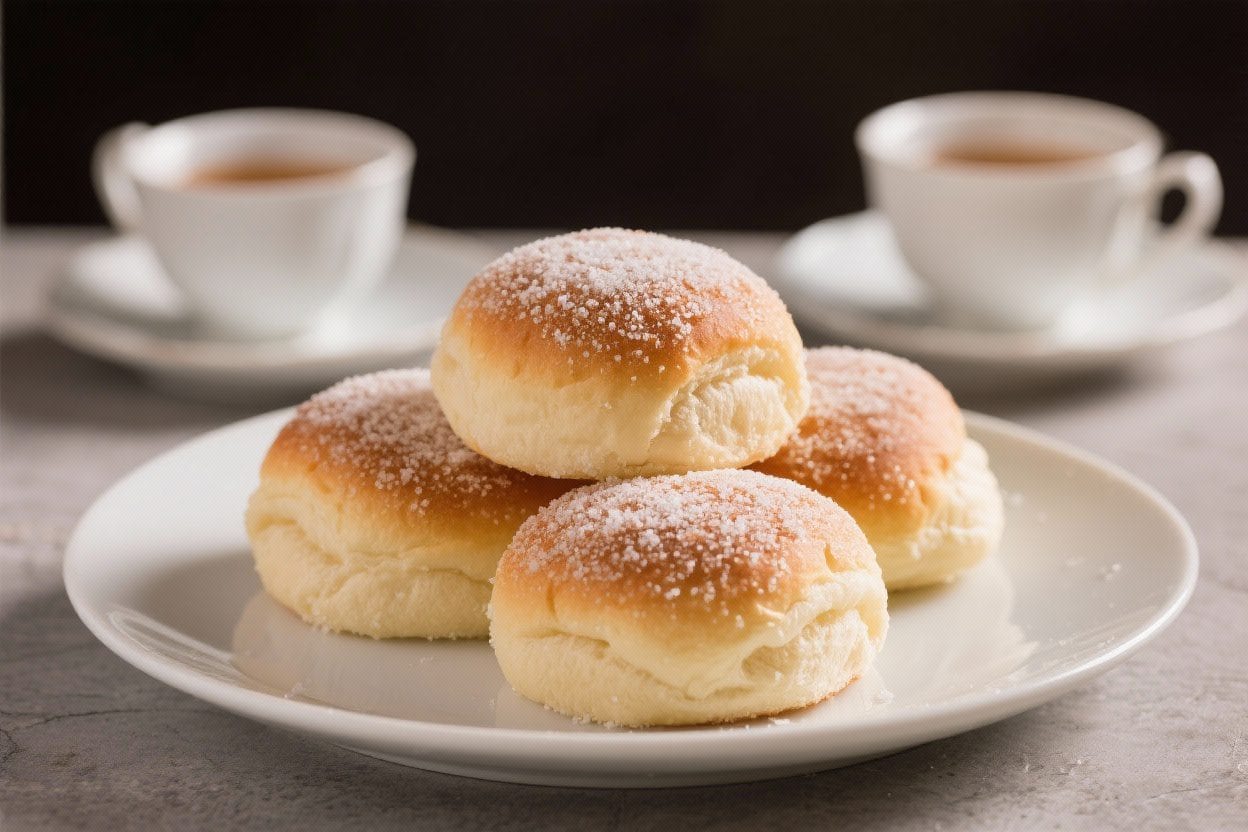
Soft sugar buns feel like a warm hello on a quiet afternoon. They’re light, a little buttery, and topped with a delicate sugar crust that crackles gently when you bite in. These buns pair beautifully with tea or coffee and make any day feel a bit more special.
The dough is forgiving, the steps are simple, and the results are bakery-worthy. If you’re craving something cozy and homemade, this is a great place to start.
Why This Recipe Works

This recipe uses a mix of milk and butter for a soft, tender crumb that stays moist. A touch of sugar sweetens the dough without making it cloying, so the buns are perfect for spreading with jam or enjoying on their own.
The dough is enriched but not heavy, which keeps the texture light and pillowy. Resting time is generous, giving the yeast a chance to work slowly and build great flavor. The final sugar topping bakes into a delicate crust that’s simple but satisfying.
Ingredients
- 3 cups (360 g) all-purpose flour, plus more for dusting
- 1/3 cup (65 g) granulated sugar
- 2 1/4 tsp (7 g) instant yeast (one packet)
- 1 tsp fine salt
- 3/4 cup (180 ml) warm whole milk (about 105–110°F / 40–43°C)
- 1/4 cup (60 ml) warm water
- 1 large egg, room temperature
- 5 tbsp (70 g) unsalted butter, softened
- 1 tsp vanilla extract (optional but lovely)
- 2–3 tbsp milk for brushing
- 2–3 tbsp granulated sugar for topping
Instructions
- Activate the yeast (if using active dry): If your yeast is instant, skip this step.Otherwise, stir the warm water with a pinch of sugar and the yeast. Let it sit for 5–8 minutes until foamy.
- Combine the dry ingredients: In a large bowl, whisk together the flour, sugar, salt, and instant yeast (if using). Keep the salt and yeast on opposite sides at first, then mix well.
- Mix the wet ingredients: In a separate bowl or measuring jug, whisk the warm milk, egg, and vanilla.The mixture should be comfortably warm to the touch, not hot.
- Make the dough: Pour the wet mixture into the dry ingredients. Stir with a wooden spoon or use a stand mixer with a dough hook until a shaggy dough forms. Add the softened butter and work it in until the dough is smooth and slightly tacky.
- Knead until smooth: Knead by hand on a lightly floured surface for 8–10 minutes, or in a stand mixer for 6–8 minutes, until the dough is elastic and pulls cleanly from the bowl.It should be soft but not sticky. Add a sprinkle of flour only if needed.
- First rise: Shape the dough into a ball and place it in a lightly oiled bowl, turning once to coat. Cover with a clean towel or plastic wrap.Let rise in a warm spot for 60–90 minutes, or until doubled in size.
- Shape the buns: Gently punch down the dough to release air. Turn it out and divide into 10–12 equal pieces. Shape each piece into a tight ball by tucking edges under and rolling against the counter with a cupped hand.
- Second rise: Arrange the buns on a parchment-lined baking sheet, spaced an inch apart if you want soft sides, or more spaced if you prefer crusty edges.Cover and let rise for 30–45 minutes, until puffy.
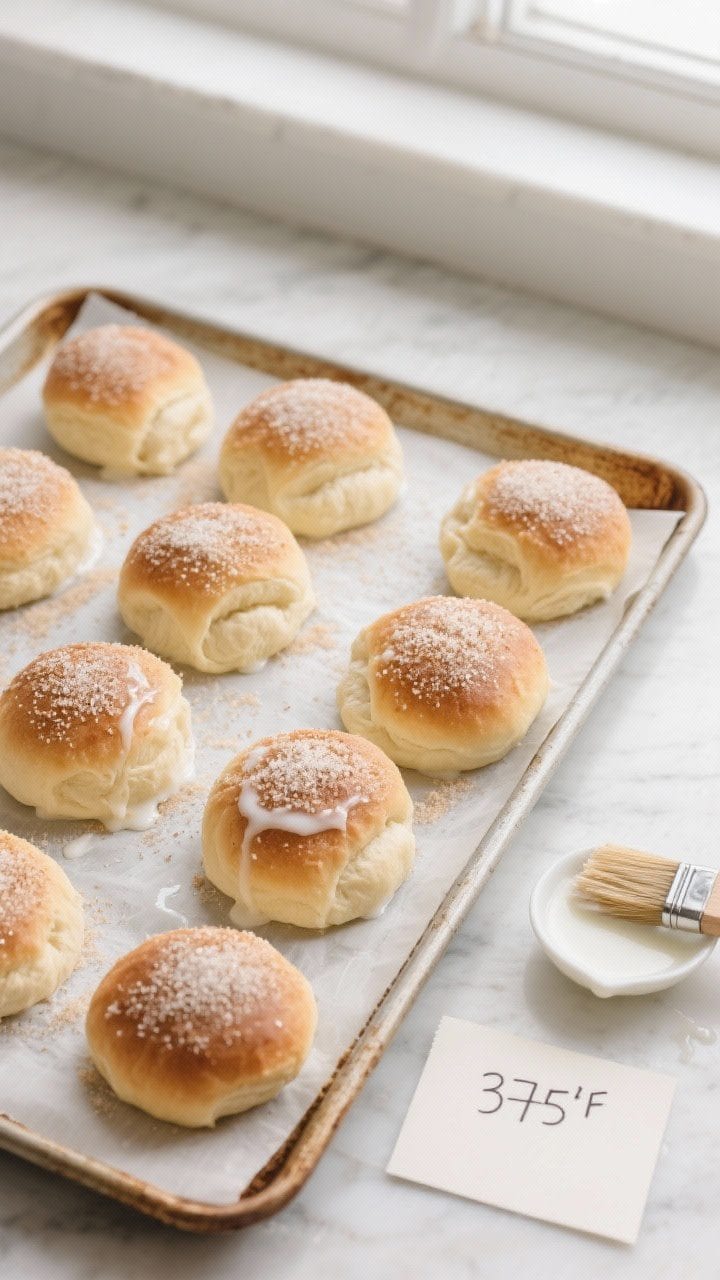
- Preheat and prep: Heat the oven to 375°F (190°C). Brush the tops gently with milk, then sprinkle generously with granulated sugar. For a thicker crust, brush twice and add more sugar.
- Bake: Bake for 14–18 minutes, until the buns are lightly golden and the bottoms sound hollow when tapped.Avoid overbaking to keep them soft.
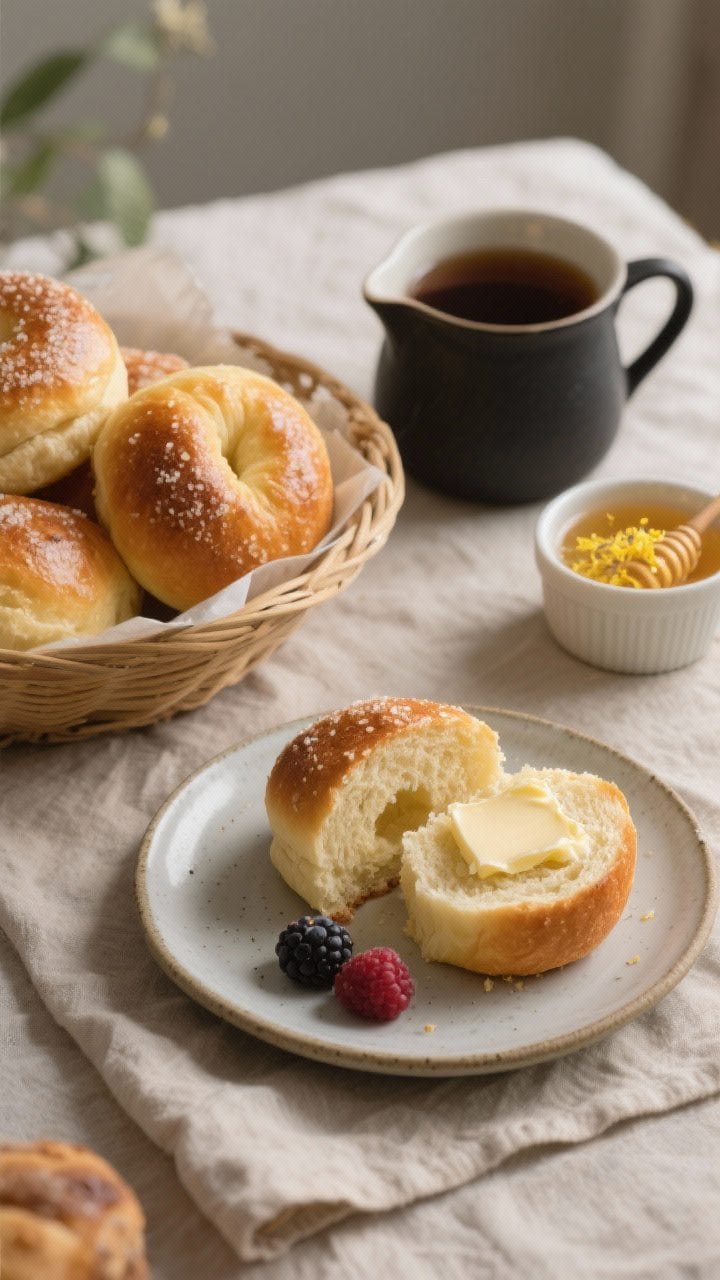
- Cool slightly: Let the buns cool on a rack for 10–15 minutes. They’re best slightly warm, with butter, jam, or honey.
Keeping It Fresh
These buns stay soft for up to two days at room temperature if stored in an airtight container. Add a piece of parchment inside to absorb extra moisture.
For longer storage, freeze them: wrap individually in plastic, then place in a freezer bag for up to two months. Reheat in a 300°F (150°C) oven for 8–10 minutes or microwave for 15–20 seconds to revive the softness.
Why This is Good for You
While these are a treat, they offer a few perks. Homemade buns mean fewer additives and a shorter ingredient list than store-bought options. The dough’s modest sugar keeps the sweetness balanced, and the buns are portion-friendly, so you can enjoy one without going overboard.
Pairing with tea encourages a slow moment, which can help you relax and reset. Serve with fresh fruit or a protein-rich yogurt to round out a satisfying snack.
What Not to Do
- Don’t overheat the milk. Too-hot liquid can kill the yeast. Aim for warm, not hot.
- Don’t add too much flour. A slightly tacky dough bakes softer.Extra flour makes buns dense and dry.
- Don’t skip the second rise. It’s key for a light, fluffy texture and even crumb.
- Don’t overbake. Pull them when lightly golden. Overbaking dries them out quickly.
- Don’t crowd the oven. If baking a double batch, use two trays or bake in turns for even browning.
Variations You Can Try
- Lemon Sugar Buns: Mix 2 teaspoons lemon zest into the dough and sprinkle lemon zest into the sugar topping.
- Cinnamon Sugar Topping: Combine 2 tablespoons sugar with 1 teaspoon cinnamon and sprinkle over the milk-washed buns.
- Jam-Filled Centers: After shaping, flatten each ball slightly, add a small spoonful of jam, pinch to seal, and place seam-side down.
- Brown Butter Upgrade: Brown the butter and cool before adding. It brings a nutty aroma and deeper flavor.
- Seeded Crunch: Mix 1 tablespoon poppy or sesame seeds into the sugar topping for texture.
- Whole Wheat Boost: Swap 1 cup of the all-purpose flour with whole wheat flour.Add an extra tablespoon or two of milk if the dough feels dry.
- Coconut Sugar Sprinkle: Use coconut sugar on top for a caramel-like note.
FAQ
Can I make the dough ahead?
Yes. After the first rise, shape the buns, place them on a tray, cover, and refrigerate overnight. Let them sit at room temperature for 45–60 minutes before baking so they can finish puffing.
What if I don’t have a stand mixer?
Hand mixing is fine.
Use a sturdy spoon to bring the dough together, then knead on a lightly floured counter until smooth and elastic. It takes a bit longer, but the results are just as good.
Can I use plant-based milk and butter?
Absolutely. Use a rich, unsweetened plant milk (like oat or soy) and vegan butter that’s suitable for baking.
The texture will still be soft and tender.
How do I know the dough has risen enough?
Look for it to double in size and feel airy. Press a finger lightly into the dough; if the indentation springs back slowly and not completely, it’s ready.
Why are my buns dense?
Common causes are cool liquids, expired yeast, too much flour, or skipping a rise. Make sure your yeast is fresh, your liquids are warm, and your dough stays slightly tacky before proofing fully.
Can I make mini buns?
Yes.
Divide the dough into 16–18 pieces and reduce the bake time to 10–12 minutes. Keep an eye on color to avoid overbaking.
How can I make them extra glossy?
Brush with a light egg wash (1 egg beaten with 1 tablespoon milk) instead of plain milk, then add the sugar. This gives a deeper shine and a slightly richer color.
In Conclusion
Soft sugar buns are the kind of simple baking project that delivers big comfort.
With a straightforward dough, a gentle rise, and a sweet crackly top, they’re perfect for tea time or a cozy snack. Keep the ingredients warm, the dough soft, and the bake light, and you’ll have tender buns that taste like home. Share them fresh, freeze a few for later, and enjoy that little moment of calm they bring.
Printable Recipe Card
Want just the essential recipe details without scrolling through the article? Get our printable recipe card with just the ingredients and instructions.