Soft Homemade Sandwich Bread Recipe – Easy, Reliable, and Tender
Warm, soft sandwich bread makes even a simple lunch feel special. This recipe gives you a loaf with a tender crumb, a thin golden crust, and a gentle sweetness that works for toast, sandwiches, or grilled cheese. It’s simple enough for beginners and dependable enough to keep in your weekly rotation. No complicated steps, no fancy equipment—just a few pantry staples and a bit of patience. If you’ve been wanting a go-to bread that slices well and stays soft, this is the one.
Why This Recipe Works
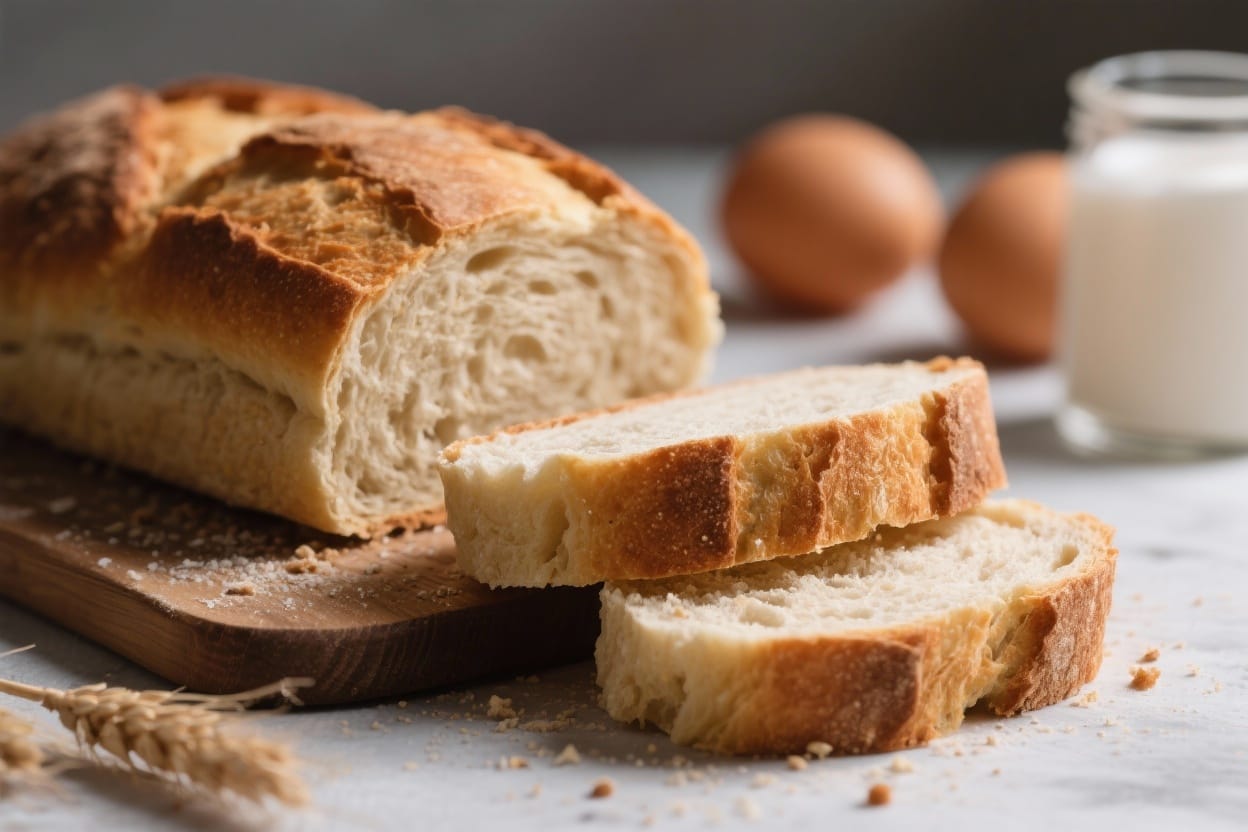
Soft homemade sandwich bread recipe – Soft Homemade Sandwich Bread Recipe – Easy, Reliable, and Tender Warm, soft sandwich bread makes eve
- Milk and butter for softness: Fat and dairy keep the crumb tender and the crust thin, so you get soft slices that don’t crumble.
- A touch of sugar: It feeds the yeast and adds a mild sweetness that makes the bread taste like classic sandwich loaves.
- Two rises: The first builds structure and flavor; the second shapes the loaf for that tall, bakery-style dome.
- Proper hydration: The dough is slightly tacky, which helps create a soft interior without being sticky or hard to handle.
- Straightforward technique: No preferments or special flours—just a reliable method that works in most home kitchens.
Ingredients
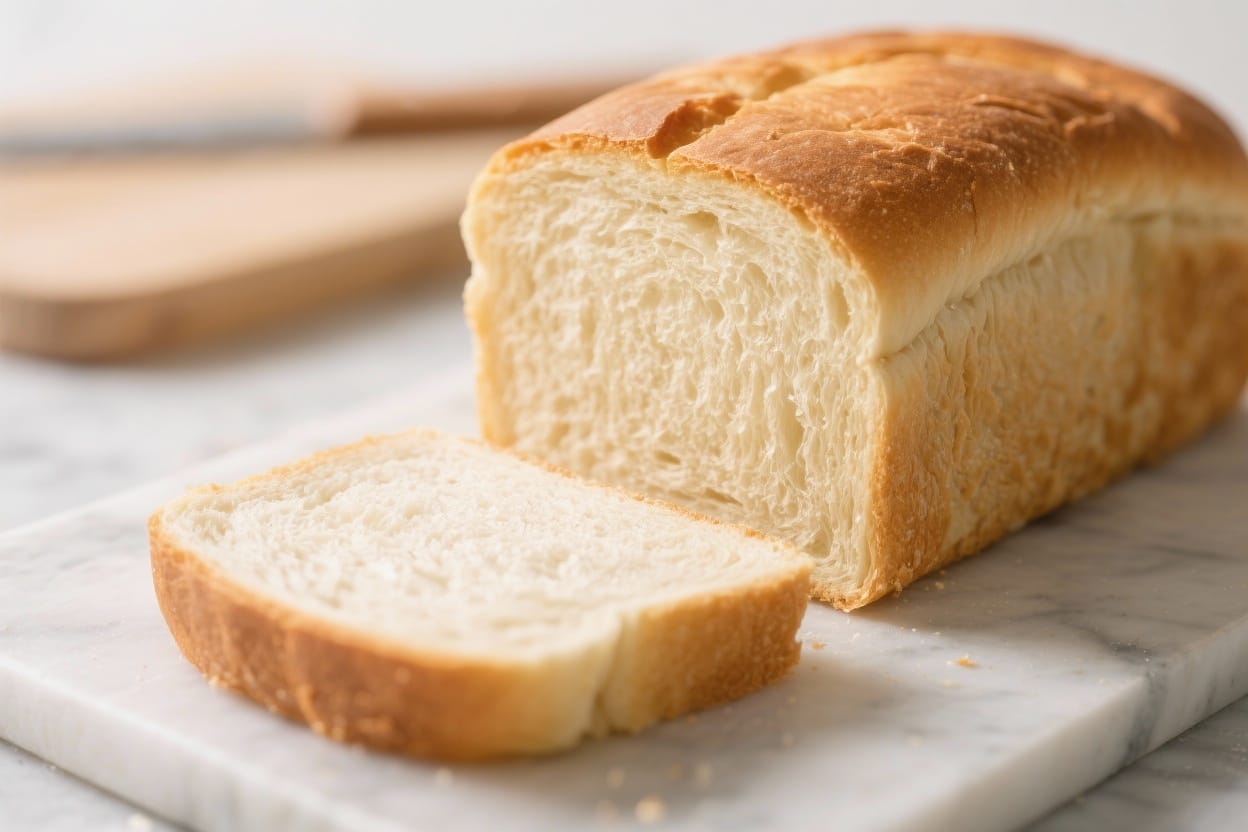
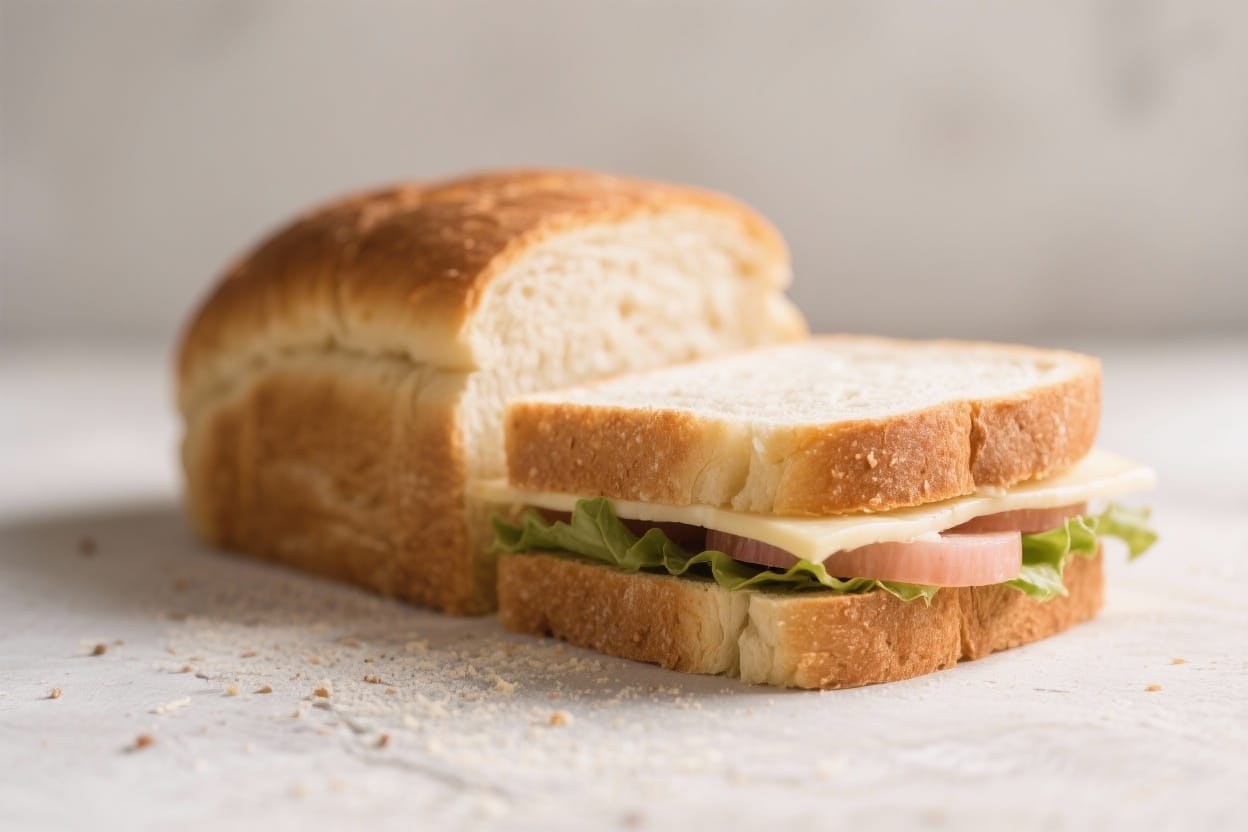
Soft homemade sandwich bread recipe – This recipe gives you a loaf with a tender crumb, a thin golden crust, and a gentle sweetness that w
- 3 cups (360 g) bread flour or all-purpose flour, plus more for dusting
- 1 cup (240 ml) warm milk, about 100–110°F (38–43°C)
- 2 tablespoons (25 g) granulated sugar or honey
- 2 teaspoons (7 g) instant yeast (or 2 1/4 teaspoons active dry yeast)
- 1 teaspoon (6 g) fine salt
- 3 tablespoons (40 g) unsalted butter, softened
- Optional: 1 egg for an egg wash, or 1 tablespoon melted butter for brushing
Instructions
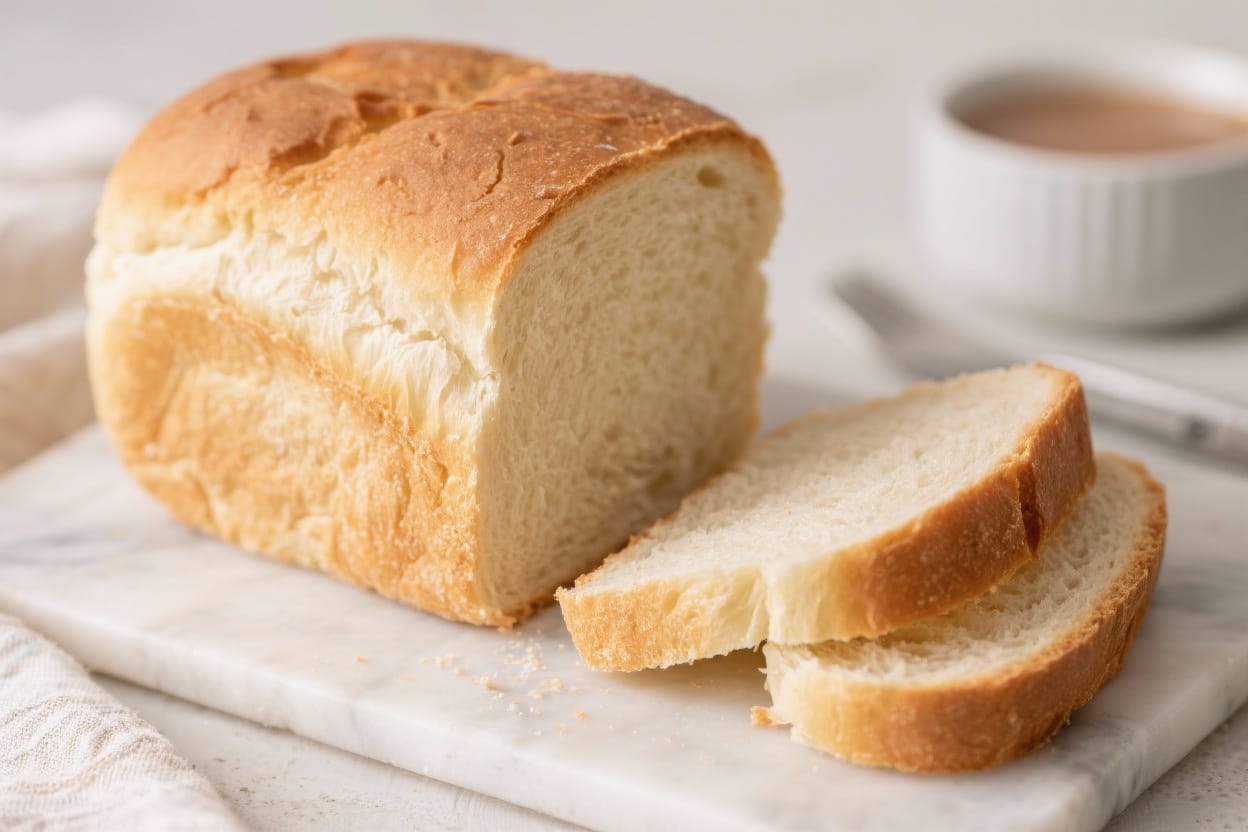
Soft homemade sandwich bread recipe – It’s simple enough for beginners and dependable enough to keep in your weekly rotation
- Warm the milk: Heat the milk until warm to the touch, not hot. If using active dry yeast, sprinkle it over the warm milk with the sugar and let it sit 5–10 minutes until foamy. With instant yeast, you can skip the proof and add it directly to the flour.
- Make the dough: In a large bowl, combine flour, salt, and instant yeast (if using). Add the warm milk, sugar, and softened butter. Mix with a spoon until a shaggy dough forms.
- Knead: Turn the dough onto a lightly floured surface and knead 8–10 minutes until smooth, elastic, and slightly tacky. If using a stand mixer with a dough hook, knead on medium-low for 6–8 minutes. The dough should pull away from the sides but still feel soft.
- First rise: Place the dough in a lightly oiled bowl, turning it once to coat. Cover and let rise in a warm spot until doubled, about 60–90 minutes. A warm oven with the light on works well.
- Shape: Gently deflate the dough and pat it into a rectangle about 8×12 inches. Roll it up tightly from the short side, pinch the seam closed, and tuck the ends under. Place seam-side down in a greased 9×5-inch loaf pan.
- Second rise: Cover and let the dough rise until it crowns about 1 inch above the pan rim, 45–60 minutes. Toward the end, preheat your oven to 350°F (175°C).
- Optional glaze: For a glossy top, brush with a light egg wash (1 beaten egg with a splash of water). For a soft matte crust, skip the egg and plan to brush with melted butter after baking.
- Bake: Bake for 28–35 minutes until golden brown. The internal temperature should reach about 190–195°F (88–90°C). If the top is browning too fast, tent loosely with foil in the last 10 minutes.
- Cool and finish: Remove from the pan after 5 minutes. Brush the top with melted butter if you want extra softness. Cool on a rack at least 1 hour before slicing so the crumb sets.
Storage Instructions
- Room temperature: Store in a bread box or sealed bag for up to 3 days. Avoid the fridge—it dries bread out.
- Freezer: Slice, then wrap tightly and freeze for up to 3 months. Toast straight from frozen or thaw at room temp.
- Refresh: If the crust softens too much, re-crisp in a 325°F (165°C) oven for 5–8 minutes. For stale slices, toast lightly.
Why This is Good for You
- Fewer additives: Homemade bread skips preservatives, conditioners, and excess sodium found in many store-bought loaves.
- Customizable nutrition: Swap in partial whole wheat, add seeds, or choose honey over sugar to match your preferences.
- Balanced energy: A slice provides steady carbs for energy, and pairing it with protein and healthy fat makes a satisfying meal.
- Mindful eating: Baking creates a connection to your food, which often leads to more intentional, balanced choices.
What Not to Do
- Don’t overheat the milk: Too hot will kill the yeast. Aim for warm, not hot.
- Don’t add too much flour: A slightly tacky dough bakes softer. Only dust enough to keep it workable.
- Don’t skip the rise times: Rushing leads to dense bread. Let the dough double and the shaped loaf rise properly.
- Don’t slice while hot: Cutting too soon compresses the crumb and makes gummy slices. Let it cool at least an hour.
- Don’t underbake: A pale, undercooked loaf will be doughy. Use color and internal temperature as your guide.
Alternatives
- Half whole wheat: Use 1 1/2 cups whole wheat flour and 1 1/2 cups bread flour. Add 1–2 tablespoons extra milk if the dough feels stiff.
- Dairy-free: Swap milk with unsweetened almond, oat, or soy milk. Replace butter with neutral oil or vegan butter.
- Honey oat: Replace sugar with honey and sprinkle rolled oats on top after an egg wash for texture.
- Enriched flavor: Add 1 egg to the dough and reduce milk by 2 tablespoons for a richer crumb.
- Seeded loaf: Knead in 2–3 tablespoons sesame, poppy, or sunflower seeds for crunch and extra nutrients.
FAQ
Can I make this without a stand mixer?
Yes. Hand-knead on a lightly floured surface for 8–10 minutes until smooth and elastic. The dough should bounce back when poked.
What if my dough isn’t rising?
Check the yeast freshness and the temperature. Yeast needs warmth (around 75–85°F). If your kitchen is cool, try the oven with the light on or place the bowl over a warm, not hot, surface.
How do I know when the dough is kneaded enough?
The dough should feel stretchy and smooth. It will windowpane—when you stretch a small piece, it thins without tearing right away. It should also spring back when pressed.
Can I use only all-purpose flour?
Yes. All-purpose makes a lovely soft loaf. Bread flour will give slightly more chew and structure, but both work well.
How can I get an extra soft crust?
Brush the hot loaf with melted butter as soon as it comes out of the pan, then cover loosely with a clean towel while it cools.
Is there a way to make it sweeter?
Increase the sugar or honey to 3–4 tablespoons. Keep in mind sweeter dough may brown faster, so watch the loaf near the end of baking.
Can I double the recipe?
Absolutely. Mix and knead as usual, then divide into two loaf pans. Rise and bake as directed, rotating pans halfway through for even browning.
What loaf pan size works best?
A standard 9×5-inch pan gives a taller slice. An 8 1/2×4 1/2-inch pan also works and may yield a slightly higher dome. Grease well to prevent sticking.
Why did my loaf collapse after baking?
It may have overproofed, or the dough was too wet. Next time, bake a bit earlier in the second rise—when the dough springs back slowly to a gentle poke.
Can I make rolls with this dough?
Yes. Divide into 10–12 pieces, shape into balls, rise until puffy, and bake at 375°F (190°C) for 15–18 minutes.
Final Thoughts
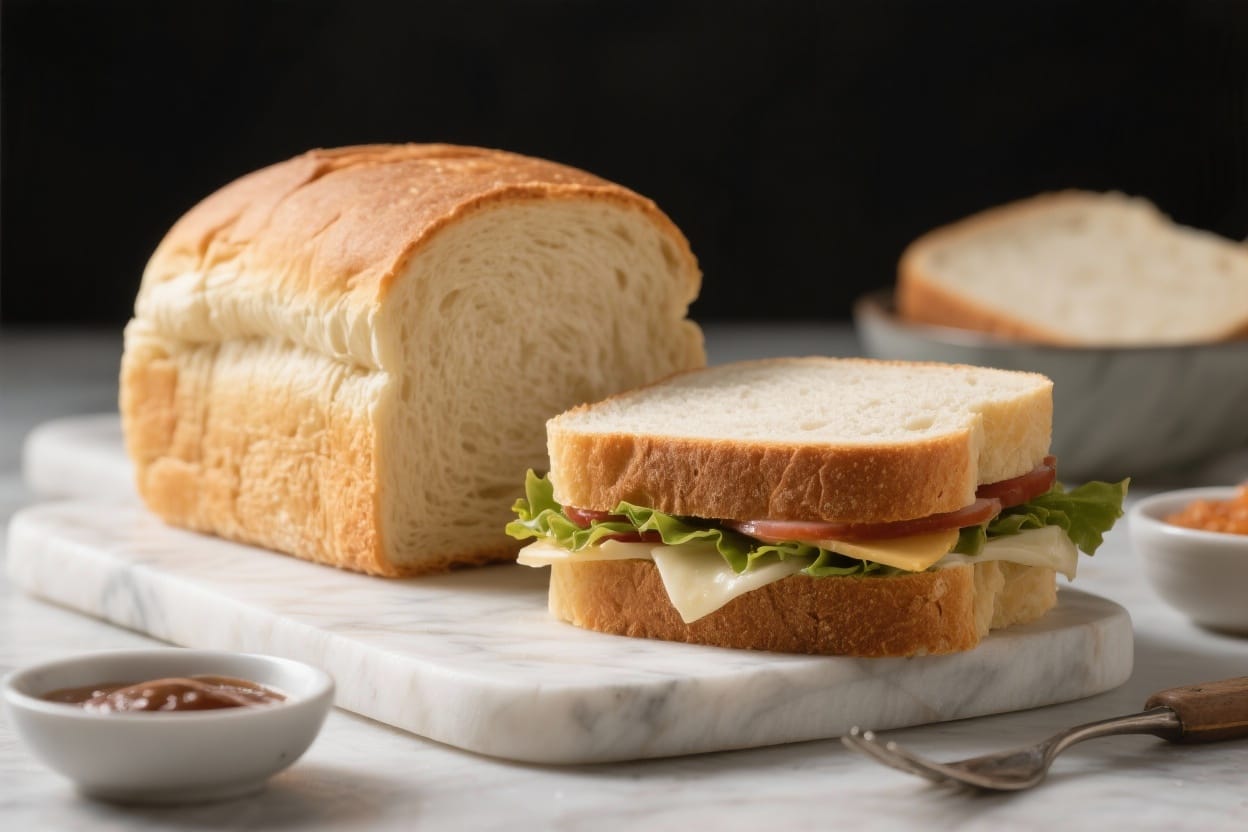
This soft homemade sandwich bread recipe is simple, forgiving, and consistently delicious. With a few basic ingredients and a little practice, you’ll get tender slices that hold up to spreads and stack neatly for sandwiches. Once you’ve mastered the base, tweak it to fit your taste—sweeter, seedier, or partly whole wheat. Keep this recipe handy, and you’ll always have a fresh, warm loaf ready for breakfast, lunch, or a cozy snack.
Printable Recipe Card
Want just the essential recipe details without scrolling through the article? Get our printable recipe card with just the ingredients and instructions.