Soft Homemade Pita Bread Recipe – Warm, Puffy, and Easy
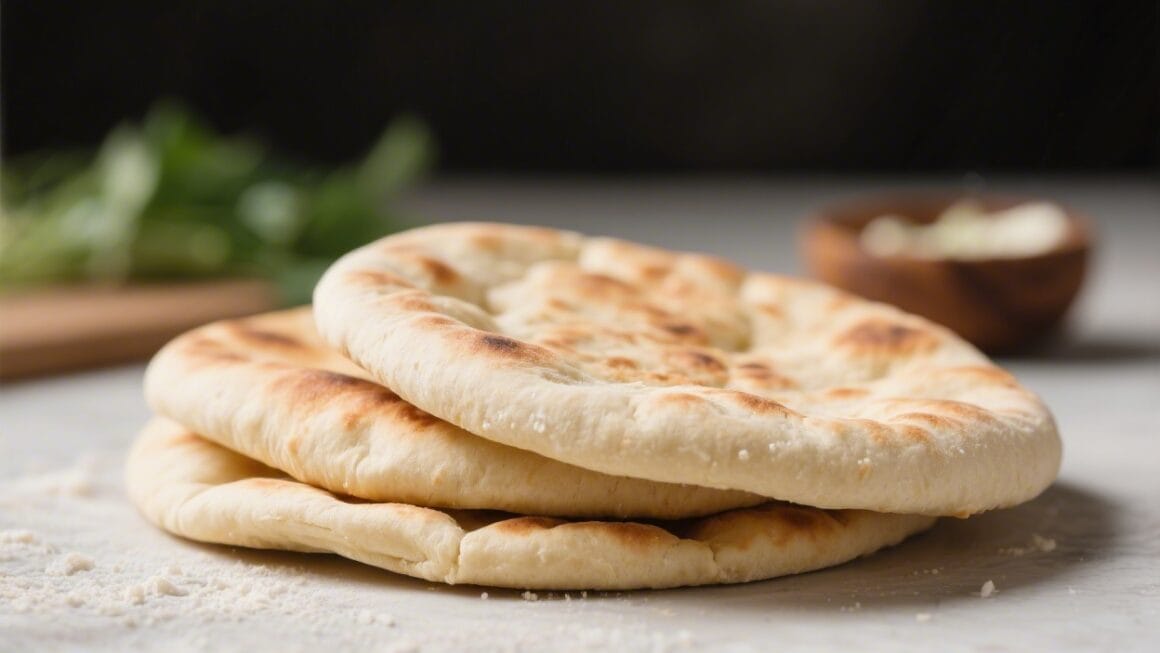
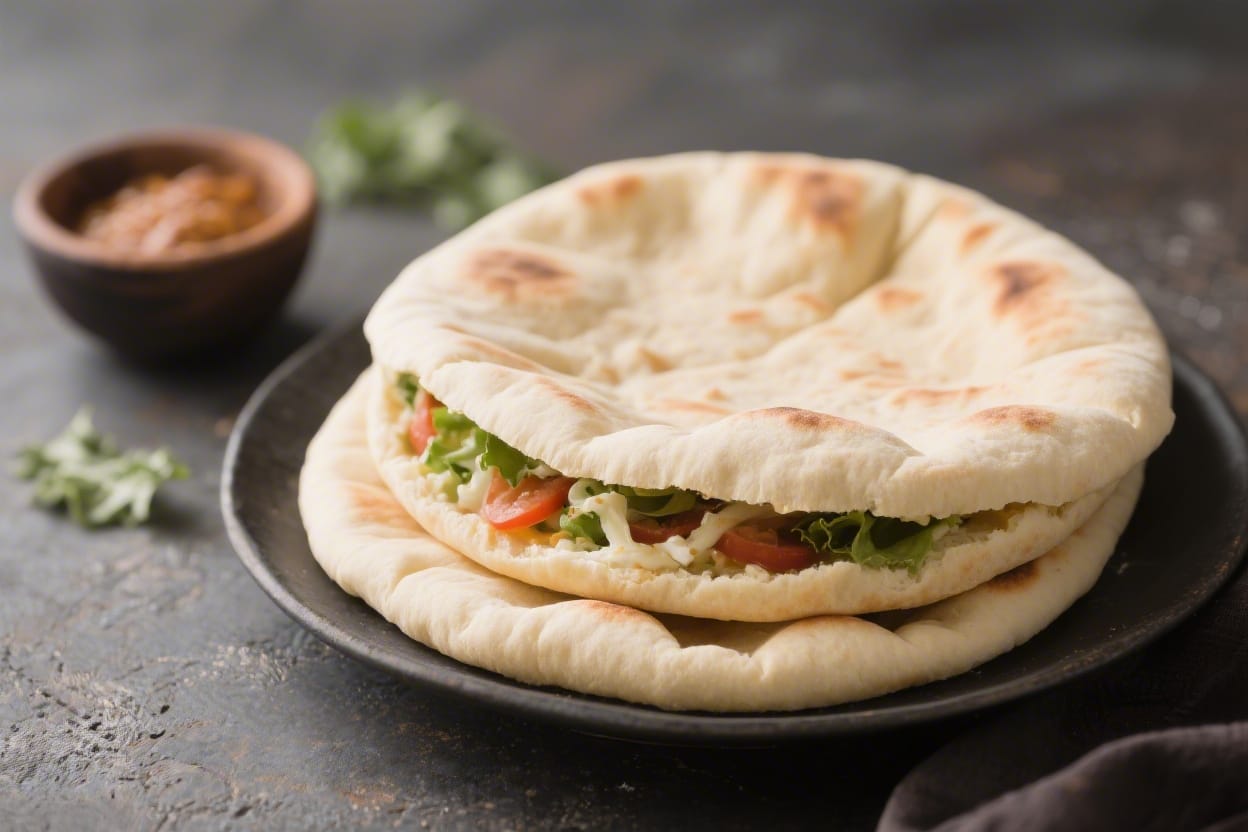
Warm, puffy pita bread is one of those small kitchen wins that feels big. It turns simple fillings into a great meal and makes dips like hummus or tzatziki even better. This version stays soft, with a gentle chew and a pocket that’s perfect for stuffing. You don’t need special equipment—just a hot oven or skillet and a little patience. If you’ve only had store-bought pitas, this will be a happy upgrade.
What Makes This Special
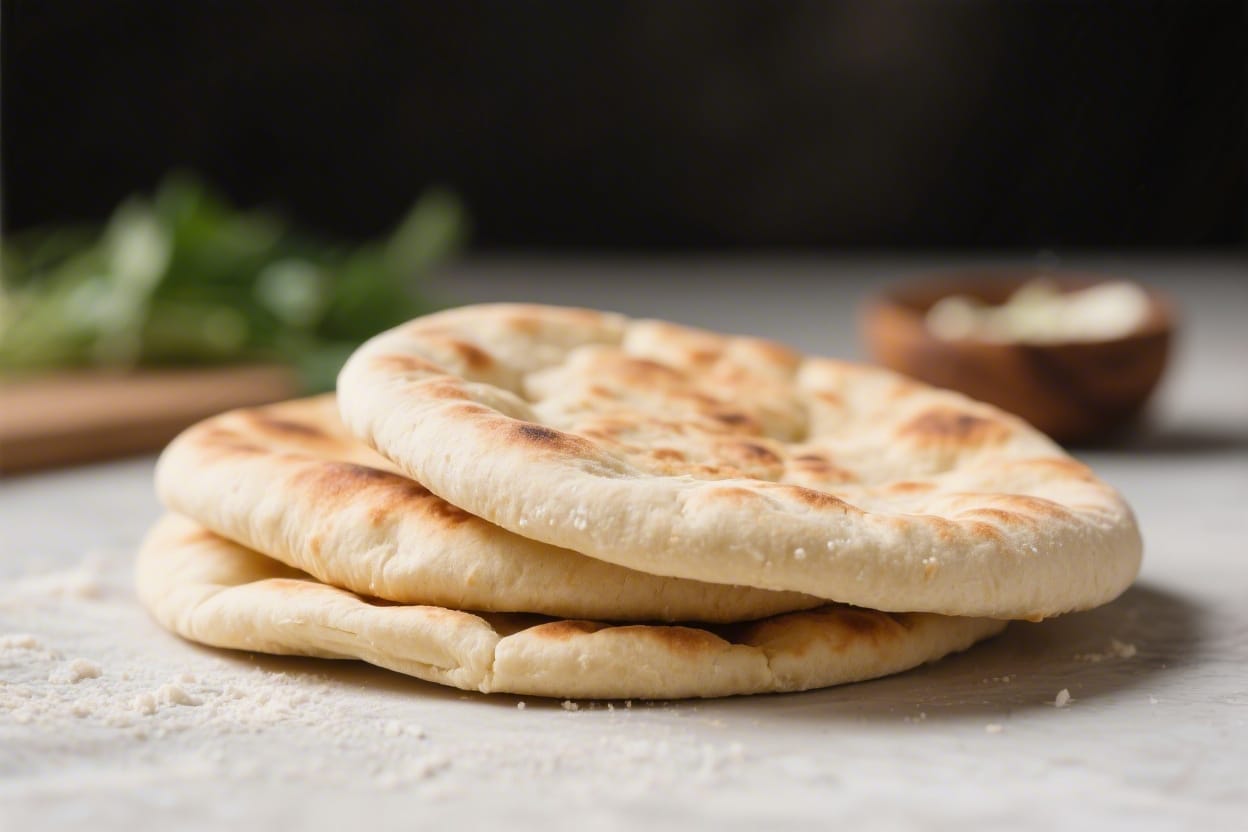
Soft homemade pita bread recipe – Soft Homemade Pita Bread Recipe – Warm, Puffy, and Easy Warm, puffy pita bread is one of those small
Homemade pita tastes fresher and softer than most packaged versions. The dough is simple and forgiving, with ingredients you likely have on hand. The method focuses on heat and timing so you get that signature puff, which creates the pocket inside. You can bake them or cook them on the stovetop, and both methods give you excellent results. Best of all, these reheat beautifully and stay tender for days.
Ingredients
Soft homemade pita bread recipe – It turns simple fillings into a great meal and makes dips like hummus or tzatziki even better
- 3 cups (360 g) all-purpose flour (or a mix: 2 1/2 cups AP + 1/2 cup whole wheat for a nuttier flavor)
- 2 teaspoons instant yeast (or 2 1/4 teaspoons active dry yeast)
- 1 teaspoon fine sea salt
- 1 tablespoon sugar or honey
- 2 tablespoons olive oil (plus a little more for the bowl)
- 1 to 1 1/8 cups (240–270 ml) warm water (about 105–115°F / 40–46°C; start with 1 cup and add as needed)
- Optional: 2 tablespoons plain yogurt for extra softness (reduce water slightly if using)
Instructions
Soft homemade pita bread recipe – This version stays soft, with a gentle chew and a pocket that’s perfect for stuffing
- Mix the dough. In a large bowl, whisk flour, yeast, salt, and sugar. Add olive oil and 1 cup warm water (and yogurt if using). Stir with a spoon or your hand until a shaggy dough forms. If it’s dry, add water a tablespoon at a time until it comes together.
- Knead until smooth. Turn dough onto a lightly floured surface and knead for 7–10 minutes, until smooth, soft, and slightly tacky but not sticky. You can also use a stand mixer with a dough hook for 6–8 minutes on medium-low.
- First rise. Lightly oil a clean bowl. Place dough inside, turning once to coat. Cover with a damp towel or plastic wrap. Let rise in a warm spot until doubled, about 1 to 1 1/2 hours.
- Divide and rest. Punch down the dough gently. Turn it out and divide into 8 equal pieces for standard pitas (or 10 for smaller ones). Shape each piece into a tight ball. Cover and rest for 15–20 minutes—this relaxes the gluten and makes rolling easier.
- Preheat for high heat. For the oven method, place a heavy baking sheet or a pizza stone on the middle rack and preheat to 475°F (245°C) for at least 20 minutes. For stovetop, preheat a cast-iron skillet over medium-high for 5 minutes.
- Roll the pitas. On a lightly floured surface, roll each ball into a 6–7 inch (15–18 cm) round, about 1/8 inch (3 mm) thick. Keep thickness even for good puff. Cover the rolled rounds with a towel so they don’t dry out.
- Bake (oven method). Carefully place 2–3 rounds on the hot stone or sheet. Bake 2–3 minutes until they puff dramatically, then another 1–2 minutes to lightly brown. Remove and wrap in a clean towel to keep soft. Repeat with remaining dough.
- Cook (stovetop method). Place a round in the hot dry skillet. Cook 30–45 seconds until bubbles form, flip, cook 1–2 minutes, flip again, and watch it balloon. Press gently with a spatula if needed to encourage puffing. Adjust heat to avoid scorching. Keep finished pitas wrapped in a towel.
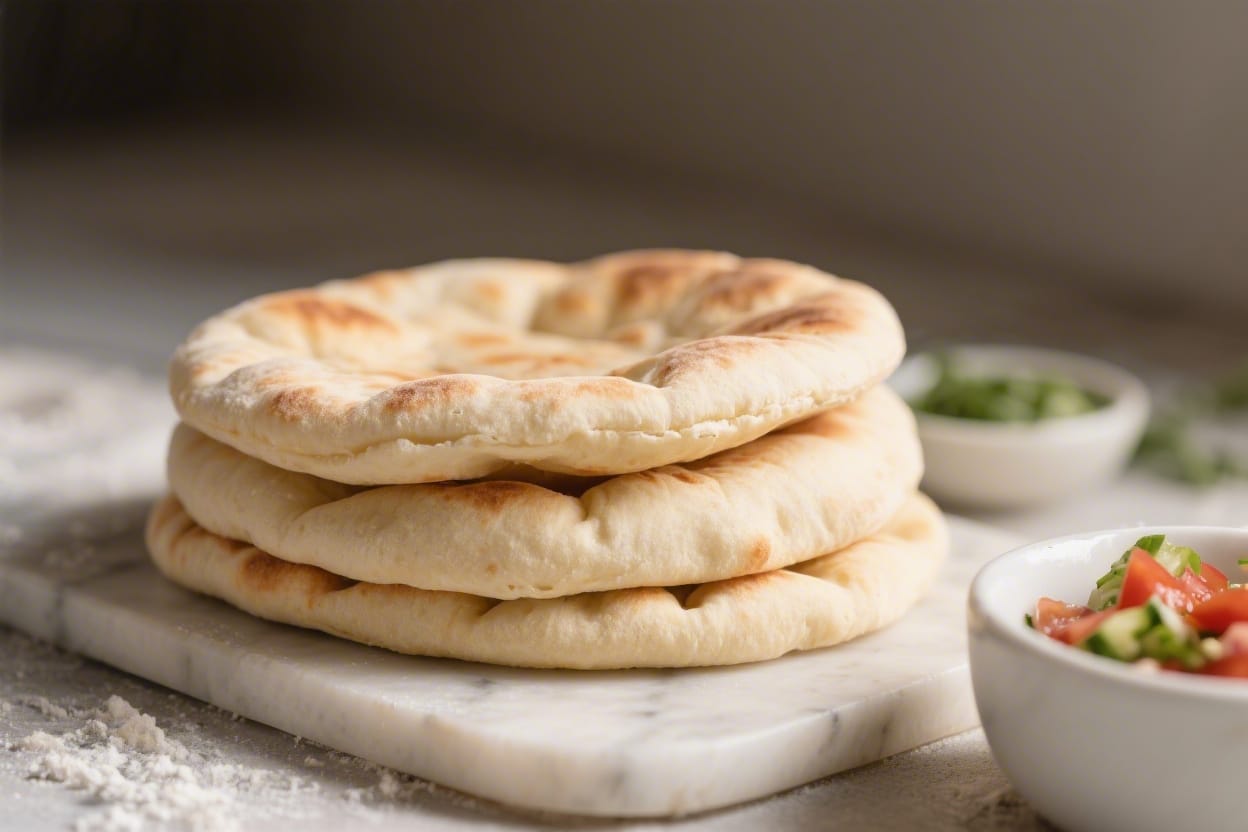
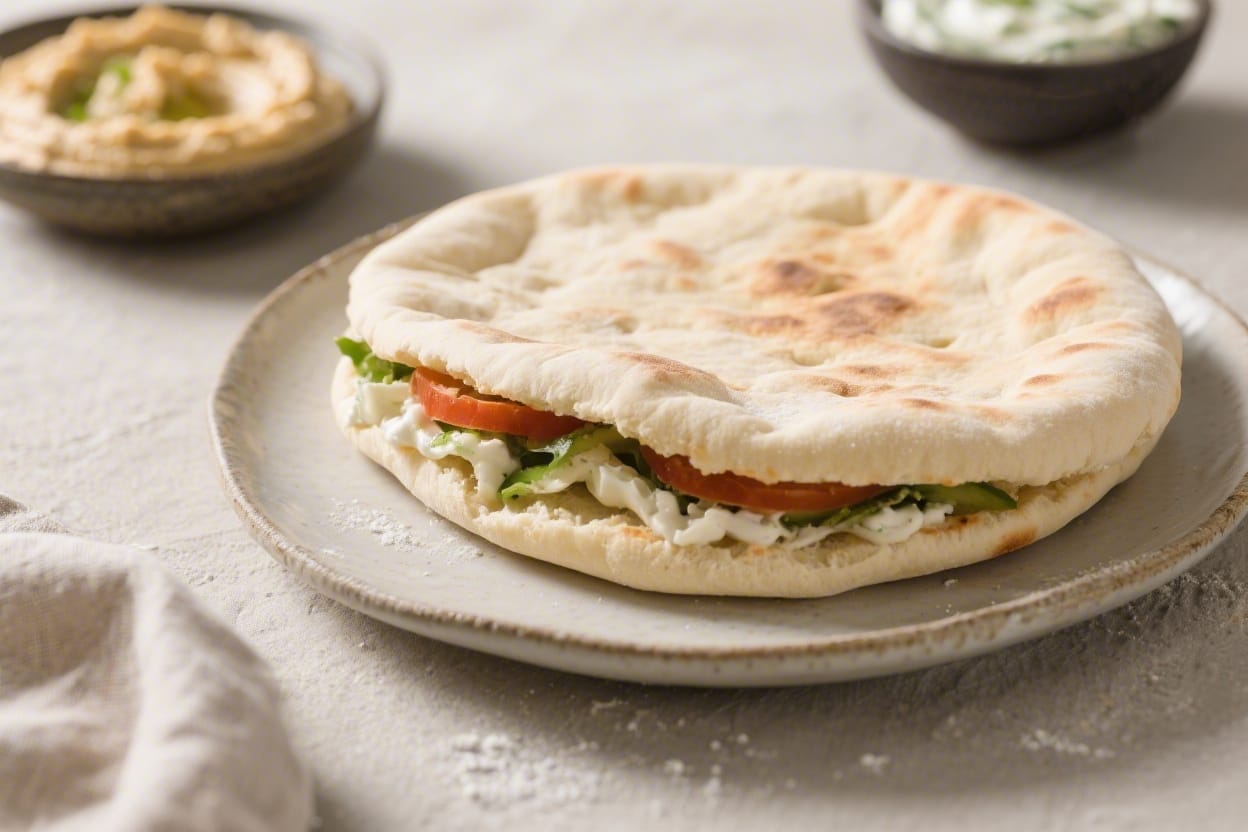
- Serve warm. Enjoy right away with dips, stuffed with fillings, or as a wrap. They’re best warm but stay soft if kept covered.
Keeping It Fresh
Store cooled pita in an airtight bag at room temperature for up to 3 days. For longer storage, freeze in a zip-top bag with parchment between pieces for up to 3 months. Reheat from room temp by wrapping in foil and warming in a 350°F (175°C) oven for 5–8 minutes, or give it 10–15 seconds in the microwave under a damp paper towel. Avoid leaving pitas uncovered—they dry out quickly.
Benefits of This Recipe
- Soft and Puffy: The combo of olive oil, gentle kneading, and high heat creates tender, pocketed pitas.
- Flexible Methods: Works in the oven or on the stovetop, so you can make it anywhere.
- Budget-Friendly: Simple pantry ingredients turn into a bakery-style bread.
- Customizable: Easily add whole wheat, herbs, or spices without fuss.
- Meal-Prep Friendly: Freeze well and reheat with great texture.
Pitfalls to Watch Out For
- Uneven Rolling: If some spots are thick and others thin, pitas may not puff. Aim for even, thin rounds.
- Low Heat: Without a hot surface, you won’t get steam to form the pocket. Preheat thoroughly.
- Dough Too Dry: Dry dough cracks and resists puffing. Keep it soft and slightly tacky.
- Skipping the Rest: If you don’t let dough balls rest, rolling is tough and gluten fights back.
- Overbaking: Too long in the oven leads to crispy pitas. Pull them when puffed and lightly golden.
Recipe Variations
- Whole Wheat Pita: Use 50% whole wheat flour. Add 1–2 tablespoons extra water to keep dough soft.
- Garlic-Herb: Mix 1–2 teaspoons dried oregano, za’atar, or Italian herbs into the flour. Rub warm pitas with a cut clove of garlic and a drizzle of olive oil.
- Yogurt-Enriched: Add 2–3 tablespoons plain yogurt for extra tenderness and a slight tang. Reduce water slightly.
- Sesame or Nigella Topped: Brush rolled rounds lightly with water and sprinkle seeds before baking.
- Mini Pitas: Divide dough into 12–14 pieces and roll smaller rounds for sliders, party platters, or kid-friendly pockets.
FAQ
Why didn’t my pita puff?
The most common reasons are not enough heat, uneven thickness, or dough that’s too dry. Make sure your oven or skillet is fully preheated, roll evenly to about 1/8 inch thick, and keep the dough soft. Also, don’t overload the oven—bake just a few at a time.
Can I make the dough ahead?
Yes. After the first rise, cover and refrigerate the dough for up to 24 hours. Let it come to room temperature for 30–45 minutes, then divide, rest, roll, and cook as directed. The cold rest can even improve flavor.
Is bread flour better than all-purpose?
Bread flour can give a slightly chewier texture due to higher protein, which some people love. All-purpose flour makes a soft, tender pita that’s perfect for pockets. Use whichever you prefer, but add a touch more water with bread flour if the dough feels stiff.
How do I get that smoky flavor without a grill?
Cook pitas in a very hot cast-iron skillet and let a few char spots develop. A quick kiss of high heat adds a subtle smoky note without drying them out. Don’t overdo it or they’ll crisp.
What fillings work best?
Try grilled chicken, falafel, roasted veggies, shawarma, gyro meat, or spiced chickpeas. Add crunchy cucumbers, tomatoes, lettuce, and creamy sauces like tzatziki, tahini, or garlic sauce. Warm pita plus cool, saucy fillings is a great combo.
Can I make them gluten-free?
Gluten-free pitas won’t puff the same way, but you can use a reliable gluten-free flatbread mix and cook as directed. Add a little oil and yogurt for tenderness. Expect a wrap-style bread without a full pocket.
Do I need a pizza stone?
No. A heavy, preheated baking sheet works well. A cast-iron griddle or skillet also does the job. The key is retaining high heat to create steam quickly.
How thick should I roll the dough?
About 1/8 inch (3 mm) thick. Thicker pitas may not puff fully, and thinner ones can over-crisp. Keep edges and centers the same thickness.
Can I brush them with butter?
Absolutely. For extra richness, brush warm pitas with melted butter or olive oil and a pinch of salt. Add minced garlic or herbs if you like.
Why are my pitas dry after cooling?
They likely overbaked or cooled exposed. Pull them as soon as they puff and turn lightly golden, then stack and wrap in a clean towel. The trapped steam keeps them soft.
Wrapping Up
This soft homemade pita bread recipe gives you warm, pliable breads with that satisfying pocket and a tender chew. With a short ingredient list and a focus on heat and timing, it’s an easy win for weeknights and weekends alike. Keep a batch on hand for quick lunches, dips, and wraps. Once you taste them fresh, you’ll see why homemade is worth the small effort.
Printable Recipe Card
Want just the essential recipe details without scrolling through the article? Get our printable recipe card with just the ingredients and instructions.