Soft Homemade Dinner Rolls Recipe – Easy, Fluffy, and Foolproof
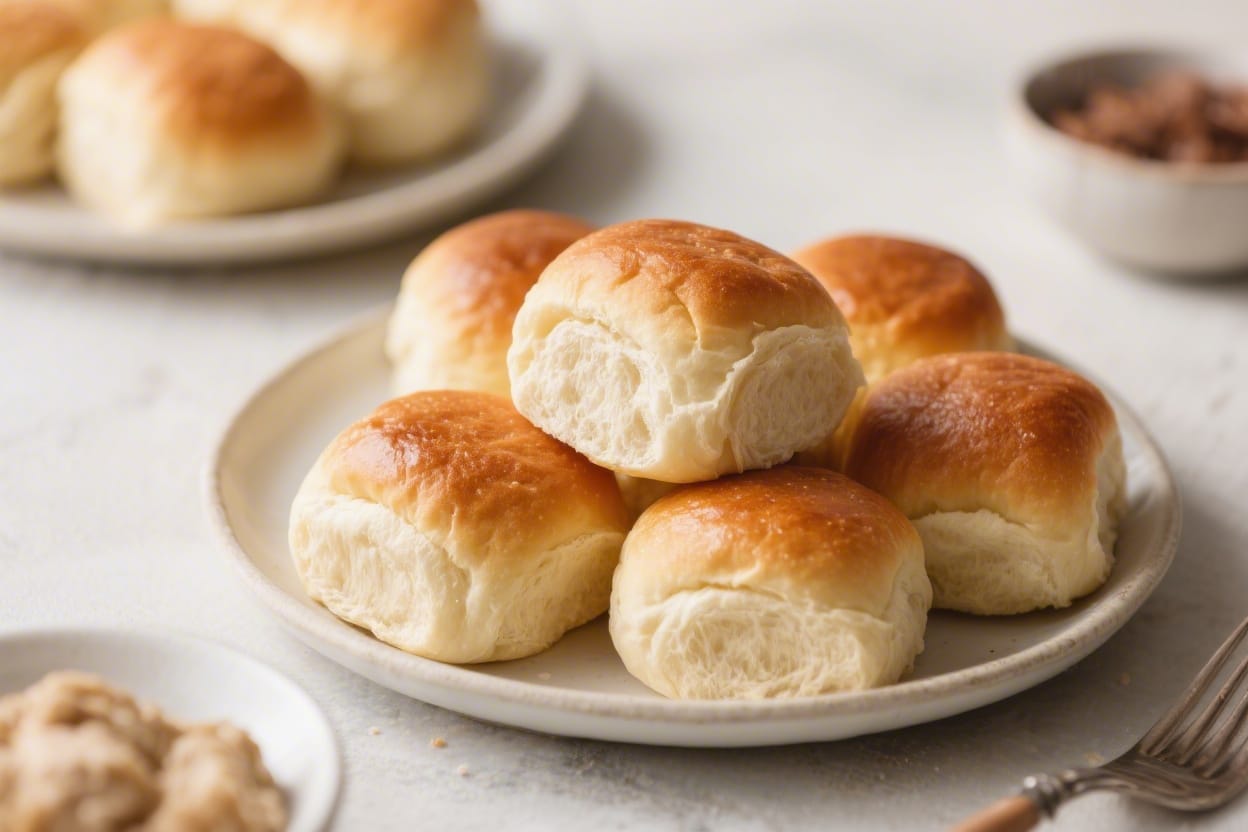
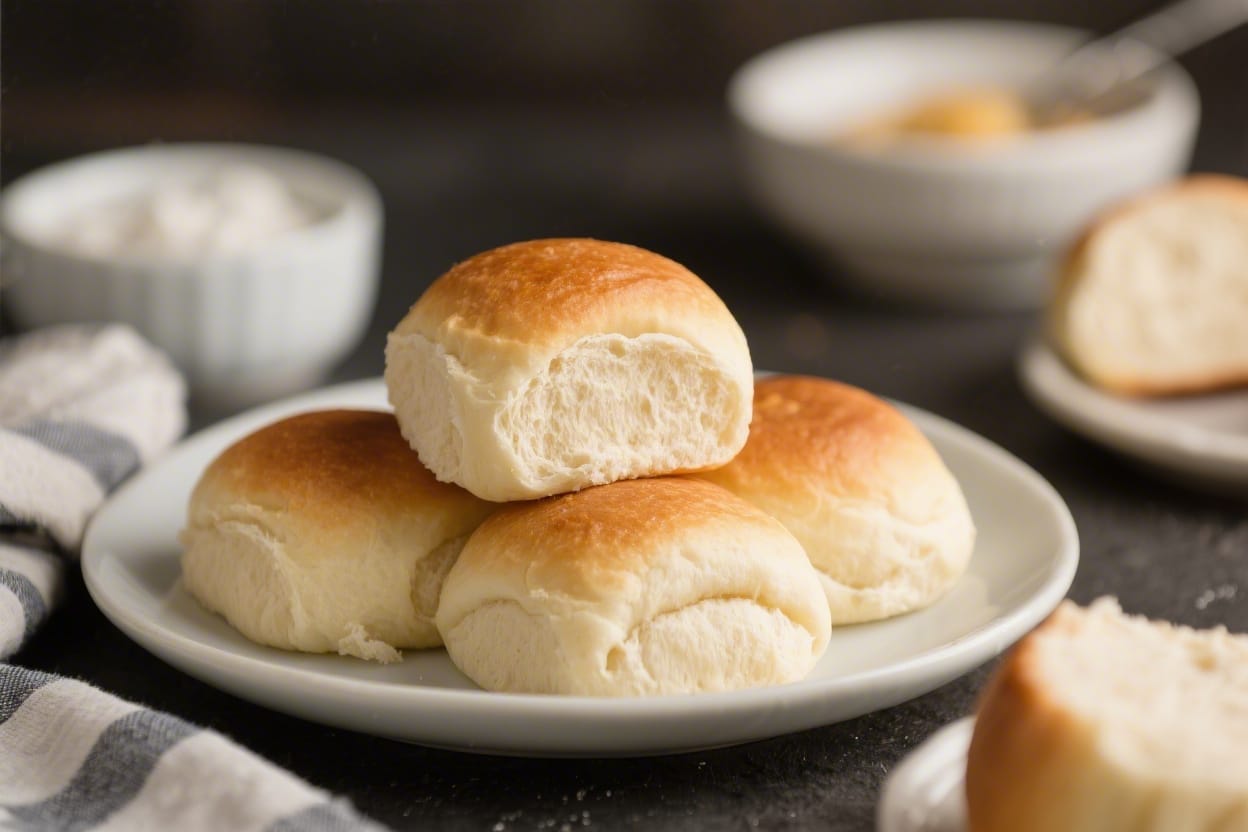
Warm, pillowy dinner rolls can make any meal feel special. These soft homemade dinner rolls are simple to make, incredibly fluffy, and perfect for weeknights or holidays. You don’t need fancy tools or expert skills—just a little time and a few pantry staples. The dough is forgiving, the steps are straightforward, and the results are bakery-level. Once you taste them fresh from the oven, you’ll wonder why you ever bought store-bought rolls.
Why This Recipe Works
Soft homemade dinner rolls recipe – Soft Homemade Dinner Rolls Recipe – Easy, Fluffy, and Foolproof Warm, pillowy dinner rolls can make
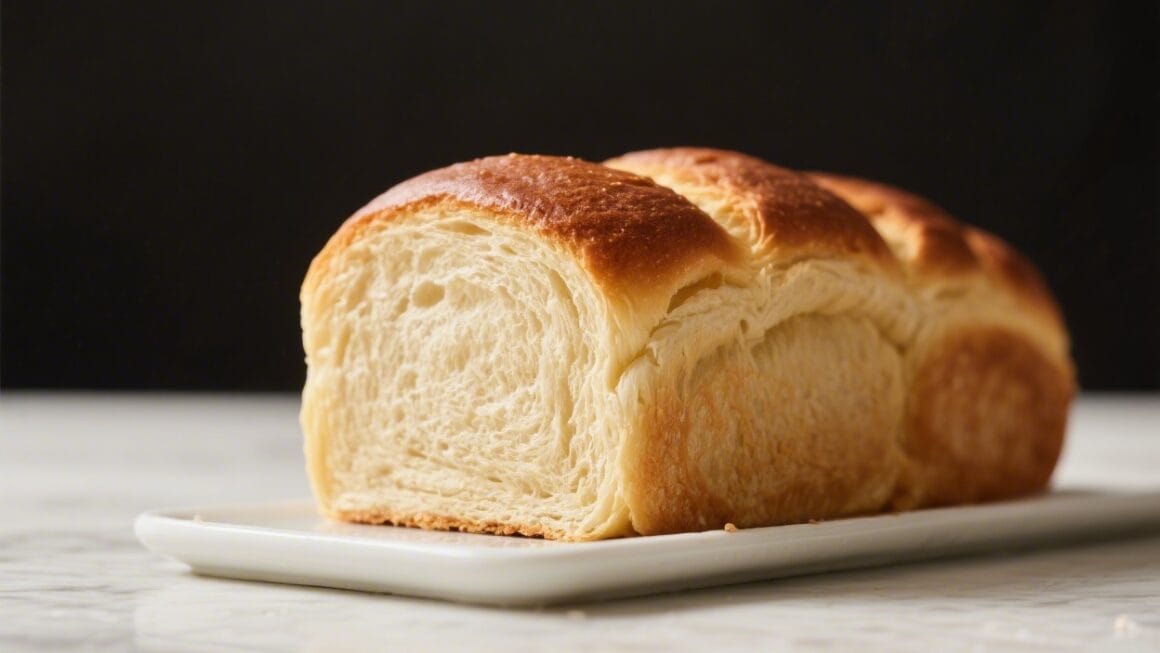
This recipe focuses on a rich, slightly sweet dough that bakes up soft and tender. Milk, butter, and a touch of sugar create a moist crumb and that classic dinner roll flavor. Two quick rises develop structure without requiring an all-day project. And shaping small balls of dough helps each roll steam a bit as it bakes, which keeps the interior extra fluffy. A final brush of melted butter adds a golden sheen and soft crust you can tear into with ease.
Ingredients
Soft homemade dinner rolls recipe – These soft homemade dinner rolls are simple to make, incredibly fluffy, and perfect for weeknights o
- 1 cup (240 ml) warm milk (about 105–110°F/40–43°C)
- 2 1/4 teaspoons (1 packet) active dry yeast or instant yeast
- 3 tablespoons granulated sugar
- 3 tablespoons unsalted butter, melted (plus more for brushing)
- 1 large egg, room temperature
- 3 to 3 1/2 cups (360–420 g) all-purpose flour (start with 3 cups, add more as needed)
- 1 teaspoon fine salt
- Optional: flaky sea salt for finishing
Instructions
Soft homemade dinner rolls recipe – You don’t need fancy tools or expert skills—just a little time and a few pantry staples
- Proof the yeast. In a large bowl, whisk warm milk and sugar. Sprinkle yeast over the top and let it sit for 5–10 minutes until foamy. If using instant yeast, you can skip the proofing and mix it directly with the flour, but warming the milk still helps.
- Mix the wet ingredients. Stir in the melted butter and egg until combined. The mixture may look slightly separated—that’s fine.
- Add the dry ingredients. Add 3 cups of flour and the salt. Stir with a wooden spoon or use a stand mixer with the dough hook on low speed until a shaggy dough forms.
- Knead the dough. Knead by hand on a lightly floured surface for 8–10 minutes, or in a mixer for 5–6 minutes on medium-low. Add small sprinkles of flour only if the dough is sticking badly. You’re aiming for a soft, slightly tacky dough that springs back when pressed.
- First rise. Form the dough into a ball and place it in a lightly greased bowl. Cover with a clean towel or plastic wrap and let rise in a warm, draft-free spot until doubled in size, about 60–90 minutes.
- Prepare the pan. Grease a 9×13-inch baking pan or line it with parchment. For slightly larger rolls, use a 10×10-inch or 11×7-inch pan and space them closer together.
- Shape the rolls. Punch down the dough to release air. Turn it out and divide into 12–15 equal pieces. For even pieces, weigh the dough and divide by your target number. Shape each piece into a tight ball by tucking the edges underneath and rolling under your palm.
- Second rise. Arrange the dough balls in the prepared pan, spaced evenly. Cover and let rise until puffy and nearly doubled, about 30–45 minutes. They should look light and jiggly when you shake the pan gently.
- Preheat and bake. Heat the oven to 375°F (190°C). Bake for 15–20 minutes, until the tops are golden brown and the center rolls reach 195°F (90°C) on an instant-read thermometer.
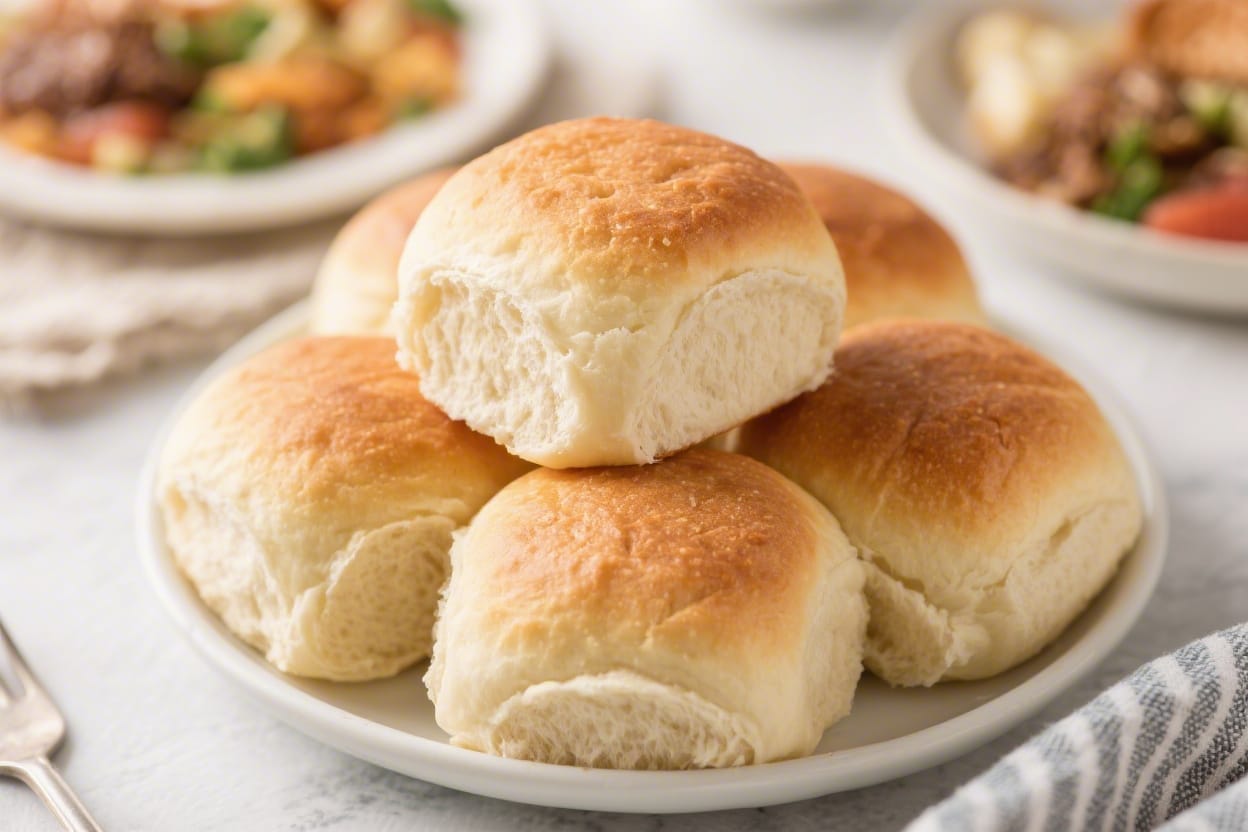
- Finish with butter. Immediately brush the hot rolls with melted butter. Sprinkle with a pinch of flaky sea salt if you like. Let cool in the pan for 10 minutes before serving warm.
Storage Instructions
- Room temperature: Store cooled rolls in an airtight bag or container for up to 2 days. Rewarm for best texture.
- Freezer: Freeze baked, cooled rolls in a freezer bag for up to 2 months. Thaw at room temperature, then warm in a 300°F (150°C) oven for 8–10 minutes.
- Make-ahead (overnight rise): After shaping, cover the pan and refrigerate up to 16 hours. Bring to room temp and let them puff for 30–60 minutes before baking.
- Par-bake option: Bake for 12 minutes (just set, not browned), cool, wrap, and freeze. Finish baking from frozen at 350°F (175°C) for 10–12 minutes, then butter.
Why This is Good for You
Homemade rolls let you control ingredients and avoid additives. Real butter and milk add flavor and satisfaction, which can help with mindful portions. A small, warm roll rounds out a balanced meal, especially alongside lean protein and veggies. Plus, baking at home brings a sense of comfort and connection—food that feels nourishing in more ways than one.
Pitfalls to Watch Out For
- Milk too hot or too cold: If milk is hotter than 115°F (46°C), it can kill yeast. Too cold, and the dough rises slowly. Aim for warm to the touch.
- Too much flour: Dense rolls usually come from adding too much flour. Keep the dough slightly tacky. Flour your hands instead of dumping extra flour into the dough.
- Under-kneading: The dough should feel elastic and smooth. If it tears easily and doesn’t spring back, knead a bit longer.
- Skipping the second rise: This rise is key for a light texture. Don’t rush it—wait until the rolls look puffy.
- Overbaking: Dry rolls happen fast. Check at 15 minutes and use a thermometer if you have one.
Alternatives
- Whole wheat swap: Replace up to 50% of the all-purpose flour with white whole wheat flour. Add 1–2 tablespoons extra milk if the dough feels stiff.
- Dairy-free: Use warm unsweetened oat or almond milk and swap butter for a neutral oil or vegan butter. Brush with olive oil after baking.
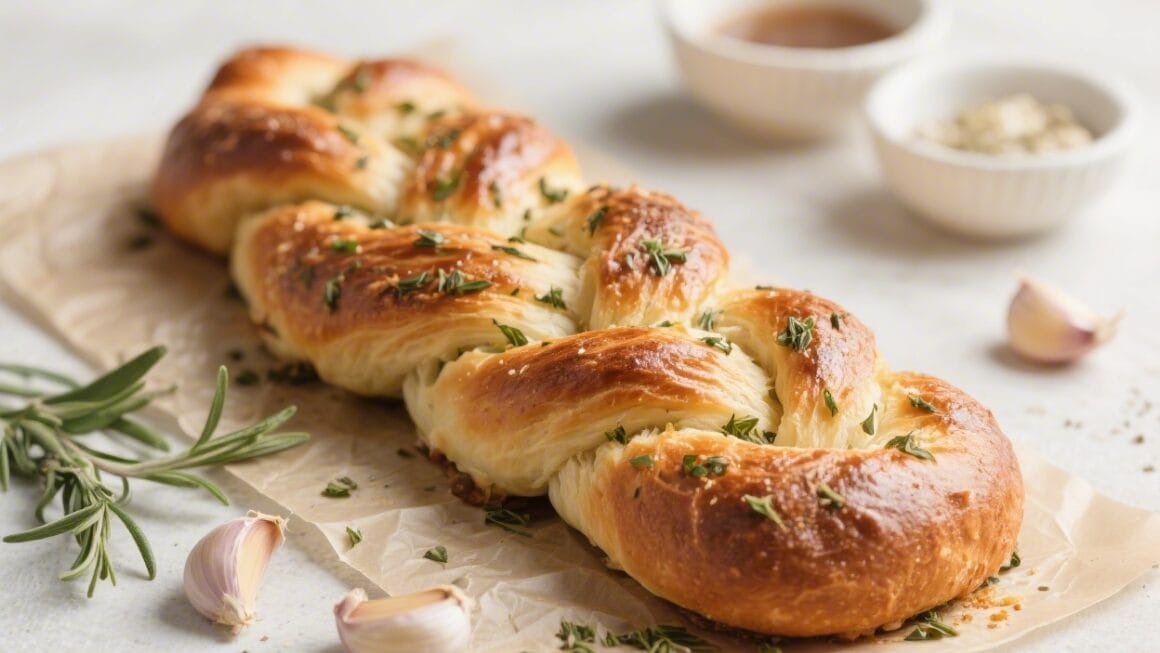
- Garlic-herb rolls: Add 1 teaspoon garlic powder and 1–2 teaspoons dried herbs to the flour. Brush the tops with garlic butter and parsley.
- Honey butter flavor: Replace sugar with 2 tablespoons honey. Finish with a honey-butter glaze (2 tablespoons melted butter + 1 tablespoon honey).
- Pull-apart cloverleaf: Divide each portion into three mini balls and place in muffin tins—fun texture and easy portions.
FAQ
Can I use instant yeast instead of active dry yeast?
Yes. Use the same amount. You can mix instant yeast directly with the flour, then add warm milk and other wet ingredients. Rise times may be slightly shorter, so keep an eye on the dough.
How do I know when I’ve kneaded enough?
The dough will feel smooth and elastic, and it will bounce back when pressed with a fingertip. You can also try a windowpane test: stretch a small piece of dough thin; if it stretches without tearing and lets light through, you’re good.
Why are my rolls dense?
Most often, too much flour or not enough rising time is the culprit. Keep the dough soft and slightly tacky, and let it double on the first rise. Also check that your yeast is fresh and active.
Can I make these gluten-free?
Gluten-free yeast doughs need specialty blends and different hydration. Use a reliable 1:1 gluten-free flour made for yeast breads and follow a recipe designed for it. Texture will differ but can still be soft and tasty.
What pan size works best?
A 9×13-inch pan fits 12–15 rolls nicely. For taller rolls, crowd them a bit; for more defined sides, space them out in two 8- or 9-inch round pans.
How can I speed up the rise?
Place the covered bowl in a slightly warm oven (off) with just the light on, or near a sunny window. Do not overheat—too much warmth can affect texture and flavor.
Can I add cheese?
Yes. Fold in 1/2 to 3/4 cup finely shredded cheese during the last minute of kneading. Cheddar, parmesan, or gruyère work well. Reduce added salt slightly if your cheese is salty.
How do I keep the crust soft?
Brush with melted butter right out of the oven and cover loosely with a towel for a few minutes while they cool. The steam helps keep the tops tender.
In Conclusion
These soft homemade dinner rolls are simple, reliable, and universally loved. With a few basic ingredients and an hour or two of easy hands-on time, you can bake a pan of fluffy, buttery rolls that elevate any meal. Follow the tips, don’t rush the rises, and enjoy that first warm tear—it’s the best part. Once you’ve made them, they’ll become your go-to for holidays, soups, and everything in between.
Printable Recipe Card
Want just the essential recipe details without scrolling through the article? Get our printable recipe card with just the ingredients and instructions.