Savory Pan Bread – Easy, Flavorful Bread You Make on the Stove
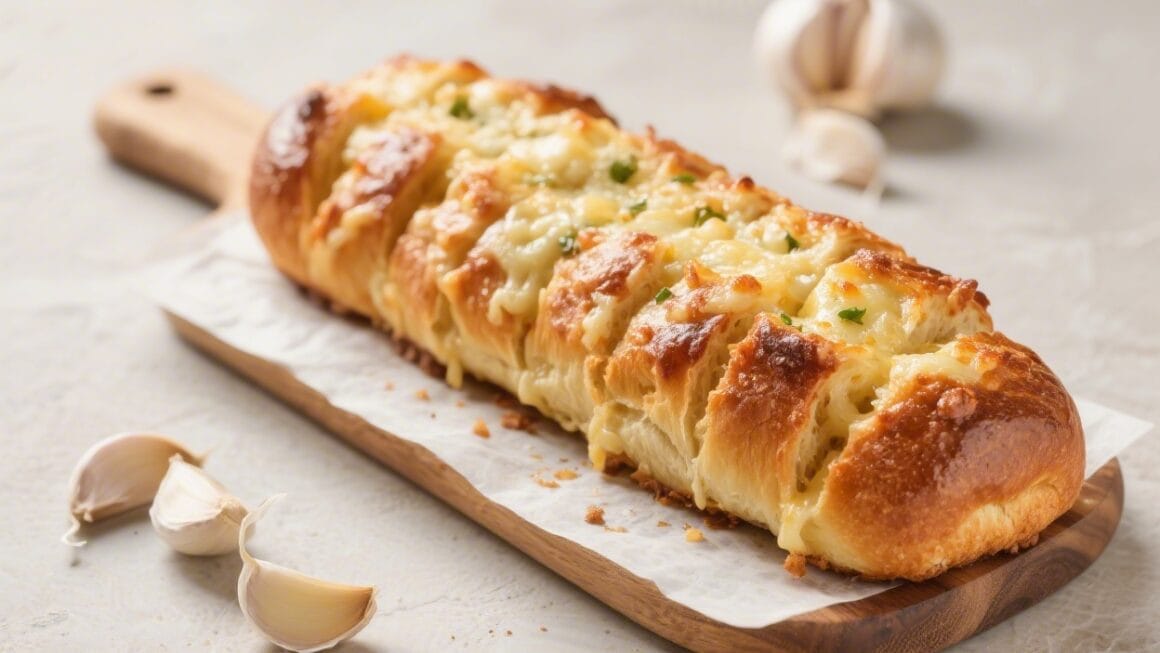
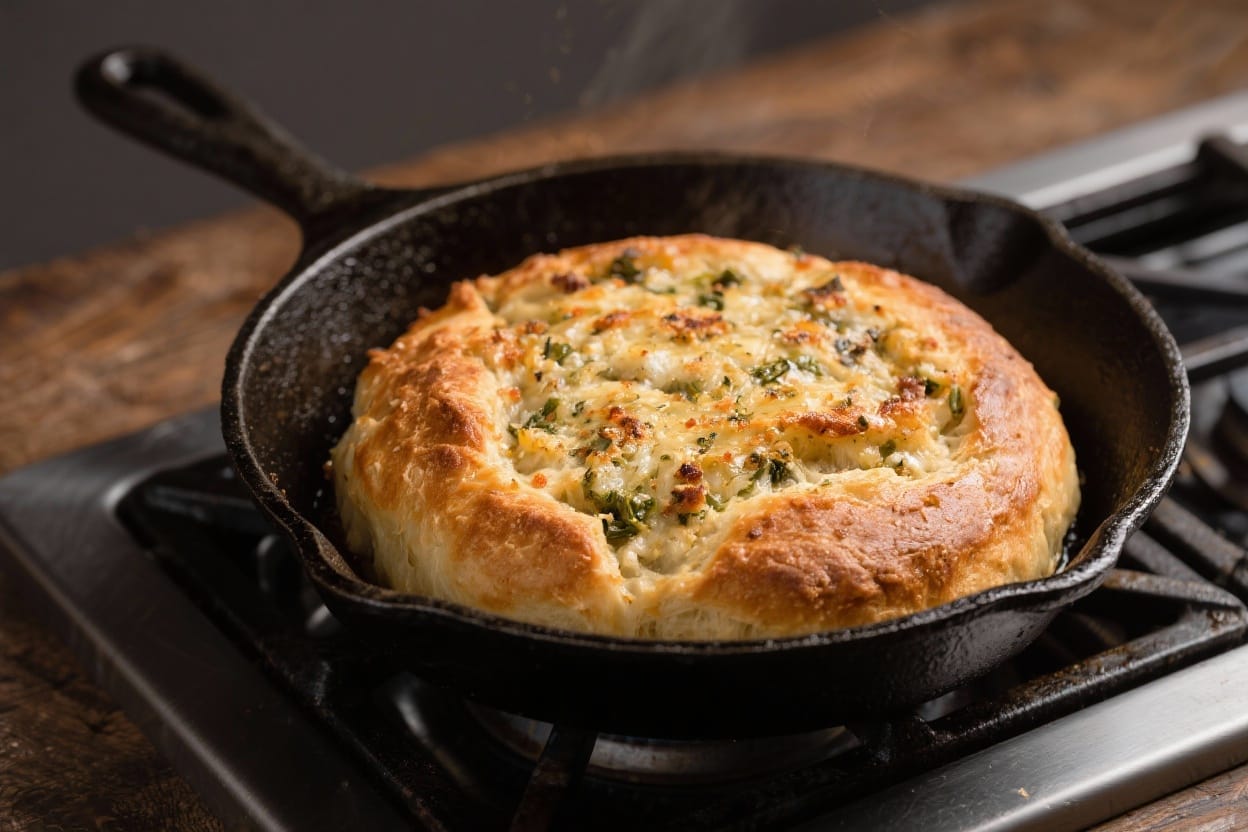
Warm, crisp on the outside, tender in the middle, and bursting with herby goodness—this savory pan bread is the kind of recipe you’ll want to make on repeat. It cooks right on the stovetop, so there’s no waiting around for the oven to preheat. It’s quick, flexible, and forgiving, which makes it perfect for weeknights, brunches, or last-minute guests. Use it as a side for soup, as a snack with dip, or slice it for sandwiches. If you love bread but don’t want a fuss, this is your new go-to.
What Makes This Recipe So Good
Savory pan bread – Savory Pan Bread – Easy, Flavorful Bread You Make on the Stove Warm, crisp on the outside, tender in
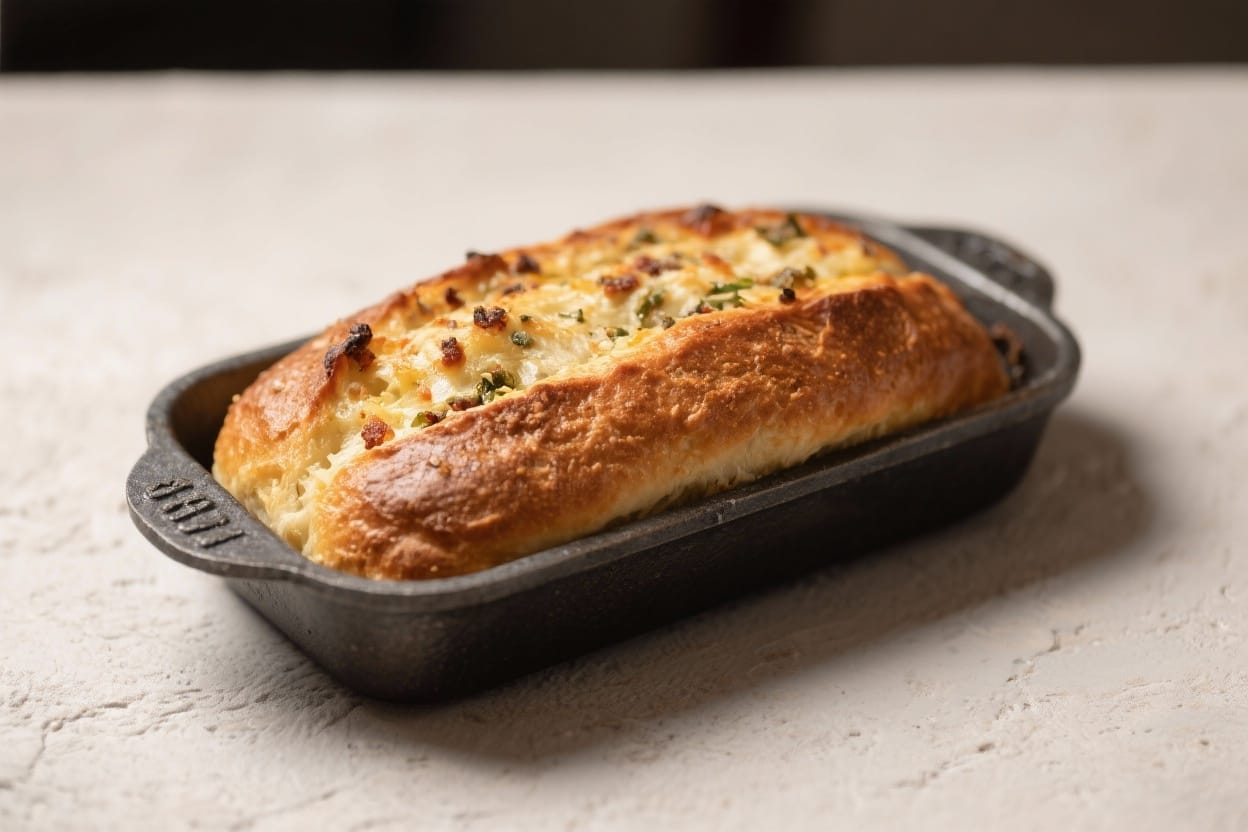
- No oven needed: Everything happens in a skillet on the stovetop, giving the bread a golden, crisp crust and soft interior.
- Ready in under an hour: No long rise times or special equipment. Just mix, rest, and cook.
- Flexible flavor: Add herbs, garlic, cheese, scallions, olives, or spices. Make it your own.
- Beginner-friendly: The dough is soft and easy to handle. Even if you’ve never baked bread before, you can nail this.
- Great with anything: Serve with eggs, soup, salad, roasted veggies, or use it as a base for flatbread pizzas.
Ingredients
Savory pan bread – It cooks right on the stovetop, so there’s no waiting around for the oven to preheat
- 2 cups (250 g) all-purpose flour (or a mix of all-purpose and whole wheat)
- 2 teaspoons baking powder
- 1/2 teaspoon baking soda
- 1 teaspoon fine sea salt
- 1 teaspoon sugar or honey (optional, helps browning)
- 1 cup (240 ml) plain yogurt or buttermilk (plus 1–2 tablespoons if needed)
- 2 tablespoons olive oil (plus more for the pan)
- 2–3 tablespoons chopped fresh herbs (such as parsley, chives, dill, or cilantro)
- 1–2 cloves garlic, minced (optional but highly recommended)
- Freshly ground black pepper, to taste
- Optional add-ins: 1/3 cup grated cheese (Parmesan, cheddar, or feta), chopped scallions, sliced olives, or crushed red pepper flakes
Instructions
Savory pan bread – It’s quick, flexible, and forgiving, which makes it perfect for weeknights, brunches, or last-minute
- Mix the dry ingredients: In a large bowl, whisk the flour, baking powder, baking soda, salt, and sugar.
- Add the flavor: Stir in the chopped herbs, garlic, black pepper, and any optional add-ins like cheese or olives.
- Bring it together: Add the yogurt (or buttermilk) and olive oil. Use a spoon to mix until a soft dough forms. If it looks dry or shaggy, add 1–2 tablespoons more yogurt or a splash of water.
- Brief rest: Let the dough sit for 10 minutes. This helps it relax and makes it easier to handle.
- Shape the bread: Lightly flour your hands and surface. Turn out the dough and gently knead 4–5 times—just enough to smooth it. Pat into a round about 3/4 inch thick and 7–8 inches across.
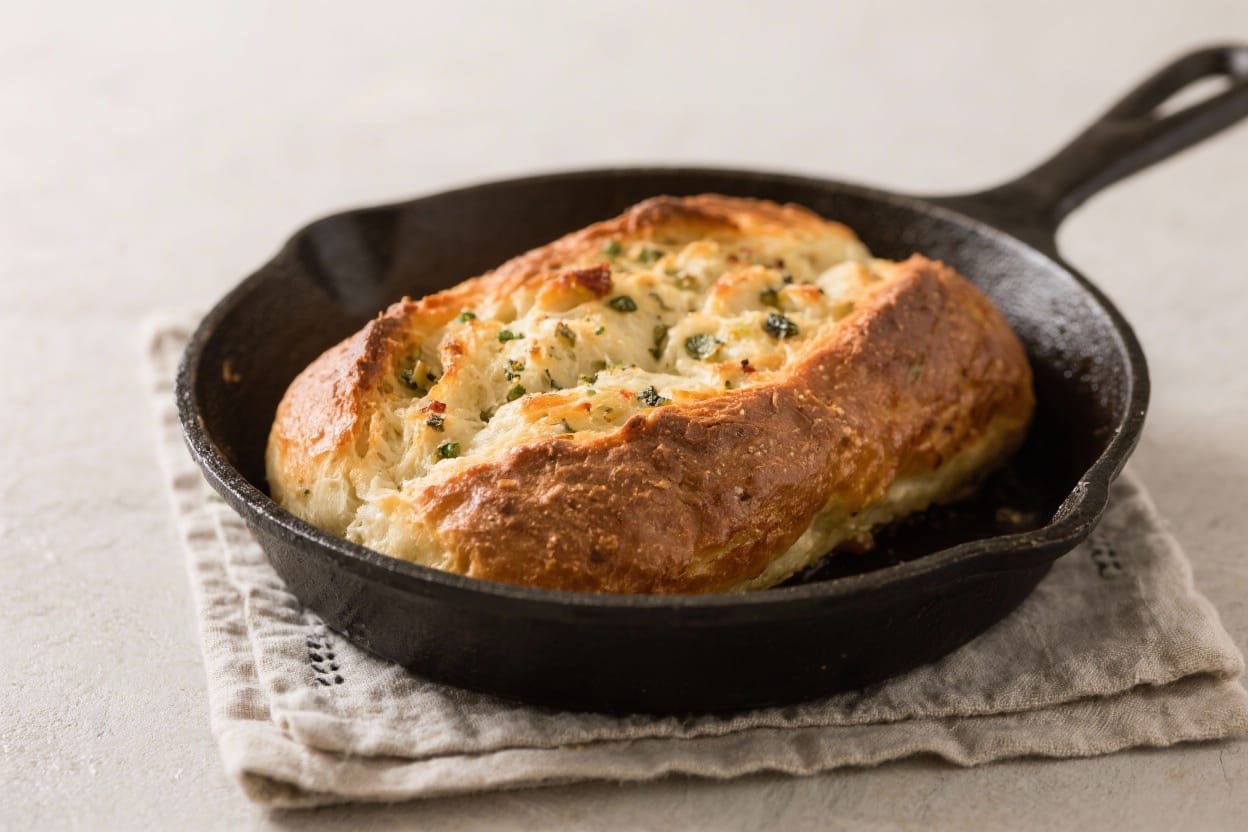
- Heat the pan: Place a heavy skillet (cast iron is ideal) over medium heat. Add 1–2 teaspoons olive oil and swirl to coat. When a drop of water sizzles on contact, it’s ready.
- Cook side one: Lay the dough round in the pan. Cook uncovered for 6–8 minutes, until the bottom is deep golden and the edges look set. Adjust the heat as needed so it browns but doesn’t scorch.
- Flip and finish: Carefully flip with a wide spatula. Cook another 5–7 minutes, until the second side is golden and the center feels springy. If browning too fast, lower the heat and add a minute or two.
- Optional extra crust: For a slightly crisper exterior, brush the top with a little olive oil and flip once more for 30–60 seconds per side.
- Rest and slice: Transfer to a rack and let it cool for 5 minutes. Slice into wedges and serve warm.
Keeping It Fresh
- Short term: Wrap the cooled bread in a clean towel or place in an airtight container at room temperature for up to 24 hours. Rewarm in a dry skillet over low heat to bring back the crisp edges.
- Freezing: Slice, wrap tightly, and freeze for up to 2 months. Reheat slices in a toaster oven or skillet—no need to thaw fully.
- Avoid the fridge: Refrigeration tends to dry out quick breads. Room temp or freezer is best.
Benefits of This Recipe
- Fast and practical: No yeast, no kneading marathon, no oven. Great for small kitchens or hot days.
- Budget-friendly: Uses pantry basics and a handful of herbs. Flexible with what you have on hand.
- Versatile: Works as a side, snack, sandwich base, or simple appetizer with dips.
- Customizable texture: Cook a little longer for a crisper crust; keep it shorter for softer bread.
- Beginner-proof: The dough is forgiving, and a slightly imperfect shape still tastes amazing.
What Not to Do
- Don’t overmix or overknead: This can make the bread tough. Mix until just combined and knead briefly for smoothness.
- Don’t rush the pan heat: A medium, steady heat prevents burning and ensures the center cooks through.
- Don’t skip the rest: That quick 10-minute rest makes shaping easier and improves texture.
- Don’t load in wet add-ins without adjusting: If you add juicy ingredients (like sun-dried tomatoes packed in oil), reduce the liquid slightly or add a spoonful of flour.
- Don’t cut it immediately: Letting it rest for a few minutes keeps the crumb tender and prevents gumminess.
Recipe Variations
- Cheddar–Chive: Add 1/3 cup shredded sharp cheddar and 2 tablespoons chopped chives. Finish with a light sprinkle of flaky salt.
- Garlic–Herb: Use 2 minced cloves garlic, 1 tablespoon parsley, and 1 tablespoon dill. Brush with garlic oil at the end.
- Olive–Feta: Add 1/4 cup chopped olives and 1/4 cup crumbled feta. A pinch of oregano ties it together.
- Spicy Za’atar: Mix 1 tablespoon za’atar into the flour and finish with a drizzle of olive oil and extra za’atar on top.
- Whole Wheat: Swap half the flour for whole wheat. You may need 1–2 tablespoons extra yogurt for moisture.
- Dairy-Free: Use unsweetened, plain dairy-free yogurt or make a quick buttermilk with 1 cup plant milk plus 1 tablespoon lemon juice. Let it sit 5 minutes before using.
- Seeded Crust: Press sesame or nigella seeds into the surface before cooking for extra crunch.
FAQ
Can I use self-rising flour?
Yes. If you use self-rising flour, skip the baking powder, baking soda, and salt. Taste and adjust salt at the end if needed.
What if I don’t have yogurt or buttermilk?
You can make a quick substitute by mixing 1 cup milk with 1 tablespoon lemon juice or vinegar. Let it sit for 5 minutes to thicken slightly. The texture will be a touch lighter but still great.
How do I know it’s cooked through?
Press the center; it should feel springy, not squishy. You can also insert a thin knife—it should come out clean. If the crust is browning too fast but the center needs time, lower the heat and cook a bit longer.
Can I double the recipe?
Absolutely. Cook in two batches, or form two smaller rounds to fit your pan. Keep the thickness similar so the timing stays consistent.
Which pan works best?
A heavy skillet like cast iron gives the best crust and even heat. A nonstick skillet will work too; just keep the heat moderate and use a little oil.
How can I make it more airy?
Use all-purpose flour (not too much whole wheat), avoid overmixing, and keep the dough on the slightly sticky side. A brief rest helps, and so does a gentle hand when shaping.
Is this the same as naan or soda bread?
It’s similar in spirit but not identical. Like soda bread, it uses baking soda and an acidic dairy for lift. Like naan, it cooks in a skillet. The flavor and texture land somewhere in between—savory, soft, and crisp-edged.
In Conclusion
Savory pan bread is simple, fast, and endlessly adaptable. With just a bowl, a skillet, and a few pantry staples, you’ll have warm, flavorful bread on the table in about half an hour. Keep the base recipe handy, then play with herbs, cheeses, and spices to match your meal. It’s the kind of reliable, feel-good recipe that turns any meal into something special.
Printable Recipe Card
Want just the essential recipe details without scrolling through the article? Get our printable recipe card with just the ingredients and instructions.