Rustic Farmhouse Bread Recipe – Simple, Hearty, and Comforting
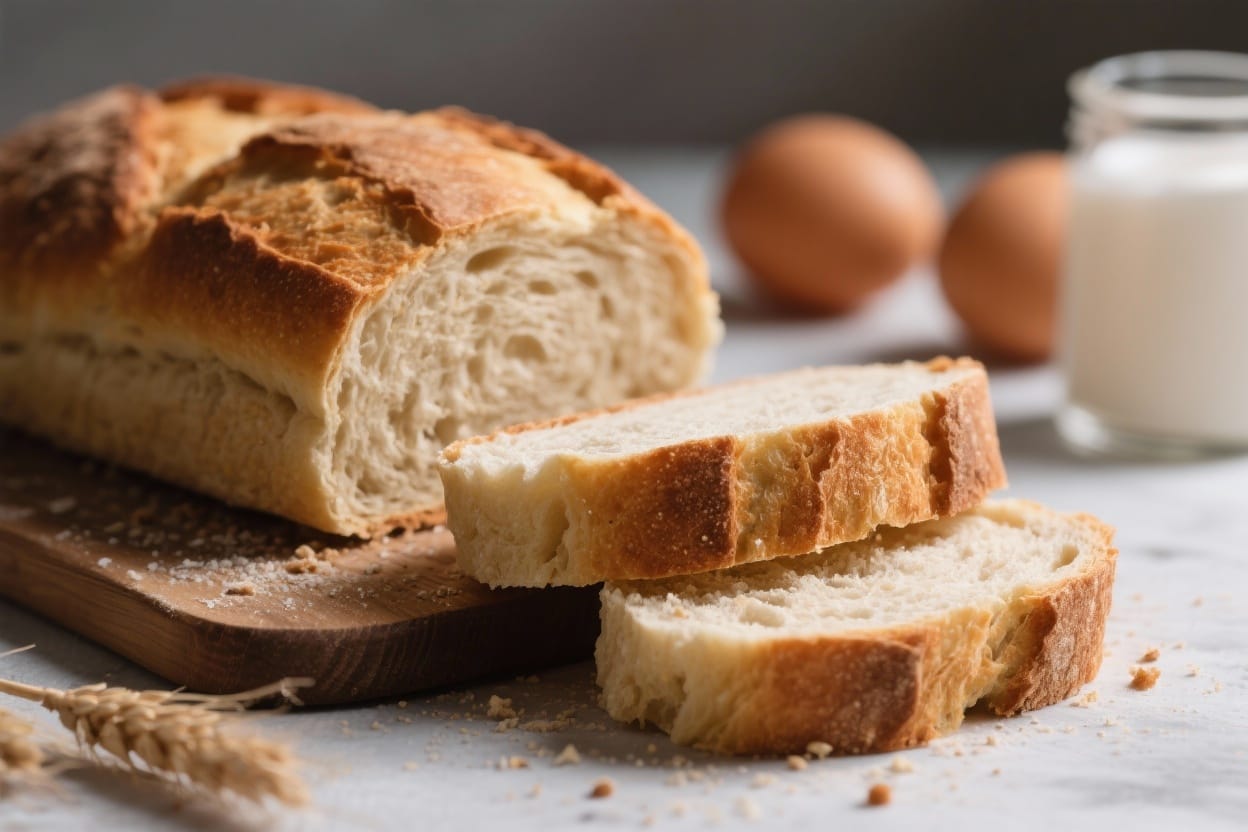
There’s something deeply satisfying about pulling a golden loaf from your own oven. This rustic farmhouse bread is exactly what it sounds like: simple, honest, and full of character. The crust is crackly, the inside is soft and chewy, and the flavor is rich with a hint of tang. You don’t need fancy equipment or rare ingredients—just patience and a little attention. If you’ve been nervous about baking bread, this is a great place to start.
Why This Recipe Works
Rustic farmhouse bread recipe – Rustic Farmhouse Bread Recipe – Simple, Hearty, and Comforting There’s something deeply satisfying a
This bread uses a slow, well-hydrated dough, which builds flavor and creates a lovely open crumb. A long fermentation gives the yeast time to work and develop complexity without adding sugar or extra enrichments. Baking in a preheated Dutch oven traps steam, which helps the loaf rise and forms a crisp, blistered crust. The technique is straightforward and forgiving, so you can get beautiful results even if you’re new to baking.
Ingredients
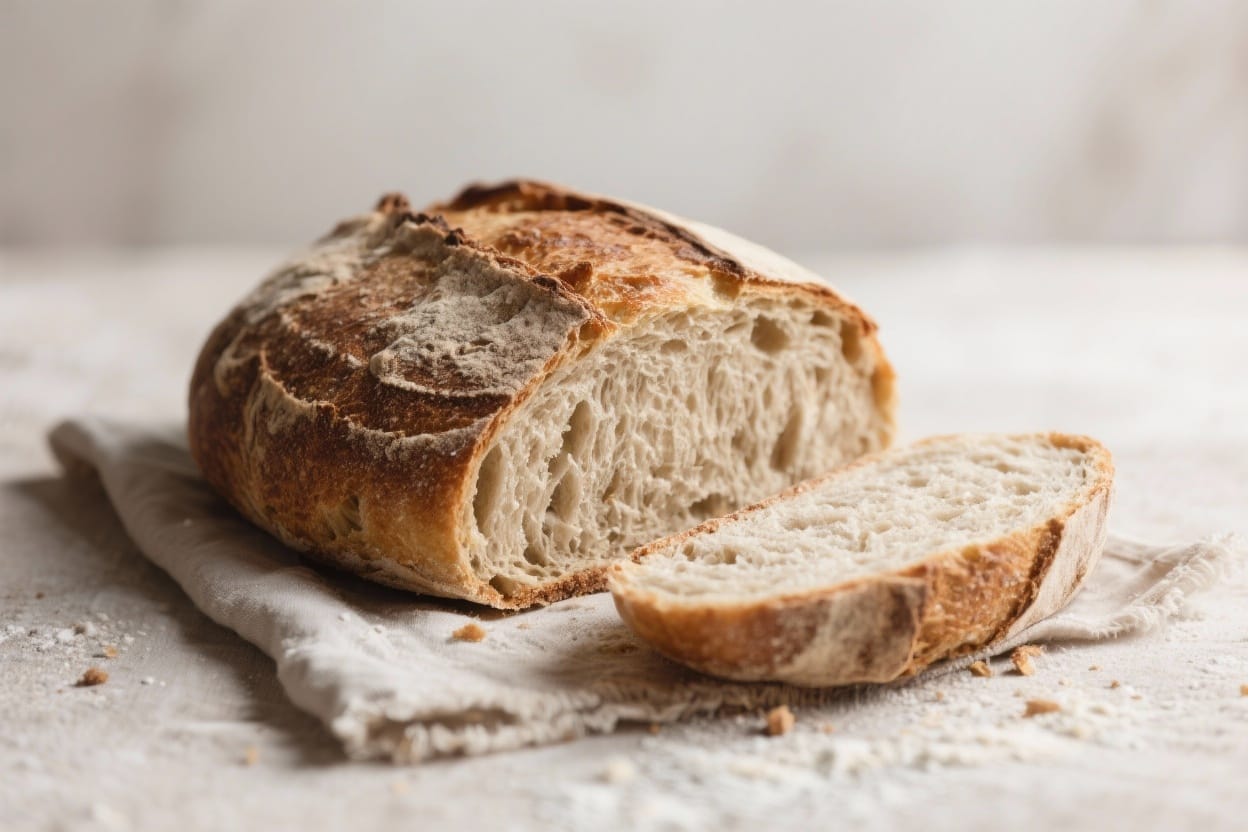
Rustic farmhouse bread recipe – This rustic farmhouse bread is exactly what it sounds like: simple, honest, and full of character
- 3 1/2 cups (440 g) bread flour (or a mix of bread flour and all-purpose)
- 1/2 cup (60 g) whole wheat flour (optional, for flavor and color)
- 1 3/4 cups (420 ml) warm water (about 95–100°F / 35–38°C)
- 2 teaspoons (10 g) fine sea salt
- 1 teaspoon (3 g) instant yeast (or 1 1/4 tsp active dry yeast)
- 1 tablespoon (15 g) olive oil (optional, for a slightly softer crumb)
- Extra flour or coarse cornmeal for dusting
Instructions
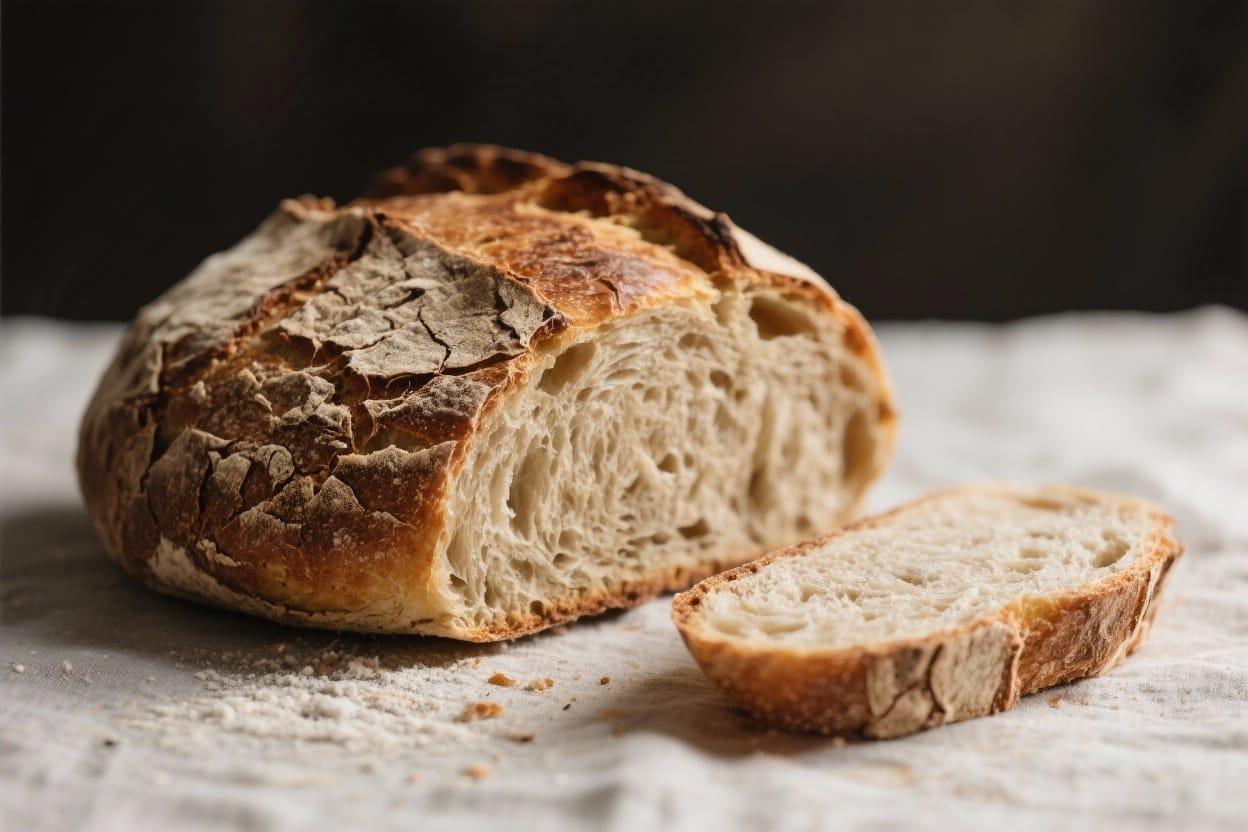
Rustic farmhouse bread recipe – The crust is crackly, the inside is soft and chewy, and the flavor is rich with a hint of tang
- Mix the dough. In a large bowl, whisk the flours, salt, and yeast. Add the warm water and olive oil (if using). Stir with a wooden spoon until no dry patches remain. The dough will be shaggy and sticky—that’s good.
- Rest and hydrate (autolyse). Cover the bowl and let the dough rest for 20–30 minutes. This short pause lets the flour absorb water, making the dough easier to handle and improving texture.
- Develop the gluten. With wet hands, perform 3–4 sets of stretch-and-folds: grab an edge of the dough, stretch it up, and fold it over itself. Turn the bowl and repeat four times. Rest 10 minutes between sets. This replaces heavy kneading and builds structure.
- First rise (bulk ferment). Cover the bowl and let the dough rise at room temperature for 60–90 minutes, until puffy and roughly doubled. If your kitchen is cool, it may take longer.
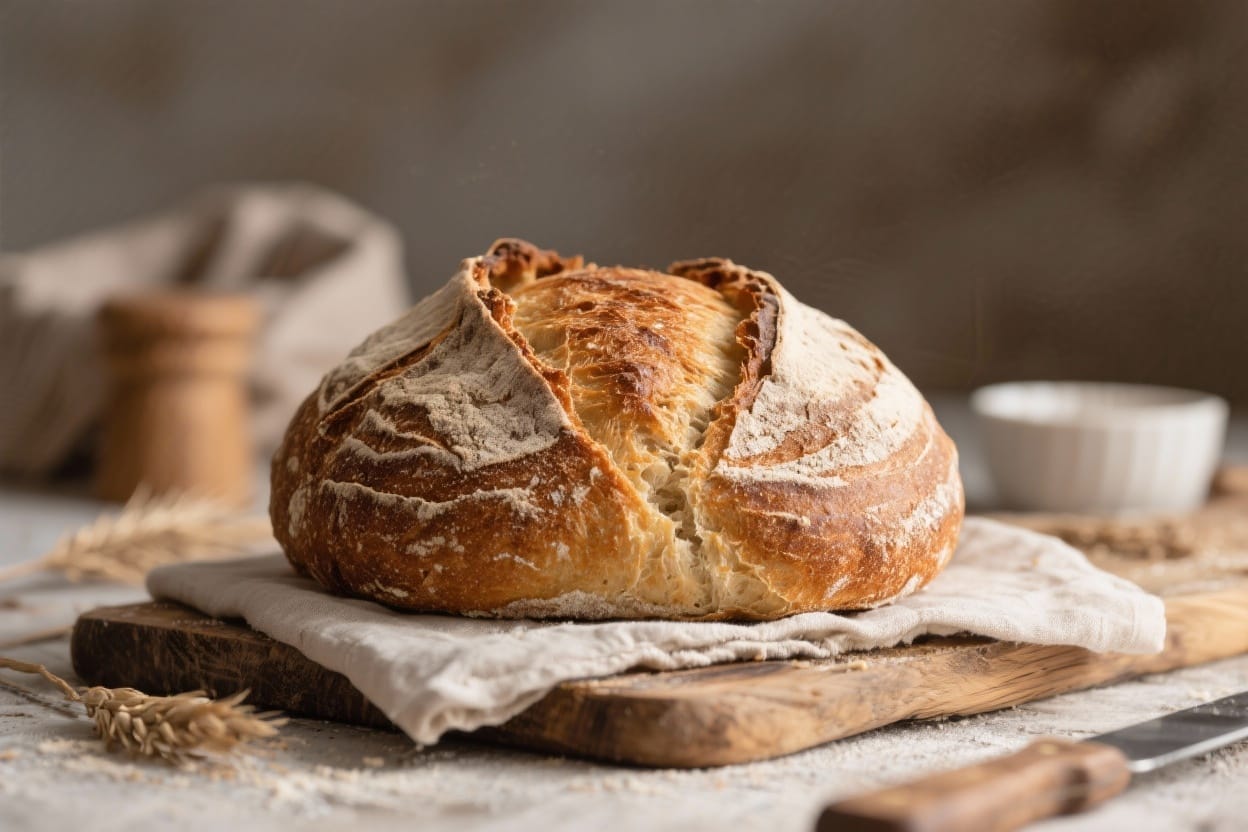
- Shape the loaf. Lightly flour your counter. Gently turn out the dough and shape it into a round (boule) by tucking the edges underneath and creating surface tension on top. Handle it softly to keep the air inside.
- Second rise. Place the shaped dough seam side up in a floured proofing basket or a bowl lined with a floured kitchen towel. Cover and let rise 45–60 minutes, until it looks slightly domed and springs back slowly when poked.
- Preheat the oven and pot. While the dough proofs, place a Dutch oven with its lid inside your oven and preheat to 450°F (232°C) for at least 30 minutes. The hot pot is key to a great crust.
- Score and load. Turn the dough onto a piece of parchment, seam side down. Dust with flour and score the top with a sharp knife or razor—one clean slash about 1/2 inch deep. Carefully lift the parchment and place the dough into the hot Dutch oven.
- Bake covered. Cover with the lid and bake for 25 minutes. The steam inside helps the loaf rise and creates a glossy crust.
- Finish uncovered. Remove the lid and bake another 15–20 minutes, until the crust is deep golden brown and the internal temperature is around 205–210°F (96–99°C).
- Cool completely. Transfer the loaf to a wire rack and let it cool for at least 1 hour. This sets the crumb and prevents gumminess.
Keeping It Fresh
Let the bread cool completely before storing. Keep it at room temperature in a paper bag or wrapped in a clean kitchen towel to maintain the crust. For longer storage, slice and freeze in a zip-top bag; reheat slices in a toaster or a warm oven. Avoid the fridge—it dries bread out and dulls the flavor.
Why This is Good for You
This loaf is made with simple, recognizable ingredients—flour, water, yeast, and salt. The slow fermentation can help make the bread easier to digest and may improve flavor without added sugars. Adding whole wheat flour boosts fiber and minerals. You control the salt, the quality of flour, and avoid preservatives found in many store-bought loaves.
Common Mistakes to Avoid
- Water that’s too hot. If the water is above 110°F (43°C), it can weaken or kill the yeast. Aim for warm, not hot.
- Skipping the rest periods. The dough needs time to hydrate and relax. Rushing leads to a dense crumb.
- Over-flouring the dough. Sticky dough is normal. Adding too much flour makes the bread heavy and dry.
- Underproofing or overproofing. If it barely rises, it’ll be tight and chewy. If it collapses, it was proofed too long. Look for a gentle spring-back when poked.
- Cutting too soon. Slicing hot bread releases steam and turns the crumb gummy. Let it cool to set properly.
Recipe Variations
- Seeded Farmhouse Loaf: Add 3 tablespoons mixed seeds (sunflower, sesame, flax) during the last set of folds. Sprinkle extra seeds on top before baking.
- Herb and Olive Oil: Add 1–2 tablespoons chopped fresh rosemary or thyme and use the olive oil for a fragrant, softer crumb.
- Country Rye: Replace 1 cup (125 g) of bread flour with rye flour. Expect a slightly denser, more flavorful loaf.
- Overnight Rise: Mix the dough in the evening with cool water, cover, and let it rise in the fridge for 12–18 hours. Shape, proof at room temperature, and bake. This deepens flavor and fits a busy schedule.
- No Dutch Oven: Bake on a preheated baking stone or sheet. Add a tray of hot water to the bottom rack for steam, and mist the loaf in the first 5 minutes.
FAQ
Can I use all-purpose flour instead of bread flour?
Yes. The loaf will be slightly less chewy and may spread a bit more, but it will still be delicious. If possible, use a mix—mostly bread flour with some all-purpose—to balance structure and tenderness.
How do I know when the dough is ready to bake?
During the final proof, the dough should look puffy and relaxed. Press it gently with a fingertip: if it springs back slowly and leaves a light indentation, it’s ready. If it snaps back quickly, give it more time.
What if I don’t have instant yeast?
Use active dry yeast. Sprinkle it into the warm water and let it stand for 5–10 minutes until foamy, then add to the dry ingredients. Reduce the water slightly if needed to keep the dough from getting too wet.
Why is my crust soft after cooling?
If the room is humid, the crust can soften. Re-crisp it by placing the loaf in a 350°F (175°C) oven for 8–10 minutes. Storing in a paper bag instead of plastic also helps keep the crust firm.
Can I make this gluten-free?
Not directly with these ratios. Gluten-free bread needs a different blend of flours and binders like psyllium husk. Look for a dedicated gluten-free rustic loaf recipe designed for that purpose.
Can I add sourdough starter?
Yes. Replace 1/2 cup (120 g) of water and 1 cup (120 g) of flour with 1 cup (240 g) active starter, and reduce yeast to a pinch. Expect longer rise times and a more complex flavor.
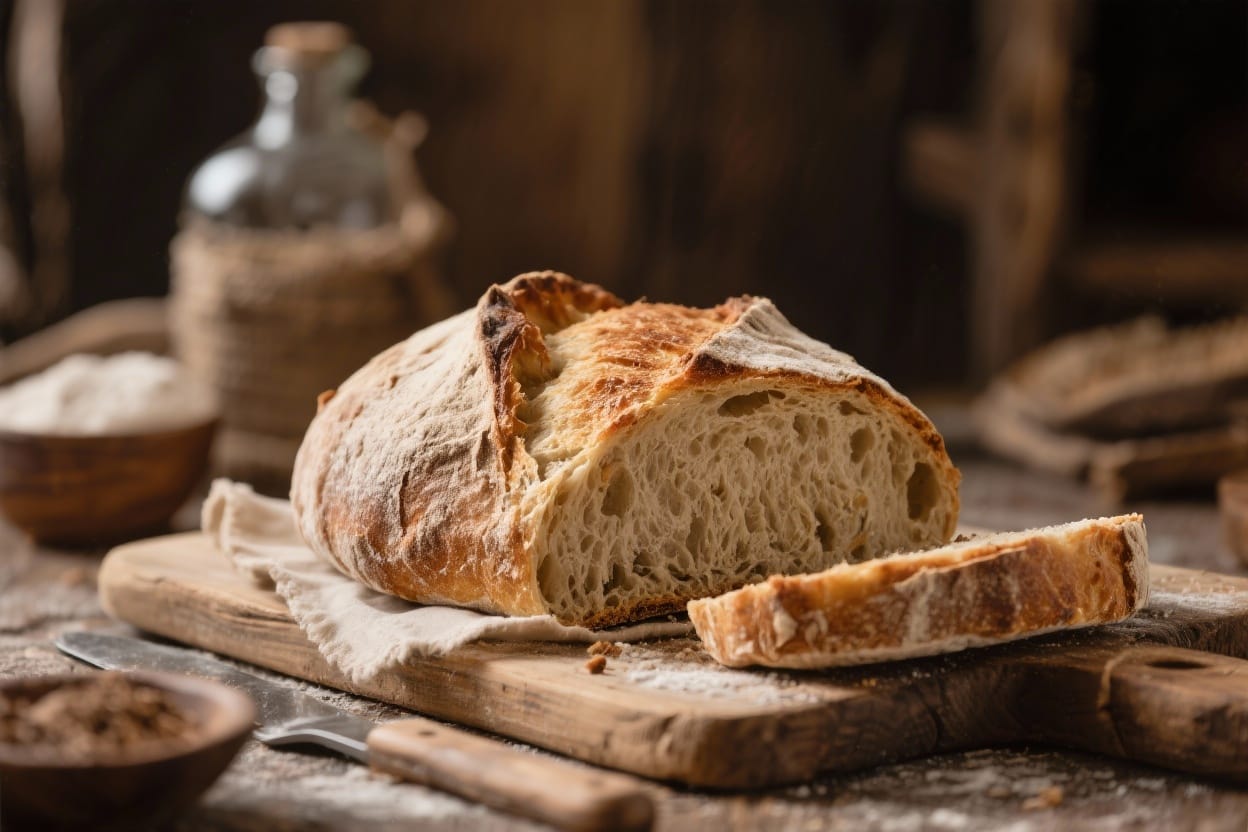
How do I get bigger holes in the crumb?
Use slightly higher hydration (add 1–2 tablespoons more water), handle the dough gently, and avoid over-degassing during shaping. A strong preheat and good steam also help the loaf spring in the oven.
Wrapping Up
This rustic farmhouse bread is the kind of loaf you’ll bake again and again. It’s simple, adaptable, and rewarding from the first slice to the last crumb. With a few basic techniques—good hydration, patient rises, and a hot bake—you’ll get a beautiful crust and a soft, flavorful interior. Keep the process relaxed, trust the dough, and enjoy the warmth it brings to your kitchen.
Printable Recipe Card
Want just the essential recipe details without scrolling through the article? Get our printable recipe card with just the ingredients and instructions.