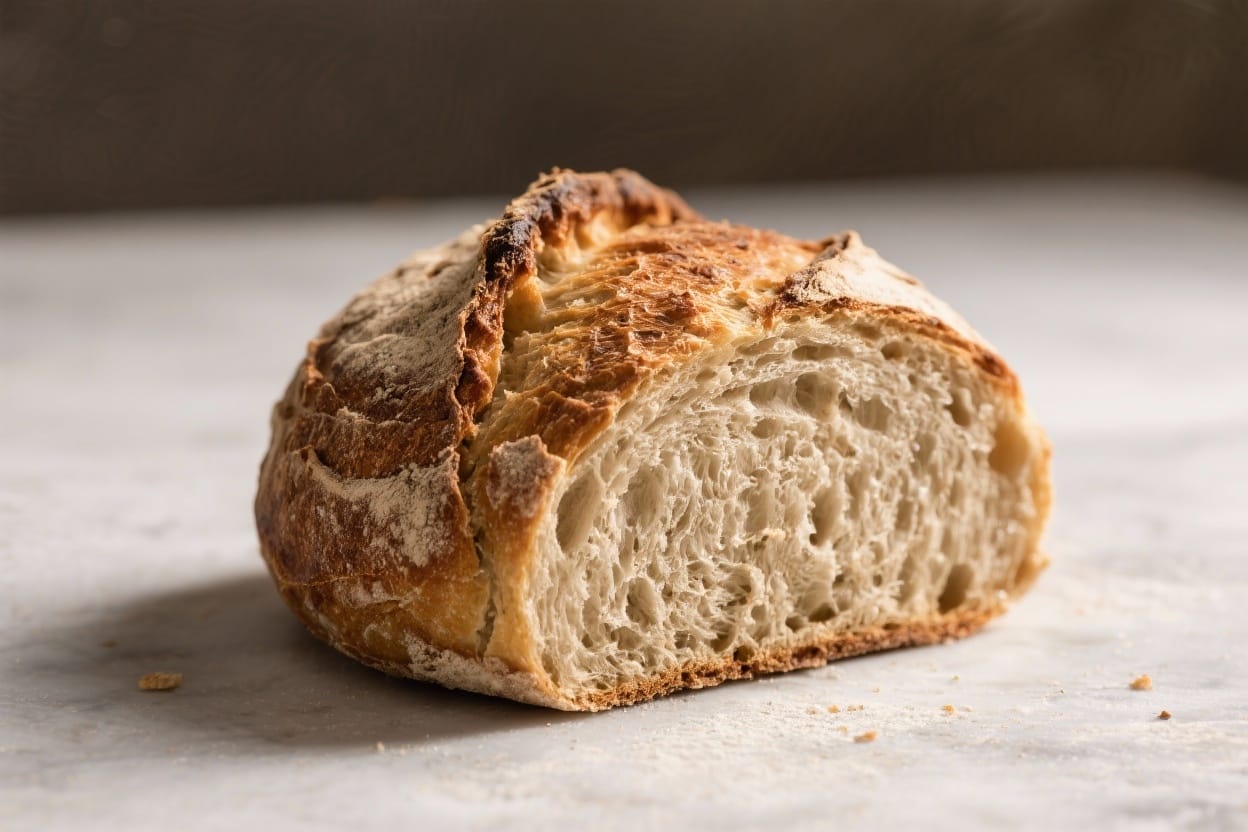
This Rustic Farmhouse Bread is the kind of loaf that makes the whole kitchen smell like home. It has a crisp, crackly crust and a soft, open crumb that begs for butter. You don’t need fancy equipment or special flours to make it.
Just a little time, a handful of pantry staples, and a gentle touch. If you’ve wanted a dependable, go-to bread recipe that feels artisanal but stays approachable, this is it.
What Makes This Recipe So Good
- Minimal ingredients, big flavor: Flour, water, yeast, and salt transform into a beautifully rustic loaf with deep, wheaty notes.
- Hands-off method: A long, slow rise does most of the work, building flavor and texture while you do other things.
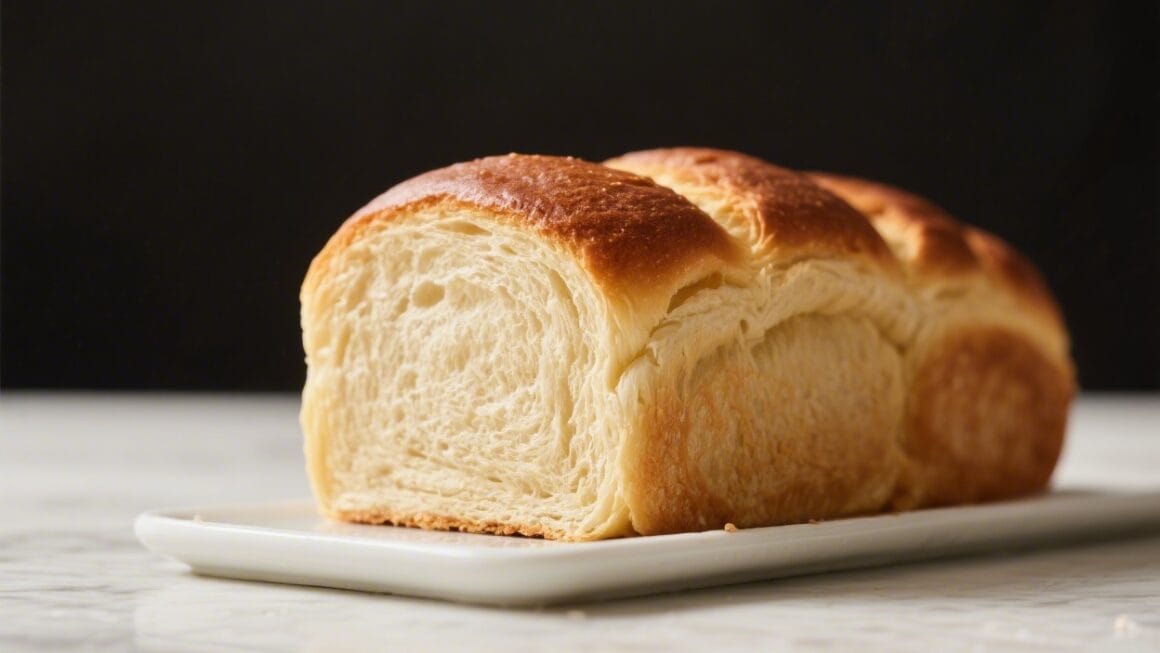
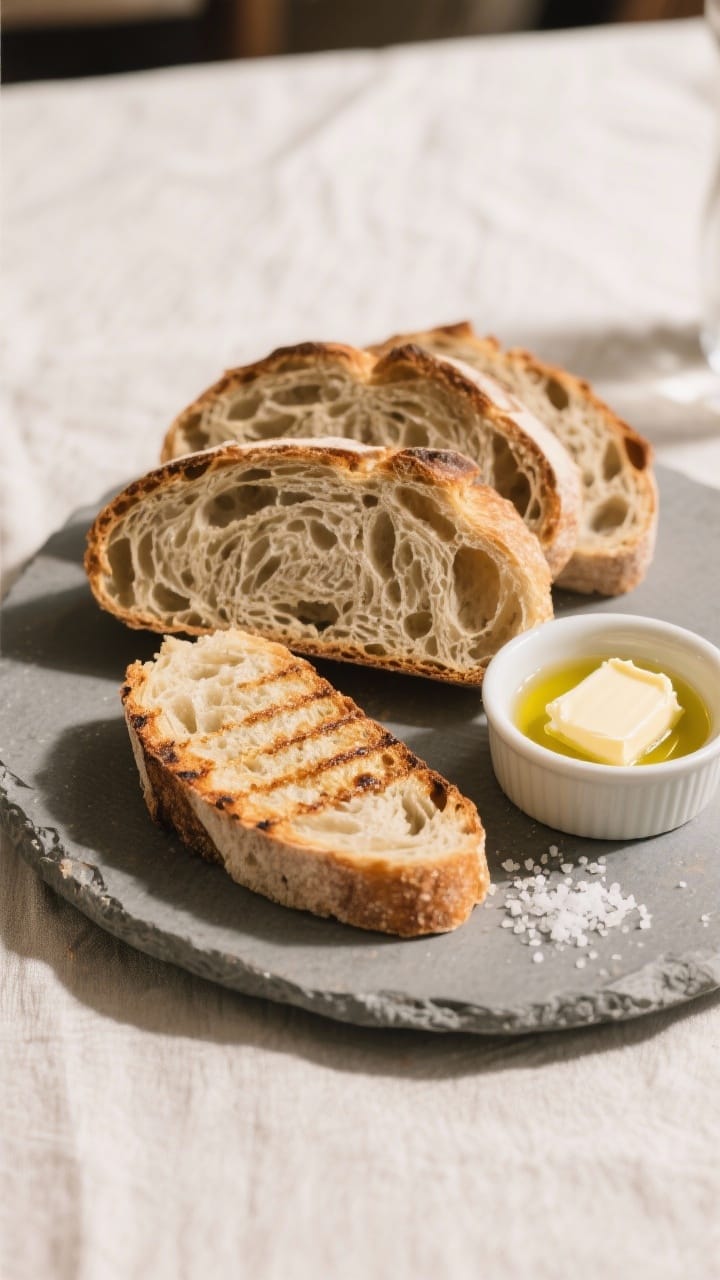
- Crusty outside, tender inside: Steam and a hot oven create a shattering crust and a chewy, airy crumb.
- Flexible and forgiving: Works with bread flour or all-purpose, and tolerates small timing shifts without stress.
- Great for everything: Toast, sandwiches, soups, cheese boards—this loaf fits right in.
Ingredients
- 3 1/2 cups (420 g) bread flour (or all-purpose flour; bread flour gives a chewier crumb)
- 1 1/2 cups (360 ml) warm water (about 100–105°F / 38–41°C)
- 2 teaspoons (8 g) fine sea salt
- 1 teaspoon (3 g) instant yeast (or active dry yeast; see FAQ for swap)
- 1 tablespoon (12 g) olive oil (optional, for a softer crumb and added flavor)
- Extra flour for dusting
- Cornmeal or parchment to prevent sticking
Instructions
- Mix the dough: In a large bowl, combine flour, yeast, and salt. Add warm water (and olive oil if using).Stir with a wooden spoon until a shaggy, sticky dough forms. It should look rough and slightly tacky.
- Rest and hydrate (autolyse-lite): Let the dough sit for 20 minutes. This short rest helps the flour absorb water and makes the dough easier to handle.
- Brief knead or fold: Knead by hand for 2–3 minutes until the dough begins to smooth, or perform 3–4 sets of stretch-and-folds in the bowl, resting 5 minutes between sets.The dough should feel elastic but still soft.
- First rise: Cover the bowl with a damp towel or plastic wrap. Let rise at room temperature until doubled, about 1–2 hours, depending on warmth. A slow, steady rise develops flavor.
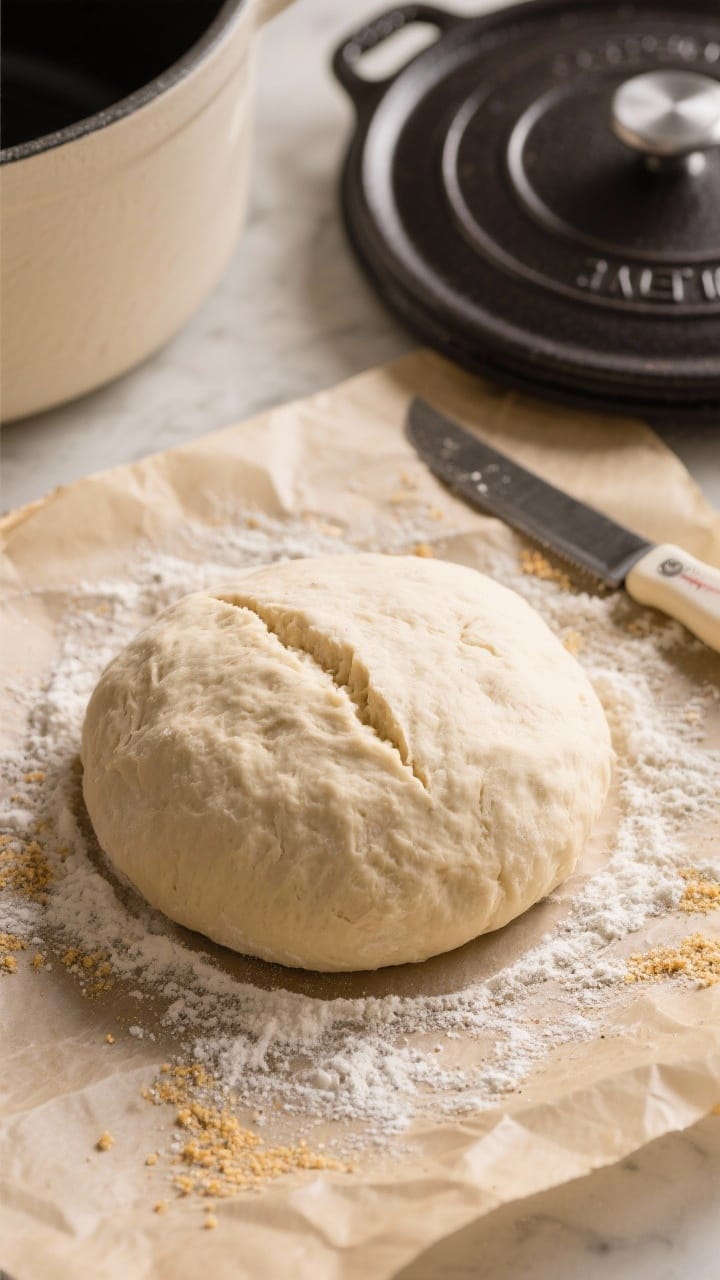
- Shape the loaf: Lightly flour the counter.Turn out the dough, gently deflate, and shape into a tight round (boule) by tucking the edges underneath while rotating. Aim for surface tension on top.
- Second rise: Place the shaped dough seam-side down on a parchment-lined sheet dusted with flour or cornmeal. Cover loosely and proof until puffy and slightly wobbly, 30–60 minutes.
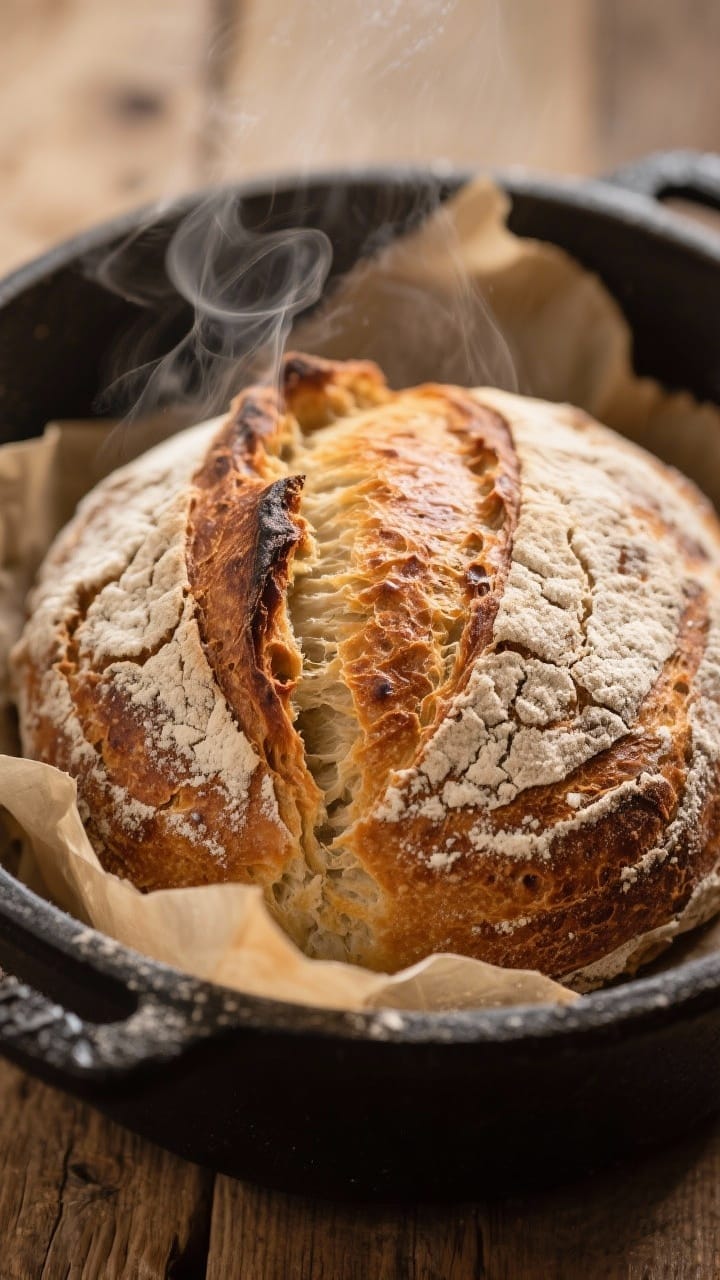
- Preheat the oven: Put a Dutch oven (or a heavy baking sheet and an empty metal pan for steam) in the oven.Preheat to 450°F (230°C) for at least 30 minutes to get everything thoroughly hot.
- Score the dough: Using a sharp knife or lame, cut a 1/2-inch deep slash across the top. This controls expansion and gives that rustic look.
- Bake with steam: If using a Dutch oven, carefully place the dough (on parchment) into the pot, cover, and bake 25 minutes. Remove the lid and bake 15–20 minutes more until deep golden brown.If baking on a sheet, pour 1 cup hot water into the empty pan on a lower rack to create steam, then bake 35–45 minutes total.
- Check doneness: The crust should be a rich brown and sound hollow when tapped. Internal temperature should be around 205–210°F (96–99°C).
- Cool completely: Transfer to a rack and cool at least 1 hour before slicing. This sets the crumb and improves flavor.
Storage Instructions
- Room temperature: Store cut-side down on a board or in a paper bag for up to 2 days.Avoid plastic—it softens the crust.
- Longer storage: Wrap tightly in foil, then place in a freezer bag. Freeze up to 2 months. Thaw at room temperature in the wrapping, then re-crisp in a 350°F (175°C) oven for 10 minutes.
- Sliced for convenience: Slice before freezing so you can toast pieces straight from the freezer.
Why This is Good for You
- Simple ingredients: No additives, stabilizers, or hidden sugars—just basic pantry staples.
- Slow fermentation benefits: A longer rise can make gluten easier to digest for some people and deepens flavor without extra fat or sugar.
- Energy and satisfaction: Carbs fuel your day, while the chewy texture and full flavor help you feel satisfied with less.
- Customizable nutrition: Swap in a portion of whole wheat or seeds for more fiber, minerals, and healthy fats.
Common Mistakes to Avoid
- Water too hot: Anything above 115°F (46°C) can kill yeast.Aim for warm bath water, not hot.
- Under-proofing or over-proofing: Under-proofed dough won’t rise well; over-proofed dough collapses. Look for “puffy and airy,” not flat or overly jiggly.
- Skipping steam: Steam is key for a crisp crust. Use a Dutch oven or create steam with a pan of water.
- Cutting too soon: Slicing hot bread compresses the crumb and makes it gummy.Let it cool at least an hour.
- Too much flour during shaping: Excess flour prevents the dough from sealing and building surface tension. Light dusting is enough.
Recipe Variations
- Country whole wheat: Swap 1–1 1/2 cups of the white flour for whole wheat. Add 1–2 tablespoons extra water if the dough feels stiff.
- Seeded farmhouse: Fold in 1/2 cup mixed seeds (sunflower, sesame, pumpkin) after the first rise.Sprinkle extra on top before baking.
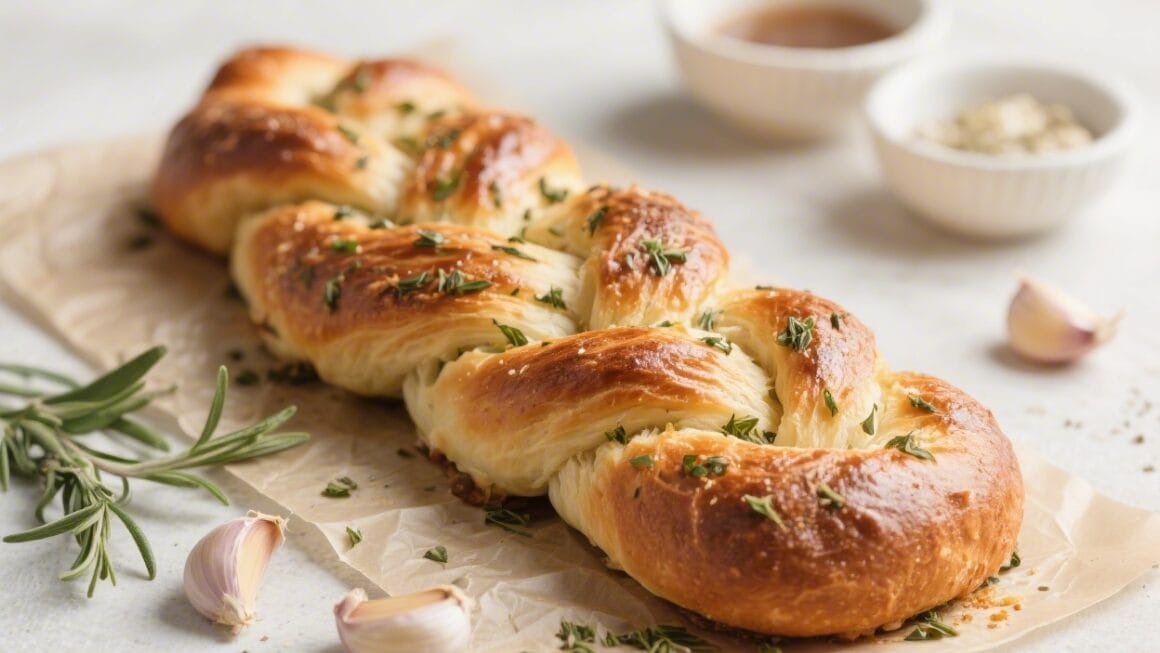
- Herb and garlic: Add 2 teaspoons dried herbs (rosemary, thyme, or Italian blend) and 2–3 minced garlic cloves during mixing.
- Olive and rosemary: Gently knead in 3/4 cup chopped, well-drained olives with 1 tablespoon chopped fresh rosemary.
- Overnight version: Use 1/2 teaspoon yeast, mix at night, and refrigerate 12–18 hours. Shape, proof, and bake the next day for extra flavor.
FAQ
Can I use active dry yeast instead of instant yeast?
Yes. Use the same amount.
Bloom it in the warm water for 5–10 minutes with a pinch of sugar until foamy, then proceed with the recipe.
Do I need a Dutch oven?
No. A Dutch oven is convenient for trapping steam, but you can bake on a preheated stone or sheet pan and create steam with an extra pan of hot water. The crust may be slightly different but still excellent.
Why is my bread dense?
Common reasons include under-proofing, not developing enough gluten, or adding too much flour.
Make sure the dough feels elastic, allow it to double during the first rise, and keep the dough slightly tacky rather than dry.
How do I get big, open holes in the crumb?
Use higher hydration (closer to the 1 1/2 cups water), handle the dough gently, and avoid over-flouring during shaping. A hot oven and proper steam also help the loaf spring.
Can I make this gluten-free?
This recipe relies on gluten for structure. For a gluten-free loaf, use a proven gluten-free bread recipe that combines a GF flour blend with binders like psyllium husk.
What’s the best way to re-crisp the crust?
Warm the loaf or slices in a 350°F (175°C) oven for 5–10 minutes.
For extra crunch, spritz lightly with water before heating.
Can I double the recipe?
Yes. Mix in a larger bowl and divide into two loaves after the first rise. Bake one at a time for best oven spring, or use two Dutch ovens if you have them.
Wrapping Up
Rustic Farmhouse Bread rewards you with a sturdy crust, a tender crumb, and a flavor that works with almost any meal.
The process is simple and forgiving, yet the results feel special. Once you’ve made it a couple of times, it becomes second nature. Keep this recipe in your back pocket, and you’ll always have a warm, homemade loaf ready to share.
Printable Recipe Card
Want just the essential recipe details without scrolling through the article? Get our printable recipe card with just the ingredients and instructions.