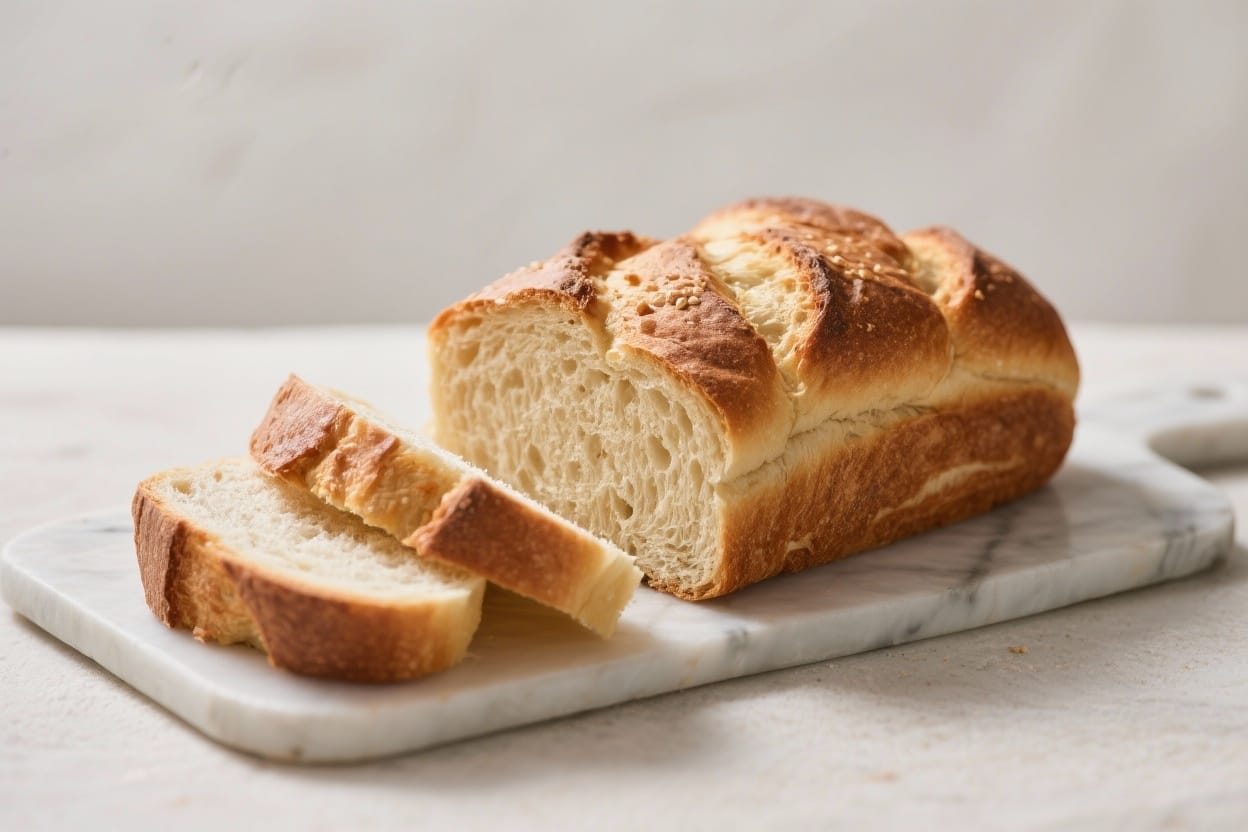
Pantry Staple Bread Recipe – Simple, Reliable, and Delicious
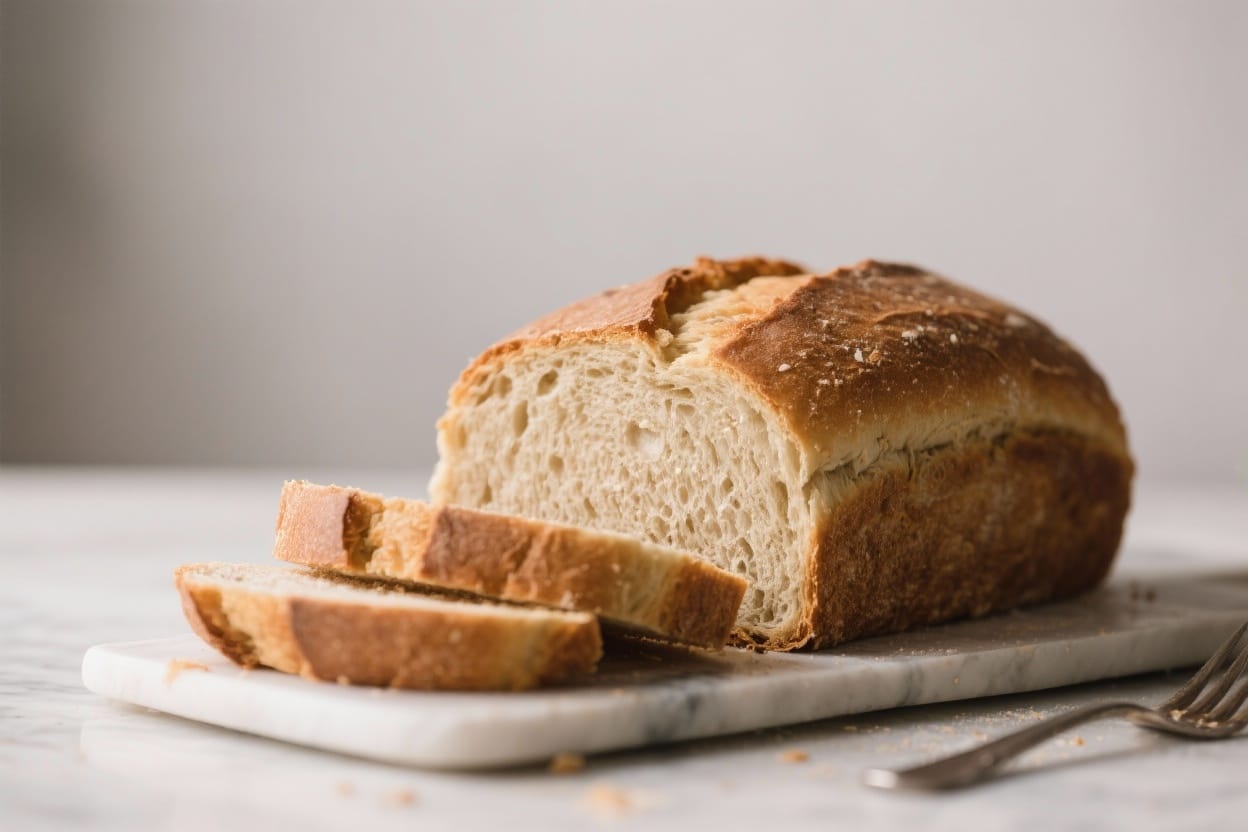
Warm, fresh bread doesn’t need fancy ingredients or special equipment. This pantry staple bread recipe uses basic items you probably already have: flour, water, yeast, sugar, salt, and oil. It’s the kind of loaf you can whip up on a Sunday afternoon or on a busy weeknight when you want something comforting and homemade. The crust is golden, the inside is soft and tender, and it works for sandwiches, toast, or just tearing off a piece while it’s still warm. If you’ve been nervous about baking bread, this is a great place to start.
What Makes This Recipe So Good
Pantry staple bread recipe – Pantry Staple Bread Recipe – Simple, Reliable, and Delicious Warm, fresh bread doesn’t need fancy in
- Simple ingredients: Nothing fancy here—just staples you likely have on hand.
- Easy method: Straightforward steps, no complicated techniques.
- Versatile dough: Shape it into a classic loaf, rolls, or a rustic round.
- Reliable rise: The mix of sugar and warm water wakes up the yeast quickly.
- Friendly for beginners: Visual cues and flexible timing help you get it right.
Ingredients
Pantry staple bread recipe – This pantry staple bread recipe uses basic items you probably already have: flour, water, yeast, sug
- 3 1/2 to 4 cups all-purpose flour (or bread flour)
- 1 packet (2 1/4 teaspoons) active dry yeast
- 1 1/4 cups warm water (about 105–115°F / warm to the touch)
- 2 tablespoons granulated sugar or honey
- 1 1/2 teaspoons fine salt
- 2 tablespoons neutral oil (vegetable, canola, or light olive oil), plus more for greasing
- Optional: 1 tablespoon melted butter for brushing the crust
Instructions
Pantry staple bread recipe – It’s the kind of loaf you can whip up on a Sunday afternoon or on a busy weeknight when you want som
- Activate the yeast: In a large bowl, combine warm water and sugar. Sprinkle the yeast over the top and let it sit for 5–10 minutes until foamy. If it doesn’t foam, your water may be too hot or the yeast may be expired.
- Add the base ingredients: Stir in the oil and salt. Add 2 cups of flour and mix with a wooden spoon until a thick batter forms.
- Build the dough: Add another 1 to 1 1/2 cups of flour, a half cup at a time, stirring until the dough pulls away from the bowl. It should be soft and slightly sticky, not dry.
- Knead: Turn the dough onto a lightly floured surface. Knead for 6–8 minutes, adding small sprinkles of flour only as needed. You’re looking for a smooth, springy dough that bounces back when poked.
- First rise: Lightly oil a clean bowl. Place the dough inside, turning once to coat. Cover with a clean towel or plastic wrap and let rise in a warm spot for 60–90 minutes, or until doubled in size.
- Shape: Punch down the dough to release air. For a loaf, flatten into a rectangle, then roll tightly from the short side and pinch the seam closed. Tuck the ends under. Place seam-side down in a greased 9×5-inch loaf pan. For a round loaf, form a tight ball and place on a parchment-lined sheet.
- Second rise: Cover and let rise again for 30–45 minutes, until the dough has puffed and rises about an inch above the loaf pan rim (or looks noticeably fuller if freeform).
- Preheat and bake: Preheat the oven to 375°F (190°C). Bake 28–35 minutes, until the crust is golden and the loaf sounds hollow when tapped on the bottom. Internal temperature should be around 190–200°F.
- Finish and cool: If you like a softer crust, brush with melted butter right out of the oven. Cool on a rack for at least 30 minutes before slicing to keep the crumb from getting gummy.
Keeping It Fresh
Let the bread cool completely before storing. Slice only what you need—whole loaves stay fresher longer. Store at room temperature in a bread box, paper bag, or wrapped in a clean towel to keep the crust from getting soggy.
For longer storage, slice the loaf and freeze it in a sealed freezer bag. Pull out slices as needed and toast straight from frozen. Avoid the fridge; it speeds up staling.
Health Benefits
- Simple ingredient list: No preservatives or hidden additives—just the basics.
- Customizable nutrition: Swap in part whole wheat flour for more fiber and minerals. A 50/50 mix keeps the texture soft while boosting nutrients.
- Lower sodium control: You control the salt level without sacrificing flavor.
- Energy for the day: Homemade bread paired with protein and healthy fats makes a balanced, satisfying meal.
Common Mistakes to Avoid
- Using water that’s too hot: Hot water kills yeast. Aim for warm, not hot. If it feels like a comfortable bath, you’re good.
- Adding too much flour: Sticky dough is normal at first. Resist the urge to dump in extra flour. Add it gradually and stop when the dough is smooth and slightly tacky.
- Skipping the second rise: This step builds structure and lightness. A rushed second rise leads to dense bread.
- Cutting too soon: Fresh bread needs at least 30 minutes to set. If you slice early, you’ll squash the crumb.
- Underbaking: A pale crust usually means a gummy center. Bake until deep golden and hollow-sounding, or check with a thermometer.
Variations You Can Try
- Whole Wheat Blend: Replace 1 to 1 1/2 cups of all-purpose flour with whole wheat. Add 1 extra tablespoon of water if the dough feels dry.
- Herb and Garlic: Knead in 1–2 teaspoons dried Italian herbs and 1–2 minced garlic cloves (or 1 teaspoon garlic powder) for savory flavor.
- Seeded Loaf: Add 2–4 tablespoons of seeds (sunflower, sesame, flax, or poppy) to the dough. Sprinkle more on top before baking.
- Honey Oat: Use honey instead of sugar and press rolled oats onto the top before baking for a rustic look.
- Olive Oil and Sea Salt: Use extra-virgin olive oil and finish the loaf with a light brush of oil and a pinch of flaky salt after baking.
- Rolls Instead of a Loaf: After the first rise, divide into 10–12 pieces, shape into balls, and let rise on a greased pan. Bake at 375°F for 15–18 minutes.
FAQ
Can I use instant yeast instead of active dry?
Yes. Use the same amount. You can mix instant yeast directly with the dry ingredients, then add warm water and oil. Rise times may be slightly shorter.
What if I don’t have a loaf pan?
Shape the dough into a tight round and bake it on a parchment-lined sheet. Score the top with a sharp knife for a nice rise. Baking time is similar but start checking a few minutes early.
How do I know my dough has risen enough?
Use the poke test. Gently press a floured finger into the dough. If the indentation springs back slowly and not completely, it’s ready. If it bounces right back, give it more time.
Can I make the dough ahead?
Yes. After the first rise, shape the loaf and refrigerate covered overnight. Let it come to room temperature and finish rising before baking, 45–75 minutes depending on your kitchen.
Why is my bread dense?
Common causes are cool water, old yeast, not enough kneading, or short rise times. Also check that you didn’t add too much flour. The dough should be soft and slightly tacky.
Can I substitute sugar with honey or maple syrup?
Absolutely. Use the same amount by volume. Honey and maple syrup both help activate the yeast and add a subtle flavor.
How do I get a crispier crust?
Bake on a preheated baking stone or place a pan of hot water on the oven’s lower rack for steam during the first 10 minutes. Skip the butter brushing at the end.
Is whole wheat flour a 1:1 swap?
You can swap up to half the flour with whole wheat for a soft loaf. A full swap makes a denser bread; add a bit more water and extend the rise if you go 100% whole wheat.
Can I knead with a stand mixer?
Yes. Use the dough hook on low to medium-low for 6–8 minutes, scraping the bowl as needed. Stop when the dough is smooth and elastic.
How long does homemade bread stay fresh?
At room temperature, 2–3 days is typical. Freeze slices for longer storage. Toast or warm in the oven to refresh the texture.
In Conclusion
This pantry staple bread recipe keeps things simple and satisfying. With a handful of common ingredients and a few easy steps, you’ll get a golden loaf that fits any meal. Make it your own with herbs, seeds, or a whole wheat blend. Once you’ve baked it a couple of times, it’ll become your reliable, go-to bread—comforting, budget-friendly, and always welcome on the table.
Printable Recipe Card
Want just the essential recipe details without scrolling through the article? Get our printable recipe card with just the ingredients and instructions.