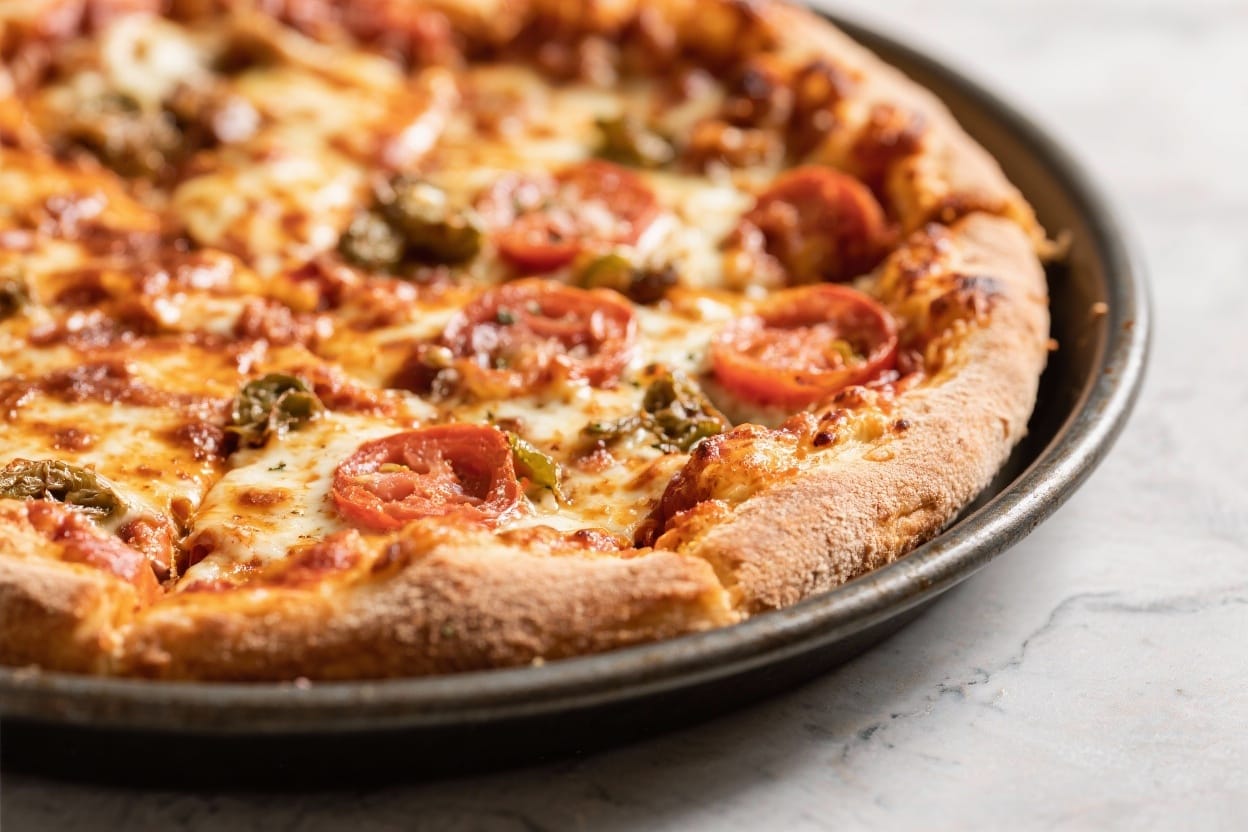
Pan Pizza Recipe – Crispy Edges, Chewy Crust, Big Flavor
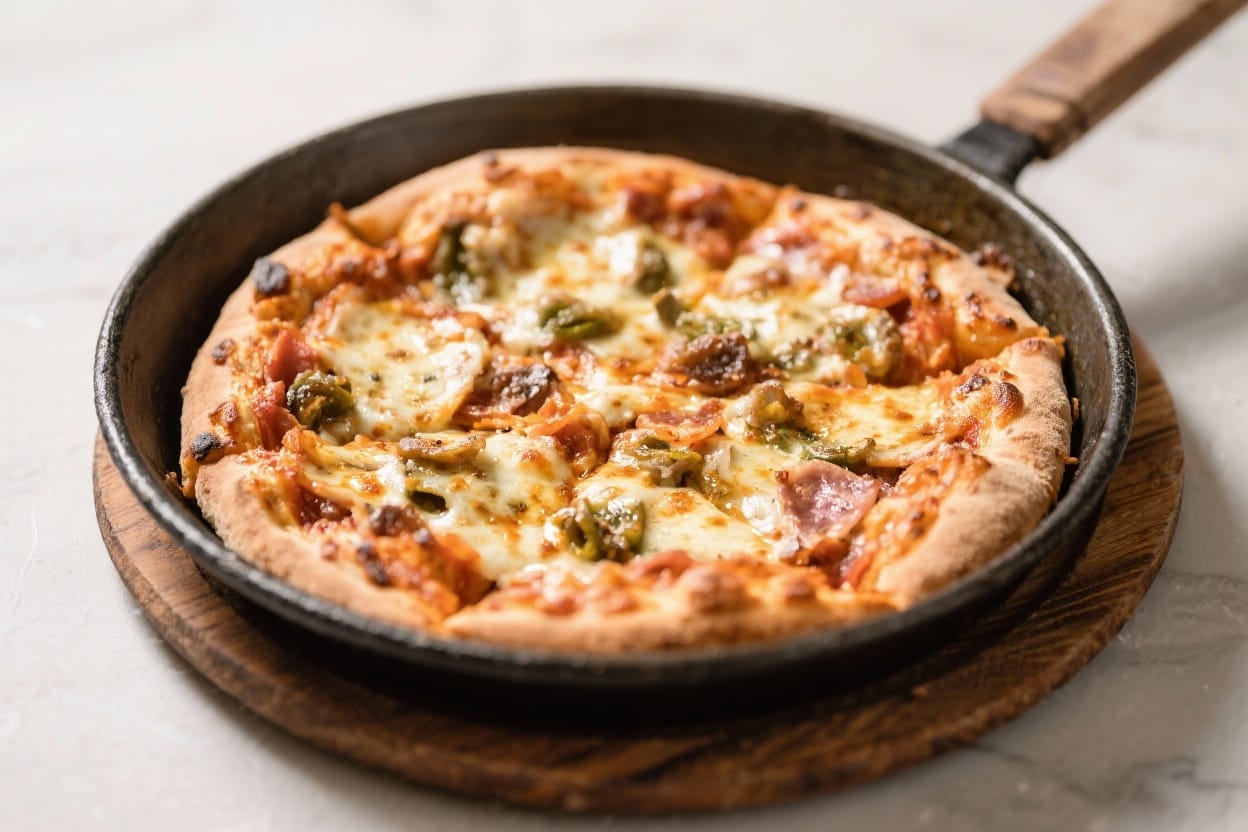
Pan pizza brings pizzeria-style comfort straight to your kitchen. It’s thick but not heavy, with a golden, crunchy edge and a soft, airy center. You don’t need a stone or fancy oven tricks—just a sturdy pan and a little patience. This recipe keeps things simple, flexible, and open to your favorite toppings. If you’ve ever wanted a reliable, weeknight-friendly pizza that still feels special, this is the one.
What Makes This Recipe So Good
Pan pizza recipe – Pan Pizza Recipe – Crispy Edges, Chewy Crust, Big Flavor Pan pizza brings pizzeria-style comfort str
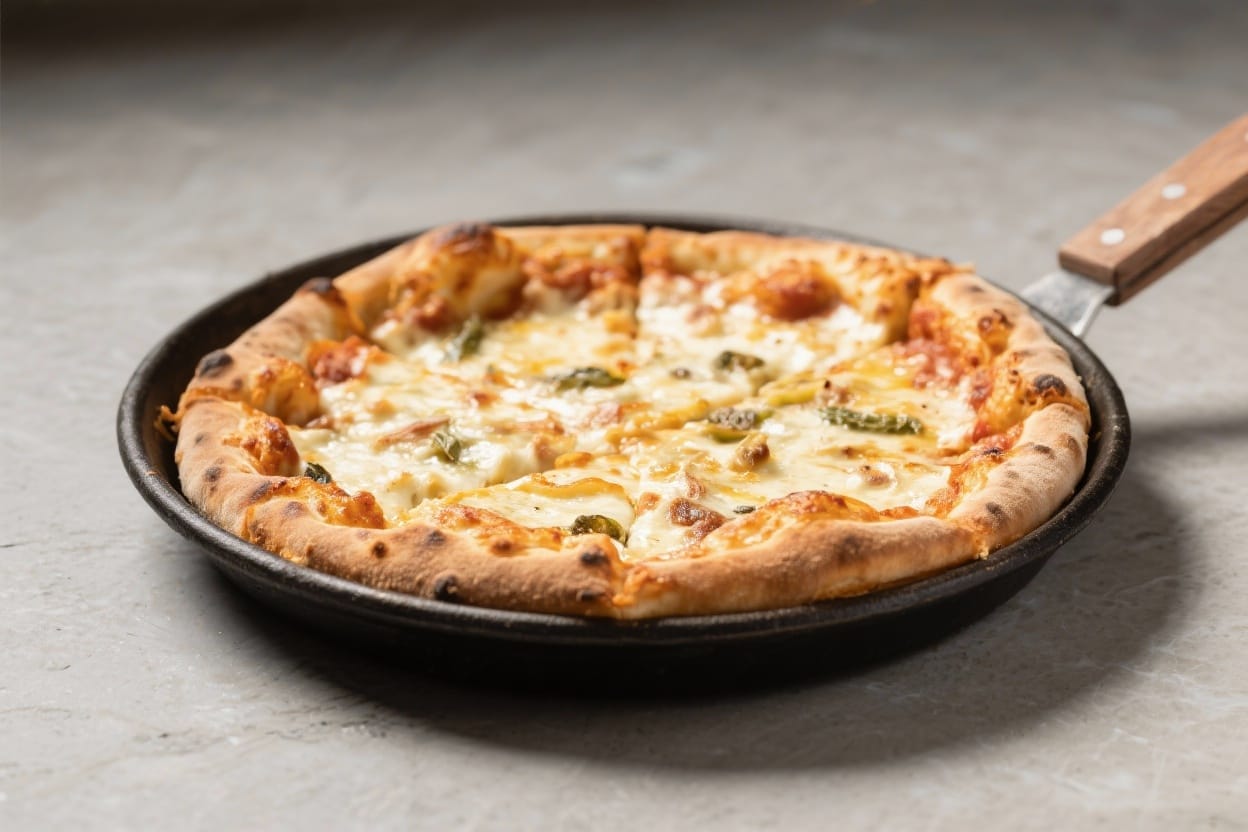
- No special equipment: A cast-iron skillet or metal cake pan is all you need for that crispy, caramelized crust.
- Slow rise for big flavor: Letting the dough rise longer makes it tastier and easier to handle.
- Foolproof crust texture: Oil in the pan fries the bottom while steam keeps the inside light and chewy.
- Flexible timing: Make the dough the night before or the morning of—both work well.
- Endless topping options: Keep it classic or go bold; the crust can handle it.
Ingredients
Pan pizza recipe – It’s thick but not heavy, with a golden, crunchy edge and a soft, airy center
- For the dough:
- 2 1/4 cups (280 g) all-purpose flour, plus more for dusting
- 1 teaspoon fine sea salt
- 1 teaspoon sugar or honey
- 1 teaspoon instant yeast (or 1 1/4 teaspoons active dry yeast)
- 3/4 cup + 2 tablespoons (200 ml) warm water
- 1 tablespoon olive oil (in the dough)
- For the pan and assembling:
- 3 tablespoons olive oil (for the pan)
- 3/4 to 1 cup pizza sauce (store-bought or homemade)
- 2 cups shredded low-moisture mozzarella
- 1/4 cup grated Parmesan or pecorino
- Optional: pepperoni, sautéed mushrooms, onions, peppers, olives, cooked sausage
- Optional finishers: red pepper flakes, fresh basil, garlic oil
Instructions
Pan pizza recipe – You don’t need a stone or fancy oven tricks—just a sturdy pan and a little patience
- Make the dough: In a large bowl, whisk flour, salt, sugar, and yeast. Add warm water and 1 tablespoon olive oil. Stir with a spoon until no dry spots remain. The dough will be slightly sticky—this is good.
- Knead briefly: Scrape the dough onto a lightly floured surface and knead for 2–3 minutes, just until smooth. Alternatively, fold it in the bowl with a spatula a few times. You don’t need a long knead.
- First rise: Lightly oil the bowl, return the dough, cover, and let it rise at room temperature for 1–2 hours, until puffy and roughly doubled. For more flavor, refrigerate for up to 24 hours, then let it warm on the counter for 45 minutes before shaping.
- Prep the pan: Add 3 tablespoons olive oil to a 10- to 12-inch cast-iron skillet or metal cake pan. Tilt the pan so the oil evenly coats the bottom and a bit of the sides. The oil is key to that crisp edge.
- Shape the dough: Place the dough in the pan and turn it to coat in oil. Gently press it outward with your fingertips. If it resists, cover and rest for 10 minutes, then press again. Repeat until it reaches the edges.
- Second rise: Cover the pan and let the dough rise for 30–45 minutes. It should look slightly puffed. Meanwhile, preheat the oven to 475°F (245°C).
- Sauce and cheese: Spread the sauce evenly, leaving a small border. Sprinkle mozzarella to the edges for those lacy, caramelized cheese frills. Add Parmesan.
- Add toppings: Keep them moderate so the crust doesn’t steam. If using vegetables with lots of moisture, pat them dry or pre-sauté.
- Bake: Place the pan on the lowest rack for 14–18 minutes, until the cheese is bubbling and the edges are deep golden brown. If the top needs more color, move to the upper rack for 1–2 minutes.
- Release and rest: Run a thin spatula around the edge to loosen the crust. Lift to check the bottom—it should be crisp and spotty brown. Transfer the pizza to a cooling rack or cutting board and rest 3–5 minutes so the cheese sets.
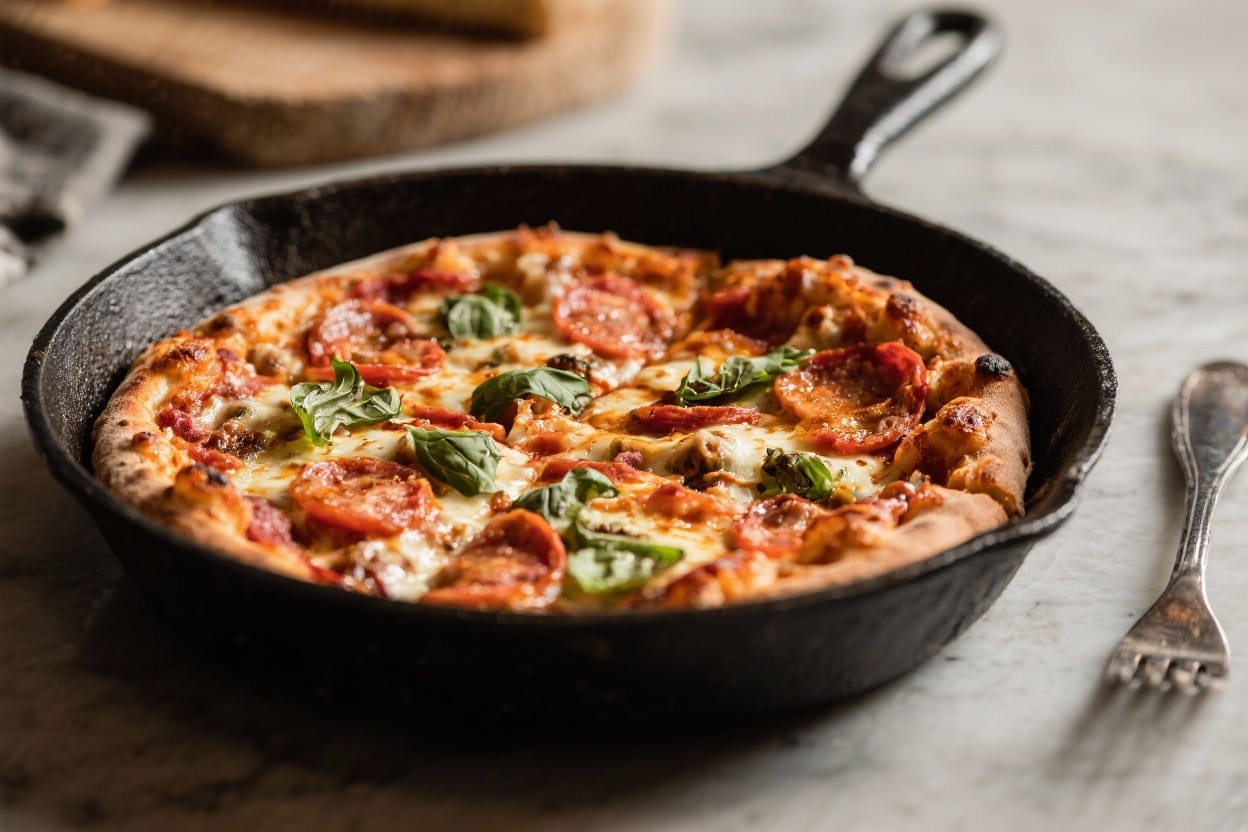
- Finish and slice: Add fresh basil, a drizzle of garlic oil, or a pinch of red pepper flakes. Slice into squares or wedges and serve hot.
Keeping It Fresh
- Storing leftovers: Cool completely, then refrigerate slices in an airtight container for up to 4 days.
- Reheating: Best in a skillet over medium heat with a drop of oil, covered for 3–5 minutes. The crust re-crisps and the cheese melts without drying out. Oven at 375°F (190°C) for 8–10 minutes works too.
- Freezing: Wrap fully cooled slices tightly and freeze for up to 2 months. Reheat from frozen in a 400°F (205°C) oven for 12–15 minutes.
- Make-ahead dough: After the first mix, refrigerate up to 24 hours. It will develop better flavor and be easier to stretch.
Why This is Good for You
- Better ingredients: You control the oil, cheese amount, and toppings. Go lighter on cheese, add veggies, or use a whole-grain flour blend for extra fiber.
- Balanced energy: The mix of carbs, fat, and protein keeps you satisfied. Add lean protein like chicken or turkey pepperoni to help balance a slice-heavy meal.
- Fewer additives: Homemade dough and sauce skip the preservatives often found in frozen or takeout options.
- Portion-friendly: The pan makes even slices. Pair with a salad and you’ve got a well-rounded, comforting meal.
What Not to Do
- Don’t skimp on pan oil: It creates the crispy, fried edge. If you use too little, the crust can stick and turn soft.
- Don’t overload toppings: Too much moisture leads to a soggy center. Keep it to 2–3 toppings max.
- Don’t rush the rise: Underproofed dough bakes dense. A little patience makes a big difference.
- Don’t use fresh mozzarella straight from the package: Unless you dry it well, it releases water and softens the crust. Low-moisture mozzarella is more reliable here.
- Don’t cut in the pan: You’ll scratch the surface and lose that crisp bottom. Lift it out first.
Alternatives
- Flour swap: Replace up to 30% of the all-purpose flour with bread flour for more chew, or with whole wheat for a slightly nuttier, heartier crust.
- Yeast-free option: In a pinch, make a quick dough with 2 cups self-rising flour and 3/4 cup plain yogurt. Rest 10 minutes, then press into the pan. It won’t be as airy, but it works.
- Gluten-free: Use a gluten-free pizza flour blend and follow package hydration guidance. Oil the pan well and par-bake the crust for 5–7 minutes before topping.
- Dairy-free: Use a plant-based mozzarella and skip Parmesan or use a dairy-free hard cheese alternative.
- Sauce variations: Try pesto, garlic cream, or simply crushed tomatoes with salt, olive oil, and oregano.
- Pan options: Cast iron gives the best crust, but a heavy, light-colored metal cake pan or Detroit-style pan also works. Avoid glass—it can overbrown the bottom before the top cooks.
FAQ
Can I make this without a cast-iron skillet?
Yes. A heavy metal cake pan or a rectangular Detroit-style pan works well. Just keep the oil amount the same and watch the bottom for browning.
How do I prevent a soggy center?
Use moderate toppings, dry or pre-cook watery vegetables, and bake on the lowest rack. Spreading cheese to the edge also helps seal in moisture and crisp the crust.
Do I need to par-bake the crust?
Not usually. If your toppings are very wet or the dough is extra thick, you can par-bake for 5 minutes before adding sauce and cheese, but it’s optional.
What’s the best sauce for pan pizza?
A simple, thick sauce works best. Canned crushed tomatoes, a pinch of salt, a bit of sugar, oregano, and olive oil make a fast, flavorful option.
Can I double the recipe?
Absolutely. Make two pans or one large sheet-pan pizza. Keep the oil ratio similar and adjust bake time by a few minutes as needed.
How do I know when it’s done?
Look for bubbling cheese, deep golden edges, and a well-browned bottom. If the top is ready but the bottom is pale, finish on the lowest rack for a couple more minutes.
What if my dough keeps snapping back when I stretch it?
Let it rest. Cover for 10 minutes to relax the gluten, then try again. A short rest is more effective than forcing it.
Is cold cheese okay?
Yes, but room-temperature cheese melts more evenly. If you can, pull it from the fridge while the dough rises.
Final Thoughts
Pan pizza is all about contrast: a crackly edge, a soft interior, and rich, melty toppings. With a well-oiled pan, a relaxed dough, and a hot oven, you’ll get that pizzeria feel at home without the fuss. Keep the process loose, trust the visual cues, and make it your own with toppings you love. Once you master this base recipe, weeknight pizza night becomes easy, reliable, and seriously satisfying.
Printable Recipe Card
Want just the essential recipe details without scrolling through the article? Get our printable recipe card with just the ingredients and instructions.