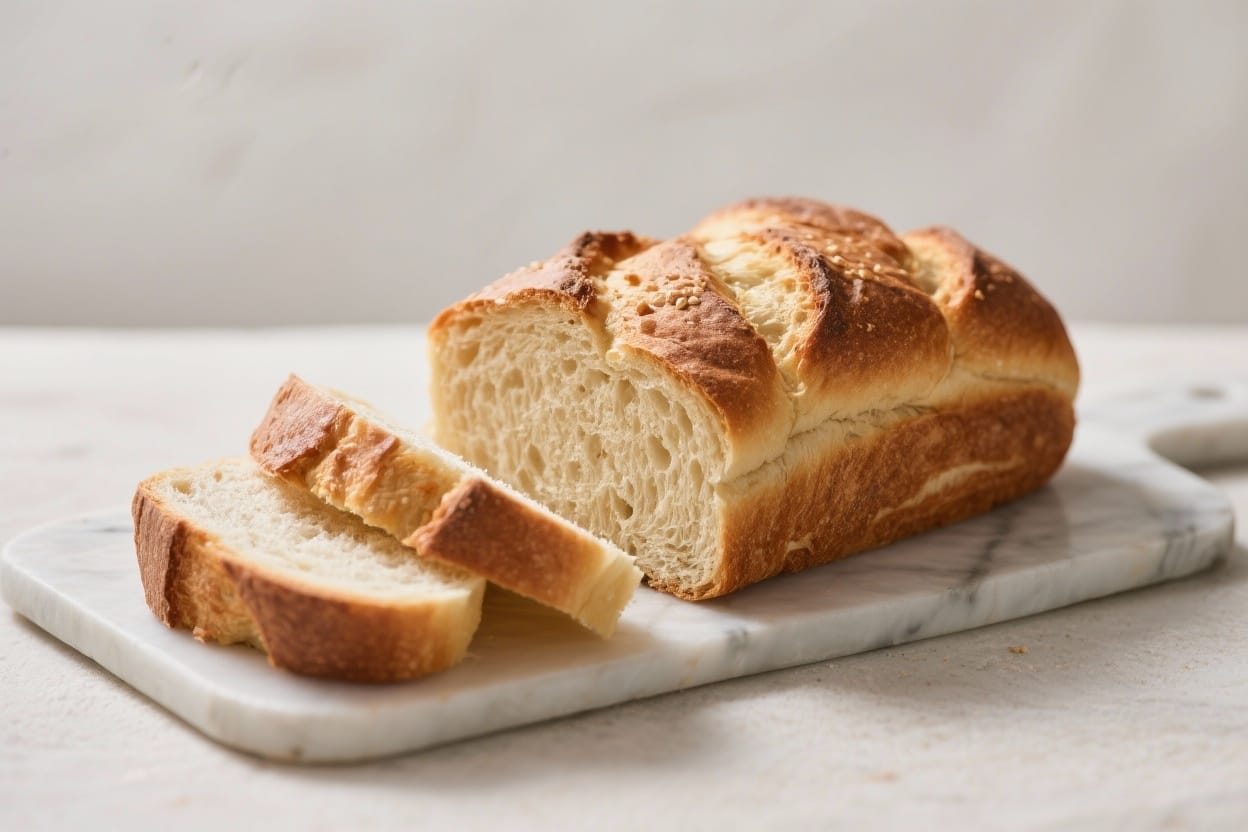
One Pan Bread Recipe – Simple, Rustic Loaf With Minimal Cleanup
Warm, fresh bread shouldn’t require a bakery setup or a sink full of dishes. This one pan bread recipe gives you a golden loaf with a chewy interior using just one bowl and the pan you bake it in. The method is relaxed, the ingredients are basic, and the results feel special. If you’ve ever wanted a reliable, no-fuss bread that fits into a busy day, this is it. You’ll mix, rest, shape in the same pan, and bake—no stand mixer, no fancy tools, and barely any cleanup.
What Makes This Special
One pan bread recipe – One Pan Bread Recipe – Simple, Rustic Loaf With Minimal Cleanup Warm, fresh bread shouldn’t require
This bread leans on time and moisture rather than heavy kneading, so the dough develops flavor while you get on with your day. The crust bakes up crisp in the pan, and the inside stays tender with those lovely air pockets you want in a rustic loaf. It’s friendly to beginners but satisfying enough for seasoned home bakers.
Most importantly, it’s flexible. You can make it plain, add herbs, or swap in a bit of whole grain flour. The one pan method keeps everything simple and predictable, which makes homemade bread feel doable on a weeknight.
Ingredients
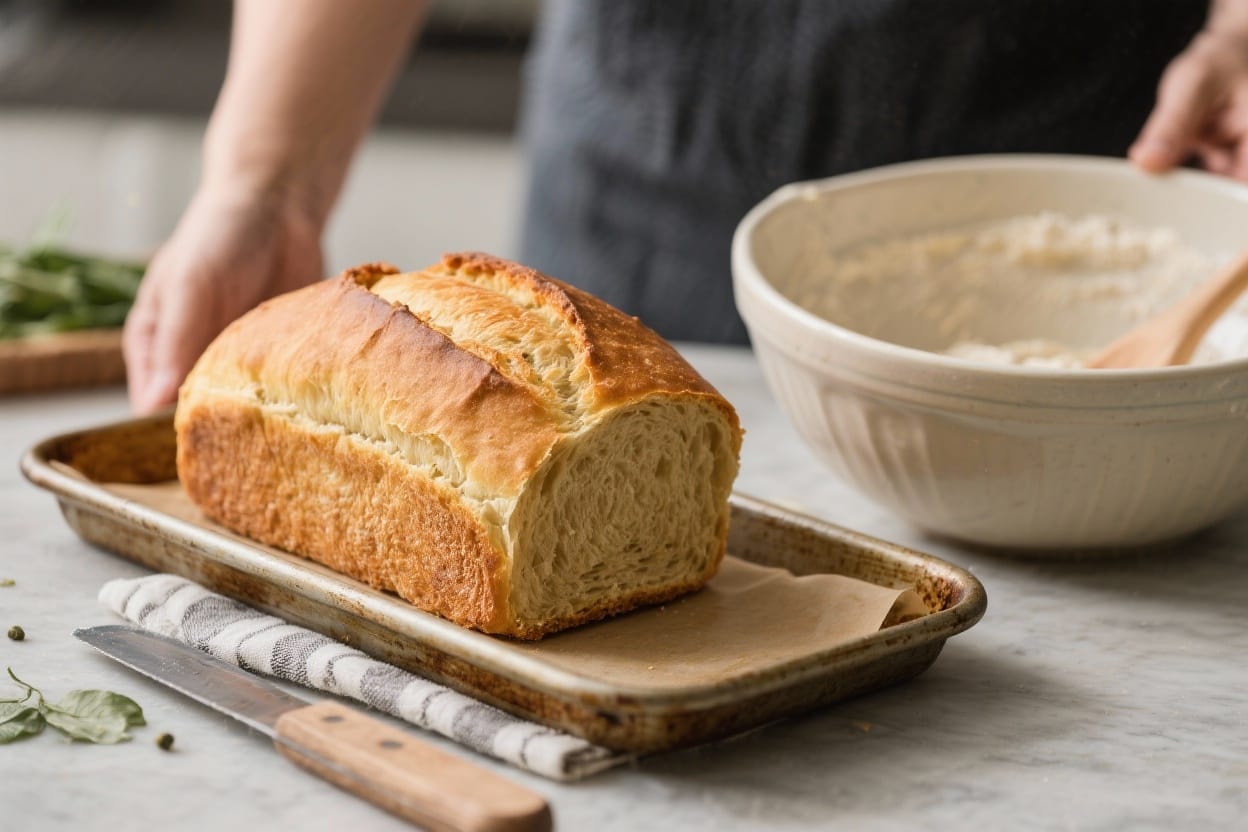
One pan bread recipe – This one pan bread recipe gives you a golden loaf with a chewy interior using just one bowl and the
- 3 cups (360 g) all-purpose flour (or bread flour for a chewier crumb)
- 1 1/4 cups (300 ml) warm water (about 105–110°F/40–43°C)
- 2 teaspoons sugar or honey (feeds the yeast, optional but helpful)
- 1 packet (2 1/4 teaspoons) instant or active dry yeast
- 1 1/2 teaspoons fine sea salt
- 1–2 tablespoons olive oil (for the pan and a light brush on top)
- Optional add-ins: 1 teaspoon dried herbs, 1/2 teaspoon garlic powder, or 1/3 cup shredded cheese
Instructions
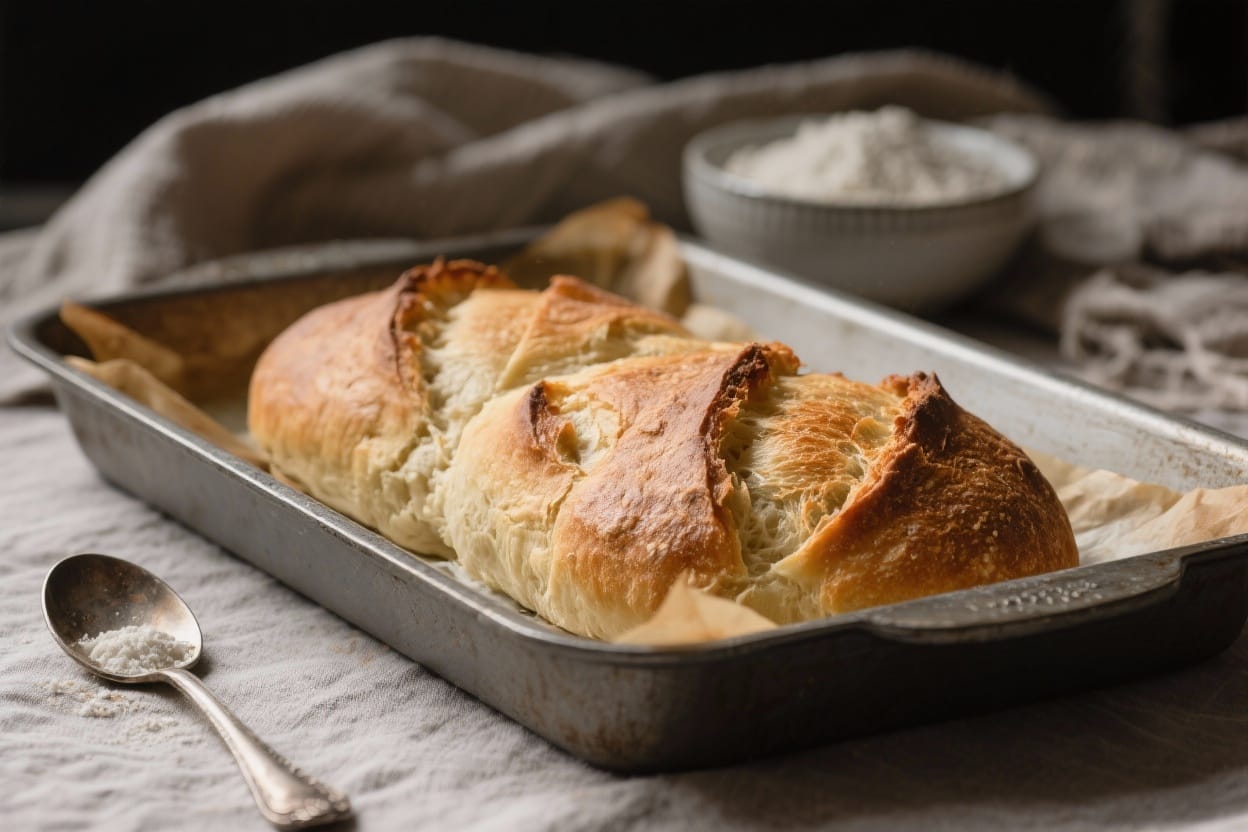
One pan bread recipe – The method is relaxed, the ingredients are basic, and the results feel special
- Prepare your pan. Lightly oil a 9–10 inch oven-safe skillet, cake pan, or loaf pan. Choose something with sides to help the bread rise tall and bake evenly.
- Activate the yeast (if using active dry). In a large bowl, stir the warm water and sugar/honey. Sprinkle the yeast over the top and let sit for 5–10 minutes until foamy. If using instant yeast, you can skip the wait and mix it directly with the flour, then add the water.
- Mix the dough. Add the flour and salt to the bowl (and instant yeast if using). Stir with a spoon until a shaggy, sticky dough forms. It should hold together but feel soft and slightly tacky. If it’s dry and crumbly, add 1–2 tablespoons more water. If it’s soupy, sprinkle in a little flour.
- Optional quick knead. With clean, oiled hands, knead in the bowl for 1 minute to smooth the dough slightly. You’re not looking for perfection—just a cohesive ball. Fold in any optional add-ins now.
- First rise. Cover the bowl with a clean towel or plastic wrap. Let the dough rest in a warm spot for 45–75 minutes, until roughly doubled and puffy. A gently warmed (but off) oven or a sunny counter works well.
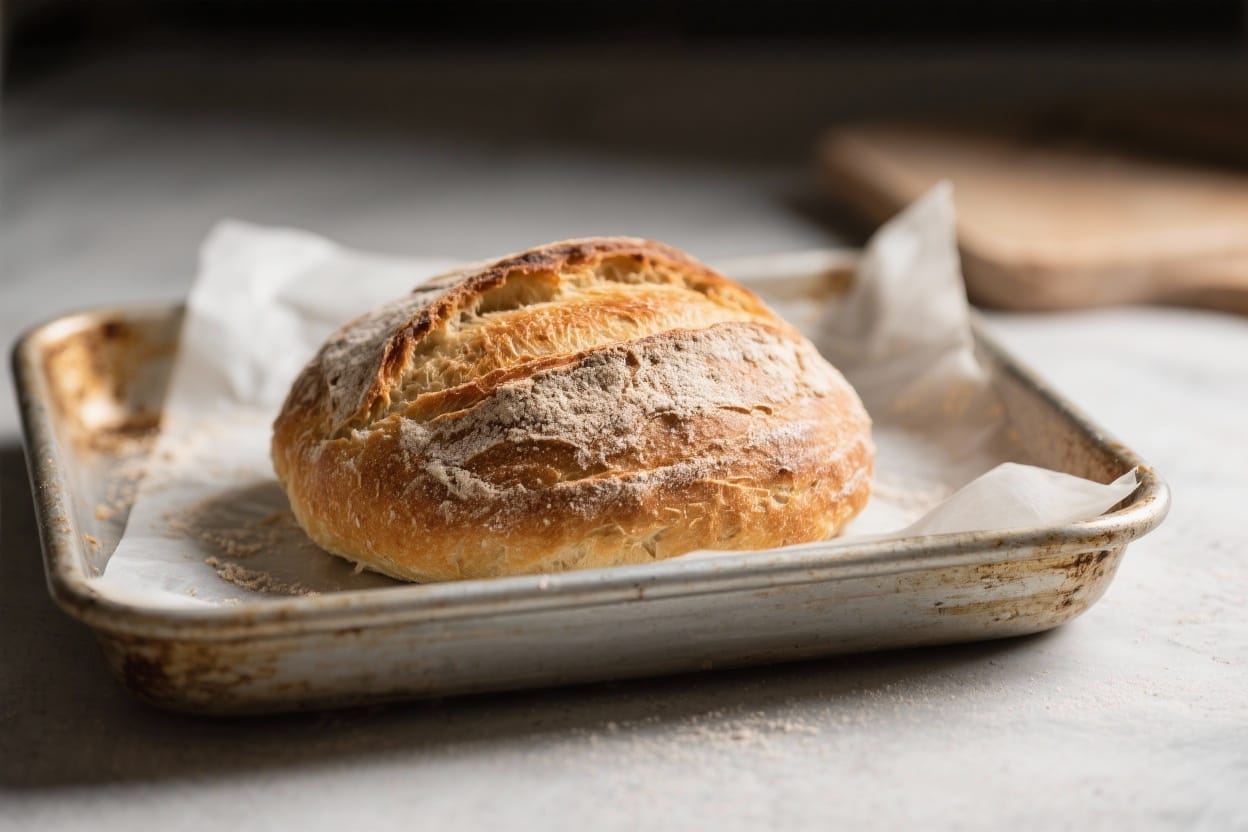
- Shape in the pan. Gently deflate the dough. Transfer it to your oiled pan and tuck the edges under to form a round or log shape, depending on the pan. Brush the top lightly with olive oil and, if you like, sprinkle a pinch of salt or herbs.
- Second rise. Cover the pan loosely and let the dough rise again for 25–35 minutes, just until it rises noticeably and springs back slowly when poked. Preheat your oven to 400°F (200°C) while it rises.
- Score and bake. If you have a sharp knife, make a shallow 1/4-inch slash across the top to guide the rise. Bake for 28–35 minutes, until the top is deep golden and the loaf sounds hollow when tapped. Internal temperature should read 195–200°F (90–93°C).
- Cool before slicing. Let the bread rest in the pan for 5 minutes, then move it to a rack. Cool at least 20–30 minutes to set the crumb. Cutting too soon can make it gummy.
- Serve. Slice and serve warm with butter, olive oil, or your favorite soup. Leftovers make great toast, grilled cheese, or breadcrumbs.
Keeping It Fresh
Let the loaf cool fully before storing. Moisture trapped in a sealed container while it’s warm can soften the crust and invite mold. Once cool, store at room temperature in a paper bag or wrapped in a clean towel for 1–2 days to keep the crust crisp.
For longer storage, wrap slices in plastic or reusable wrap and freeze. They thaw quickly on the counter or in a toaster. To refresh a day-old loaf, warm it in a 325°F (165°C) oven for 8–10 minutes to re-crisp the crust.
Health Benefits
- Simple ingredients. Flour, water, yeast, and salt keep things clean and recognizable. No stabilizers or preservatives.
- Customizable nutrition. Swap in up to 1 cup of whole wheat or rye flour for added fiber and minerals while keeping a tender crumb.
- Portion control. A homemade loaf makes mindful eating easier. You decide the slice thickness and toppings.
- Less sodium and sugar. You control the seasoning. Keep salt and sugar modest while still getting a great rise and flavor.
What Not to Do
- Don’t use water that’s too hot. Anything above about 120°F (49°C) can kill yeast. Aim for warm, not hot.
- Don’t skip the second rise. It sets the final texture. Baking too soon can lead to a dense, tight crumb.
- Don’t overload with add-ins. Too much cheese, seeds, or wet ingredients weigh the dough down. Keep extras to about 20% of the flour weight.
- Don’t slice right away. Fresh bread needs that brief rest to finish cooking internally.
- Don’t pack it in plastic while warm. Steam will collapse the crust and make it soggy.
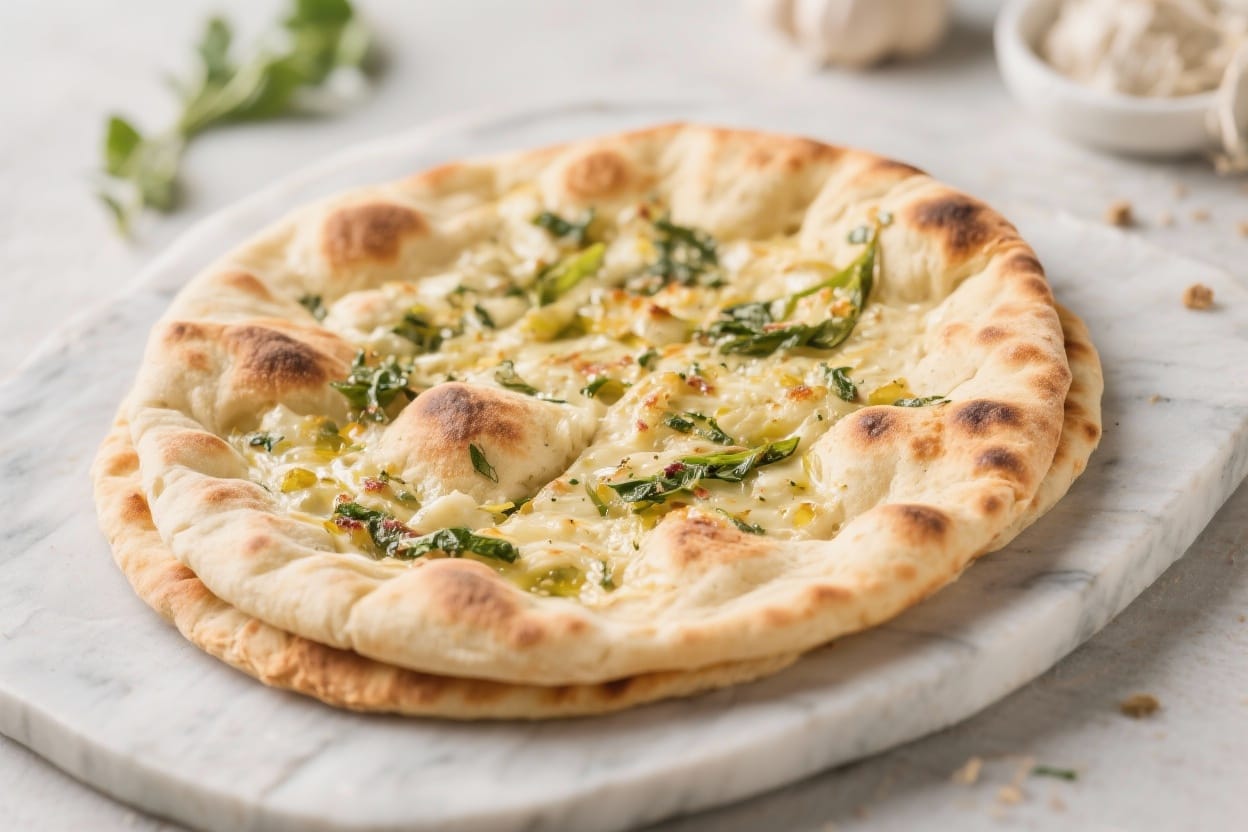
Variations You Can Try
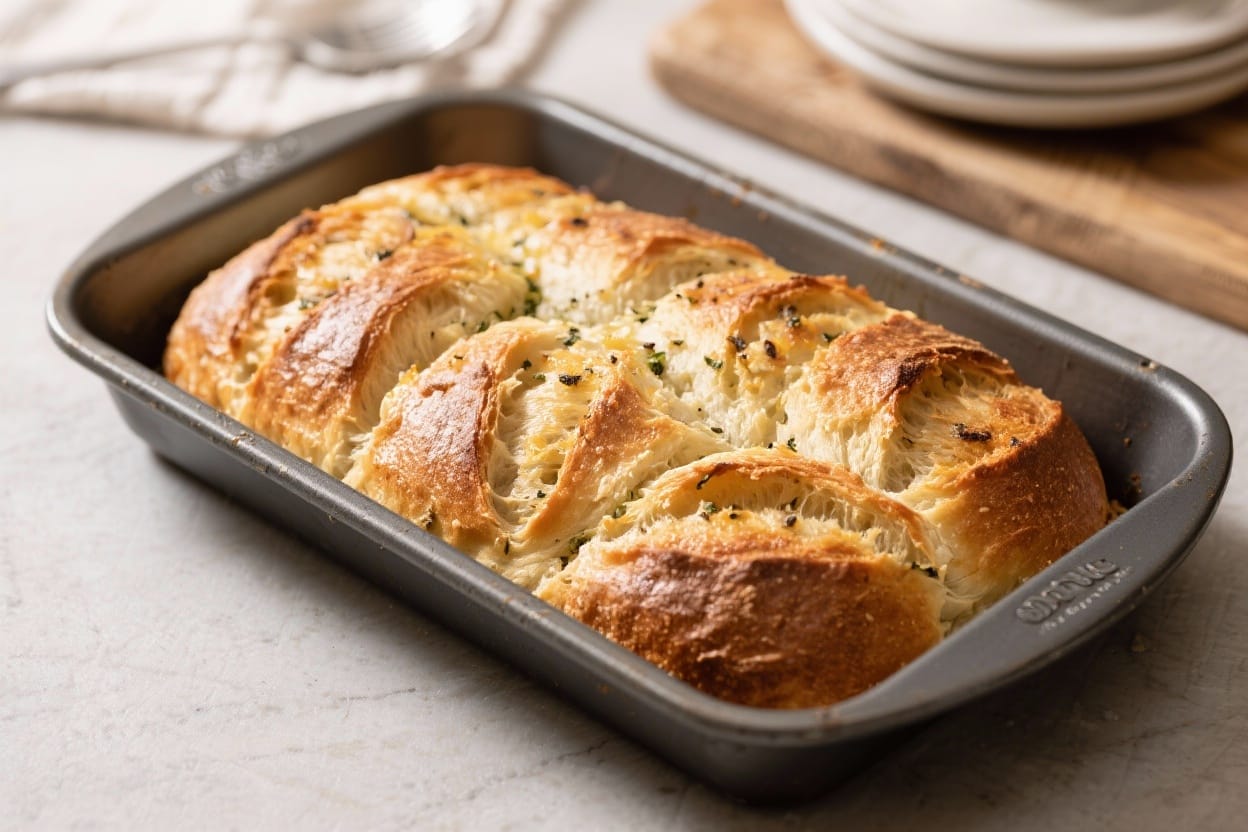
- Herb and Garlic: Add 1 teaspoon dried Italian herbs and 1/2 teaspoon garlic powder to the flour. Finish with a brush of olive oil and a pinch of flaky salt.
- Seeded Top: Brush the dough with water before the second rise and sprinkle sesame, poppy, or sunflower seeds. Press gently so they stick.
- Cheddar and Chive: Fold in 1/3 cup shredded sharp cheddar and 2 tablespoons chopped chives during mixing. Watch the bake time; cheese can brown quickly.
- Olive and Rosemary: Stir in 1/3 cup chopped pitted olives and 1 teaspoon chopped fresh rosemary. Reduce added salt slightly if olives are salty.
- Half Whole Wheat: Replace 1 cup of the white flour with whole wheat and add 1–2 tablespoons extra water to keep the dough supple.
- No-Knead Overnight: Use 1/2 teaspoon yeast and 1 1/3 cups water. Mix, cover, and let rest 10–12 hours at cool room temperature. Shape in the pan, rise 30–45 minutes, and bake as directed.
FAQ
Can I use gluten-free flour?
Yes, but use a gluten-free all-purpose blend that includes xanthan gum. Start with the same measurements, then adjust water by a tablespoon at a time until the dough is thick and sticky but not runny. Expect a slightly denser texture.
What if my dough isn’t rising?
Check your yeast freshness and water temperature. Place the dough somewhere warmer, like near a preheating oven. If it’s very cool in your kitchen, the rise may take longer—be patient and watch for volume, not the clock.
Can I bake this in a Dutch oven?
Yes. Shape the dough on parchment, place it in a preheated Dutch oven, cover, and bake 20 minutes at 450°F (232°C), then uncover and bake 10–15 minutes more. The enclosed heat boosts oven spring and crispness.
How do I get a softer crust?
Brush the top with melted butter right after baking and let it cool under a towel. You can also bake at 375°F (190°C) for a few extra minutes to cook through more gently.
Why is my bread gummy inside?
It was either underbaked or sliced too soon. Bake until the internal temperature reaches 195–200°F (90–93°C) and let it cool at least 20 minutes before cutting.
Can I double the recipe?
Yes. Use a larger pan or two pans. Watch the baking time; bigger loaves often need an extra 5–10 minutes. If the top browns too fast, tent loosely with foil.
What oil works best for the pan?
Olive oil adds nice flavor, but neutral oils like canola or avocado work well too. Butter is fine, though it can brown quickly, so keep an eye on the crust.
Wrapping Up
This one pan bread recipe is proof that good bread doesn’t need to be complicated. With a few pantry ingredients and a simple rise-and-bake routine, you get a crusty, tender loaf that fits any meal. Keep it classic, dress it up with herbs, or try the overnight version when you want extra flavor.
Once you’ve made it once, it becomes a habit—mix, rise, bake, enjoy. And the best part? Only one pan to clean.
Printable Recipe Card
Want just the essential recipe details without scrolling through the article? Get our printable recipe card with just the ingredients and instructions.