There’s something satisfying about making bread from scratch, especially when one dough can become three different loaves. This recipe is flexible, forgiving, and perfect for busy home bakers. You’ll make a soft, everyday dough and shape it into a classic sandwich loaf, a batch of dinner rolls, and a rustic braided loaf.
The flavor is mild, slightly buttery, and perfect for sweet or savory toppings. If you’re new to bread baking, this is a great place to start, and if you’re experienced, you’ll appreciate how efficient it is.
Why This Recipe Works
This dough is enriched with a bit of butter and milk, which keeps it soft and tender without being heavy. It rises reliably and is easy to shape, even if you’re not used to working with yeast.
The hydration is balanced so the dough is smooth and elastic, not sticky or dry. With one batch, you can bake different shapes that cook at similar times, making the process streamlined. It’s an ideal base for both sweet and savory variations.
Ingredients
- Bread flour (or all-purpose flour works in a pinch)
- Warm milk (or water; milk makes it softer)
- Active dry yeast (or instant yeast)
- Granulated sugar
- Salt
- Unsalted butter (softened)
- Egg (optional, for egg wash)
- Neutral oil (for greasing)
Step-by-Step Instructions
- Proof the yeast (if using active dry). Warm 1 1/2 cups milk to about 105–110°F.Stir in 1 tablespoon sugar and 2 1/4 teaspoons active dry yeast. Let it sit for 5–8 minutes until foamy. If using instant yeast, skip proofing and mix it directly with the flour.
- Mix the dough. In a large bowl, combine 4 cups bread flour, 2 teaspoons salt, 2 tablespoons sugar, and the yeast mixture. Add 4 tablespoons softened butter.Stir until a shaggy dough forms. If it’s very sticky, add up to 1/2 cup more flour a tablespoon at a time.
- Knead until smooth. Knead on a lightly floured surface for 8–10 minutes (or 5–6 minutes in a stand mixer on medium-low). The dough should be soft, springy, and slightly tacky but not clingy. Windowpane test: stretch a small piece—if it stretches thin without tearing, you’re there.
- First rise. Place the dough in a lightly oiled bowl, cover, and let rise in a warm spot until doubled, about 60–90 minutes.
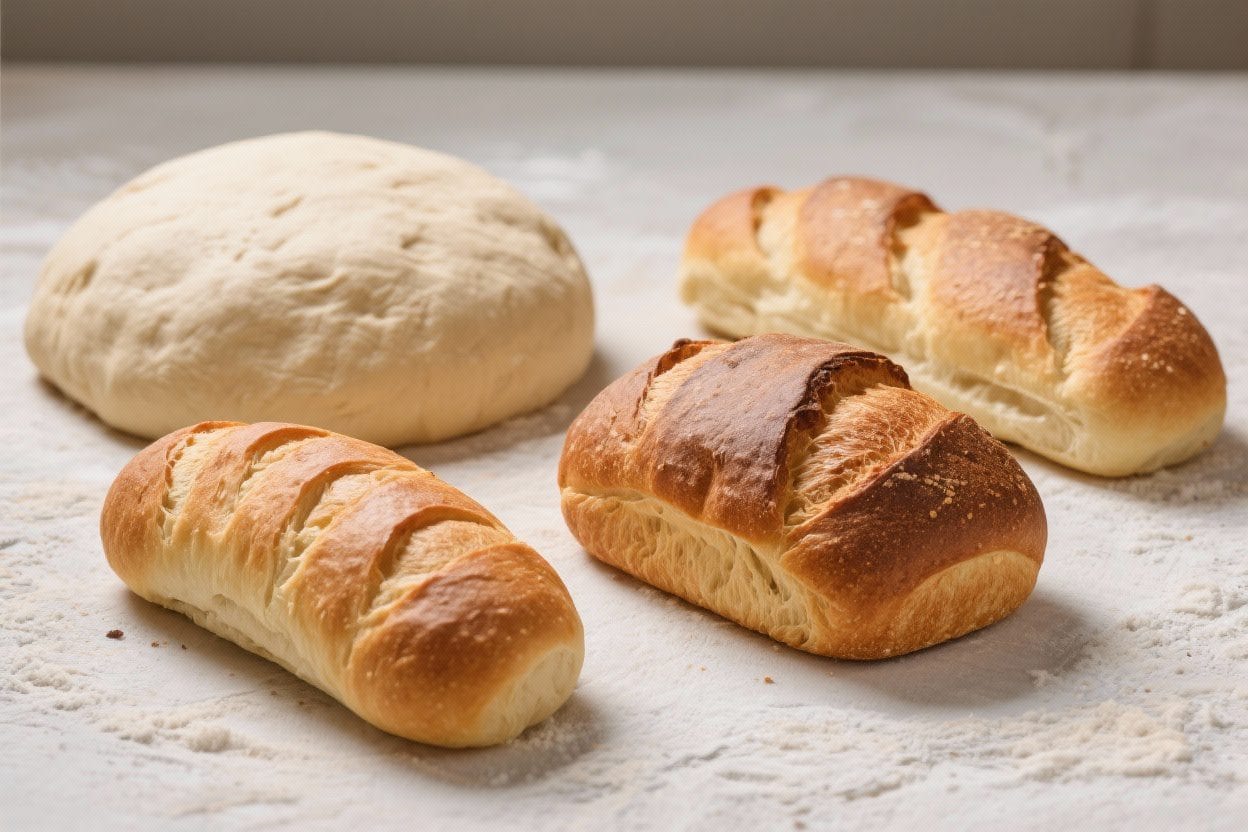
- Divide the dough into three portions. Punch down gently, then split into three equal pieces.Keep them covered with a damp towel to prevent drying out.
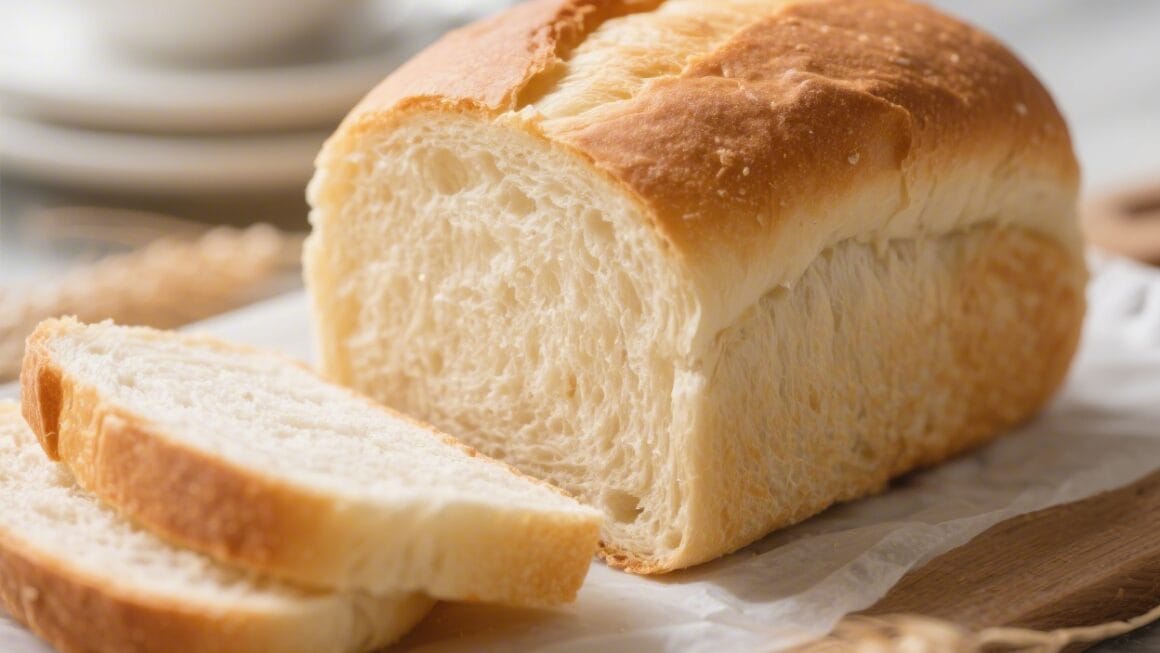
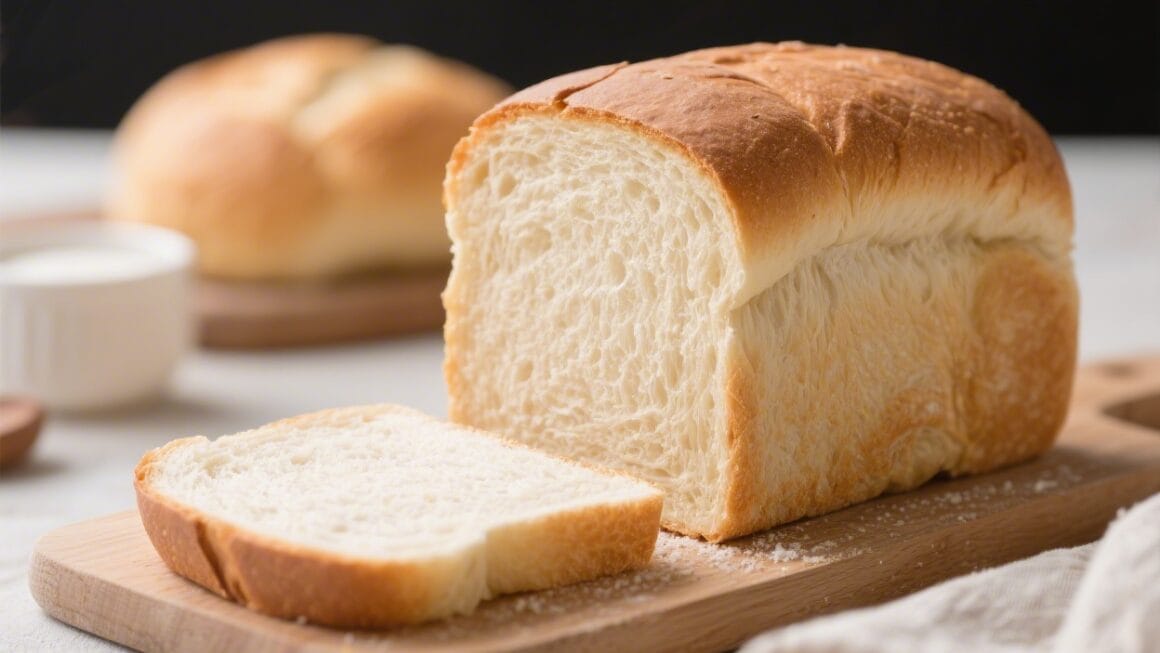
- Shape the sandwich loaf. Flatten one portion into a rectangle. Roll it up tightly from the short side into a log. Pinch the seam and tuck ends under.Place in a greased 8.5×4.5-inch loaf pan. Cover and let rise until the dough crowns about 1 inch above the rim.
- Shape the dinner rolls. Divide another portion into 8–10 equal pieces. Tuck edges under to form tight balls by cupping your hand and circling on the counter.Arrange in a greased 9-inch pan or on a lined baking sheet with a bit of space between. Cover and let rise until puffy.
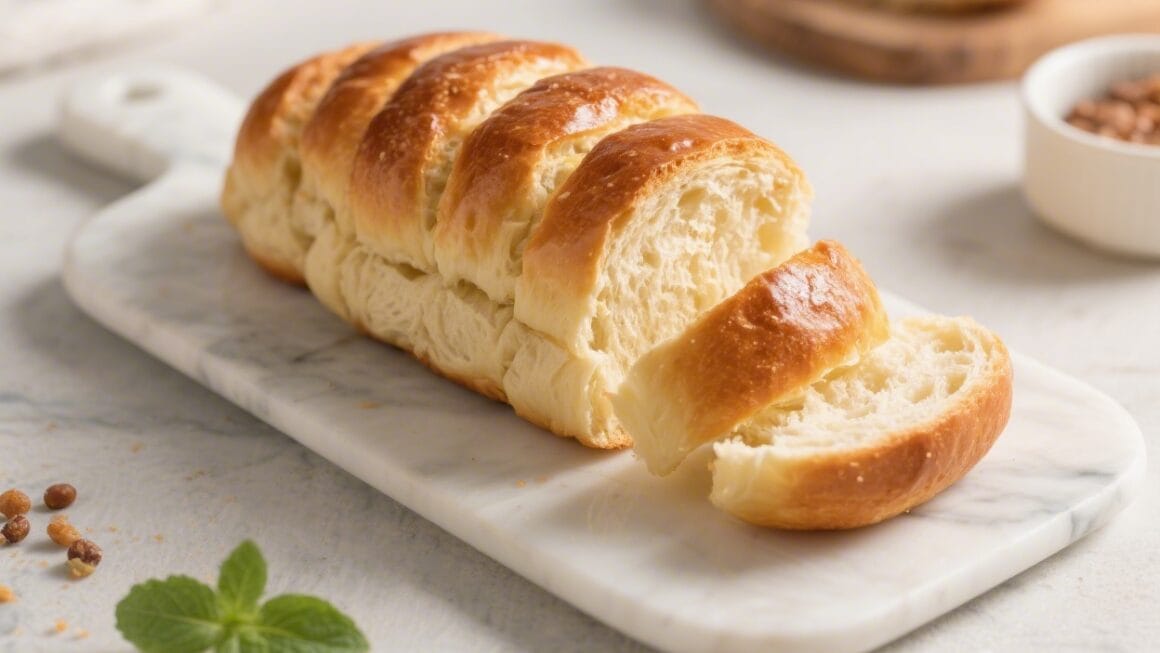
- Shape the braided loaf. Divide the last portion into three equal ropes, each about 12–14 inches long. Pinch one end together and braid gently.Pinch the other end and tuck both ends under. Transfer to a lined baking sheet, cover, and proof until noticeably puffy.
- Preheat the oven. Heat to 350°F (175°C). If you plan to bake all at once and your oven has hot spots, rotate pans halfway through.
- Optional egg wash. Whisk 1 egg with 1 tablespoon water.Brush lightly over the rolls and braid for shine and deeper color. For a soft sandwich crust, skip or brush with milk instead.
- Bake.
- Rolls: 15–18 minutes, until golden and an internal temp of about 190°F.
- Braided loaf: 22–28 minutes, golden brown, about 195°F internal.
- Sandwich loaf: 28–35 minutes, deep golden, 200–205°F internal.
- Cool properly. Remove rolls to a rack right away. For the loaf pan, tip the bread out after 5 minutes to prevent a soggy bottom.Let all breads cool at least 30 minutes before slicing to set the crumb.
Storage Instructions
- Room temperature: Keep cooled bread in a sealed bag or container for up to 3 days. Add a paper towel inside to reduce moisture buildup.
- Freezing: Wrap tightly in plastic, then foil, or place in a freezer bag. Freeze up to 2 months.Thaw at room temp in the wrapper to prevent drying.
- Reheating: Warm rolls in a 300°F oven for 6–8 minutes. For sliced sandwich bread, toast straight from frozen.
- Avoid the fridge: It stales bread faster. Room temp or freezer is best.
Benefits of This Recipe
- Efficiency: One batch, three styles of bread.Less cleanup and planning.
- Beginner-friendly: Dough is forgiving, easy to handle, and rises well.
- Versatile: Works for breakfast, dinner, snacking, and sandwiches.
- Budget-friendly: Simple pantry ingredients with impressive results.
- Customizable: Easy to adapt with flavors, toppings, and fillings.
Pitfalls to Watch Out For
- Water too hot: Milk above 120°F can kill yeast and prevent rising.
- Too much flour: Adding excess flour makes dense bread. Aim for slightly tacky dough.
- Underproofing: Dough that hasn’t risen enough will tear and have a tight crumb. Look for roughly doubled volume.
- Overproofing: Over-risen dough collapses in the oven.If it jiggles and deflates when poked, bake immediately.
- Skipping cooldown: Slicing too soon compresses the crumb and makes it gummy.
Variations You Can Try
- Seeded crust: Sprinkle sesame, poppy, or everything seasoning on the braid after egg wash.
- Garlic herb rolls: Brush warm rolls with melted butter, minced garlic, and chopped parsley.
- Cinnamon swirl loaf: For the sandwich loaf, brush the rectangle with butter, sprinkle cinnamon sugar, and roll up tightly.
- Cheese-stuffed rolls: Tuck a cube of mozzarella or cheddar inside each roll before shaping.
- Whole wheat boost: Swap 1 to 1 1/2 cups of the white flour for whole wheat. Add 1–2 tablespoons extra milk if the dough feels stiff.
- Olive and rosemary braid: Knead in chopped olives and fresh rosemary to the braided portion.
FAQ
Can I make the dough ahead?
Yes. After the first rise, punch down the dough and refrigerate it, covered, for up to 24 hours.
Let it sit at room temperature for about 45–60 minutes before shaping if it’s very cold.
Can I use all-purpose flour instead of bread flour?
Absolutely. The bread will be slightly softer with a bit less chew, but it will still rise well and taste great. You may need a tablespoon or two less liquid, so add gradually.
What if I only have instant yeast?
Use the same amount.
Mix it directly with the dry ingredients and proceed. You may see slightly faster rise times, so keep an eye on the dough rather than the clock.
How do I know when the bread is done without a thermometer?
Tap the bottom of the loaf—it should sound hollow. Rolls should be deeply golden on top and lightly browned underneath.
If in doubt, give it a few extra minutes.
Can I halve or double the recipe?
Yes. Halving is straightforward. For doubling, use two bowls or a stand mixer with a large capacity.
Proofing may take a bit longer simply due to dough volume.
Why is my dough tearing when I shape it?
It may be under-kneaded or too cold. Let it rest for 10 minutes to relax the gluten, then try again. A short rest often fixes stubborn dough.
How can I get a softer crust?
Brush baked rolls or loaves with melted butter while warm.
For the sandwich loaf, tent loosely with foil in the last 10 minutes to prevent too much browning.
Final Thoughts
One simple dough, three kinds of bread, and a week’s worth of good eating. This method saves time while giving you options: a sturdy loaf for sandwiches, soft rolls for dinner, and a pretty braid for sharing. Once you’ve made it once, you can mix and match shapes and flavors without changing the base recipe.
Keep it simple, trust the rise, and enjoy the smell of fresh bread coming out of your oven.
Printable Recipe Card
Want just the essential recipe details without scrolling through the article? Get our printable recipe card with just the ingredients and instructions.