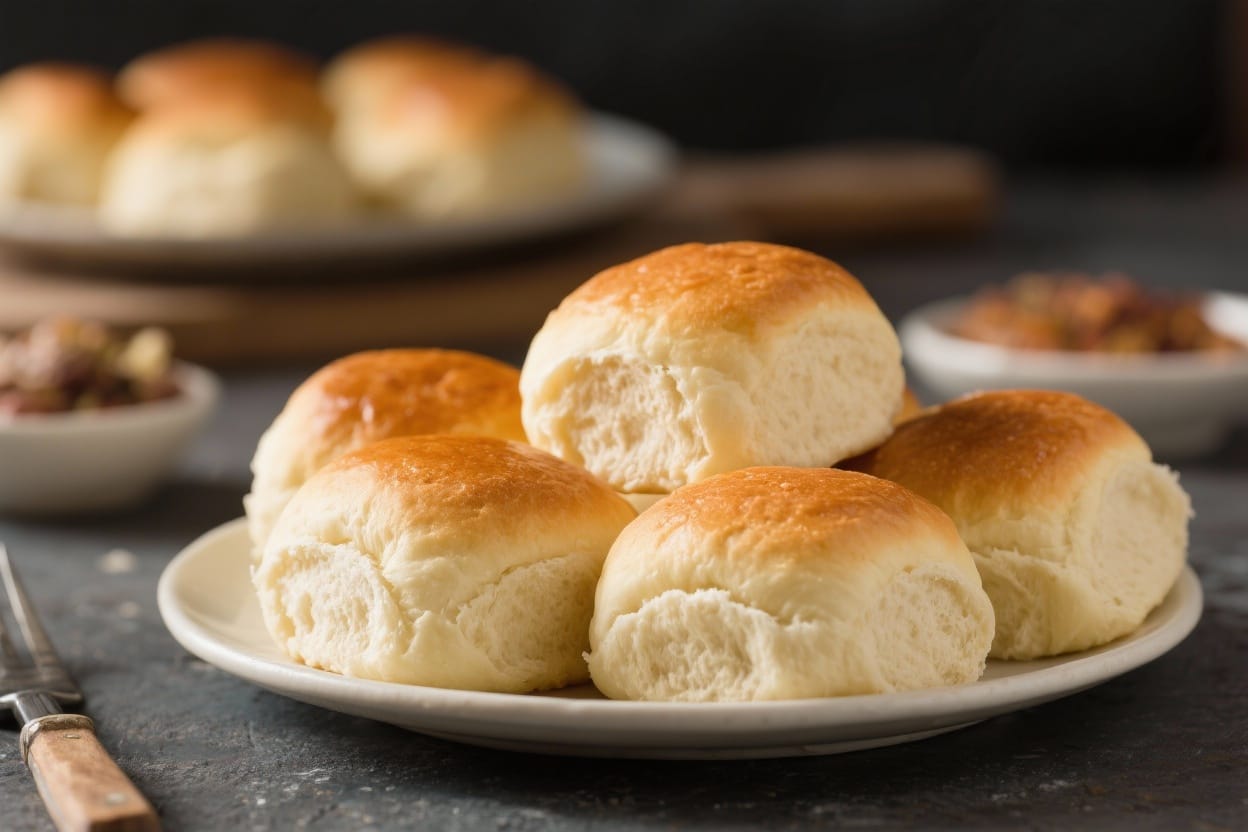
No Yeast Dinner Rolls – Quick, Fluffy, and Weeknight-Friendly

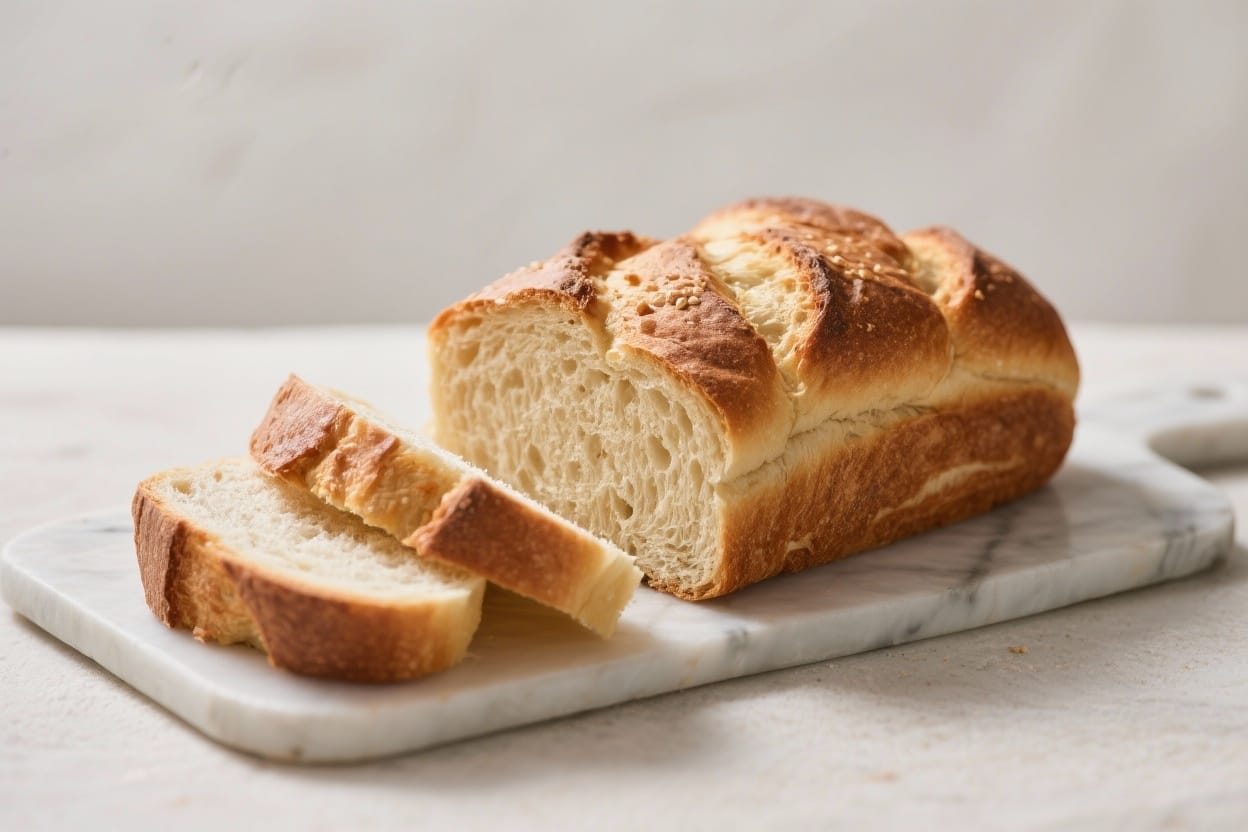
No time to proof dough? No problem. These no yeast dinner rolls come together fast, bake up golden, and taste warm and comforting with just a handful of pantry staples. They’re lightly crisp on the outside with a soft, tender crumb inside. You can whip them up while your soup simmers or your roast rests. If you’re new to bread baking or simply short on time, this recipe is a reliable go-to that feels homemade without the wait.
What Makes This Special
No yeast dinner rolls – No Yeast Dinner Rolls – Quick, Fluffy, and Weeknight-Friendly No time to proof dough
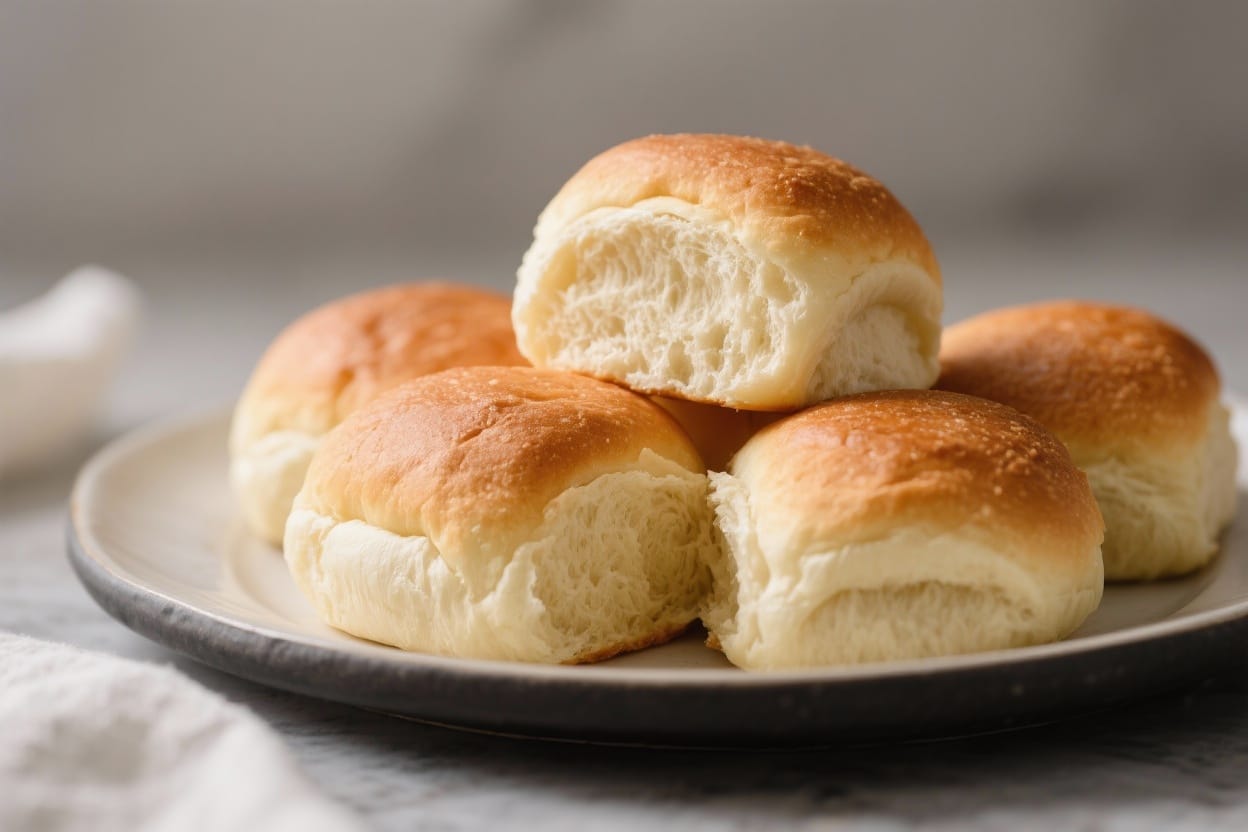
These rolls skip yeast in favor of quick leaveners like baking powder and baking soda, which means you can go from mixing bowl to table in under 40 minutes. The dough is simple to handle—no kneading or long resting times. They bake up wonderfully with a buttery finish that pairs with almost anything, from cozy stews to holiday dinners. Best of all, you can customize them with herbs, cheese, or whole grains without losing that soft, comforting texture.
Ingredients

No yeast dinner rolls – These no yeast dinner rolls come together fast, bake up golden, and taste warm and comforting with j
- 2 cups all-purpose flour (plus a little extra for dusting)
- 1 tablespoon granulated sugar
- 1 tablespoon baking powder
- 1/2 teaspoon baking soda
- 1 teaspoon fine salt
- 1/2 teaspoon garlic powder (optional, for flavor)
- 4 tablespoons cold unsalted butter, cut into small cubes
- 3/4 to 1 cup buttermilk, cold
- 1 large egg (optional, for richer rolls)
- 1 tablespoon melted butter, for brushing
Note: If you don’t have buttermilk, combine 1 cup milk with 1 tablespoon lemon juice or white vinegar. Let it sit for 5 minutes to thicken.
Instructions
No yeast dinner rolls – They’re lightly crisp on the outside with a soft, tender crumb inside
- Preheat your oven to 400°F (200°C). Line a baking sheet with parchment or lightly grease a muffin tin for taller, rounded rolls.
- In a large bowl, whisk together the flour, sugar, baking powder, baking soda, salt, and garlic powder (if using).
- Add the cold butter cubes. Using a pastry cutter or your fingertips, cut the butter into the flour until the mixture looks like coarse crumbs with pea-sized bits of butter.
- In a measuring cup, whisk the buttermilk and egg (if using). Start by pouring in 3/4 cup of the buttermilk mixture.
- Stir gently with a fork or spatula until the dough comes together. If it seems dry or crumbly, add more buttermilk 1 tablespoon at a time. The dough should be soft and slightly tacky, but not wet.
- Lightly flour your hands and surface. Turn the dough out and gently pat it into a rough rectangle about 1-inch thick. Avoid overworking it to keep the rolls tender.
- Use a bench scraper or knife to cut into 8–10 equal pieces. For a more uniform look, roll each piece into a ball with lightly floured hands.
- Place the dough pieces on the prepared baking sheet about 2 inches apart, or nestle them into the muffin tin wells.
- Brush the tops with melted butter for extra color and flavor.
- Bake for 12–16 minutes, or until the tops are golden and a toothpick comes out clean. The bottoms should sound hollow when tapped.
- Brush with a little more melted butter as they come out of the oven. Let them cool for 5 minutes before serving warm.
Keeping It Fresh
These rolls are best the day they’re made, especially within a few hours of baking. If you have leftovers, store them in an airtight container at room temperature for up to 2 days. For longer storage, freeze them in a zip-top bag for up to 2 months.
To reheat: Wrap in foil and warm in a 325°F (165°C) oven for 8–10 minutes, or microwave for 15–20 seconds. Add a dab of butter to bring back moisture if they feel dry.
Health Benefits
While dinner rolls are a comfort food, you can make them a bit more nutritious with small tweaks. Using buttermilk adds calcium and a slight tang that boosts flavor without adding extra sugar. The controlled ingredient list means you skip stabilizers and preservatives often found in store-bought rolls.
Easy upgrades: Substitute up to 1/2 cup of the all-purpose flour with white whole wheat flour for added fiber. Add 1–2 tablespoons of ground flaxseed or chia seeds for healthy fats. A sprinkle of herbs like rosemary or thyme adds antioxidants and flavor without extra calories.
Common Mistakes to Avoid
- Overmixing the dough: Stir just until everything comes together. Overworking develops gluten, making rolls tough.
- Using warm butter or milk: Keep ingredients cold so the butter releases steam in the oven, creating lift and a tender crumb.
- Too much flour: Scoop flour into the cup with a spoon and level off. Packed flour makes dry, dense rolls.
- Skipping the butter brush: That quick swipe of melted butter adds moisture, color, and flavor.
- Overbaking: No-yeast dough dries out faster. Check at the 12-minute mark and pull when just golden.
Variations You Can Try
- Cheddar and Chive: Fold in 3/4 cup shredded sharp cheddar and 2 tablespoons chopped chives before shaping.
- Garlic Parmesan: Add 1 teaspoon Italian seasoning to the dry mix and sprinkle 2 tablespoons grated Parmesan on top before baking.
- Honey Butter Rolls: Replace sugar with 1 tablespoon honey and brush baked rolls with a 1:1 mix of melted butter and honey.
- Herb Blend: Mix 1 teaspoon each dried parsley and thyme into the dry ingredients for a savory twist.
- Whole Wheat Touch: Swap 1/2 cup all-purpose flour with white whole wheat. Add an extra tablespoon of buttermilk if needed.
- Everything Seasoning: Brush with egg wash and sprinkle everything bagel seasoning on top before baking.
FAQ
Can I make the dough ahead of time?
You can mix the dry ingredients and cut in the butter ahead, then refrigerate. Add the buttermilk right before baking. Once liquid is added, bake promptly for the best rise.
What if I don’t have buttermilk?
Use the quick substitute: 1 cup milk plus 1 tablespoon lemon juice or vinegar. Let it sit for 5 minutes. You can also use plain yogurt thinned with a little milk.
Can I bake these in a cast iron skillet?
Yes. Arrange the dough balls close together in a lightly greased 10-inch skillet. Bake at 400°F (200°C) until golden, about 14–18 minutes. They’ll pull apart easily.
How do I keep them from getting dense?
Measure flour accurately, keep ingredients cold, and avoid overmixing. If the dough seems dry, add a splash more buttermilk to keep it soft.
Are these good for sandwiches?
They’re best as side rolls, but you can make them slightly larger and bake a minute or two longer. They’re great for sliders or breakfast sandwiches with eggs and cheese.
Can I make them dairy-free?
Use a neutral oil or vegan butter and swap buttermilk for dairy-free milk mixed with 1 tablespoon vinegar or lemon juice. The texture will be slightly different but still tasty.
How many rolls does this make?
Typically 8–10 rolls, depending on how you portion the dough. For smaller dinner bites, make 12 and reduce baking time by a minute or two.
Final Thoughts
No yeast dinner rolls don’t need to be a compromise. With a few simple steps and cold ingredients, you’ll get warm, buttery rolls that taste homemade and pair with almost any meal. Keep this recipe in your back pocket for busy nights, unexpected guests, or when you just want fresh bread without the wait. Serve them warm, pass the butter, and enjoy the kind of comfort only a good roll can bring.
Printable Recipe Card
Want just the essential recipe details without scrolling through the article? Get our printable recipe card with just the ingredients and instructions.