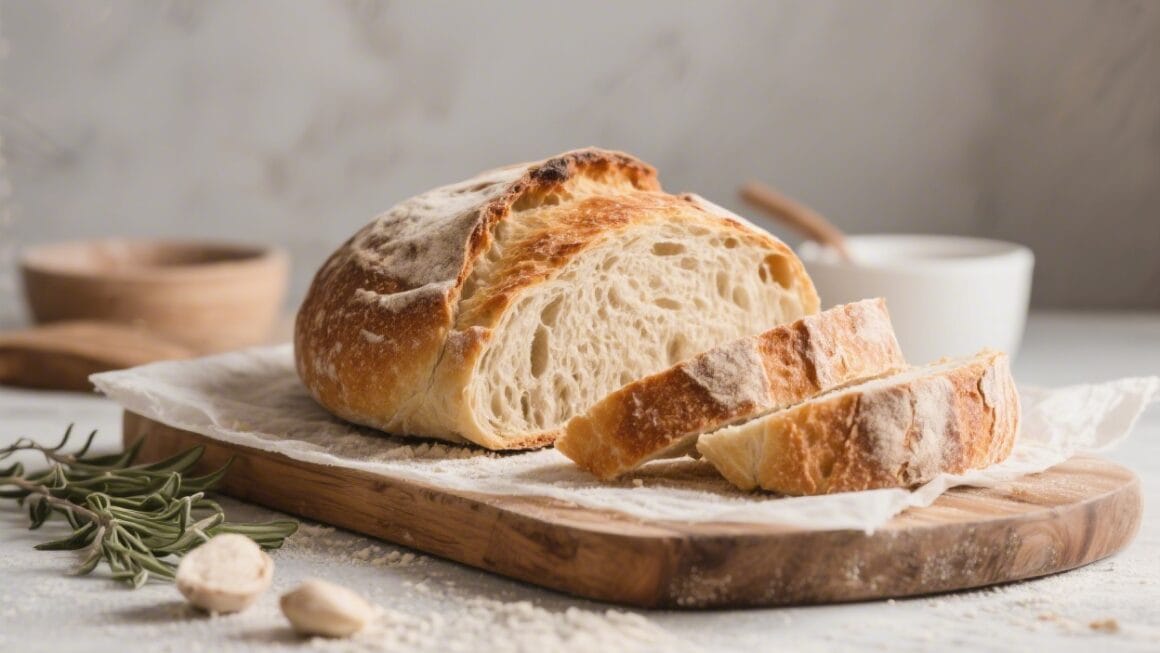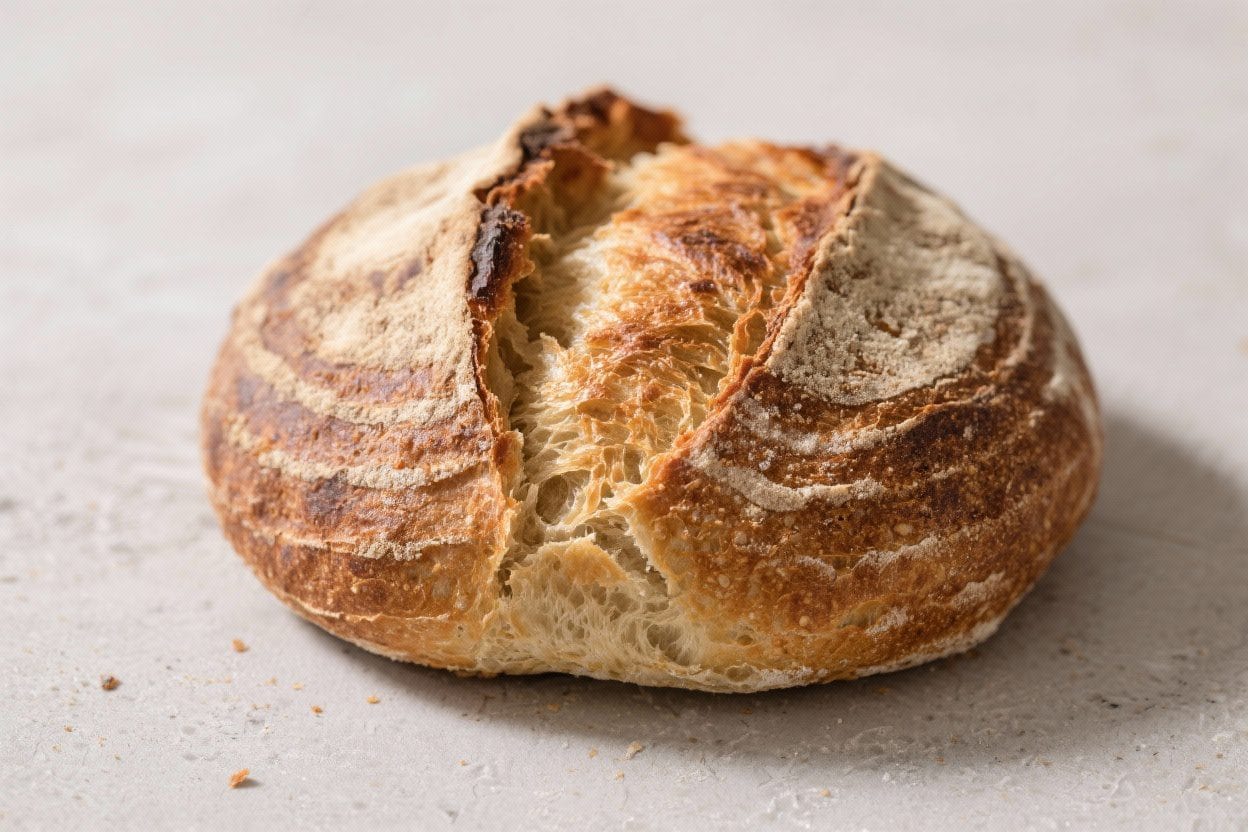
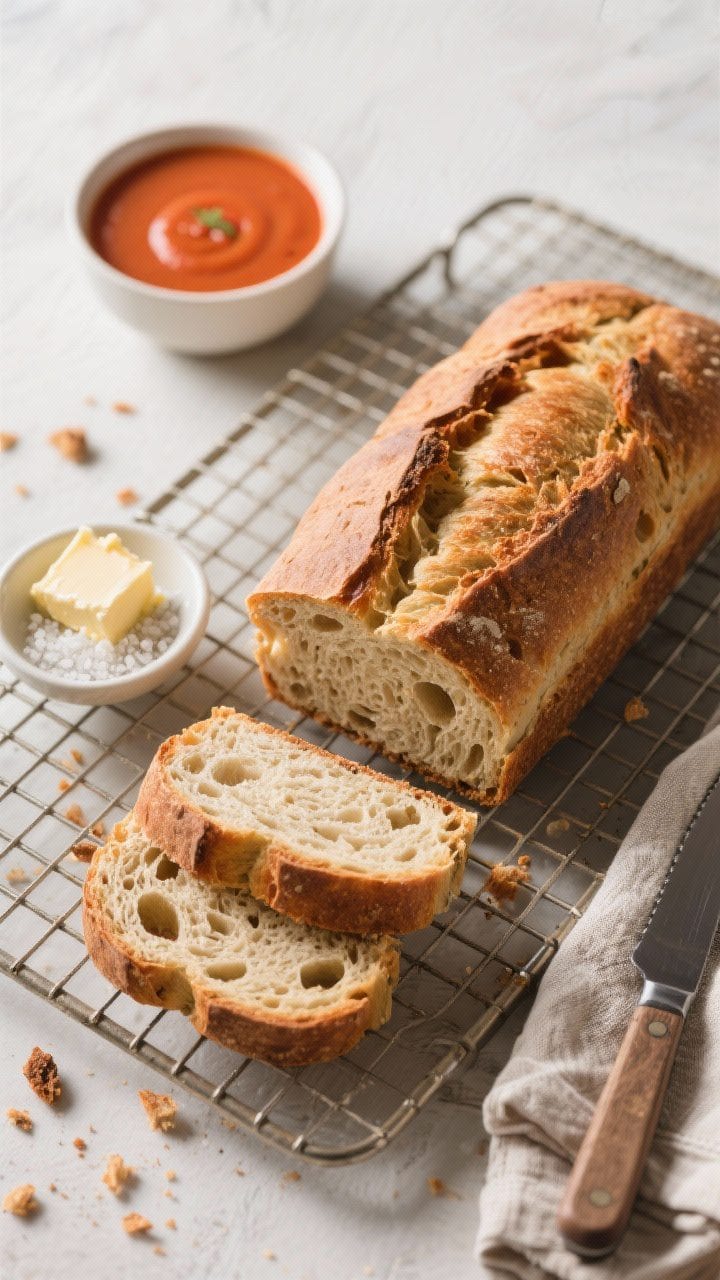
This no-knead bread is the kind of recipe that makes you feel like a baker with almost no effort. You stir a few ingredients, let time do the work, and wake up to dough that’s airy and ready to bake. The result is a golden, crackly crust and a tender, holey interior that’s perfect for butter, soup, or sandwiches.
If you’ve been intimidated by bread before, this is the best place to start. It’s straightforward, forgiving, and tastes like it came from a bakery.
What Makes This Recipe So Good
- Minimal effort, maximum payoff: No kneading or fancy equipment required. Just mix, rest, and bake.
- Overnight rise for flavor: A long, slow fermentation builds a deeper, slightly tangy taste and a better texture.
- Shatteringly crisp crust: Baking in a covered pot traps steam, giving that signature artisan crackle.
- Flexible timing: The dough can rise anywhere from 12 to 18 hours, so it works around your schedule.
- Versatile base: Add herbs, seeds, cheese, or olives without changing the method.
Igredients
- 3 cups (360 g) bread flour (all-purpose works too, but bread flour gives better chew)
- 1 1/2 teaspoons fine sea salt
- 1/2 teaspoon instant yeast (or active dry yeast)
- 1 1/2 cups (360 ml) cool water
- Extra flour for dusting
- Cornmeal or parchment paper to prevent sticking
- Neutral oil (optional, for handling)
- Equipment: 4–6 quart Dutch oven with lid (cast iron, enamel, or similar), large bowl, spatula, kitchen towel
Instructions
- Mix the dough: In a large bowl, whisk together the flour, salt, and yeast.Add the water and stir with a spatula until everything is hydrated and shaggy. The dough will look rough and sticky—that’s perfect.
- First rise (overnight): Cover the bowl with plastic wrap or a clean towel. Let it rest at room temperature for 12–18 hours.The dough should double, look bubbly, and feel very loose.
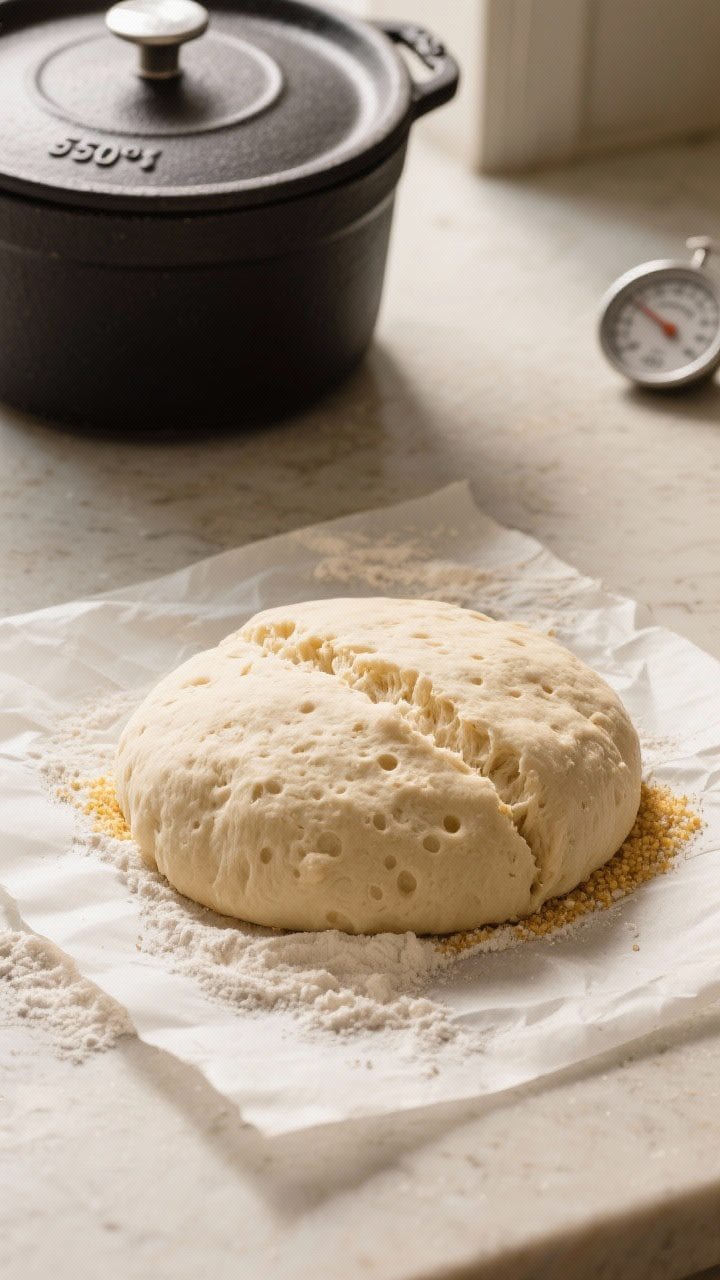
- Shape lightly: Dust a work surface with flour. Tip the dough out gently. Sprinkle a little flour on top and fold the edges toward the center a few times to form a rough ball.Don’t press out the bubbles.
- Second rest: Place the dough seam-side down on a piece of parchment sprinkled with flour or cornmeal. Cover loosely and let it rest for 30–60 minutes while the oven preheats.
- Preheat the oven and pot: Put your Dutch oven with its lid into the oven and heat to 450°F (232°C) for at least 30 minutes. This ensures a fierce initial heat for oven spring.
- Score (optional): Use a sharp knife or razor to make a quick 1/2-inch slash across the top.This helps control the expansion, but it’s optional with this dough.
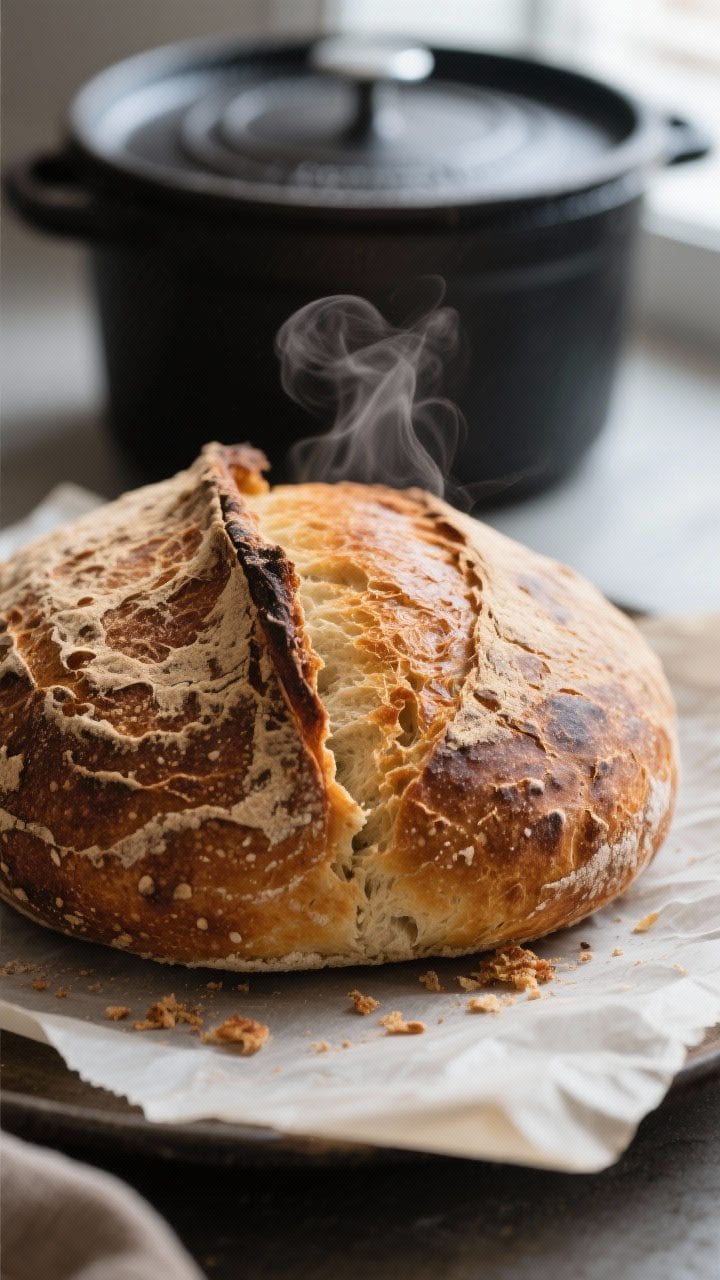
- Carefully transfer and bake: Using the parchment as a sling, lower the dough into the hot pot. Cover with the lid and bake for 30 minutes.
- Finish uncovered: Remove the lid and bake another 12–18 minutes, until the crust is deep golden brown and crackly. The internal temperature should reach about 208–210°F (98–99°C).
- Cool completely: Lift the bread out and cool on a rack for at least 1 hour.This sets the crumb and keeps it from getting gummy.
- Slice and enjoy: Use a serrated knife for clean slices. The crust will sing (crackle) as it cools—always a good sign.
Storage Instructions
- Room temperature: Store cut-side down on a cutting board or loosely wrapped in a paper bag for up to 2 days. Avoid plastic—it softens the crust.
- Longer storage:</-strong> For 3–4 days, wrap in a clean towel, then place in a bread box or a partially open paper bag.
- Freezing: Slice the loaf, wrap tightly in foil or plastic, and freeze for up to 3 months.Toast straight from frozen.
- Reviving the crust: If the crust softens, warm the loaf in a 375°F (190°C) oven for 8–10 minutes to re-crisp.
Health Benefits
- Simple ingredients: Just flour, water, yeast, and salt. No additives or sugars, so you control what’s in your bread.
- Better digestibility: The long fermentation helps break down some starches and gluten, which many people find gentler on the stomach.
- Lower glycemic impact (relative to some breads): The slow rise can modestly improve starch structure, which may help with blood sugar response compared to quick breads.
- Hydration and satiety: The moist crumb and chewy texture make each slice satisfying, which can help with portion control.
- Option to boost nutrition:</-strong> Swap in 20–30% whole wheat or rye for more fiber and minerals without sacrificing texture.
Common Mistakes to Avoid
- Using too much flour:</-strong> The dough should be sticky. Adding excess flour makes it dense.Flour your hands instead of the dough.
- Cutting the rise short: Give it the full overnight rise. Under-proofed dough won’t have the open crumb and can taste flat.
- Skipping the preheat: A fully preheated pot is key for oven spring and a crisp crust.
- Not cooling before slicing: Cutting too soon compresses the crumb and makes it gummy. Wait at least an hour.
- Wrong pot or lid fit: A loose lid leaks steam and dulls the crust.Use a snug, oven-safe lid.
Alternatives
- Flour swaps: Use 2 1/2 cups bread flour + 1/2 cup whole wheat or rye for deeper flavor. Add 1–2 tablespoons extra water if needed.
- Seeded loaf: Mix in 2–3 tablespoons sesame, poppy, or sunflower seeds. Toast them first for better flavor.
- Herb and garlic: Add 1–2 teaspoons dried herbs (rosemary, thyme) and 1 minced garlic clove.Keep salt the same.
- Cheese and olive: Fold in 1/2 cup chopped olives and 1/2 cup shredded hard cheese during shaping. Reduce water by a tablespoon if dough gets too loose.
- No Dutch oven: Bake on a preheated baking stone or sheet. Place a metal pan on the lower rack and pour in a cup of hot water to create steam.Bake 35–45 minutes.
FAQ
Can I use active dry yeast instead of instant yeast?
Yes. Use the same amount. If you want, dissolve it in a few tablespoons of the water first, but for this high-hydration dough, you can mix it dry with the flour without issues.
How warm should my kitchen be for the overnight rise?
Room temperature between 68–75°F (20–24°C) is ideal.
If your kitchen is cooler, let it go toward 18 hours. If it’s warmer, check at around 10–12 hours to avoid over-proofing.
My dough seems too wet. Did I do something wrong?
No—this dough is supposed to be sticky.
Wet dough creates an open crumb and airy texture. Lightly flour your hands and work surface, and resist the urge to add lots of extra flour.
What if I don’t have a Dutch oven?
Use a heavy sheet pan or baking stone. Preheat it well.
Create steam by adding hot water to a preheated metal pan on the lower rack as you put the bread in the oven.
How do I know it’s fully baked?
Look for a deep golden-brown crust and a hollow sound when you tap the bottom. An instant-read thermometer should read around 208–210°F (98–99°C) in the center.
Can I speed up the rise?
You can shorten it to 6–8 hours in a warmer spot, but you’ll lose some flavor and texture. The overnight rise is worth the wait.
Can I make the dough ahead and refrigerate it?
Yes.
After the initial 8–10 hours at room temperature, refrigerate up to 24 hours. Let it warm for 60–90 minutes before shaping and baking.
Why is my crust soft after cooling?
Humidity can soften the crust. Reheat the loaf at 375°F (190°C) for 8–10 minutes to restore crispness.
Store without plastic to keep it crunchy.
Is bread flour necessary?
No. All-purpose flour works fine. Bread flour simply adds more chew and structure due to higher protein.
Can I double the recipe?
You can, but bake as two separate loaves for best results.
One oversized dough ball won’t bake as evenly and may stay gummy inside.
Final Thoughts
This no-knead overnight bread proves great baking doesn’t need to be complicated. A few pantry ingredients, a long rest, and a hot pot are all it takes to get a bakery-level loaf at home. Once you’ve tried the base recipe, start playing with flours, seeds, and add-ins.
Keep the process the same, trust the timing, and let the oven work its magic. Warm slices, a crisp crust, and a soft crumb—simple food at its best.
Printable Recipe Card
Want just the essential recipe details without scrolling through the article? Get our printable recipe card with just the ingredients and instructions.