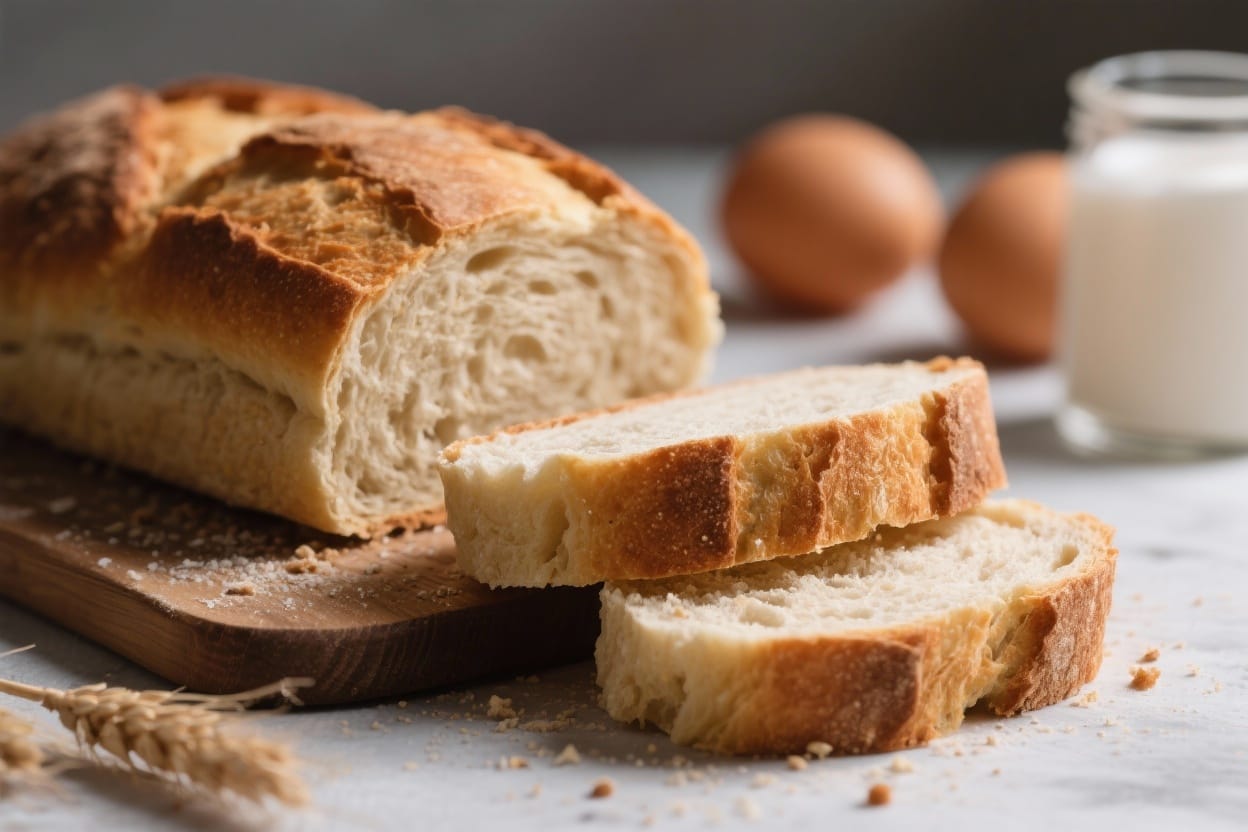
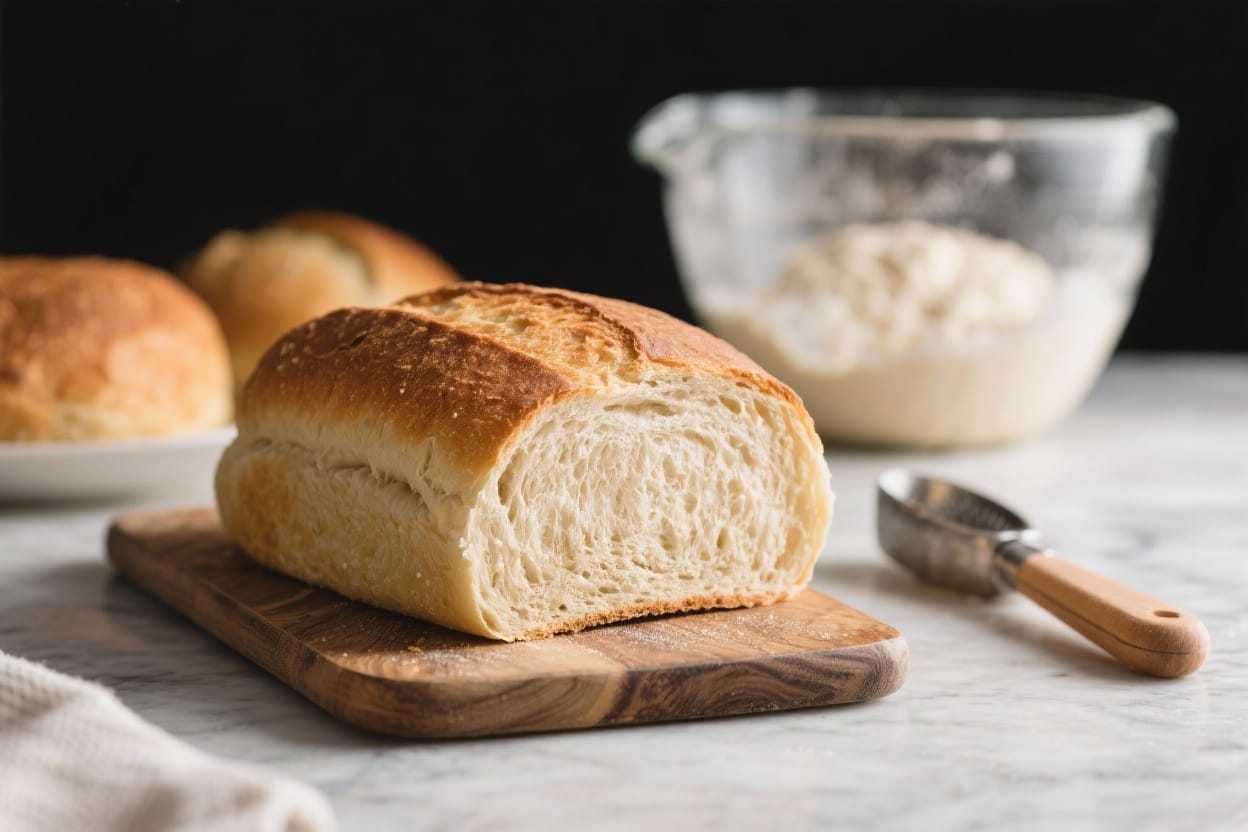
Make Ahead Bread Recipe – Fresh Loaves on Your Schedule
Fresh, warm bread doesn’t have to be a same-day project. With a make ahead method, you can mix the dough today, let time do the work in the fridge, and bake tomorrow (or even a few days later). The result is bread with great flavor, a crisp crust, and a soft interior—without babysitting the dough all day. This approach fits around busy schedules and still delivers bakery-worthy results. If you can stir and wait, you can make this bread.
What Makes This Special
Make ahead bread recipe – Make Ahead Bread Recipe – Fresh Loaves on Your Schedule Fresh, warm bread doesn’t have to be a same-
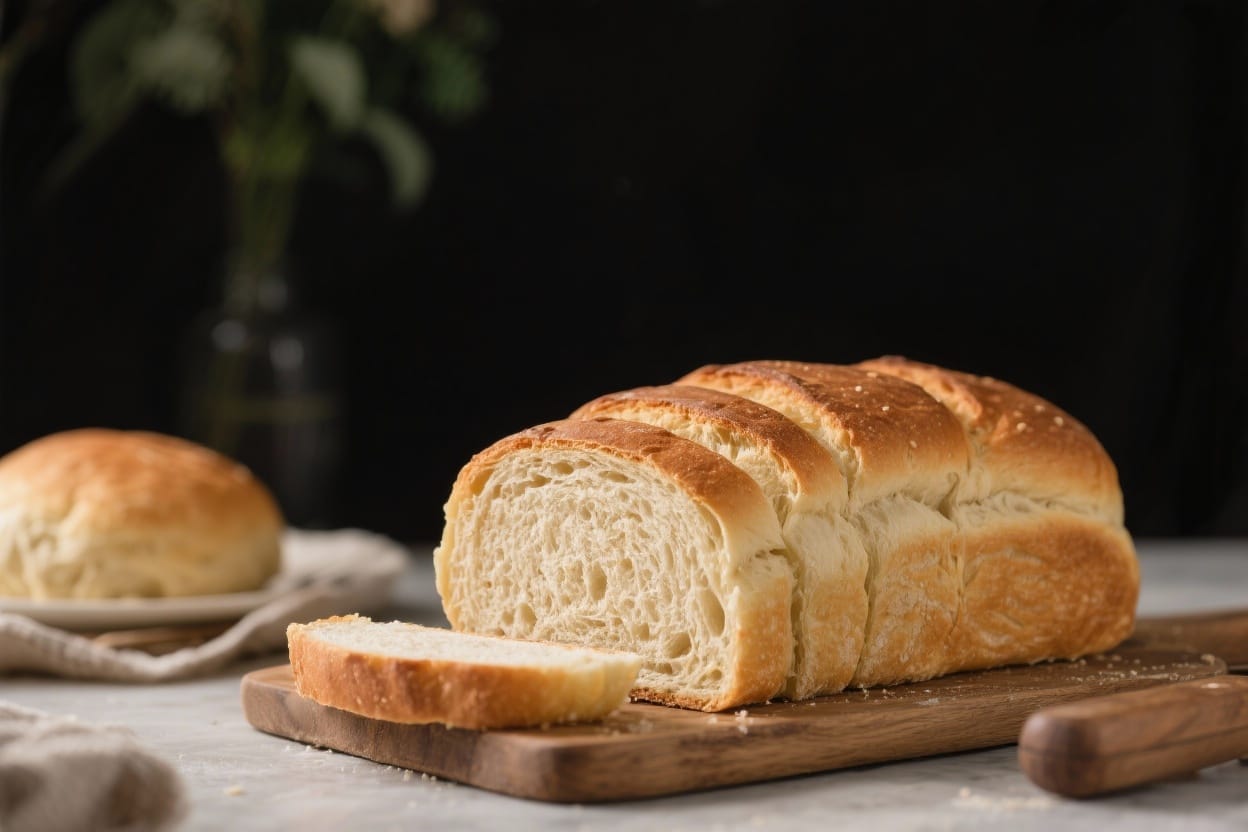
This make ahead bread is built for flexibility. You mix a simple dough, then let it rise slowly in the refrigerator for up to 72 hours. That long, cold rest develops flavor and makes the dough easier to handle.
The low effort is another plus. No special tools or kneading marathons required—just a bowl, a spoon, and a baking sheet or Dutch oven. The method is forgiving, so beginners can get great results, and experienced bakers can tweak it to suit their taste.
It also scales well. Make one loaf for dinner or double the dough and bake throughout the week. The dough waits for you, not the other way around.
Ingredients
Make ahead bread recipe – With a make ahead method, you can mix the dough today, let time do the work in the fridge, and bake
- 3 1/4 cups (400 g) bread flour (all-purpose works too; see notes)
- 1 1/2 teaspoons fine sea salt
- 1 teaspoon instant yeast (or 1 1/4 teaspoons active dry)
- 1 1/2 cups (360 ml) cool water (about 65–70°F / 18–21°C)
- 1 tablespoon olive oil (optional, for a softer crumb)
- Extra flour for dusting
- Cornmeal or parchment for the baking surface (optional)
Instructions
Make ahead bread recipe – The result is bread with great flavor, a crisp crust, and a soft interior—without babysitting the do
- Mix the dough: In a large bowl, whisk together flour, salt, and yeast. Add water (and olive oil if using). Stir with a spoon until no dry flour remains. The dough will be shaggy and sticky, and that’s okay.
- Rest briefly: Cover the bowl and let the dough sit at room temperature for 20–30 minutes. This short rest helps the flour hydrate and makes the dough smoother without heavy kneading.
- Strengthen the dough (optional but helpful): With wet hands, perform 2–3 sets of stretch-and-folds: grab one edge, stretch it up, and fold it over the center. Rotate the bowl and repeat 4 times for a full set. Rest 10 minutes between sets. This builds structure.
- Cold rise: Lightly oil the inside of the bowl to prevent sticking. Cover tightly and place in the refrigerator for at least 12 hours and up to 72 hours. The longer it rests, the deeper the flavor.
- Shape the loaf: On baking day, flour your counter and gently scrape out the dough. Dust the top with a little flour. Using a bench scraper or your hands, fold edges toward the center to form a round or oval. Flip seam-side down and tighten the shape by cupping your hands and rotating.
- Second rise: Place the shaped dough on parchment or a cornmeal-dusted sheet. Cover with a towel and let rise at room temperature until puffy and slightly jiggly, 45–75 minutes depending on your kitchen temperature. It should not double completely—about 60–75% expansion is ideal.
- Preheat the oven: About 30 minutes before baking, preheat your oven to 450°F (232°C). If you have a Dutch oven or lidded pot, place it inside to preheat. Otherwise, use a baking stone or a heavy sheet pan.
- Score the dough: Right before baking, dust the top lightly with flour and use a sharp knife or lame to make a 1/2-inch deep slash across the top. This helps control the rise and gives a nice look.
- Bake with steam: For a Dutch oven: carefully place the dough (on parchment) into the hot pot, cover, and bake 20 minutes. Remove the lid and bake 15–20 minutes more until deep golden. For a sheet pan/stone: add a small tray of hot water to the bottom of the oven for the first 15 minutes, then remove and continue baking 15–20 minutes.
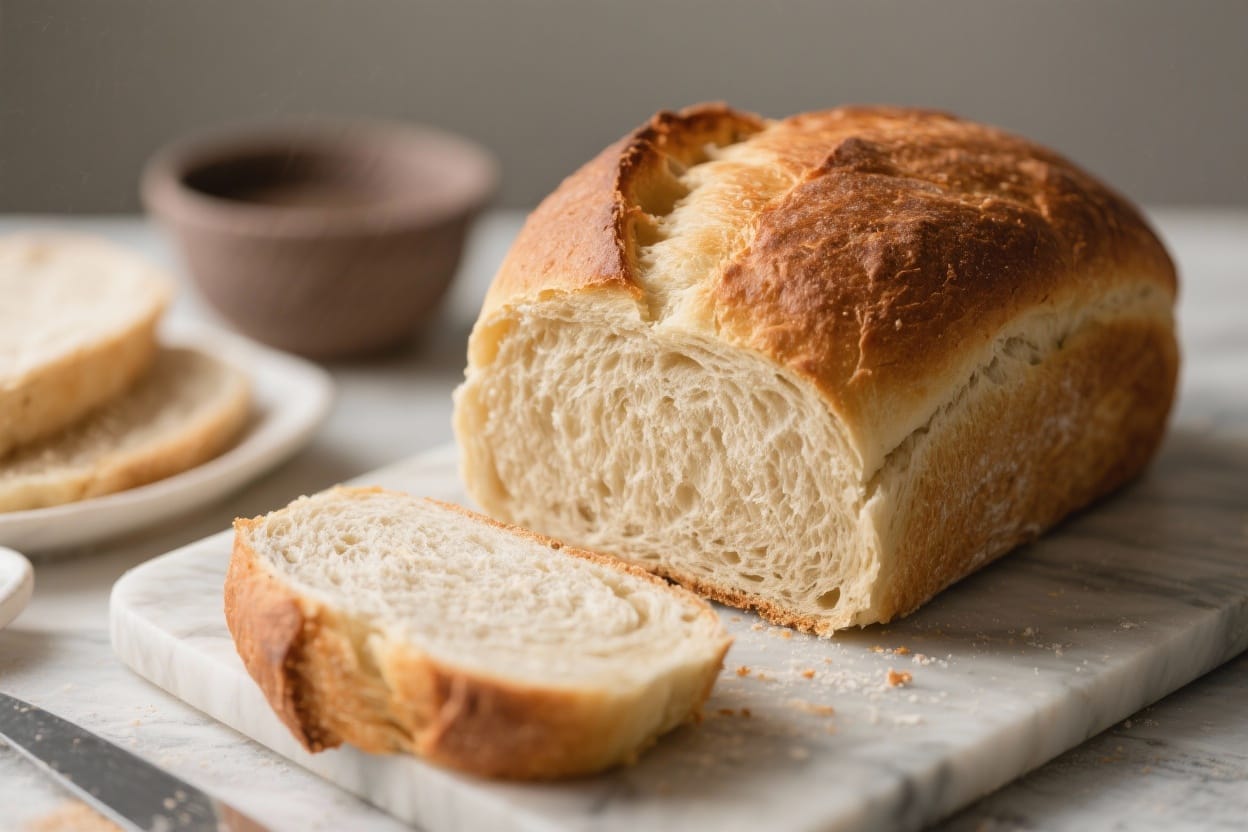
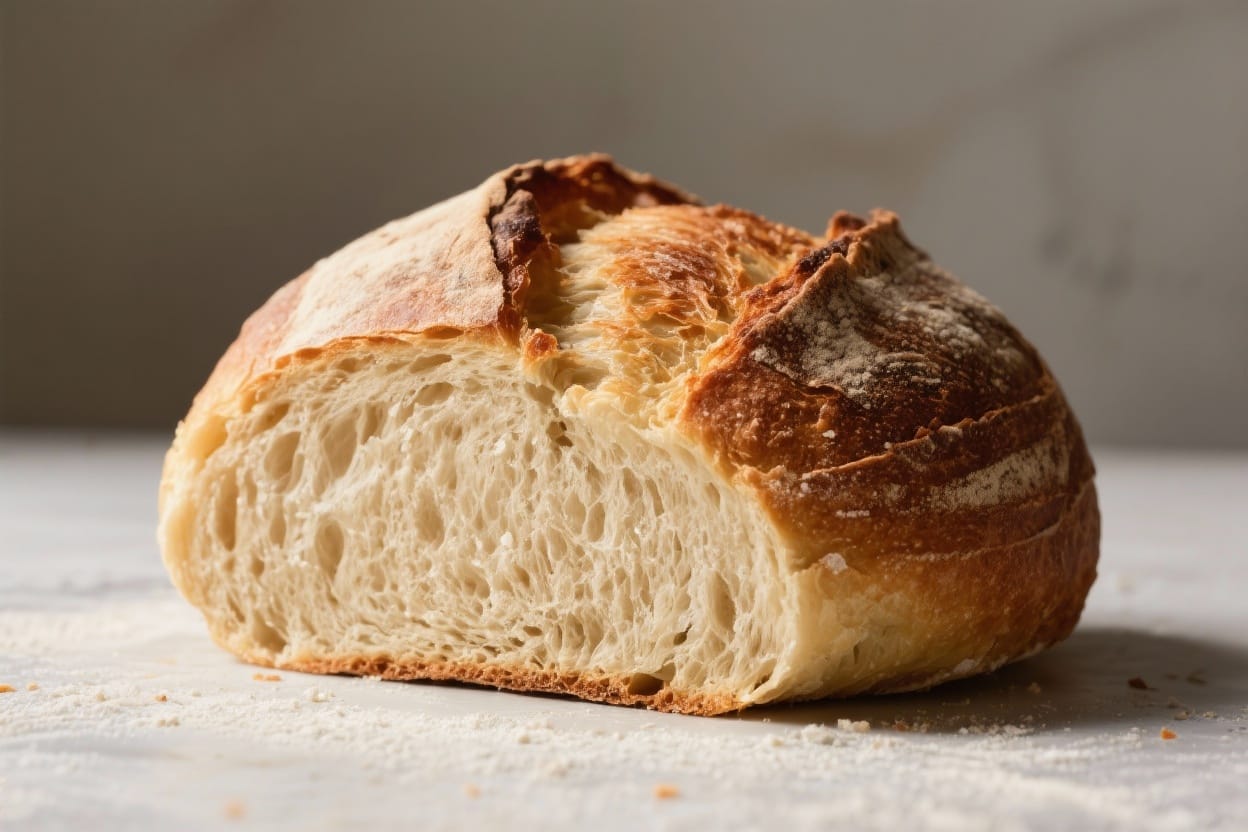
- Check doneness: The loaf is done when the crust is richly browned and it sounds hollow when tapped on the bottom. Internal temperature should be 205–210°F (96–99°C).
- Cool completely: Place on a wire rack and let cool at least 60 minutes before slicing. Cooling sets the crumb and prevents gumminess.
How to Store
- Room temperature: Keep the loaf in a paper bag or wrapped in a clean towel for 1–2 days. Avoid plastic if you love a crisp crust.
- Freezer: Slice the cooled loaf, wrap tightly in foil or a freezer bag, and freeze for up to 2 months. Toast slices straight from frozen.
- Fridge dough storage: The unbaked dough can rest in the refrigerator for up to 72 hours. If it rises too much, gently degas and reshape before the final proof.
- Refresh the crust: If the crust softens, re-crisp by baking the loaf at 350°F (175°C) for 8–10 minutes.
Why This is Good for You
Homemade bread lets you control ingredients—no additives, no mystery sweeteners. You get a short list and fresh flavor. The long, cold rise also improves digestibility for some people because enzymes have time to break down parts of the flour.
It’s budget-friendly and satisfying. A single loaf costs a fraction of bakery prices and fills your kitchen with that classic bread smell. Plus, baking at home can be relaxing and rewarding, especially when the process fits your schedule.
Pitfalls to Watch Out For
- Water too warm: Hot water can over-activate or kill yeast, hurting flavor and rise. Aim for cool water.
- Under-proofing or over-proofing: If the dough springs back quickly when poked, it needs more time. If it collapses easily, it went too far. Look for a slow, gentle spring.
- Skipping the preheat: A hot oven is key to good oven spring and a crisp crust.
- Slicing too soon: Cutting hot bread compresses the crumb and makes it gummy. Let it cool.
- Too much flour during shaping: Extra flour can make seams refuse to seal and lead to dense spots. Use just enough to prevent sticking.
Alternatives
- Flour swaps: Use half whole wheat and half bread flour for a heartier loaf. Add 1–2 tablespoons extra water if the dough feels stiff.
- No Dutch oven: Bake on a preheated sheet pan or stone with a tray of hot water for steam during the first 15 minutes.
- Herb and garlic: Stir in 1–2 teaspoons dried herbs, or 2–3 teaspoons minced fresh herbs. Add 1 clove minced garlic for flavor.
- Seeded crust: Brush the shaped dough lightly with water and roll in sesame, poppy, or sunflower seeds before the final rise.
- Cheese twist: Fold in 1/2 cup shredded sharp cheddar during shaping for pockets of melted cheese.
FAQ
Can I use active dry yeast instead of instant?
Yes. Use about 1 1/4 teaspoons active dry yeast. If you want, dissolve it in part of the cool water for 5–10 minutes before mixing to ensure it’s active, though it usually works fine added directly.
What if I only have all-purpose flour?
All-purpose works well. The dough may feel slightly softer and spread a bit more, but it will still bake into a great loaf. If it’s very slack, reduce water by 1–2 tablespoons.
How long can I keep the dough in the fridge?
Up to 72 hours. After that, yeast activity tapers off and the dough can become overly acidic. If it looks very bubbly and puffy before you’re ready, gently press it down and keep it cold another day.
Do I have to knead this dough?
No heavy kneading is necessary. The rest periods and optional stretch-and-folds build enough strength. This is a low-effort, high-reward method.
Why is my crust pale?
Usually it’s an oven temperature or steam issue. Make sure you preheat thoroughly, bake long enough uncovered, and use a Dutch oven or create steam for the first part of baking. A few extra minutes can deepen color.
Can I make rolls instead of a loaf?
Yes. After the cold rise, divide the dough into 8–10 pieces, shape into tight balls, proof 35–50 minutes, and bake at 425°F (220°C) for 15–20 minutes until golden.
How do I know the dough is ready to bake?
After the second rise, press the dough gently with a floured finger. If the indentation springs back slowly and not completely, it’s ready. Fast spring-back means it needs more time; if it collapses, it’s over-proofed—reshape and give a shorter rise.
Can I add sweeteners?
Sure. Add 1–2 tablespoons honey or sugar to the initial mix for a slightly softer crumb and a hint of sweetness. It will also help browning.
Wrapping Up
This make ahead bread recipe gives you fresh, homemade bread on your timeline. Mix, chill, shape, and bake when it works for you. With a few simple steps and a cold rise, you’ll get great flavor and texture without fuss. Keep the method handy, and you’ll always be a day away from a warm, crusty loaf.
Printable Recipe Card
Want just the essential recipe details without scrolling through the article? Get our printable recipe card with just the ingredients and instructions.