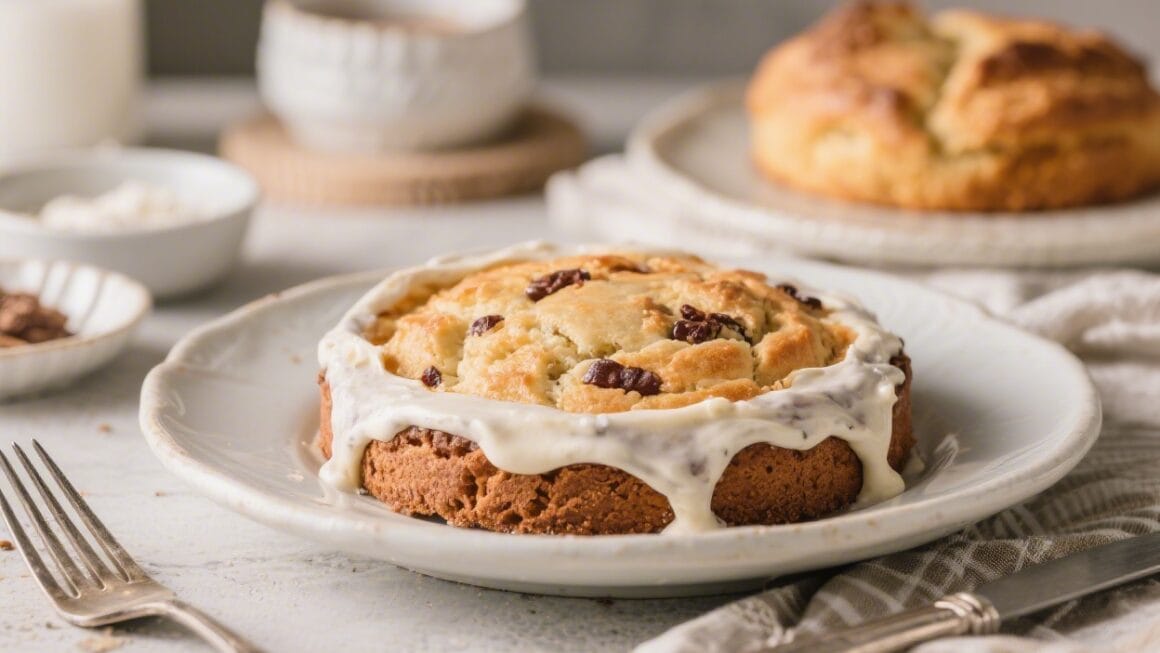
How to Proof Dough Faster at Home – Simple Ways to Speed Things Up
Waiting for dough to rise can feel like watching paint dry. When you’re craving fresh bread or pizza, every minute counts. The good news: you can speed up proofing at home without ruining texture or flavor. With a few smart tricks and the right environment, you’ll get soft, airy dough in much less time. Here’s how to do it safely, simply, and with great results.
What Makes This Special
How to proof dough faster at home – How to Proof Dough Faster at Home – Simple Ways to Speed Things Up Waiting for dough to rise can fee
This guide focuses on practical, home-friendly methods that actually work. No special equipment required—just a warm spot, a bit of moisture, and a few ingredients you likely already have. You’ll learn how temperature, hydration, and yeast activity affect speed, and how to control them. The goal isn’t just faster proofing—it’s faster proofing that still makes flavorful, well-structured dough.
Ingredients
How to proof dough faster at home – When you’re craving fresh bread or pizza, every minute counts
- All-purpose or bread flour
- Water (warm, not hot)
- Yeast (active dry or instant)
- Sugar or honey (optional, for a small boost)
- Salt
- Olive oil or neutral oil (optional, depending on recipe)
- Optional helpers: plain yogurt or buttermilk (for enriched doughs), vital wheat gluten (for structure if using all-purpose flour)
Instructions
How to proof dough faster at home – The good news: you can speed up proofing at home without ruining texture or flavor
- Use Warm (Not Hot) Water: Aim for 100–110°F (38–43°C). This wakes up yeast quickly without killing it. If you don’t have a thermometer, the water should feel warm but comfortable to the touch—like a hot bath, not scalding.
- Bloom Active Dry Yeast: If using active dry yeast, mix it with warm water and a pinch of sugar. Let it sit for 5–10 minutes until foamy. Instant yeast can go straight into the flour, but warm liquids still help.
- Add a Small Sugar Boost: A teaspoon of sugar or honey can speed up early yeast activity. Don’t overdo it. Too much sugar tightens gluten and slows fermentation.
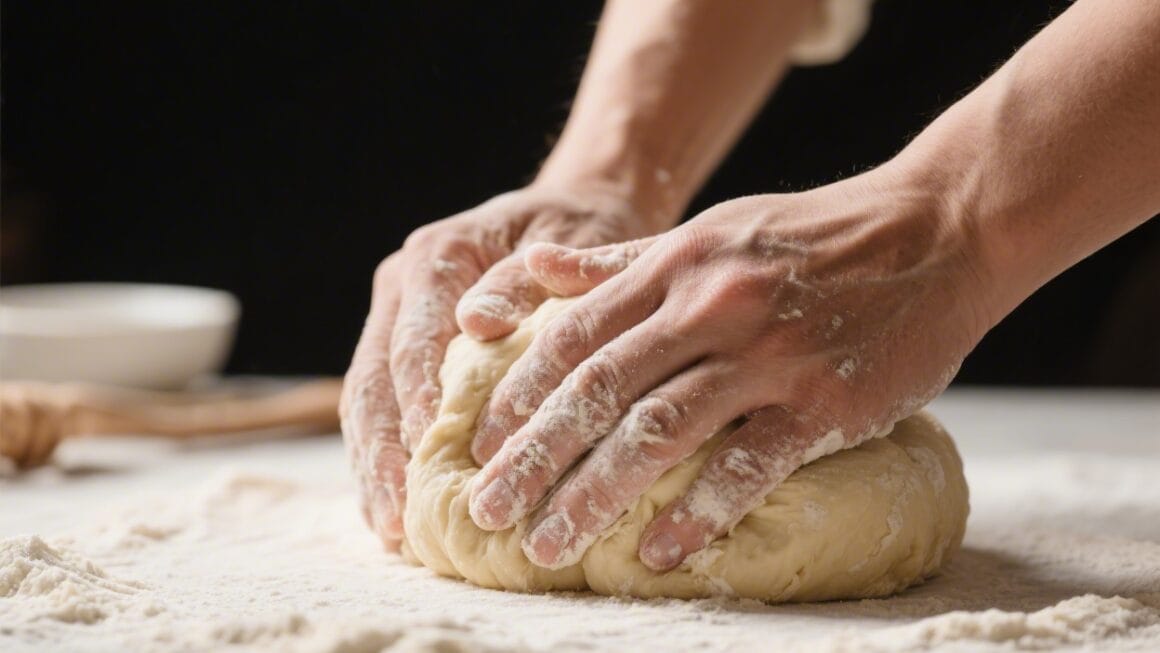
- Knead for Good Structure: A well-developed dough traps gas better, so it rises faster. Knead until smooth and elastic—about 8–10 minutes by hand or 6–8 minutes in a mixer.
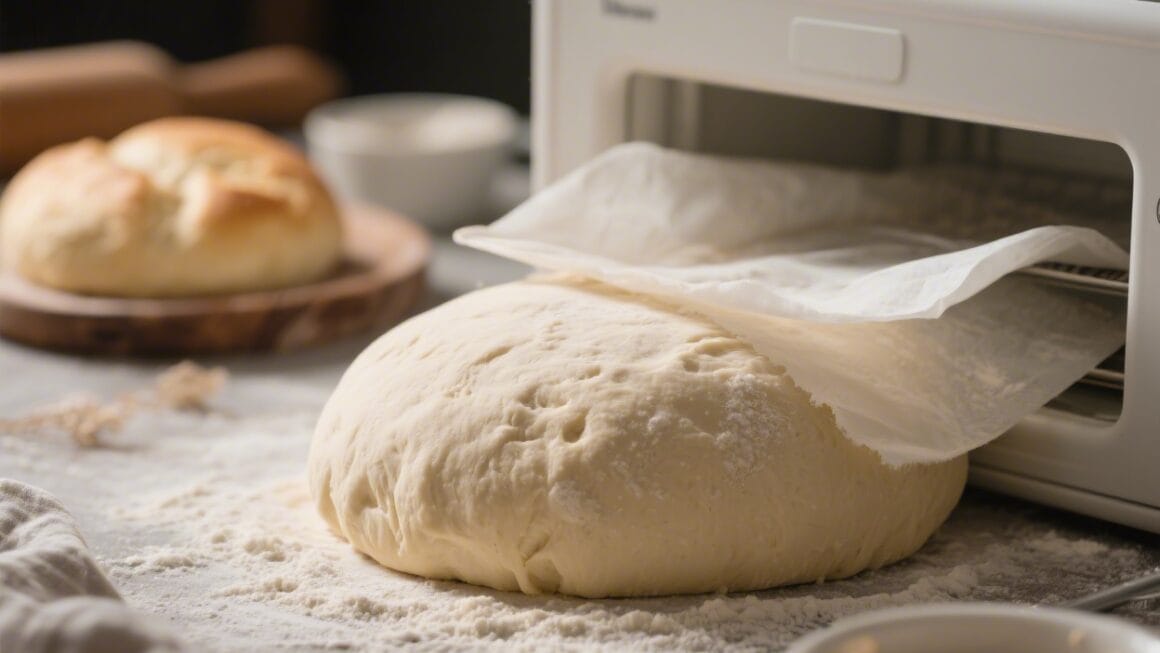
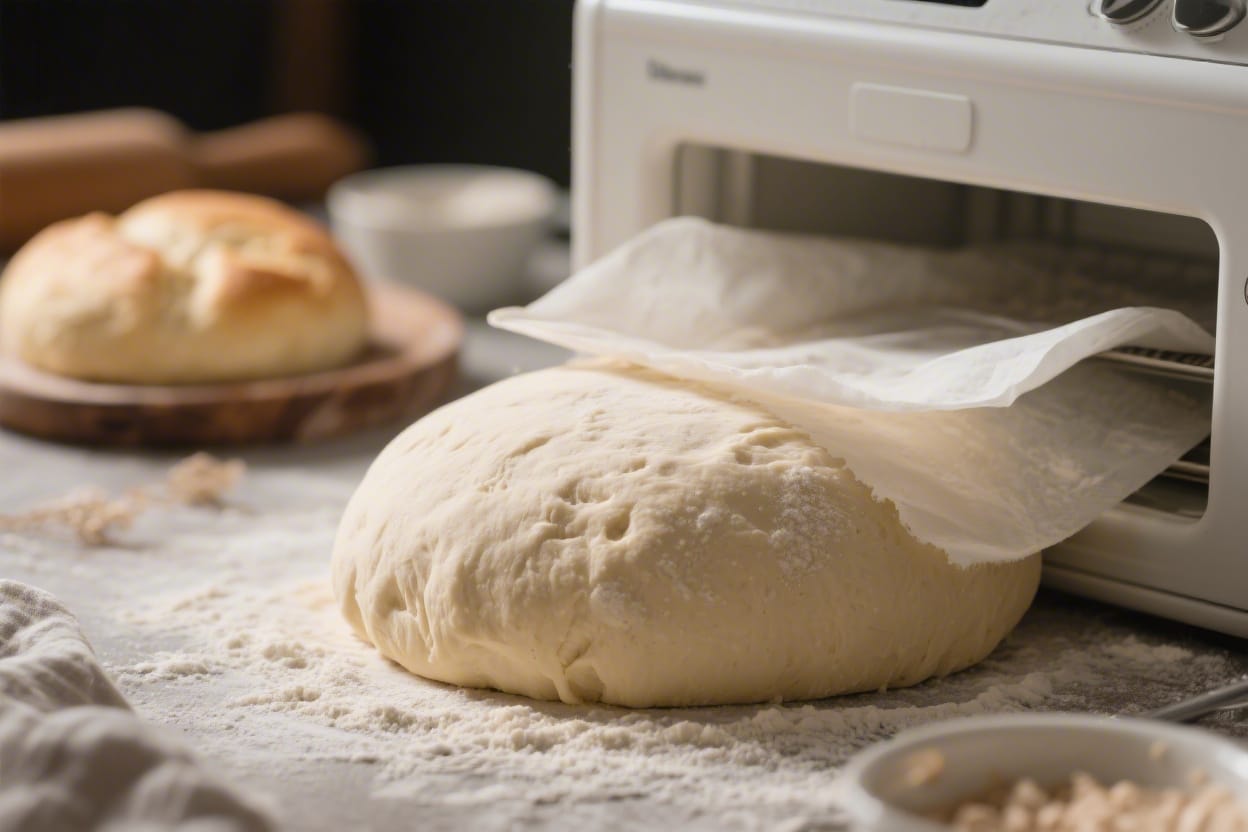
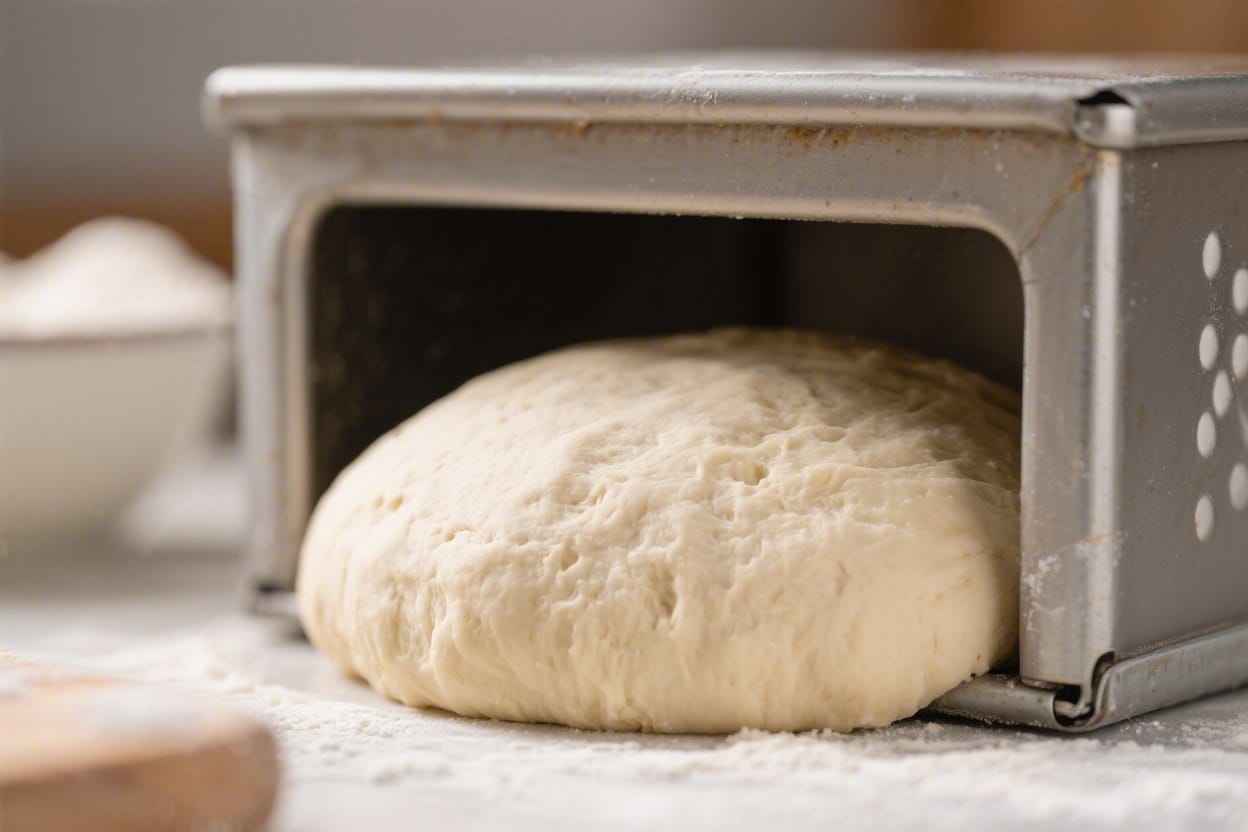
- Make a Warm, Humid Proofing Zone: Place dough in a lightly oiled bowl, cover, and set it in a warm place. Great options:
- Oven trick: Turn the oven on for 1–2 minutes, then turn it off. Place a mug of hot water inside and set the covered dough on the middle rack.
- Microwave trick: Heat 1 cup of water in the microwave until steaming. Move the water to the corner and place the covered dough inside. Close the door. Don’t turn the microwave on.
- Sunny window or near (not on) a warm appliance like a fridge or dishwasher after a cycle.
- Cover to Keep Moisture In: Use plastic wrap, a damp towel, or a reusable cover. Moisture prevents a crust from forming on the dough, which can slow or stop rising.
- Use a Warm Water Bath (For Bowls): Set the dough bowl inside a larger bowl filled with warm water (not touching the dough). Refresh the warm water as needed. This gently speeds fermentation.
- Try a Smaller Dough Temperature Boost: If your kitchen is cold, warm your flour slightly in the oven for a minute or two, or microwave water until warm. Keep everything just warm, not hot.
- Divide and Conquer: If you’re in a big rush, divide dough into smaller pieces. Smaller masses proof faster because heat reaches them more easily.
- Short Second Proof: After shaping, give the dough a quicker final rise using the same warm, humid environment. Be careful not to overproof—look for dough that springs back slowly when gently pressed.
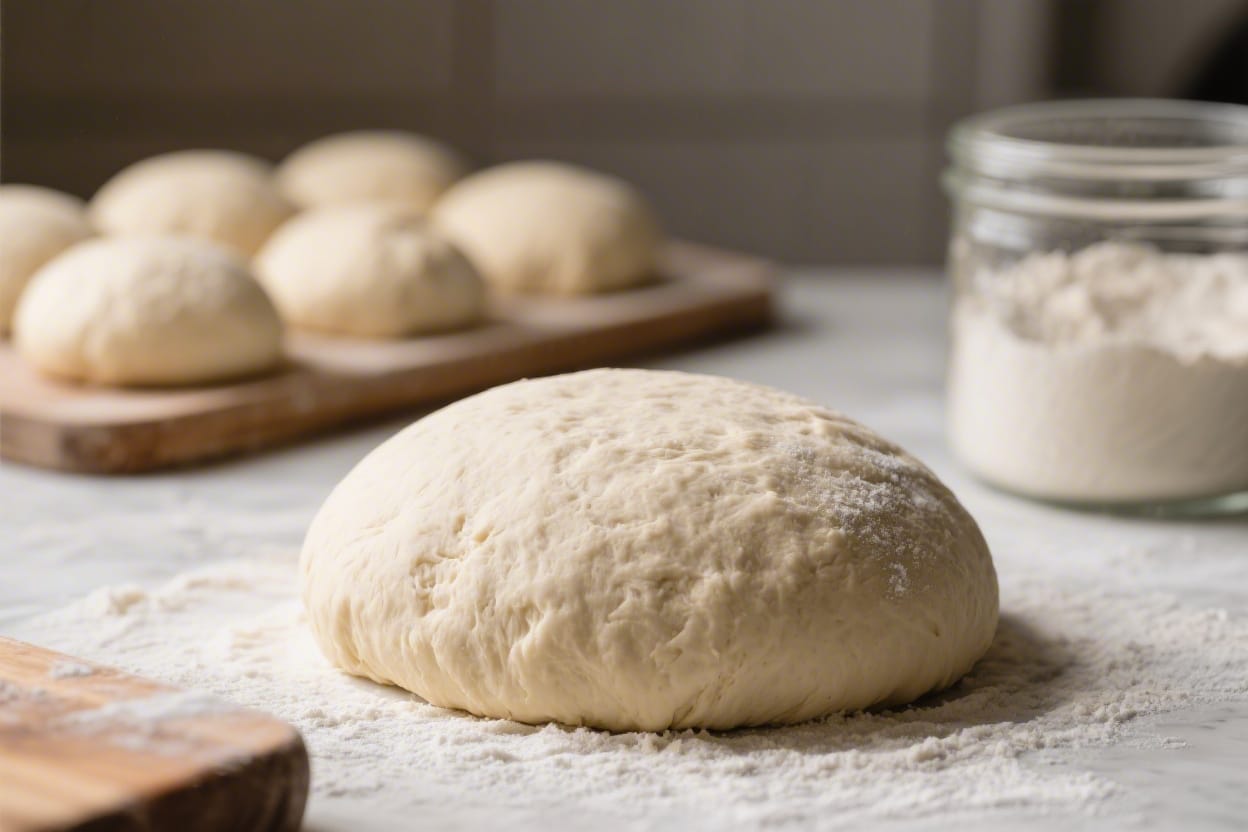
- Watch the Dough, Not the Clock: Fast-proofed dough might be ready in 30–60 minutes, but it depends on room temperature, flour, and yeast. When it has doubled in size and feels puffy and airy, you’re good.
Keeping It Fresh
Faster proofing can mean less flavor development, so balance speed with taste. If time allows, do a short cold rest in the fridge after the first rise. Even 30–60 minutes helps. For storage, refrigerate dough (covered) for up to 24 hours; it will continue to proof slowly, building flavor. After baking, cool completely before storing bread in a paper bag or wrapped in a kitchen towel for a crisp crust, or in a sealed bag for a softer crust.
Why This is Good for You
- Time-saving: You get homemade bread or pizza on a weeknight without waiting all afternoon.
- Control over ingredients: Fewer additives, more whole foods, and the option to use whole grains.
- Better texture: Warm, humid proofing helps dough rise evenly and bake up lighter.
- Confidence boost: Once you understand yeast behavior, baking becomes relaxed and repeatable.
What Not to Do
- Don’t use hot water. Anything above about 120°F (49°C) can kill yeast. If it’s too hot for your finger, it’s too hot for dough.
- Don’t blast with direct heat. Avoid setting the bowl on a radiator, heating pad, or in a hot oven. You’ll create dry spots and uneven fermentation.
- Don’t add too much sugar or salt. Both can slow or inhibit yeast. Follow your recipe, and keep “speed boosts” modest.
- Don’t skip kneading or stretching. Poor gluten development means poor gas retention and a sluggish rise.
- Don’t overproof. If dough becomes too gassy and fragile, it collapses and bakes dense. Do the poke test: a gentle press should spring back slowly and leave a soft dent.
Variations You Can Try
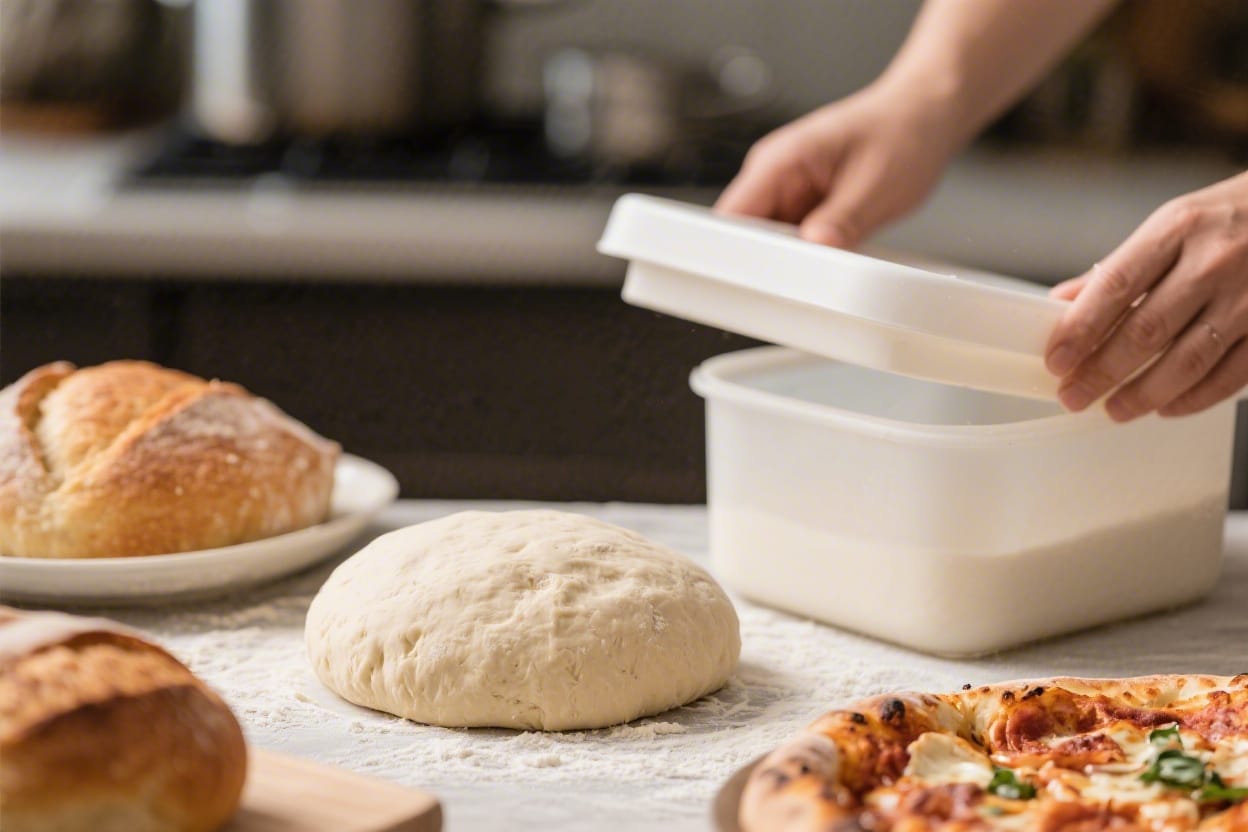
- Proofing Box Hack: Use a large clear bin with a lid. Place a cup of hot water inside and your covered dough. This traps warmth and humidity.
- Yogurt Enrichment: For soft rolls, replace some water with plain yogurt. Slight acidity can help gluten and flavor, and fat keeps the crumb tender.
- Poolish or Biga (Quick Version): If you have 1–2 extra hours, make a quick preferment with equal parts flour and water plus a pinch of yeast. It speeds final proofing and boosts flavor, even on a tight schedule.
- Instant Yeast Shortcut: Swap active dry for instant yeast at a 1:1 ratio and mix directly with flour. It often proofs a bit faster.
- Whole Grain Balance: If using whole wheat, add 1–2 teaspoons of vital wheat gluten per cup of whole wheat flour to help rise faster and taller.
FAQ
How warm should my proofing spot be?
Aim for 75–85°F (24–29°C). Warmer than that risks overproofing or drying out. Consistent, gentle warmth is best.
Can I speed proof in the oven with the light on?
Yes, the oven light often warms the cavity slightly. Add a mug of hot water for humidity, and keep the door closed. Always turn the oven fully off.
Is more yeast the answer?
Not usually. A small increase can help, but too much yeast can cause off flavors and a fast rise that collapses. Stick close to the recipe and use warmth and humidity for speed.
What if my dough isn’t rising at all?
Check yeast freshness first. Then check water temperature and room conditions. If the yeast is old or the water was too hot or too cold, start over with fresh yeast and warm water.
How do I know when to stop the first rise?
Look for doubling in size, a smooth, domed surface, and a puffy feel. The poke test should leave a soft indentation that slowly springs back.
Can I microwave the dough to speed it up?
No. Do not run the microwave with the dough inside. Use it only as a warm, enclosed box with a cup of hot water. Direct microwaving will cook the dough.
Does adding salt slow proofing?
Yes, salt can slow yeast slightly, but it’s essential for flavor and gluten strength. Mix it in as directed by the recipe; don’t skip it.
How fast can I expect results?
With warm water and a good proofing environment, many doughs double in 45–75 minutes. Heavier doughs or whole grain blends take longer.
Can I refrigerate fast-proofed dough?
Absolutely. Cold fermentation after a quick rise adds flavor and makes handling easier. Cover well to prevent drying.
Why did my dough taste bland after rushing?
Fast proofing can limit flavor development. Next time, consider a brief cold rest after the first rise, or add a small preferment for more depth.
In Conclusion
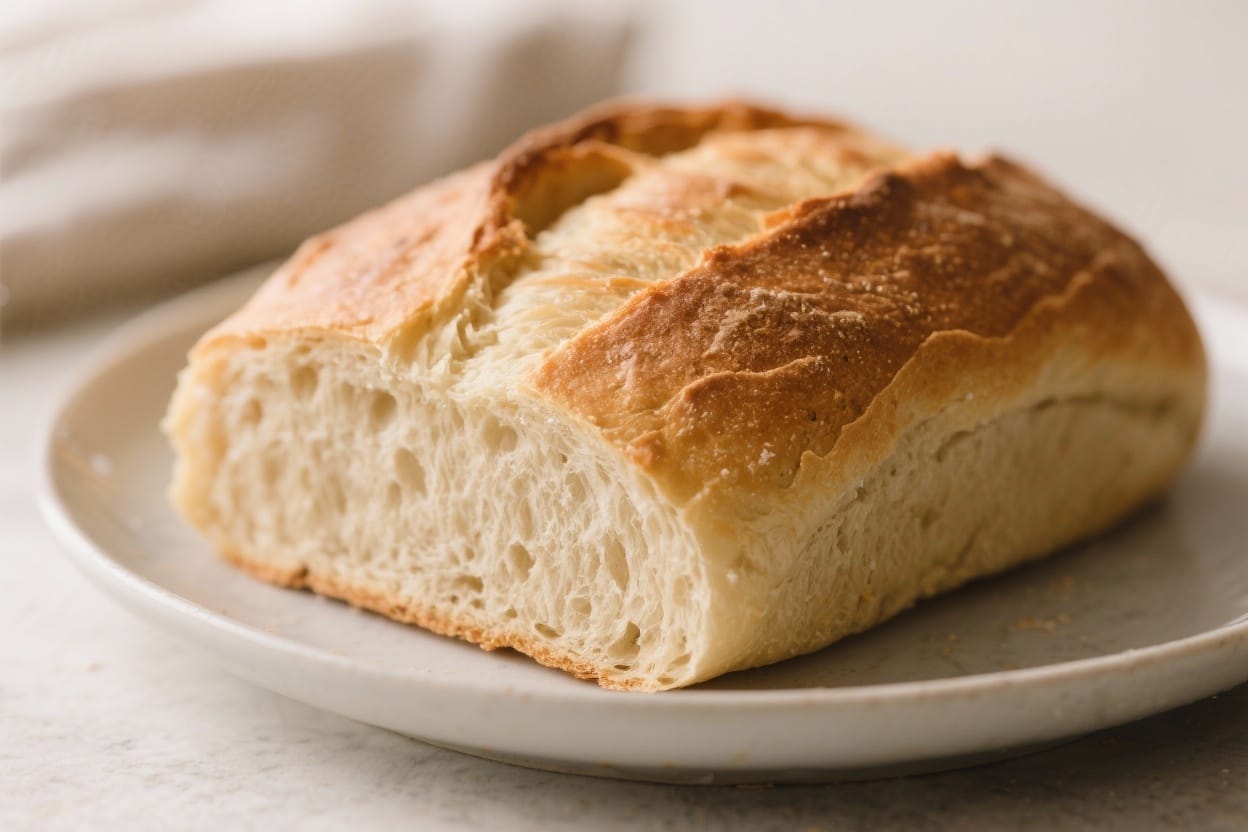
Speeding up dough proofing at home is about gentle warmth, steady humidity, and good dough structure. Keep the water warm, the environment cozy, and the dough covered. Watch for signs of readiness instead of the clock, and don’t overdo the heat. With these simple habits, you’ll get light, flavorful loaves and pizzas—faster—without sacrificing quality.
Printable Recipe Card
Want just the essential recipe details without scrolling through the article? Get our printable recipe card with just the ingredients and instructions.