How to Knead Dough Properly by Hand – A Simple, Reliable Technique
Kneading dough by hand looks old-fashioned, but it’s one of the best ways to build great texture and flavor in bread. With just a few simple moves, you’ll turn a shaggy mix into a smooth, stretchy dough that bakes up beautifully. No mixer needed—just your hands, a little patience, and a steady rhythm. Once you learn what the dough should feel like, you’ll trust your instincts more than any timer. This guide walks you through the process step by step, with tips to fix common issues along the way.
Why This Recipe Works
How to knead dough properly by hand – How to Knead Dough Properly by Hand – A Simple, Reliable Technique Kneading dough by hand looks old-
Kneading develops gluten, the network of proteins that gives bread its structure and chew. When you hydrate flour and work it, gluten strands align and strengthen, trapping gas from yeast. That’s what creates an airy crumb and a good rise.
This method uses a simple push-fold-turn motion to gently stretch the dough without tearing it. It balances time and effort so you don’t overwork the dough or dry it out. You’ll also learn visual and tactile cues—like the windowpane test—so you know exactly when to stop.
Ingredients
How to knead dough properly by hand – With just a few simple moves, you’ll turn a shaggy mix into a smooth, stretchy dough that bakes up b
- 3 cups (360 g) bread flour (all-purpose works too, but bread flour gives better chew)
- 1 cup + 2 tablespoons (270 ml) warm water (about 105–110°F/40–43°C)
- 2 teaspoons (7 g) instant or active dry yeast
- 2 teaspoons (10 g) fine sea salt
- 1 tablespoon (12 g) sugar or honey (optional, helps yeast activity and browning)
- 1 tablespoon (15 ml) olive oil or softened butter (optional, for tenderness and flavor)
- Extra flour for dusting (use sparingly)
Instructions
How to knead dough properly by hand – No mixer needed—just your hands, a little patience, and a steady rhythm
- Mix the dough. In a large bowl, combine warm water, yeast, and sugar (if using). Let it sit 5 minutes if using active dry yeast, until foamy. Add flour, salt, and oil (if using). Stir with a spoon until a shaggy dough forms and no dry flour remains.
- Rest briefly (autolyse). Let the dough rest for 10–15 minutes. This short break hydrates the flour and makes kneading easier and faster.
- Turn out and prepare your surface. Lightly flour a clean counter. Scrape the dough out with a bowl scraper or spatula. Dust your hands lightly with flour, but avoid adding lots of extra flour to the dough.
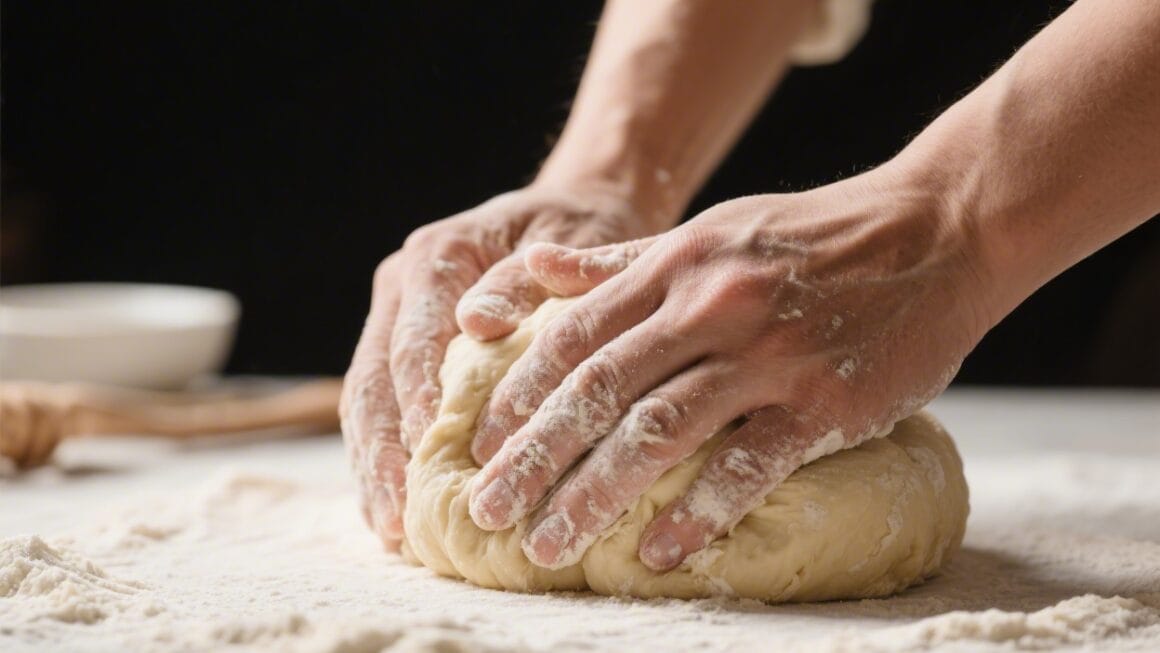
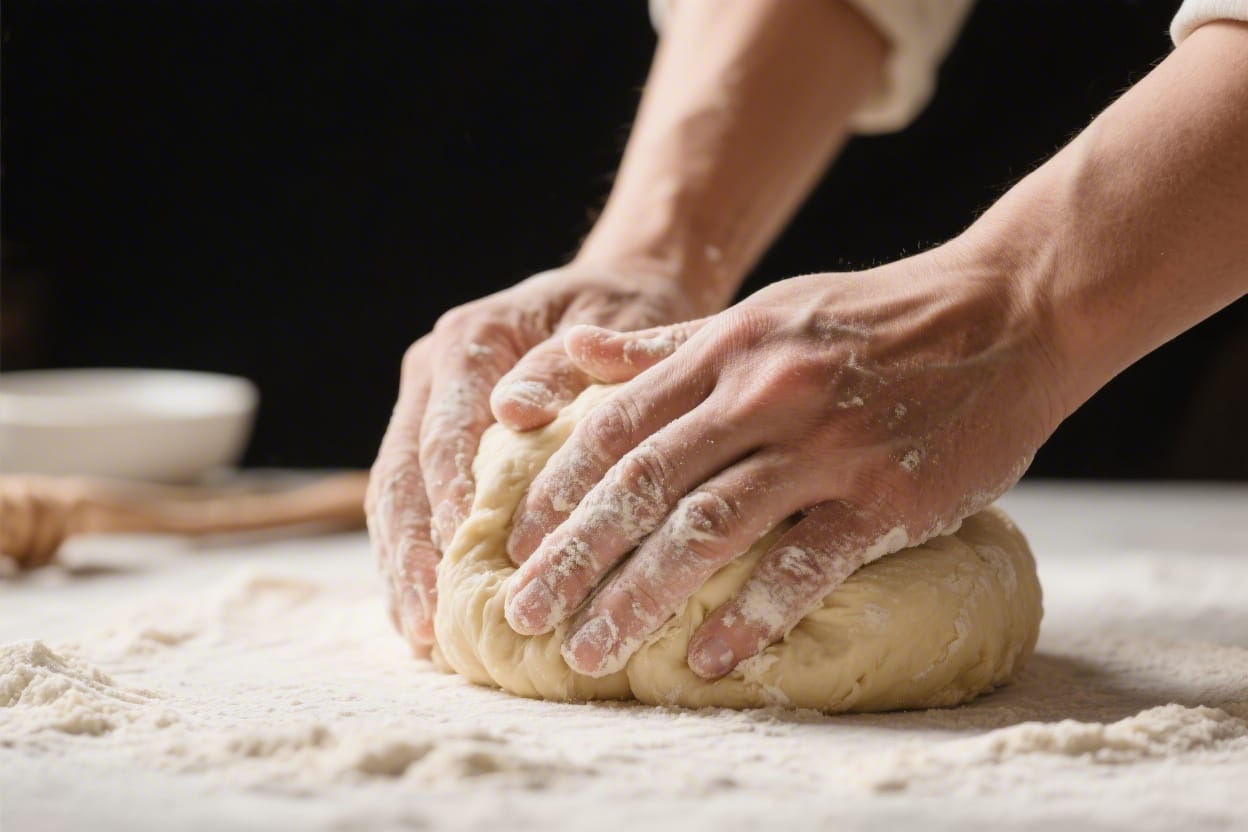
- Start the kneading rhythm. Use the heel of your hand to push the dough away from you, stretching it slightly. Fold the far edge back over toward you. Give the dough a quarter turn and repeat. Keep a smooth, steady motion: push, fold, turn.
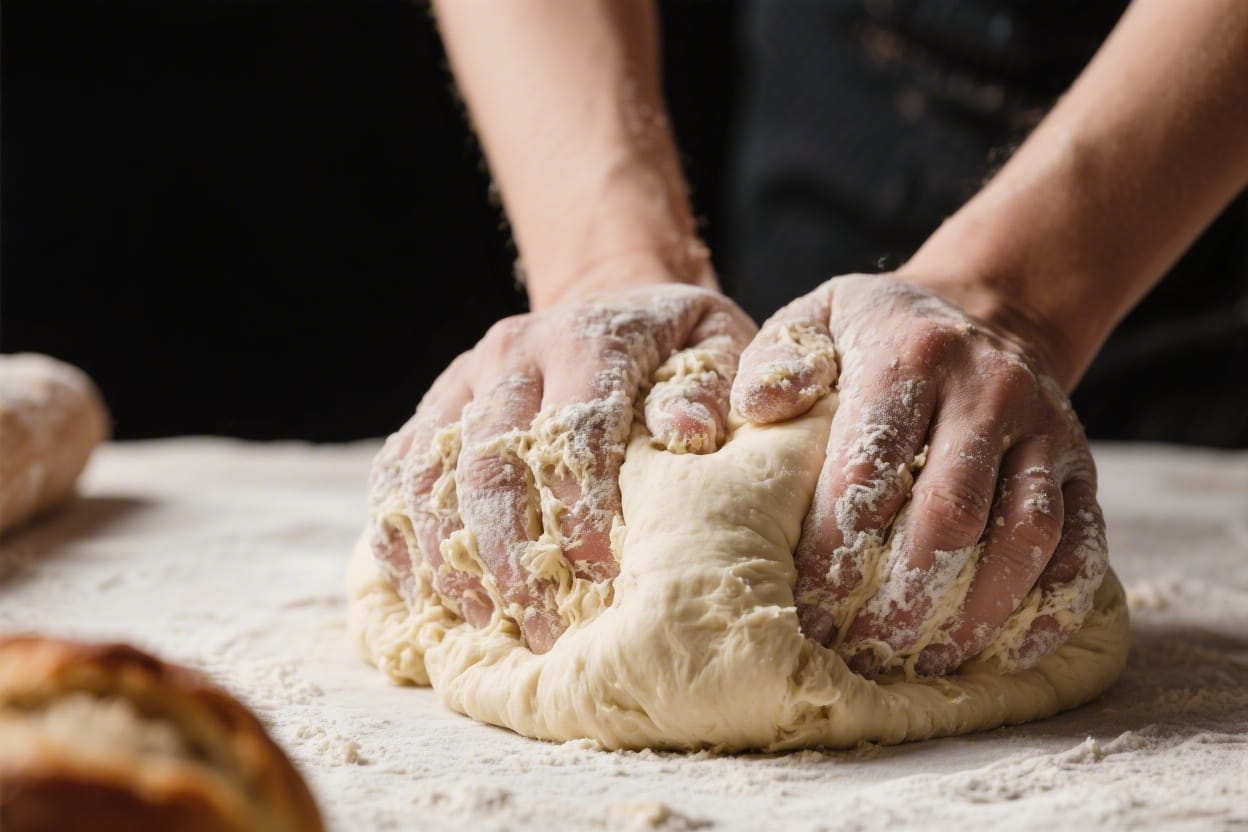
- Adjust stickiness the right way. If the dough is very sticky, resist the urge to dump flour on it. Use a bench scraper to lift and fold. Lightly flour the surface only as needed. Slight tackiness is good—it helps gluten form.
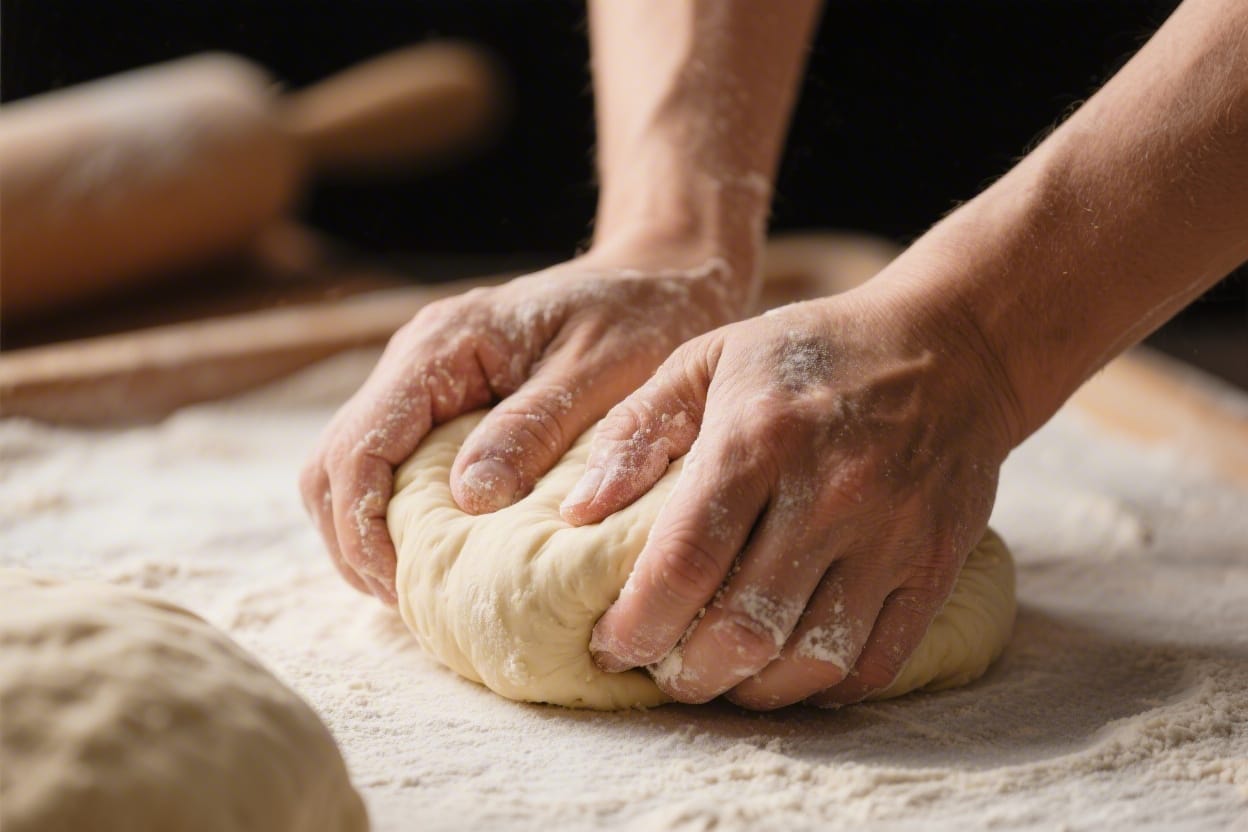
- Develop strength without tearing. As you knead, the dough will go from rough and lumpy to smoother and springier. If it smears and tears, you’re pushing too hard. Be firm but gentle, stretching without ripping.
- Use the slap-and-fold (optional). For very wet doughs, pick up the dough, slap the bottom edge onto the counter, and fold it over itself. Repeat in a quick rhythm for 2–3 minutes to build strength without extra flour.
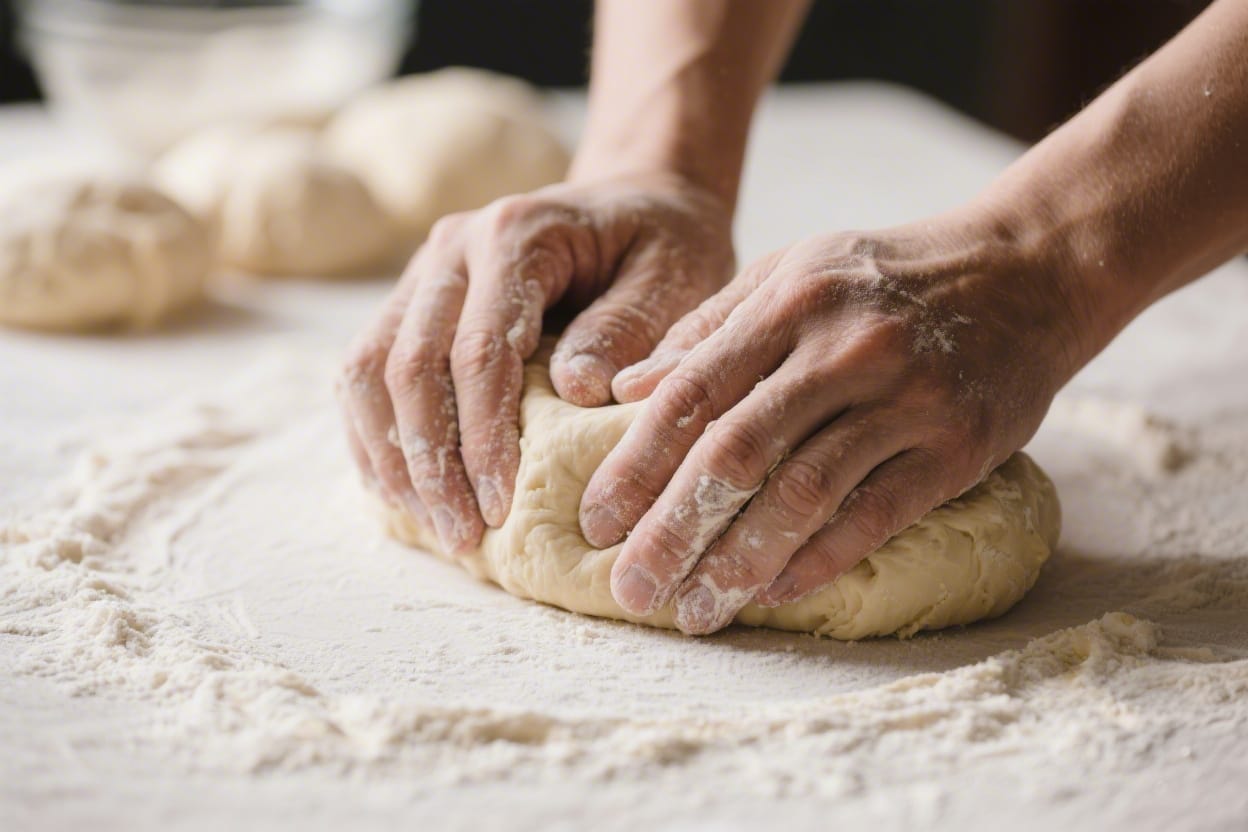
- Check for progress at 6–8 minutes. The dough should feel more elastic and slightly bouncy. It will still be a bit tacky but not a gluey mess. If it’s still loose, rest it for 5 minutes and knead another 2–3 minutes.
- Do the windowpane test. Pinch off a small piece and gently stretch it between your fingers. If you can pull it into a thin, translucent sheet without it tearing quickly, gluten is developed. If it tears easily, knead 1–2 minutes more and retest.
- Shape into a ball. Tuck the edges under to create surface tension and form a smooth ball. This helps with an even rise.
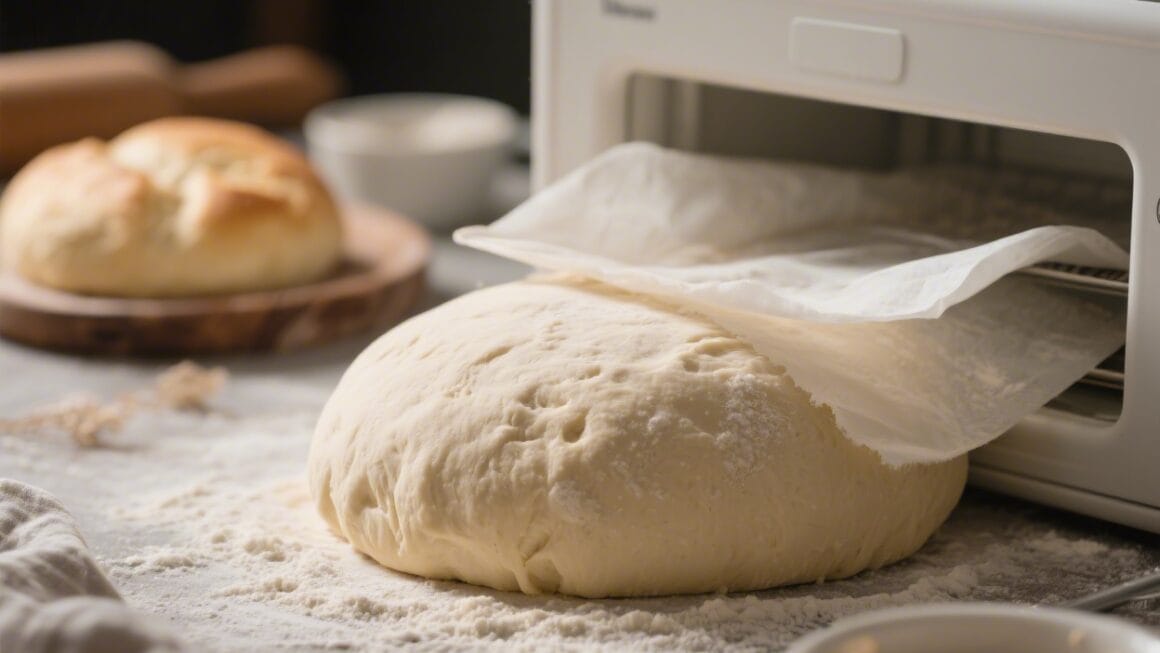
- First rise (bulk ferment). Place the dough in a lightly oiled bowl, cover, and let it rise until doubled in size, 60–90 minutes depending on temperature. It should feel puffy and leave a slight indentation when pressed.
- Proceed with shaping and baking. After punching down gently, shape for your intended bread—loaf, rolls, or pizza. Let it proof again, then bake as your recipe directs.
Keeping It Fresh
– Store cooled bread properly. Once fully cooled, keep bread in a paper bag or bread box for 1–2 days. For longer storage, slice and freeze in a zip-top bag, pressing out extra air.
– Avoid the fridge. Refrigeration dries bread and makes it stale faster. Freeze instead.
– Revive leftovers. Sprinkle slices lightly with water and warm in a 325°F (165°C) oven for 8–10 minutes to refresh the crust and crumb.
– Use stale bread smartly. Make croutons, breadcrumbs, or toasties so nothing goes to waste.
Benefits of This Recipe
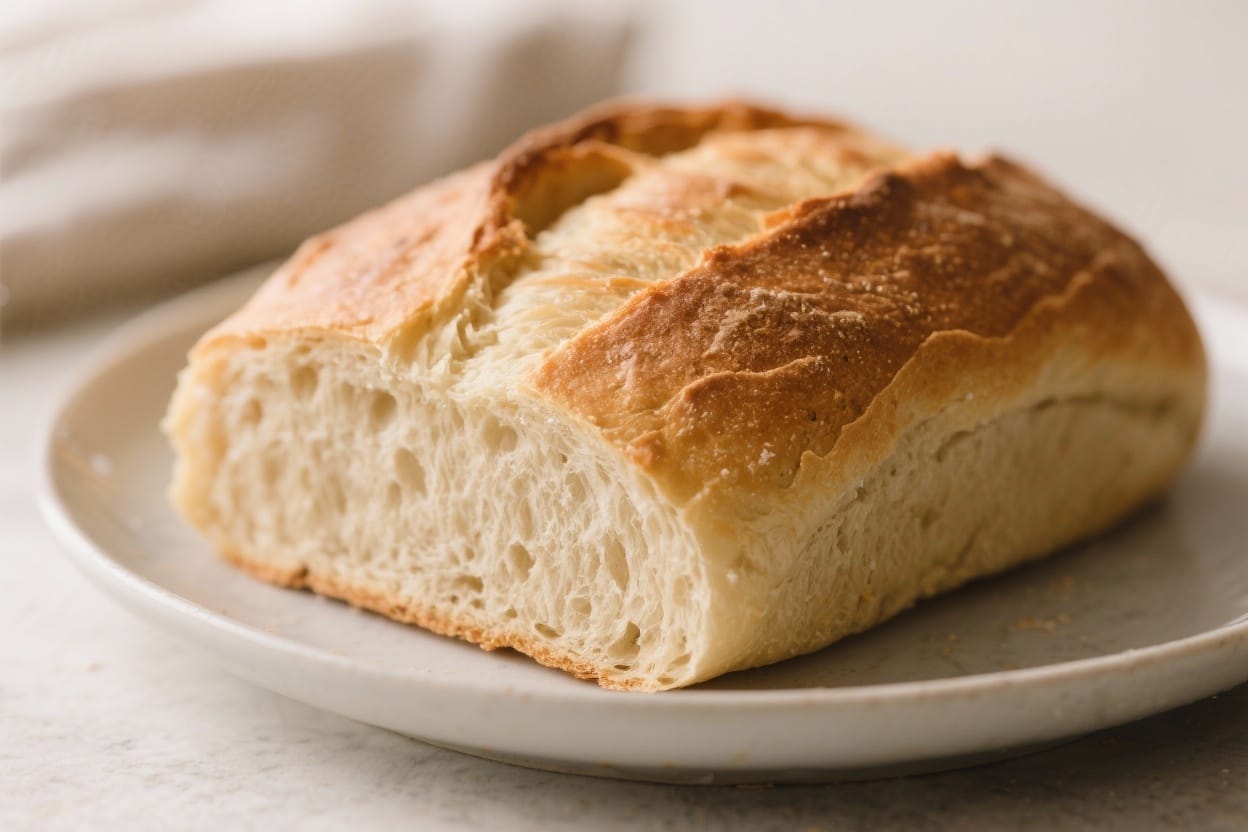
– Better texture and chew. Hand kneading builds a strong, elastic dough for tall loaves and open crumb.
– Full control. You feel the dough change under your hands, so you can adjust hydration and kneading time naturally.
– No special gear. Saves money and space—just a bowl, your counter, and your hands.
– Quiet and meditative. The rhythm is relaxing, and you’ll learn the “language” of dough quickly.
– Versatile base. This method works for sandwich loaves, rustic boules, pizza, and rolls.
What Not to Do
– Don’t add too much flour. Over-flouring makes dense, dry bread. Keep the dough slightly tacky.
– Don’t rush the rest. Skipping the short rest after mixing makes kneading harder and longer.
– Don’t tear the dough. Aggressive handling breaks gluten strands. Stretch and fold instead of yanking.
– Don’t use water that’s too hot. Hot water can kill yeast. Aim for warm, not hot—about 105–110°F (40–43°C).
– Don’t over-knead. If the dough feels tough and resists stretching, stop and let it rest.
– Don’t proof in extreme heat. Very warm spots can make dough overproof and collapse later.
Recipe Variations
– Olive oil and herb loaf: Add 2 tablespoons olive oil and 1–2 teaspoons dried herbs (rosemary, thyme, oregano) during mixing.
– Honey whole wheat: Swap 1 cup (120 g) of the bread flour for whole wheat. Add 1–2 extra tablespoons water if needed. Use 1–2 tablespoons honey for flavor.
– Garlic and cheese rolls: Add 1/2 cup shredded cheese and 1 teaspoon garlic powder after the first minute of kneading.
– Seeded crust: Roll the shaped dough in sesame, poppy, or sunflower seeds before the final proof.
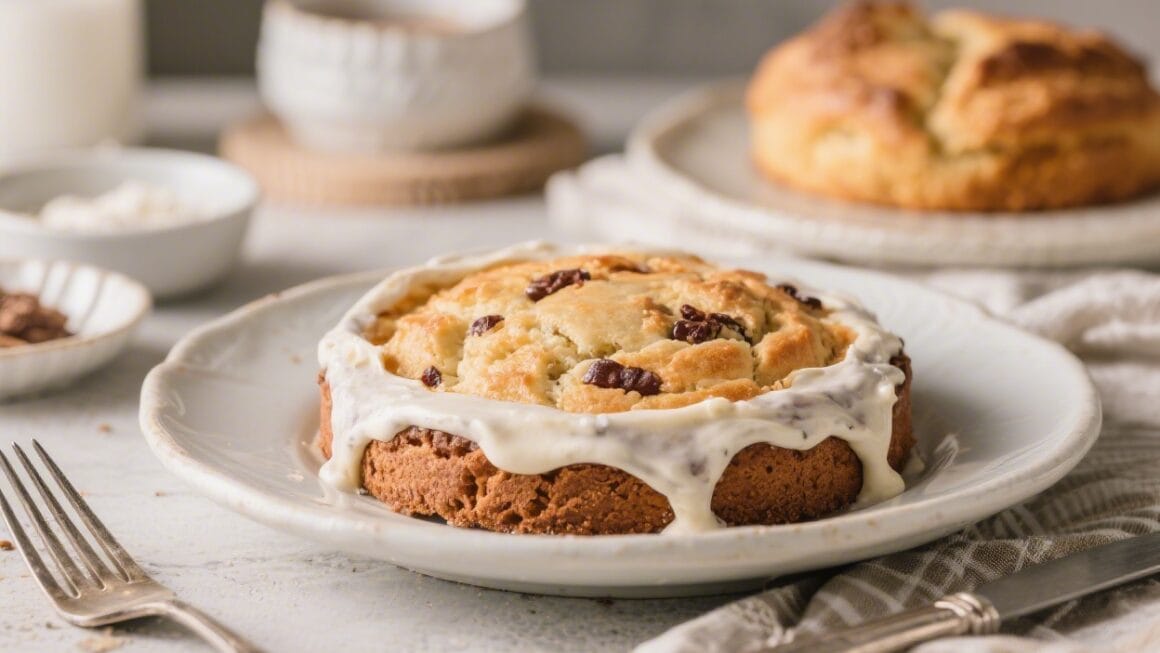
– Cinnamon raisin: Gently knead in 1/2 cup raisins and a mix of 2 tablespoons sugar + 1 teaspoon cinnamon right before shaping to avoid tearing the dough early.
FAQ
How long should I knead by hand?
Most doughs take about 8–12 minutes of active kneading, depending on hydration and flour. Use feel over the clock: the dough should be smooth, elastic, and pass a windowpane test.
What if my dough is too sticky to handle?
Use a bench scraper and a light dusting of flour on the counter and your hands. Stickiness often improves after a few minutes of kneading and a short rest. Avoid adding large amounts of flour.
Can I over-knead dough by hand?
It’s rare but possible. Signs include a very tight, rubbery dough that tears when stretched. If this happens, rest it for 10–15 minutes and proceed gently.
Is autolyse really necessary?
It’s not mandatory, but it shortens kneading time and improves texture. A 10–15 minute rest after mixing lets flour hydrate and gluten start forming on its own.
What flour is best for hand-kneaded bread?
Bread flour gives the best chew and rise due to higher protein. All-purpose works fine for softer loaves. If using whole wheat, add a bit more water and knead slightly longer.
How do I know when to stop adding flour?
Stop when the dough is tacky but not gloopy. It should lift off the counter with minimal sticking and hold a smooth ball. A little stick is good; a lot of flour leads to dense bread.
Why is my dough tearing?
Tearing means the gluten isn’t developed or the dough is too dry. Sprinkle in a teaspoon or two of water and knead gently, or rest the dough for 5–10 minutes and try again.
Can I use this method for pizza dough?
Yes. Hand-kneaded dough makes excellent pizza. Aim for a slightly higher hydration (a bit more water) for better stretch and a tender, airy crust.
What temperature should my kitchen be?
Room temperature, around 70–75°F (21–24°C), is ideal. Colder rooms slow fermentation; warmer rooms speed it up. Adjust proofing time as needed.
Do I need to oil my hands?
You can lightly oil your hands instead of flouring if you want to keep hydration high. It helps with stickiness and adds a touch of tenderness.
Final Thoughts
Kneading by hand is a skill you build with practice, feel, and patience. The dough will tell you what it needs—less flour, a short rest, or a few more folds. Keep the motion steady, stay gentle, and watch for smoothness and stretch. Before long, you’ll recognize that perfect, elastic dough and enjoy bread with better texture and flavor, all from your own two hands.
Printable Recipe Card
Want just the essential recipe details without scrolling through the article? Get our printable recipe card with just the ingredients and instructions.