Skip the soggy, store-bought crust and make a gluten-free pizza that actually tastes like pizza. This recipe gives you a chewy, crisp base that holds toppings and slices cleanly. No obscure ingredients or complicated steps—just a reliable dough and a hot oven.
If you’ve ever felt gluten-free means second best, this will change your mind. It’s great for pizza night, adaptable to any topping, and surprisingly quick.
What Makes This Special

This crust hits the sweet spot between chewy and crisp, thanks to a simple blend of gluten-free flours and a touch of olive oil. It’s designed to be easy to handle—no gummy dough or crumbly edges.
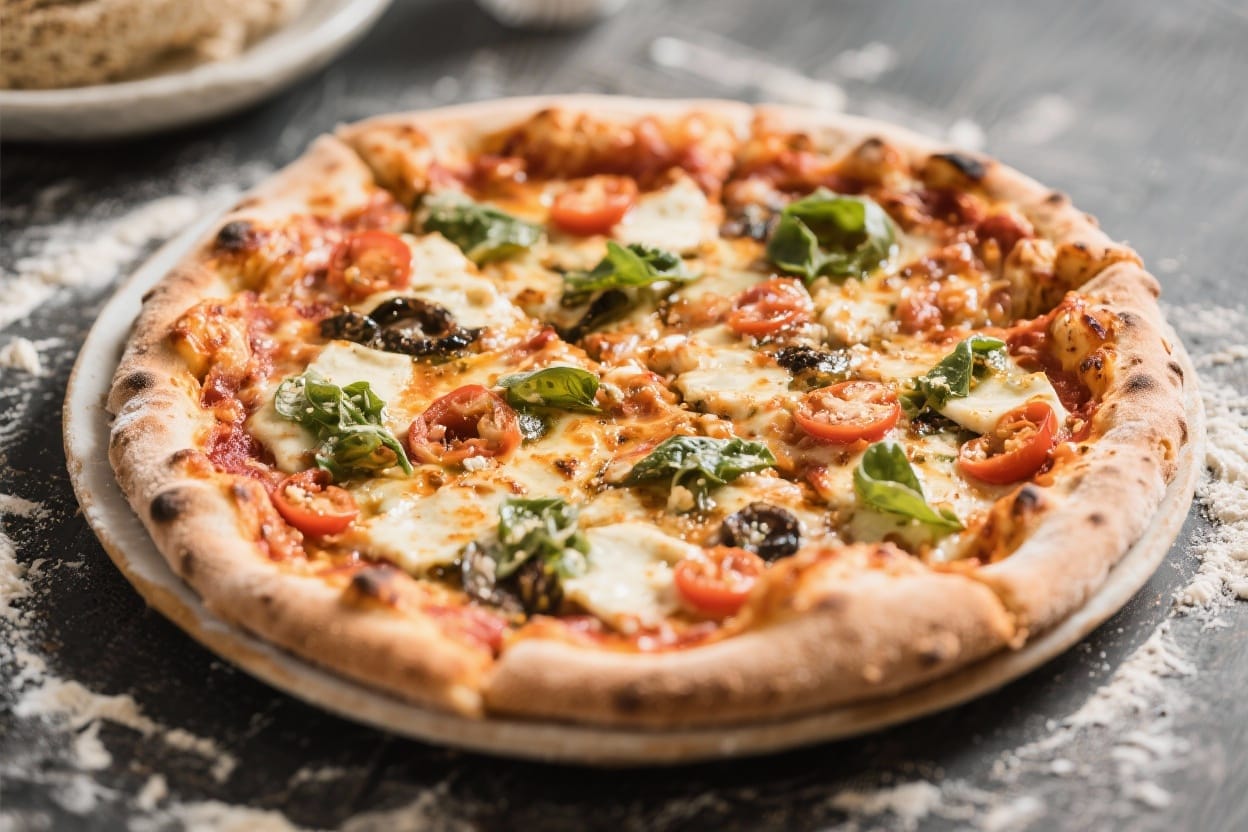
The flavor is neutral yet savory, so it pairs with everything from classic margherita to veggie-loaded combos. You’ll proof it once, par-bake it for structure, then finish with toppings for that pizzeria feel at home.
Ingredients
- Gluten-free flour blend (2 cups) – Choose a 1:1 baking blend with xanthan gum. If your blend has no xanthan, add it separately.
- Fine white rice flour or tapioca flour (2 tablespoons) – Helps with stretch and crispness.
- Xanthan gum (1 teaspoon) – Only if your blend doesn’t already include it.
- Instant or active dry yeast (2 1/4 teaspoons) – One standard packet.
- Warm water (1 cup) – About 110°F/43°C for proofing yeast.
- Olive oil (3 tablespoons) – Adds flavor and tenderness.
- Honey or sugar (1 tablespoon) – Feeds the yeast and browns the crust.
- Salt (1 teaspoon) – Balances flavor.
- Egg (1 large, optional) – Adds structure and richness; omit for vegan and add 1–2 tablespoons extra oil.
- Cornmeal or extra flour – For dusting the pan or peel.
- Pizza sauce (1/2–3/4 cup) – Your favorite jarred or homemade.
- Mozzarella (1–2 cups) – Fresh or low-moisture, shredded.
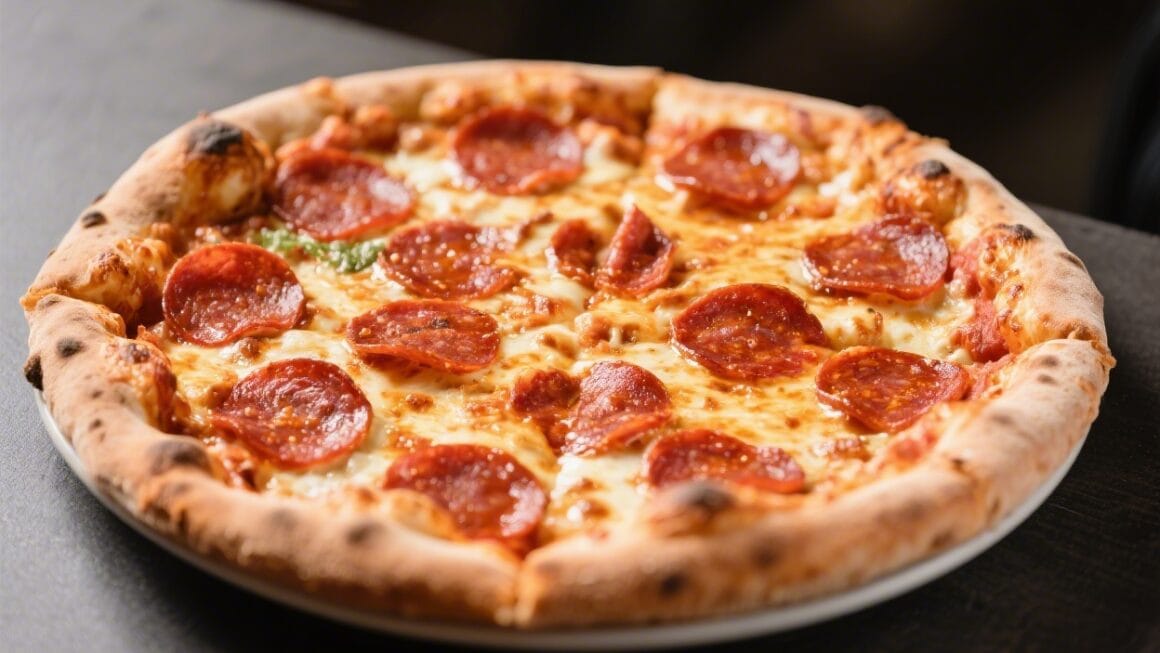
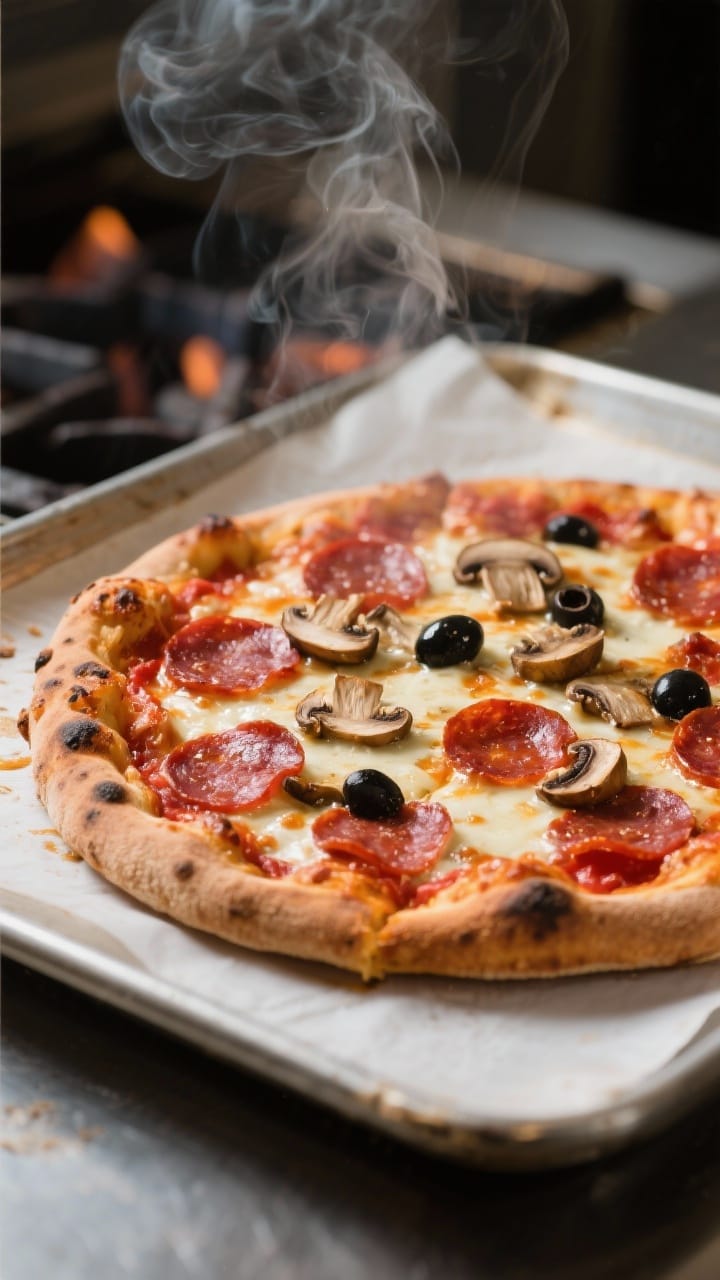
- Toppings of choice – Pepperoni, veggies, basil, olives, mushrooms, etc.
Instructions
- Preheat and prep: Place a pizza stone or an upside-down sheet pan on the middle rack.Preheat to 475°F (245°C) for at least 30 minutes. Line a second sheet pan with parchment and dust lightly with cornmeal or flour.
- Proof the yeast: In a mixing bowl, combine warm water and honey (or sugar). Stir in yeast.Let sit 5–10 minutes until foamy. If nothing happens, your yeast may be dead—start over with fresh yeast.
- Mix the dry ingredients: In a separate bowl, whisk the gluten-free flour blend, rice or tapioca flour, salt, and xanthan gum (if needed). This ensures even distribution and avoids clumps.
- Make the dough: Add olive oil and the egg (if using) to the foamy yeast mixture.Stir in the dry mix until a thick, sticky dough forms. Gluten-free pizza dough will look more like a heavy batter than a classic elastic dough—this is normal.
- Rest the dough: Cover the bowl and let the dough rest for 20–30 minutes. This hydrates the flours and makes spreading easier.
- Shape the crust: Scrape the dough onto the prepared parchment.With oiled hands or a silicone spatula, press it into a 12-inch round or a rectangle about 1/4 inch thick. Smooth the edges so they don’t crumble. Prick lightly with a fork to prevent bubbling.
- Par-bake: Slide the parchment and dough onto the preheated stone or pan.Bake for 8–10 minutes, until the surface looks set and just starting to color. This step locks in structure so the crust doesn’t get soggy with toppings.
- Add toppings: Remove the crust. Spread a thin layer of sauce, leaving a small border.Add cheese and toppings. Don’t overload—too much moisture softens the crust.
- Finish baking: Return to the oven for 8–12 minutes, until the cheese is melted and the edges are golden-brown. For extra color, broil for 1–2 minutes, watching closely.
- Rest and slice: Cool for 5 minutes before slicing.This helps the crust firm up and keeps the slices clean.
Storage Instructions
- Leftovers: Cool completely, then refrigerate slices in an airtight container for up to 3 days.
- Reheating: Warm in a 425°F (220°C) oven or skillet for 5–8 minutes until crisp. Avoid the microwave—it makes the crust chewy.
- Make-ahead crust: Par-bake the plain crust, cool, wrap tightly, and freeze up to 1 month. Top and bake straight from the freezer, adding a few extra minutes.

Why This is Good for You
This crust uses a balanced gluten-free blend and olive oil, keeping it lighter than many takeout pies.
You control the salt, sugar, and fat, which is helpful if you’re managing dietary needs. With the right toppings—vegetables, lean proteins, and modest cheese—you get a complete, satisfying meal. It’s also a great option for people with celiac disease or gluten sensitivity who still want real pizza texture.
What Not to Do
- Don’t skip the par-bake. It’s the difference between crisp and soggy.
- Don’t expect elastic dough. Gluten-free dough won’t stretch like wheat dough; use oiled hands and press it into shape.
- Don’t overload with wet toppings. Excess moisture softens the crust—pat veggies dry and go light on sauce.
- Don’t bake at low heat. High heat is key for browning and structure.
- Don’t ignore the yeast. If it doesn’t foam, it won’t lift the dough.Start over with fresh yeast and warm water.
Recipe Variations
- Dairy-free: Use vegan mozzarella and skip the egg. Add 1–2 extra tablespoons of olive oil for tenderness.
- Herbed crust: Mix 1 teaspoon dried oregano and 1/2 teaspoon garlic powder into the dry ingredients for a pizzeria aroma.
- Whole-grain boost: Swap 1/2 cup of the flour blend with certified gluten-free oat flour for a heartier taste.
- Cheesy edge: Sprinkle grated Parmesan around the border before par-baking for a crisp, savory rim.
- Thin and crispy: Press the dough slightly thinner and extend the par-bake by 2–3 minutes.
- Sheet-pan pizza: Spread the dough on a well-oiled quarter sheet pan. Bake as directed for an easy, square pie.
- White pizza: Skip the red sauce.Brush crust with olive oil and garlic, top with ricotta dollops, mozzarella, and spinach.
FAQ
Can I make this without yeast?
Yes. Replace yeast with 2 teaspoons baking powder and 1/2 teaspoon baking soda, use warm milk or water, and skip the proofing. The texture will be more biscuit-like, but still tasty.
Par-bake as directed.
What if my dough is too sticky?
That’s normal for gluten-free dough. Oil your hands and spatula, and use parchment. If it’s unworkably wet, sprinkle a tablespoon or two of flour blend and gently press it in.
Avoid overmixing.
Which gluten-free flour blend works best?
Use a 1:1 baking blend that includes xanthan gum. Brands vary, but look for blends with rice flour, starches (tapioca/potato), and a binder. If your blend lacks xanthan, add 1 teaspoon per 2 cups flour.
How do I get a crisp bottom?
Preheat a stone or inverted sheet pan, par-bake the crust, and bake at high heat.
A light dusting of cornmeal under the parchment also helps. Finish with a quick broil if needed.
Can I make mini pizzas?
Absolutely. Divide the dough into 2–4 portions and shape smaller rounds.
Reduce par-bake and final bake times by a couple of minutes and keep an eye on color.
Is this recipe safe for celiac disease?
Yes, as long as all ingredients are certified gluten-free and your kitchen avoids cross-contact. Check labels on yeast, flours, sauces, and toppings. Use clean tools and surfaces.
Can I use a pizza peel?
Yes.
Build on parchment for easy transfer. Slide parchment onto the stone, then remove the parchment during the last few minutes for extra browning if it releases cleanly.
How thick should the crust be?
About 1/4 inch before baking. For thick crust, make it closer to 1/3 inch and extend both the par-bake and final bake by a few minutes.
In Conclusion
Gluten-free pizza from scratch doesn’t have to be fussy or fragile.
With a simple dough, a hot oven, and a quick par-bake, you get a crust that’s crisp at the edges and sturdy in the center. Top it your way and enjoy a pie that feels like the real thing, because it is. Once you make this version, pizza night becomes easy—and reliably delicious.
Printable Recipe Card
Want just the essential recipe details without scrolling through the article? Get our printable recipe card with just the ingredients and instructions.