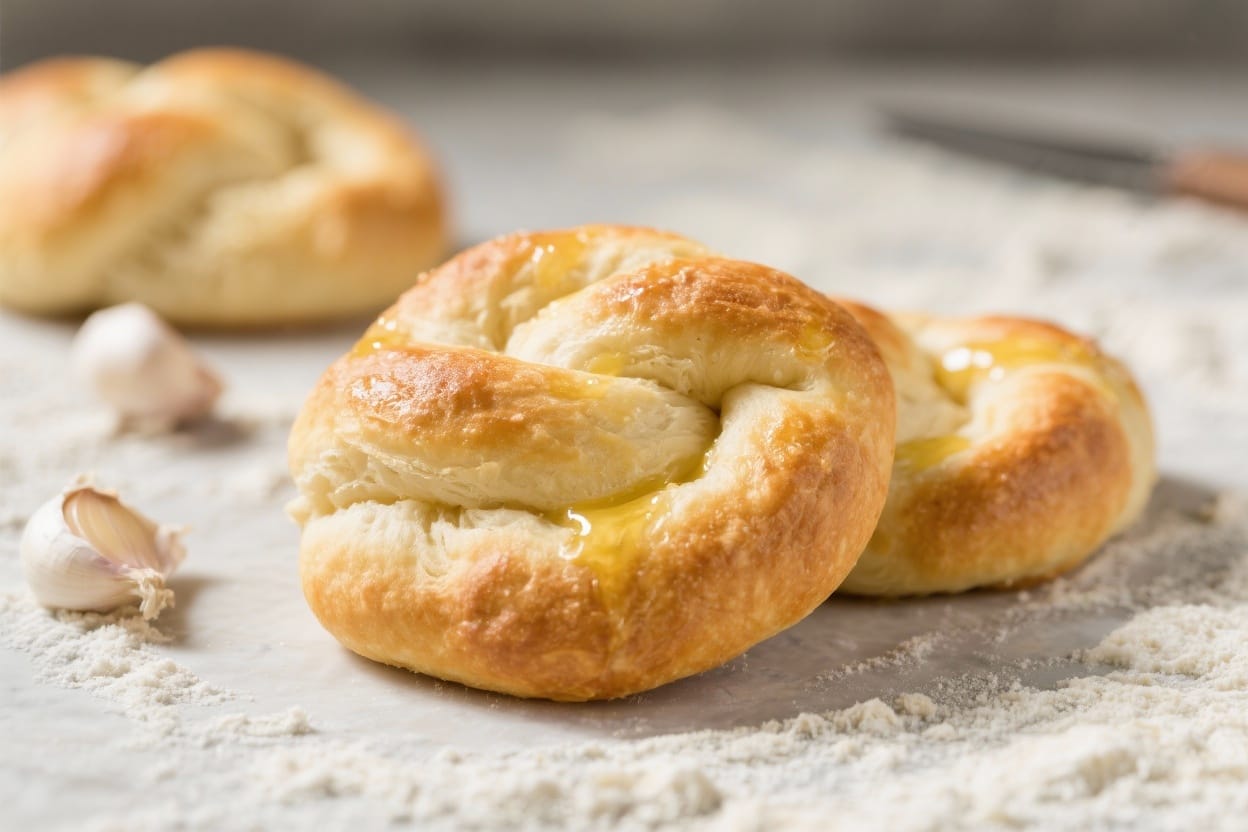
Garlic Knots From Scratch – Soft, Buttery, and Packed with Flavor
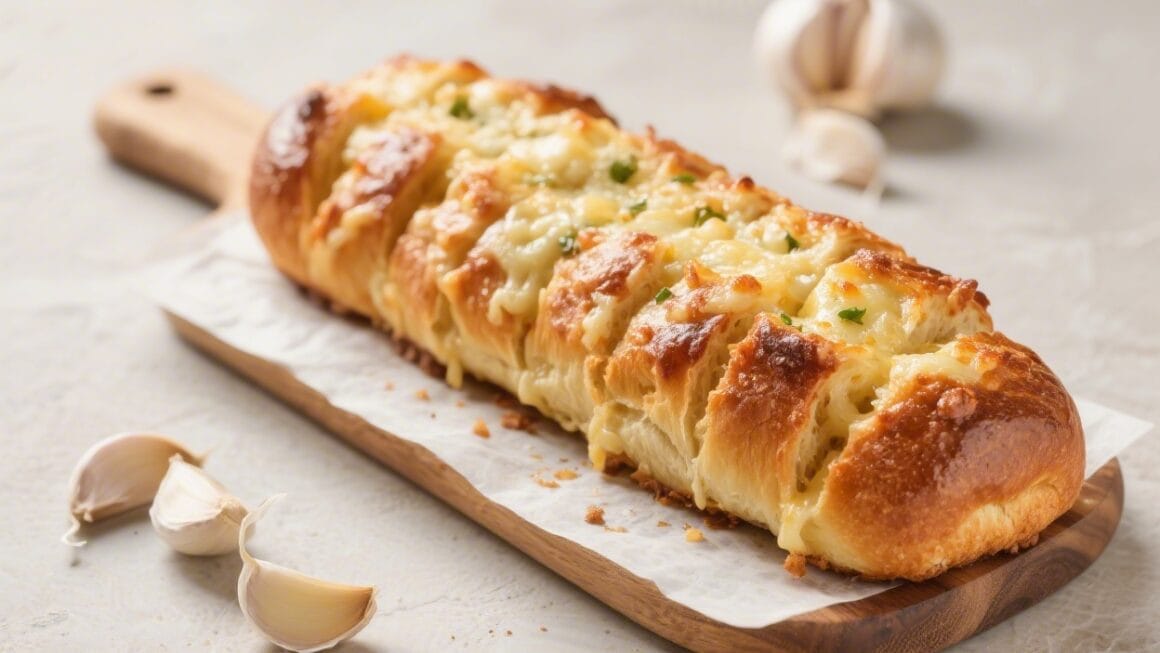
Warm, buttery garlic knots are the kind of thing that makes a meal feel special. They’re simple, comforting, and surprisingly easy to make at home. If you’ve only ever had garlic knots from a pizzeria, you’re in for a treat—fresh, homemade knots are softer, more fragrant, and wildly satisfying. This recipe walks you through every step so you can turn basic pantry ingredients into a basket of golden, garlicky knots. Whether you’re serving pasta, soup, or a big salad, these will steal the show.
What Makes This Recipe So Good
Garlic knots from scratch – Garlic Knots From Scratch – Soft, Buttery, and Packed with Flavor Warm, buttery garlic knots are the
- Soft, pillowy texture: The dough rises slowly for a tender crumb and light chew.
- Bold garlic flavor: Fresh garlic, not just powder, infuses the butter and oil for deep flavor.
- Restaurant-style finish: A quick brush of garlic butter after baking gives that glossy, irresistible look.
- Foolproof method: Clear steps for kneading, shaping, and baking help even beginners succeed.
- Make-ahead friendly: The dough can be prepped in advance, shaped, and baked when you’re ready.
Ingredients
Garlic knots from scratch – They’re simple, comforting, and surprisingly easy to make at home
- For the dough:
- 3 cups (360 g) all-purpose flour, plus more for dusting
- 1 cup (240 ml) warm water (about 105–110°F/40–43°C)
- 2¼ teaspoons (1 packet) active dry yeast
- 1 tablespoon granulated sugar or honey
- 2 tablespoons olive oil
- 1 teaspoon fine sea salt
- For the garlic butter:
- 4 tablespoons unsalted butter
- 2 tablespoons olive oil
- 4–5 cloves garlic, finely minced
- ¼ teaspoon crushed red pepper flakes (optional)
- 2 tablespoons chopped fresh parsley
- 2–3 tablespoons grated Parmesan cheese (optional)
- ½ teaspoon kosher salt, or to taste
- To finish:
- Flaky salt, for sprinkling (optional)
Instructions
Garlic knots from scratch – If you’ve only ever had garlic knots from a pizzeria, you’re in for a treat—fresh, homemade knots ar
- Bloom the yeast: In a large bowl, mix the warm water and sugar (or honey). Sprinkle the yeast over the top. Let it sit for 5–10 minutes until foamy. If it doesn’t foam, start over with fresh yeast and check your water temperature.
- Make the dough: Add olive oil and salt to the yeast mixture. Stir in 2½ cups of flour with a spoon until a shaggy dough forms. Add the remaining flour as needed until the dough is soft and slightly tacky but not sticky.
- Knead: Turn the dough onto a lightly floured surface. Knead for 6–8 minutes until smooth and elastic. You can also use a stand mixer with a dough hook on medium-low for 5–6 minutes.
- First rise: Place the dough in a lightly oiled bowl, turning once to coat. Cover with a clean towel or plastic wrap and let it rise in a warm spot for 60–75 minutes, until doubled in size.
- Prep the pan: Line a baking sheet with parchment paper. Lightly oil it or spray with cooking spray for extra insurance.
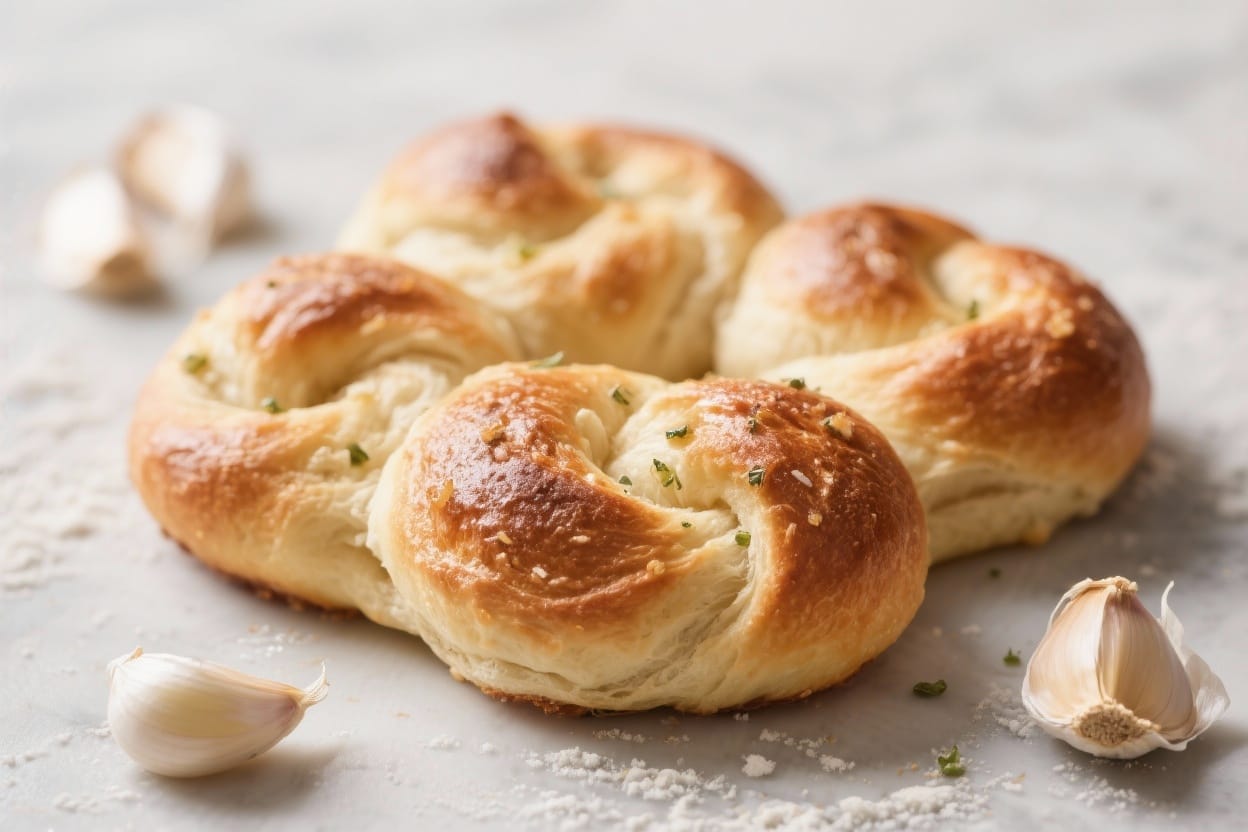
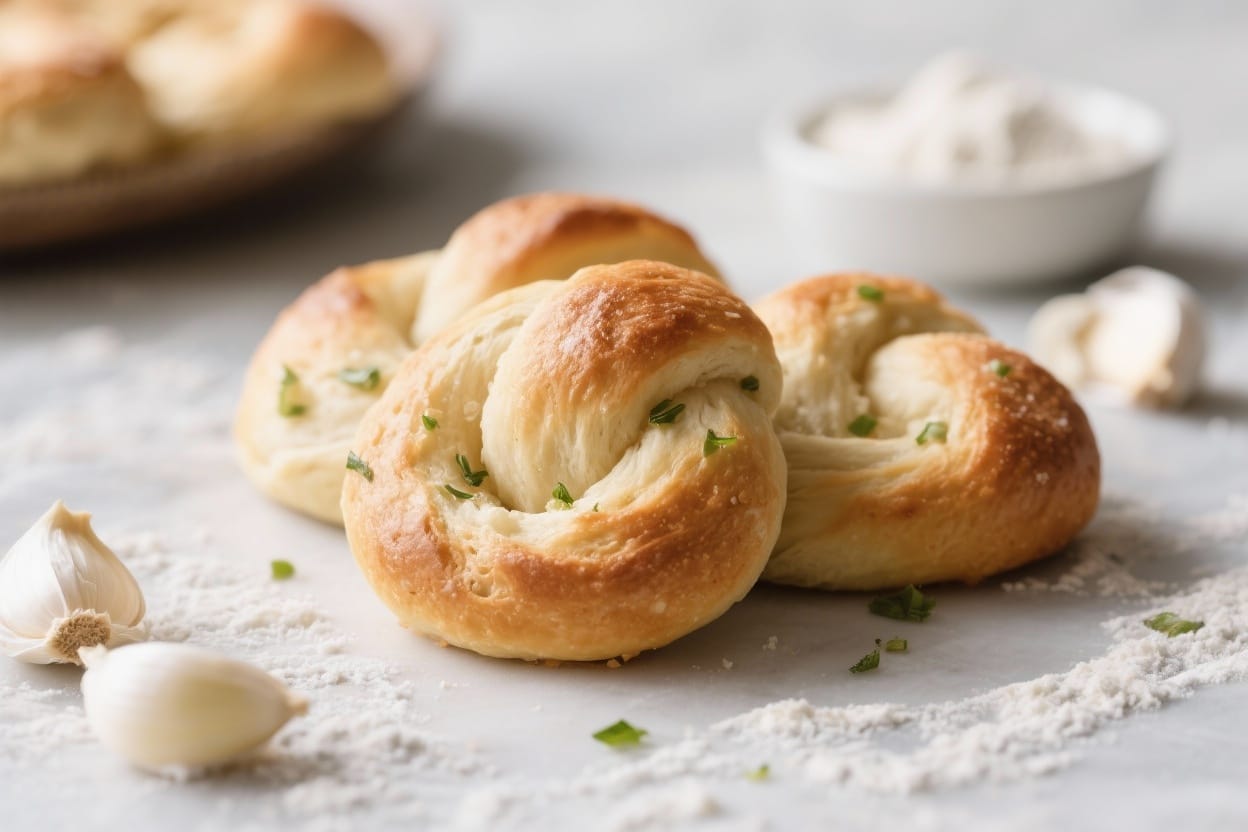
- Divide and shape: Punch down the dough to release air. Turn it out and cut into 12 equal pieces. Roll each piece into a rope about 8–10 inches long. Tie each rope into a simple knot, tucking the ends underneath. Place on the prepared sheet, spaced about 2 inches apart.
- Second rise: Cover the knots lightly with a towel and let them rise for 20–30 minutes, until puffy.
- Preheat the oven: While the knots rise, heat your oven to 400°F (205°C).
- Make the garlic butter: In a small saucepan, melt the butter with olive oil over low heat. Add minced garlic and red pepper flakes. Cook gently for 1–2 minutes until fragrant but not browned. Stir in parsley and a pinch of salt. Remove from heat.
- Brush and bake: Brush some garlic butter over the risen knots (avoid large garlic pieces at this stage to prevent burning). Bake for 12–15 minutes, until golden on top and lightly browned on the bottoms.
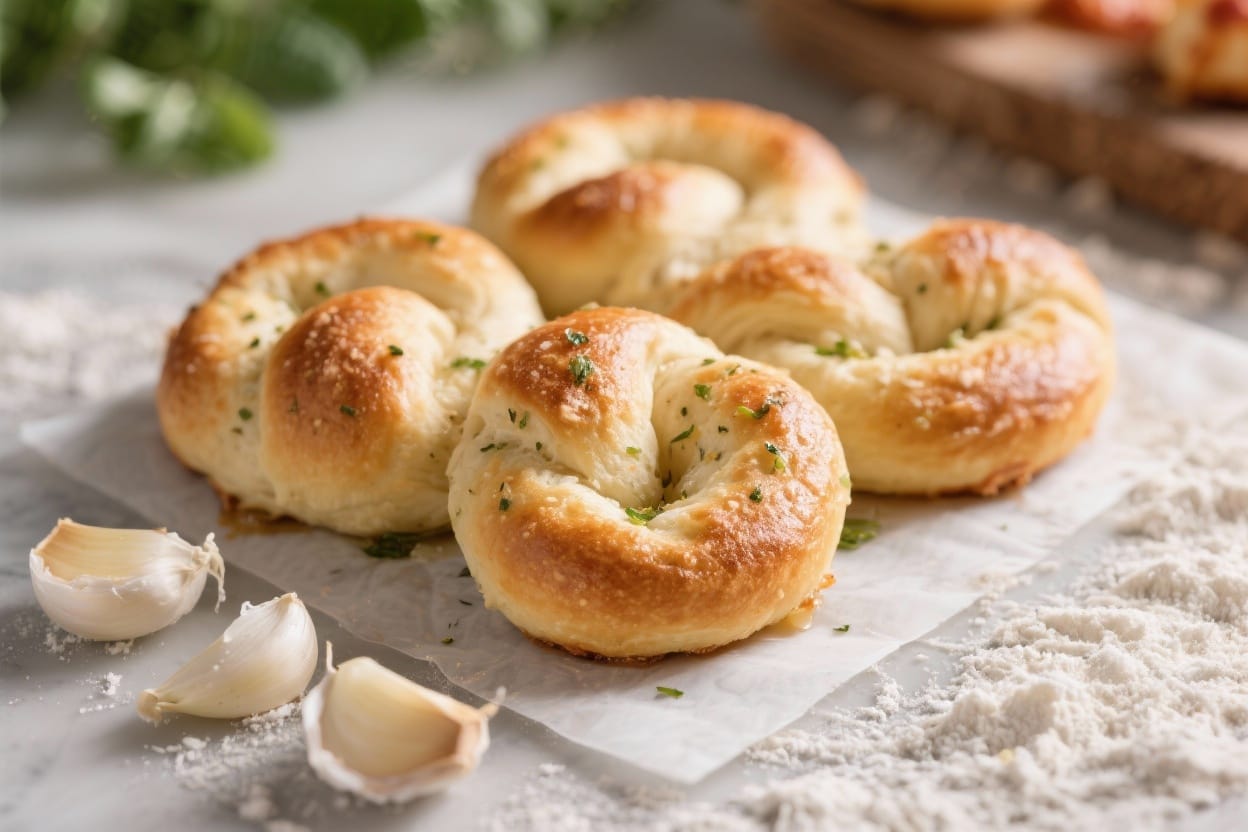
- Finish: Remove from the oven and immediately brush with the remaining garlic butter, this time scooping up the garlic and parsley. Sprinkle with Parmesan and flaky salt if using. Serve warm.
Storage Instructions
- Room temperature: Keep cooled knots in an airtight container for up to 2 days. Rewarm in a 325°F (165°C) oven for 6–8 minutes.
- Refrigerator: Not ideal, as it can dry the bread. If needed, store for 3–4 days and reheat with a light brush of olive oil or butter.
- Freezer: Freeze baked knots in a zip-top bag for up to 2 months. Reheat from frozen at 325°F (165°C) for 10–12 minutes, then brush with fresh garlic butter.
- Make-ahead dough: After the first rise, refrigerate the dough (covered) up to 24 hours. Let it warm up 30–45 minutes before shaping.
Why This is Good for You
- Homemade control: You choose the ingredients. No preservatives, and you can adjust salt, butter, and oil to taste.
- Garlic benefits: Garlic has compounds like allicin that may support heart health and immunity. Plus, it tastes amazing.
- Olive oil fats: Using olive oil adds unsaturated fats that fit well in a balanced diet.
- Mindful portions: Smaller knots let you enjoy the flavor without going overboard. Pair with protein and veggies for a well-rounded meal.
Pitfalls to Watch Out For
- Water too hot: If the water is hotter than 110°F, it can kill the yeast. Warm to the touch is perfect.
- Too much flour: Over-flouring makes dense knots. Keep the dough slightly tacky and dust lightly as you knead.
- Under-proofing or over-proofing: If the dough hasn’t risen enough, the knots will be tight and tough. If over-proofed, they may collapse. Aim for puffy and about doubled in size.
- Burning the garlic: Garlic browns fast. Infuse it gently in butter and avoid putting big garlic bits on before baking.
- Skipping the second brush: That final coat of butter brings the gloss and flavor. Don’t skip it.
Variations You Can Try
- Herb blend: Add dried oregano, basil, or Italian seasoning to the garlic butter.
- Cheesy knots: Sprinkle mozzarella and Parmesan over the knots for the last 2–3 minutes of baking.
- Whole wheat twist: Replace up to 1 cup of all-purpose flour with whole wheat for a heartier texture.
- Stuffed knots: Wrap small cubes of mozzarella in the dough before tying for a gooey center.
- Vegan version: Use plant-based butter and skip the Parmesan. The olive oil and garlic still shine.
- Garlic-lemon: Stir a little lemon zest into the butter for a bright, fresh finish.
FAQ
Can I use instant yeast instead of active dry yeast?
Yes. Use the same amount and mix it directly with the flour and salt. Warm the water and proceed as usual, skipping the blooming step. The rise time should be similar.
How do I know I’ve kneaded enough?
The dough should feel smooth and elastic. When you stretch a small piece, it should form a thin “windowpane” without tearing quickly. If it tears, knead a bit longer.
What if I don’t have fresh garlic?
Use 1–1½ teaspoons garlic powder in the butter mixture. Add it off heat and let it sit for a minute to bloom. Fresh garlic gives a stronger aroma, but powder works in a pinch.
Can I make these gluten-free?
Bread-style gluten-free doughs are tricky. Use a high-quality gluten-free bread flour blend with added psyllium husk and follow the package guidance. Texture will differ, but the garlic butter still makes them delicious.
Why are my knots tough?
This usually comes from too much flour or under-proofing. Next time, keep the dough slightly tacky and let it rise until visibly puffy. Also avoid overbaking—pull them when golden.
How big should I make each knot?
For standard knots, divide the dough into 12 pieces. For minis, make 16–18; reduce bake time by 2–3 minutes. For jumbo knots, divide into 8 and add a few minutes to baking.
Can I add the Parmesan before baking?
You can, but it may brown too quickly. For best results, sprinkle Parmesan right after baking or during the last couple of minutes.
What’s the best way to reheat leftovers?
Warm them in a 325°F (165°C) oven for 6–8 minutes. Brush lightly with olive oil or a bit more garlic butter to refresh the crust.
Final Thoughts
Garlic knots from scratch are simple, comforting, and absolutely worth the short rise time. With a soft interior and a buttery, garlicky finish, they pair with almost anything you’re serving. Once you make them at home, you’ll see how easy they are to customize—and how fast they disappear. Keep this recipe handy for weeknights, gatherings, or whenever you want something warm and satisfying on the table.
Printable Recipe Card
Want just the essential recipe details without scrolling through the article? Get our printable recipe card with just the ingredients and instructions.