Freezer Friendly Homemade Bread – Soft, Reliable, and Ready When You Are
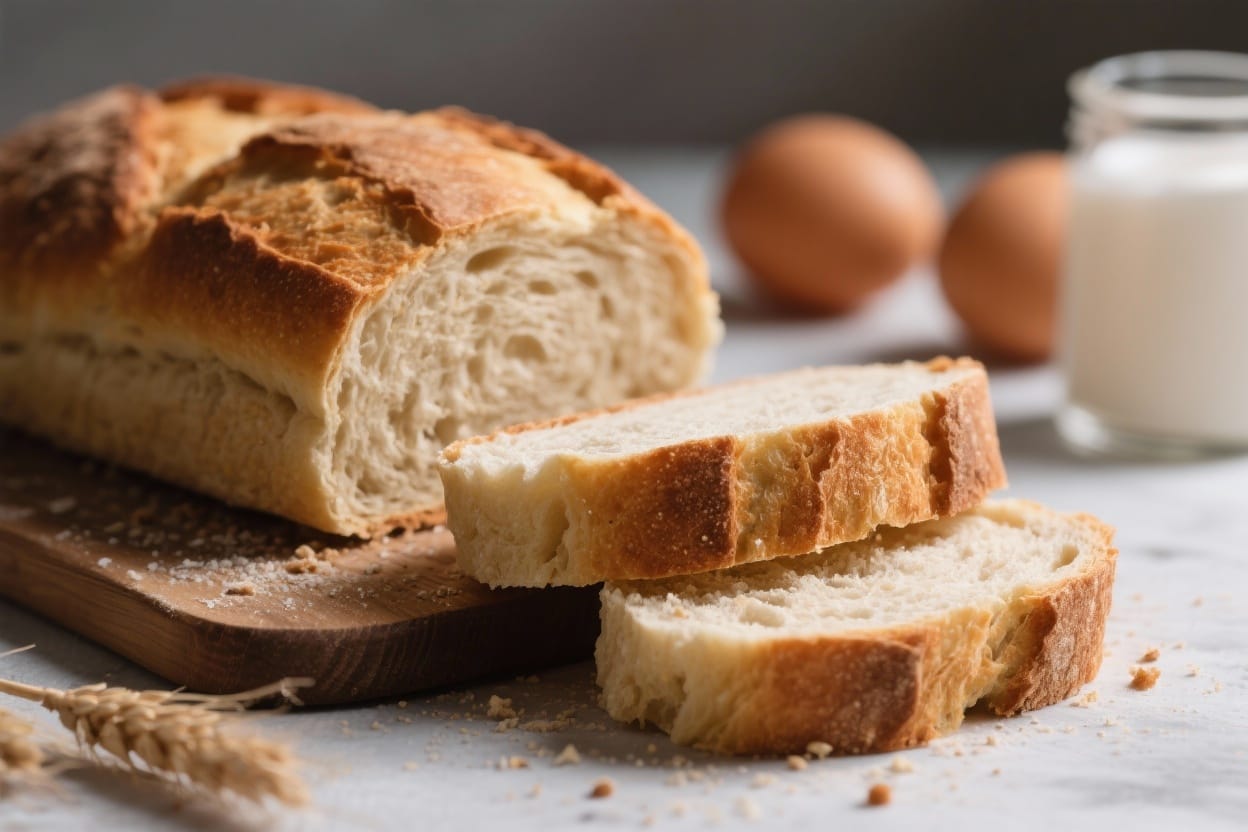
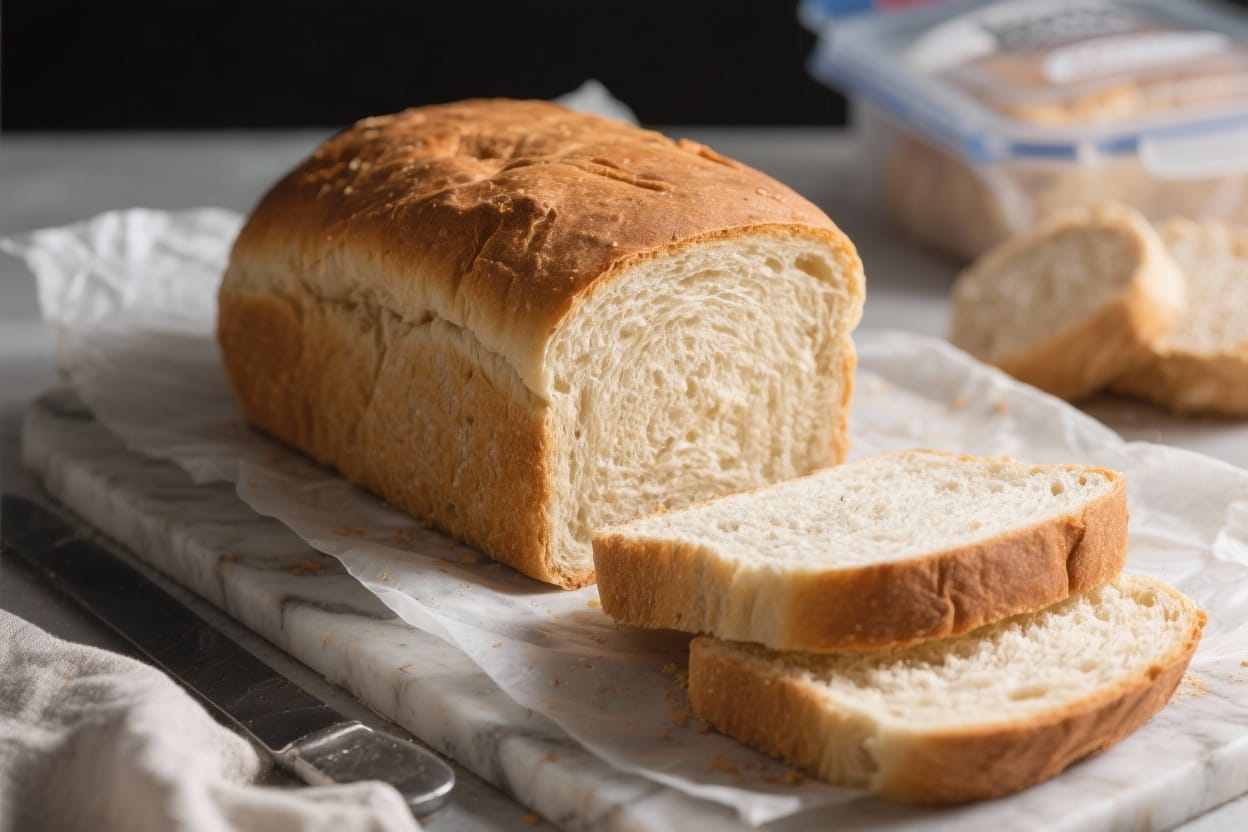
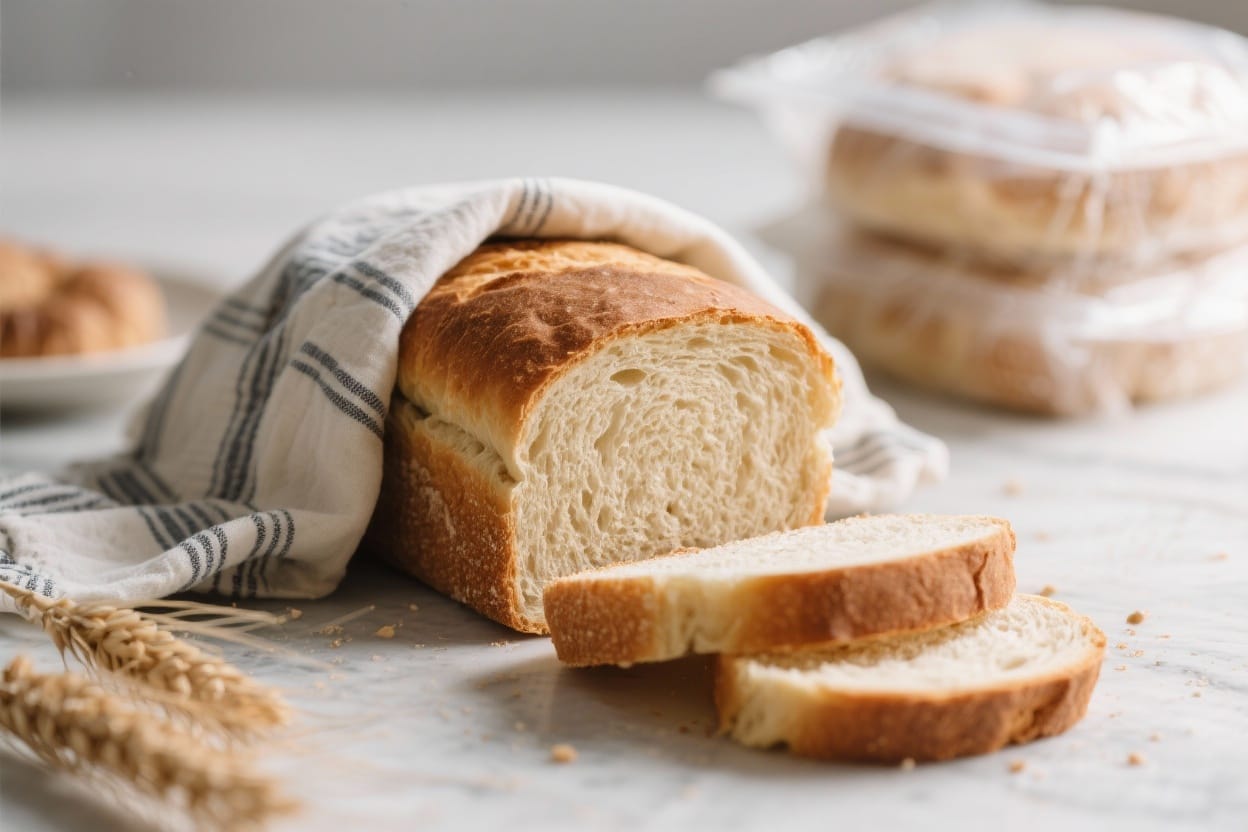
Nothing beats the smell of fresh bread, but busy days don’t always line up with long rise times. This freezer friendly homemade bread solves that. You can bake now, freeze for later, and enjoy warm slices whenever you want. The loaf is soft, has a gentle crust, and works for toast, sandwiches, or a quick snack. If you’re new to bread, this one is forgiving and straightforward. If you’ve been baking for years, it’s a dependable staple you’ll want on repeat.
What Makes This Special
Freezer friendly homemade bread – Freezer Friendly Homemade Bread – Soft, Reliable, and Ready When You Are Nothing beats the smell of
- Freezes beautifully: The texture holds up after thawing, so it tastes fresh even days or weeks later.
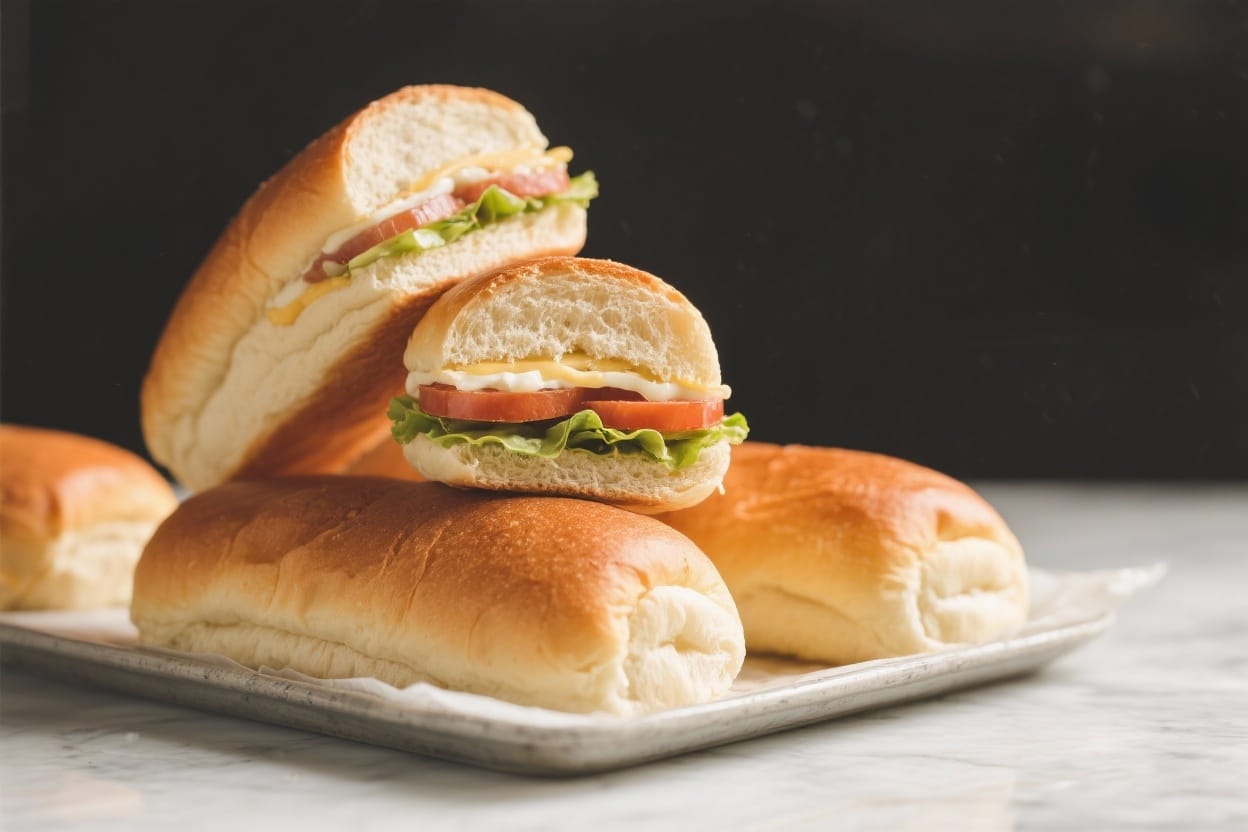
- Soft yet sturdy: Perfect for sandwiches without crumbling, with a tender crumb and mild flavor.
- Simple ingredients: Pantry basics and no special tools required.
- Flexible schedule: Bake and freeze, or freeze the dough to bake another day.
- Kid-friendly flavor: Slightly sweet and balanced, great for toast or lunchboxes.
Ingredients
Freezer friendly homemade bread – This freezer friendly homemade bread solves that
- 3 1/2 to 4 cups (420–480 g) all-purpose or bread flour
- 1 cup (240 ml) warm water, about 105–110°F (40–43°C)
- 1/2 cup (120 ml) warm milk, dairy or unsweetened plant milk
- 2 1/4 teaspoons (1 packet) active dry yeast, or 2 teaspoons instant yeast
- 3 tablespoons (38 g) granulated sugar or honey
- 3 tablespoons (42 g) unsalted butter, melted and cooled slightly (or neutral oil)
- 1 1/2 teaspoons fine sea salt
- Optional: 1 egg for egg wash, or a tablespoon of milk for brushing
Instructions
Freezer friendly homemade bread – You can bake now, freeze for later, and enjoy warm slices whenever you want
- Activate the yeast (if using active dry): In a large bowl, combine warm water, warm milk, and sugar. Sprinkle the yeast over the top. Let it stand 5–10 minutes until foamy. If using instant yeast, skip proofing and mix it in with the flour instead.
- Mix the dough: Add melted butter and salt to the yeast mixture. Stir in 3 1/2 cups flour to form a shaggy dough. If it’s very sticky, add more flour a tablespoon at a time until it’s workable but still slightly tacky.
- Knead: Turn the dough onto a lightly floured surface and knead for 8–10 minutes, or mix with a stand mixer and dough hook for 6–8 minutes. The dough should be smooth, elastic, and spring back when pressed.
- First rise: Place dough in a lightly oiled bowl, turning to coat. Cover and let rise in a warm spot until doubled, about 60–90 minutes, depending on room temperature.
- Shape the loaf: Gently deflate the dough and pat it into a rectangle. Roll it up tightly from the short end, pinch the seam, and tuck the ends under. Place in a greased 9×5-inch (23×13 cm) loaf pan.
- Second rise: Cover and let rise until the dough crowns about 1 inch above the rim, 35–50 minutes. Near the end, preheat your oven to 350°F (175°C).
- Bake: Brush the top with egg wash or milk if you like a shiny crust. Bake 30–35 minutes, until golden brown and the internal temperature reads about 195–200°F (90–93°C). If the top is browning too fast, tent with foil.
- Cool: Turn out onto a wire rack and cool at least 1 hour before slicing. This sets the crumb and prevents gumminess.
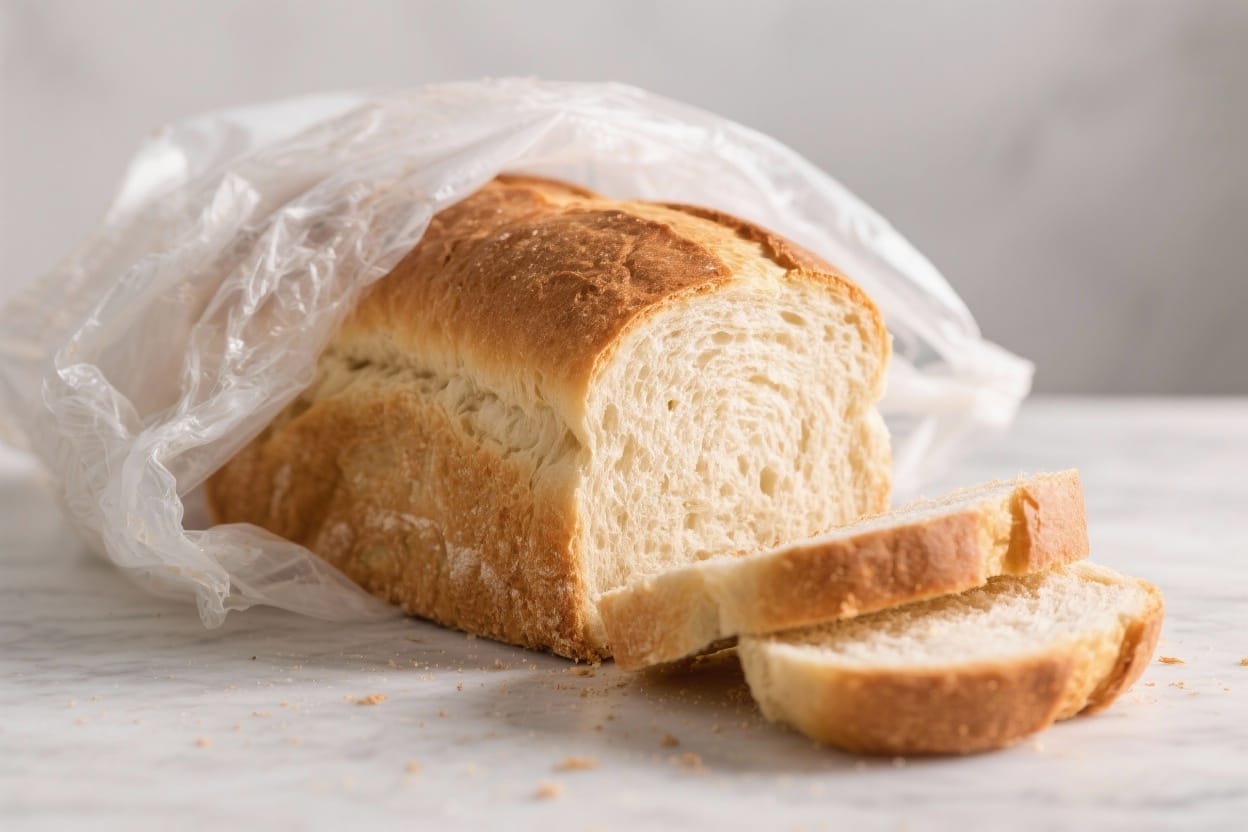
- Freeze (baked loaf): Once fully cool, slice the bread or keep it whole. Wrap tightly in plastic, then in foil, or place in a freezer bag. Label and freeze for up to 3 months.
- Freeze (unbaked dough): After the first rise, punch down and shape into a loaf. Wrap tightly and freeze up to 1 month. To bake later, thaw overnight in the fridge, then place in the pan, let rise until puffy, and bake as directed.
Storage Instructions
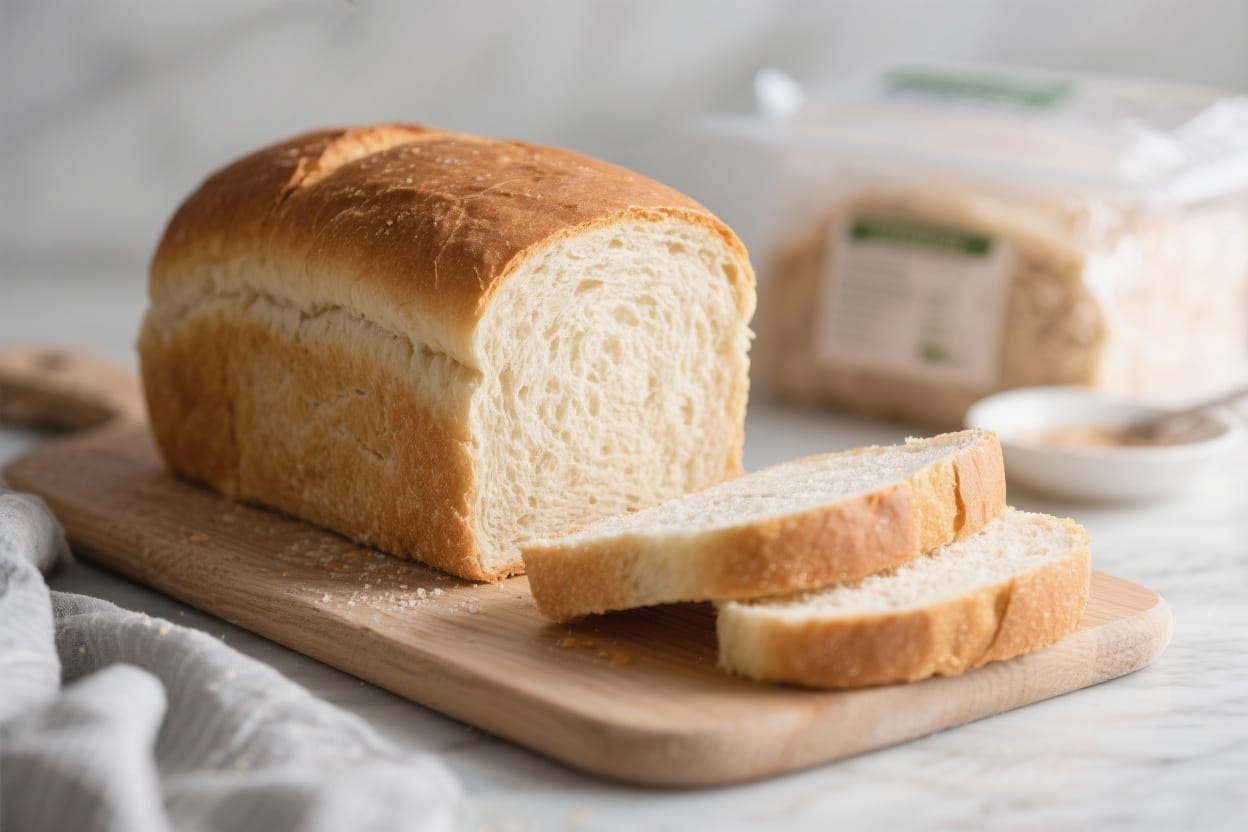
- Room temperature: Keep sliced bread in an airtight bag or container for up to 3 days. Avoid the fridge, which dries bread.
- Freezer (sliced): Freeze slices with parchment between them, then store in a freezer bag. Pull out just what you need.
- Freezer (whole loaf): Wrap in two layers to prevent freezer burn. Thaw on the counter, still wrapped, for 3–4 hours.
- Reheating: Toast slices straight from frozen, or warm a whole loaf at 300°F (150°C) for 10–15 minutes after thawing to refresh the crust.
Why This is Good for You
- Better control of ingredients: You choose the flour, fat, and sweetener, and skip preservatives.
- Balanced energy: A slice offers carbs for quick fuel, with potential fiber if you swap in whole wheat flour.
- Budget-friendly: Homemade bread costs a fraction of bakery loaves and freezes well, so there’s less waste.
- Comfort factor: Fresh, warm bread makes simple meals feel special and satisfying.
Pitfalls to Watch Out For
- Water too hot: Temperatures above 115°F (46°C) can kill yeast. Aim for warm, not hot.
- Too much flour: A stiff dough makes a dense loaf. Keep it slightly tacky for a softer crumb.
- Underproofing or overproofing: If the dough doesn’t rise enough, it’s tight. If it rises too much, it may collapse. Look for a gentle, springy bounce when poked.
- Slicing too soon: Cutting hot bread compresses the crumb. Let it cool fully for best texture.
- Improper wrapping before freezing: Air exposure leads to freezer burn. Wrap tightly and label with the date.
Variations You Can Try
- Half whole wheat: Use 50% whole wheat flour and 50% all-purpose or bread flour. Add 1–2 tablespoons extra water if needed.
- Honey oat: Add 1/2 cup rolled oats and use honey as the sweetener. Brush the loaf with milk and sprinkle oats on top.
- Garlic herb: Mix in 2 teaspoons dried Italian herbs and 1–2 minced garlic cloves for a savory loaf.
- Seeded sandwich: Fold in 2–3 tablespoons mixed seeds (sunflower, sesame, flax). Sprinkle some on top before baking.
- Dairy-free: Use warm water or plant milk and oil instead of butter. Texture stays soft and tender.
- Mini loaves or rolls: Shape into 8–10 rolls and bake 15–18 minutes, or divide into two small pans. Great for quick thawing.
FAQ
Can I use only water instead of milk?
Yes. Milk adds tenderness and a little sweetness, but water works fine. The crust may be slightly thinner and the crumb a bit lighter.
What if I only have instant yeast?
Use 2 teaspoons instant yeast and mix it directly with the flour. No need to proof. The rest of the recipe stays the same.
How do I know the dough is kneaded enough?
It should feel smooth and elastic, and a small piece can be stretched thin without tearing easily. If it tears right away, knead a bit longer.
Why is my bread dense?
Common reasons include too much flour, cool room temperatures, or under-kneading. Also make sure your yeast is fresh and active.
How long can I freeze the bread?
For best flavor and texture, up to 3 months for baked bread and up to 1 month for shaped, unbaked dough. Beyond that, quality may drop.
Can I add mix-ins like cheese or dried fruit?
Absolutely. Fold them in after the first rise. Pat the dough out, scatter the additions, and roll it up before shaping.
Do I need a thermometer?
Not required, but helpful. An internal temp of about 195–200°F (90–93°C) means it’s baked through without drying out.
How should I thaw frozen slices?
Toast straight from frozen, or leave a few slices at room temperature for 10–15 minutes. For sandwiches, a quick toast brings back freshness.
Final Thoughts
This freezer friendly homemade bread is all about ease and flexibility. You can bake when you have time and enjoy fresh-tasting slices whenever you want. Keep a loaf or a stack of slices in your freezer, and weekday breakfasts and lunches get a little simpler. With a soft crumb, gentle crust, and a short ingredient list, it’s the kind of bread that fits any routine. Once you try it, you’ll wonder how you ever lived without a backup loaf on hand.
Printable Recipe Card
Want just the essential recipe details without scrolling through the article? Get our printable recipe card with just the ingredients and instructions.