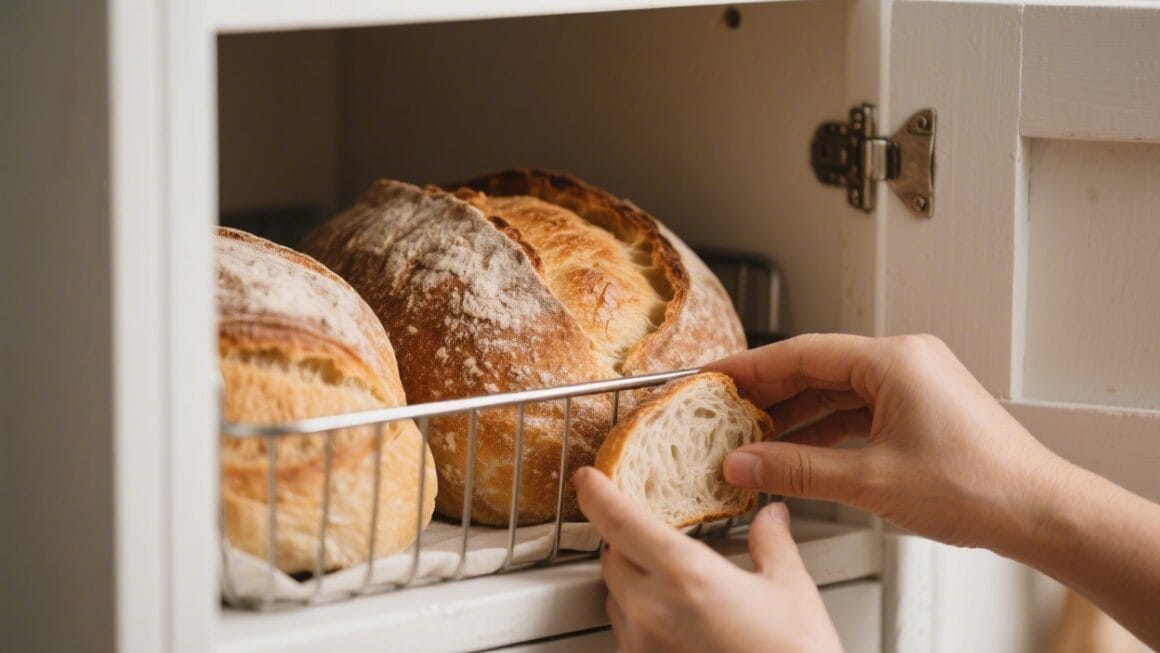
Warm, homemade bread that you can stash in the freezer for later? That’s the dream on a busy weeknight. This freezer-friendly loaf is soft, tender, and perfect for sandwiches, toast, or soaking up soup.
You’ll get the satisfaction of baking from scratch without the pressure to finish it all in a day. The steps are simple, the ingredients are basic, and the results are consistently great. If you’ve ever felt nervous about making bread, this is a forgiving place to start.
What Makes This Recipe So Good
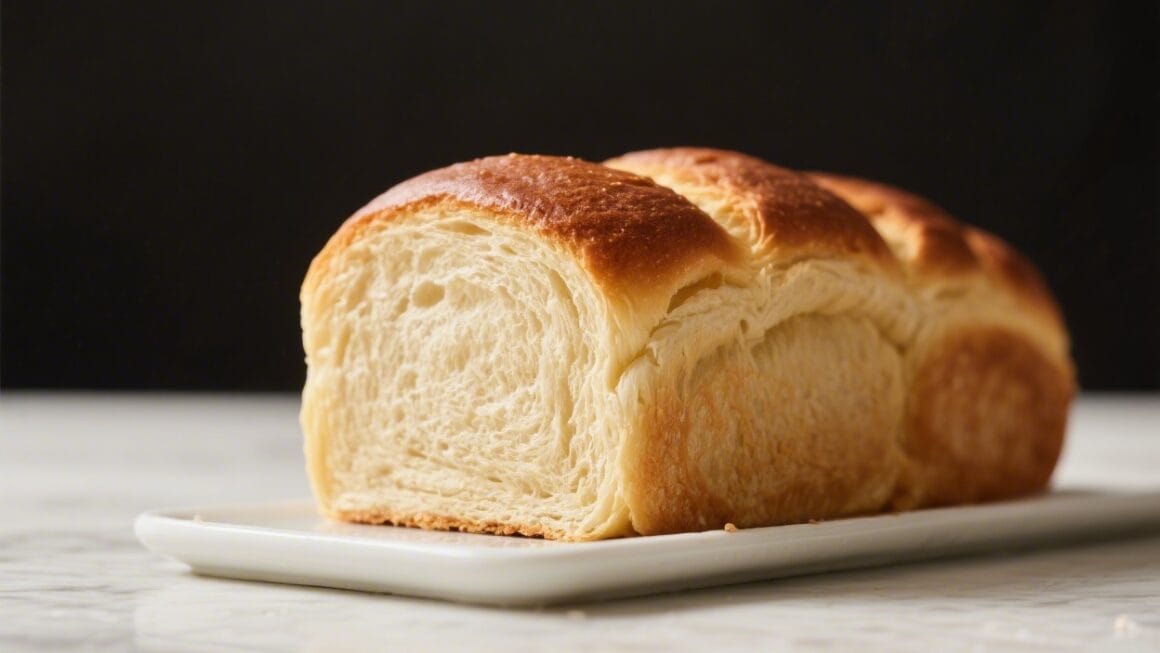
- Freezes beautifully: The crumb stays soft after thawing, so it tastes like it was baked the same day.
- Everyday ingredients: You probably have most of what you need in your pantry right now.
- Flexible timing: You can bake, cool, and freeze, or freeze the dough at different stages if that suits your schedule.
- Beginner-friendly: Clear steps, simple shaping, and a loaf pan do most of the work for you.
- Versatile flavor: Keep it plain, or add oats, seeds, or herbs without derailing the texture.
Ingredients
- 3 1/2 to 4 cups (420–480 g) bread flour (all-purpose works too; you may need a little less)
- 1 1/4 cups (295 ml) warm water (about 105–110°F/40–43°C)
- 2 1/4 teaspoons (7 g) instant or active dry yeast (one standard packet)
- 2 tablespoons (25 g) granulated sugar or honey
- 2 tablespoons (28 g) unsalted butter, softened (or olive oil)
- 1 1/2 teaspoons fine salt
- Optional mix-ins: 2–3 tablespoons seeds (sunflower, sesame, flax), 2 tablespoons milk powder for extra softness, or 1 tablespoon vital wheat gluten for extra chew
- For the pan: Neutral oil or softened butter for greasing
Instructions

- Activate the yeast (if using active dry): In a bowl, combine warm water and sugar.Sprinkle yeast over the top and let it sit 5–10 minutes until foamy. If using instant yeast, mix it directly with the flour and proceed.
- Make the dough: In a large bowl, combine 3 1/2 cups flour, salt, and instant yeast (if using). Add the yeast mixture (or warm water and sugar if using instant yeast) and butter.Stir until a shaggy dough forms.
- Knead: Knead on a lightly floured surface for 8–10 minutes, adding small sprinkles of flour only as needed. The dough should be smooth, slightly tacky, and elastic. If it’s very sticky, add 1–2 tablespoons more flour at a time.
- First rise: Shape the dough into a ball and place it in a lightly oiled bowl.Cover and let rise in a warm spot until doubled, about 60–90 minutes.
- Shape the loaf: Gently deflate the dough. Pat it into a rectangle roughly the length of your loaf pan. Roll it up tightly from the short end, pinch the seam, and tuck the ends under.
- Pan and second rise: Grease a 9×5-inch loaf pan.Place the dough seam-side down in the pan. Cover and let it rise until the dome peaks about 1 inch above the rim, 35–60 minutes depending on the room temperature.
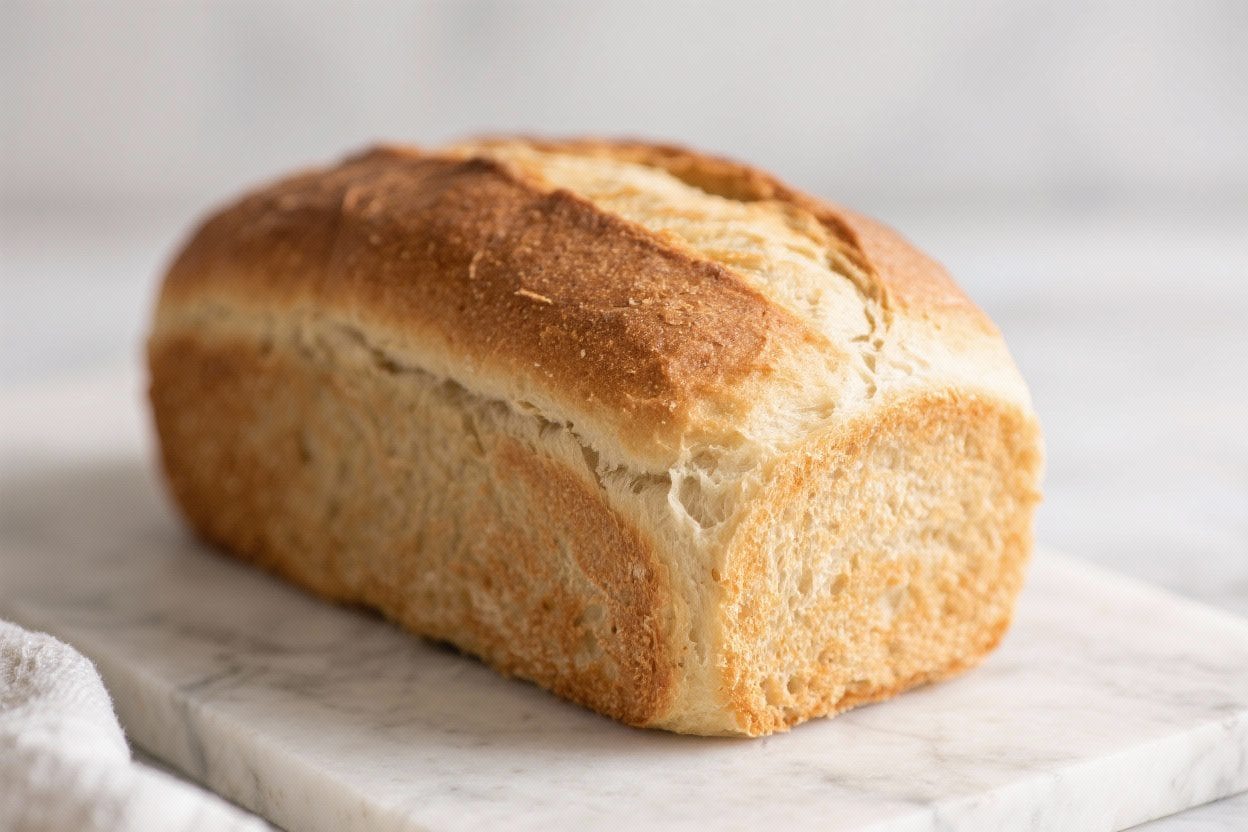
- Bake: Preheat the oven to 350°F (175°C). Bake for 30–35 minutes, until the top is deep golden and the loaf sounds hollow when tapped.An instant-read thermometer should read about 195–200°F (90–93°C) in the center.
- Cool completely: Remove from the pan and cool on a rack for at least 90 minutes. This sets the crumb and prevents gumminess.
- Freeze option 1 – baked loaf: Wrap the cooled loaf tightly in plastic, then in foil, or place in a heavy freezer bag. Label and freeze for up to 3 months.
- Freeze option 2 – sliced: Slice the cooled loaf, then wrap stacks of 2–4 slices in parchment and place in a freezer bag.This makes it easy to grab just what you need.
- Freeze option 3 – unbaked dough: After the first rise, shape into a loaf, wrap tightly, and freeze up to 1 month. Thaw overnight in the fridge, place in a pan, let it finish the second rise, then bake as directed.
Storage Instructions
- Room temperature: Store the cooled loaf in a bread box or wrapped in a clean towel for 2–3 days. Avoid the fridge; it dries bread out faster.
- Freezer: Keep tightly wrapped to prevent freezer burn.For best flavor, use within 3 months.
- Thawing: For a whole loaf, thaw wrapped at room temperature 3–4 hours. For slices, toast straight from frozen or thaw 10–15 minutes on the counter.
- Refresh the crust: After thawing, place the loaf in a 325°F (165°C) oven for 8–10 minutes to revive the exterior.

Health Benefits
- No additives you don’t want: Homemade bread skips preservatives, conditioners, and excess sodium commonly found in store-bought loaves.
- Control the ingredients: You choose the flour type, sweetener, and any add-ins like seeds, oats, or whole grains.
- Better satiety: Fresh bread with a balanced crumb can be more satisfying, especially with fiber-rich mix-ins.
- Customizable nutrition: Swap in part whole wheat flour, add flaxseed, or use olive oil for heart-healthy fats.
Pitfalls to Watch Out For
- Water too hot: Water above 120°F (49°C) can kill yeast. Aim for warm, not hot.
- Over-flouring: Adding too much flour makes a dense loaf.The dough should feel slightly tacky but not stick like glue.
- Under-kneading: If the dough tears easily and doesn’t spring back, knead a few minutes longer for better structure.
- Skipping the cool-down: Slicing hot bread compresses the crumb and traps steam, leading to a gummy texture.
- Poor wrapping for freezing: Air is the enemy. Double-wrap to avoid freezer burn and off flavors.
Alternatives
- Whole wheat version: Use 50% whole wheat flour and 50% bread flour. Add 1–2 tablespoons extra water if the dough feels dry.
- Dairy-enriched: Replace half the water with warm milk and add 1 tablespoon milk powder for a softer crumb.
- Olive oil and herb loaf: Use olive oil instead of butter and mix in 1–2 teaspoons dried herbs like rosemary or Italian seasoning.
- Seeded top: Brush the shaped loaf with water or egg wash before the second rise and sprinkle with sesame or poppy seeds.
- Sourdough hybrid: Replace 1/2 cup water and 1/2 cup flour with 1 cup active sourdough starter.Keep the yeast, but reduce it to 1 teaspoon for a slower, more flavorful rise.
FAQ
Can I use all-purpose flour instead of bread flour?
Yes. All-purpose flour works well here. You may need a tablespoon or two less, and the loaf will be slightly softer with a bit less chew.
How do I know when I’ve kneaded enough?
The dough should feel smooth and elastic and bounce back when lightly pressed.
If you stretch a small piece, it should form a thin “windowpane” without tearing easily.
What if my dough isn’t rising?
Check your yeast freshness and the room temperature. If it’s cool, give it more time or move the bowl to a warmer spot, like inside the oven with just the light on.
Can I bake this in a Dutch oven?
You can, but a loaf pan gives the classic sandwich shape. If using a Dutch oven, shape into a batard, preheat the pot, and bake covered for 20 minutes, then uncovered until golden.
How do I prevent a thick, hard crust?
Bake at 350°F and avoid overbaking.
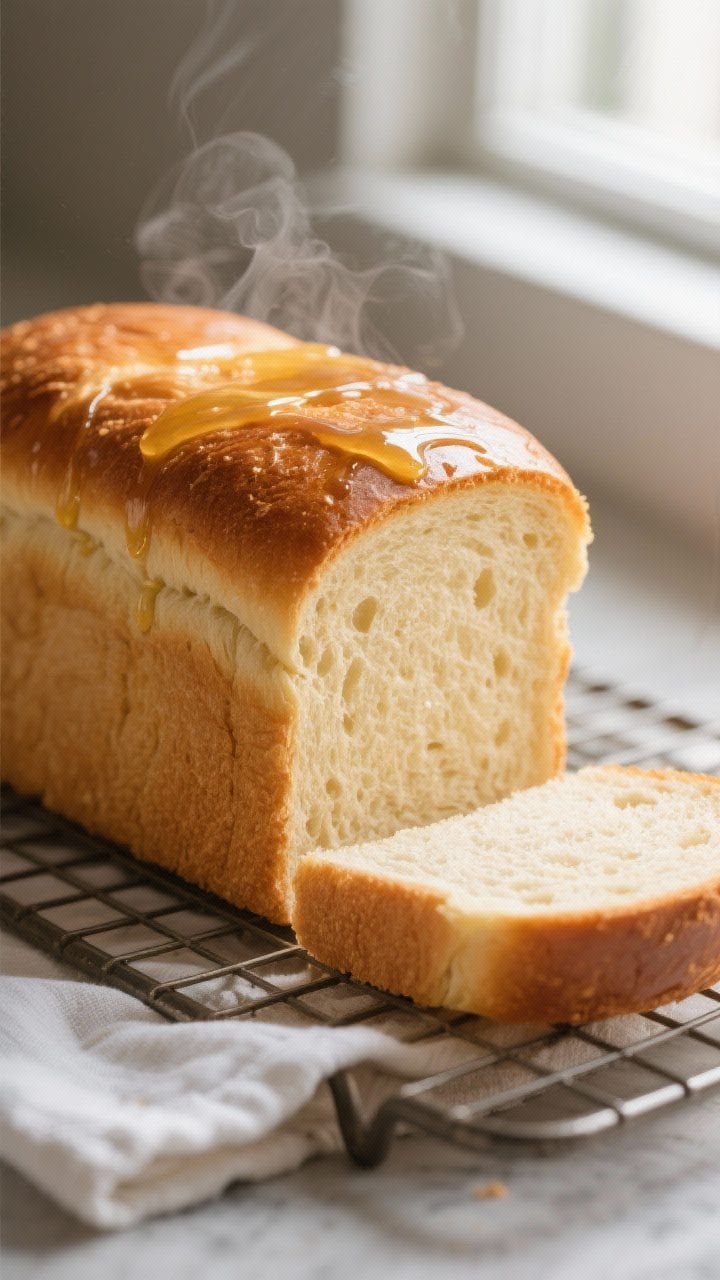
Brushing the hot loaf with a little melted butter softens the crust as it cools.
Is it okay to freeze the dough after the second rise?
It’s better to freeze after the first rise. Freezing after the second rise can overproof the dough as it thaws, leading to collapse in the oven.
Can I add sweeteners like honey or maple syrup?
Yes. Use the same amount as sugar by weight.
Honey adds moisture and mild flavor, while maple syrup adds a subtle caramel note.
What’s the best way to slice a soft loaf?
Use a sharp serrated knife and let the loaf cool fully. For very clean slices, chill the loaf for 20 minutes before slicing or slice from frozen if you pre-froze it that way.
Final Thoughts
This freezer-friendly homemade bread loaf earns a regular spot in the rotation. It’s simple, forgiving, and the slices hold up beautifully to toasting, butter, and sturdy sandwich fillings.
Bake a couple on a Sunday, freeze one, and you’ll thank yourself midweek. Once you’ve nailed the base recipe, play with flours and mix-ins to match your taste. Fresh bread on standby makes every meal feel a bit more special.
Printable Recipe Card
Want just the essential recipe details without scrolling through the article? Get our printable recipe card with just the ingredients and instructions.