Fluffy Dinner Rolls Recipe – Soft, Buttery, and Easy

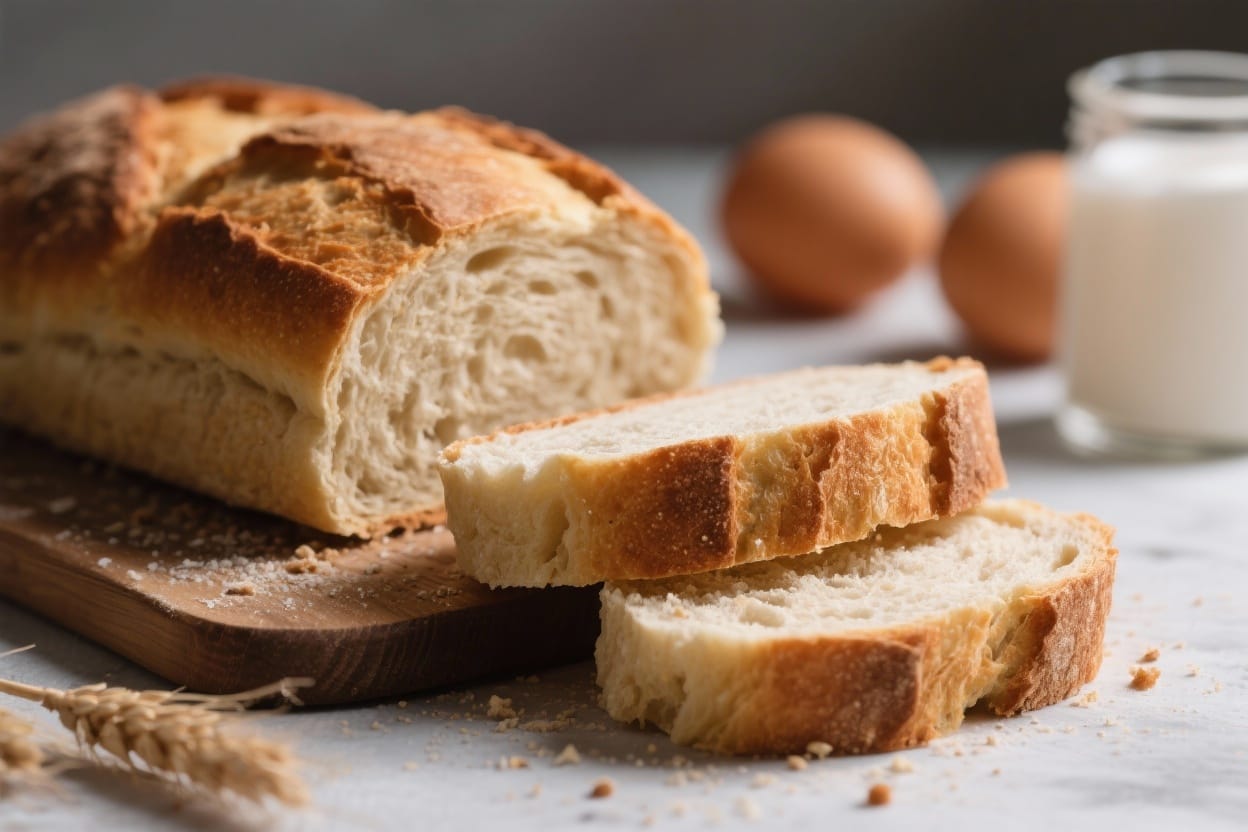
Nothing beats the smell of fresh bread warming the kitchen. These fluffy dinner rolls are soft, slightly sweet, and perfect for weeknights or holidays. They’re simple enough for beginners but feel special enough for company. With a handful of pantry staples and a little patience, you’ll have warm rolls ready to tear apart and slather with butter. Once you try them, you’ll want to make them again and again.
What Makes This Recipe So Good
Fluffy dinner rolls recipe – Fluffy Dinner Rolls Recipe – Soft, Buttery, and Easy Nothing beats the smell of fresh bread warming
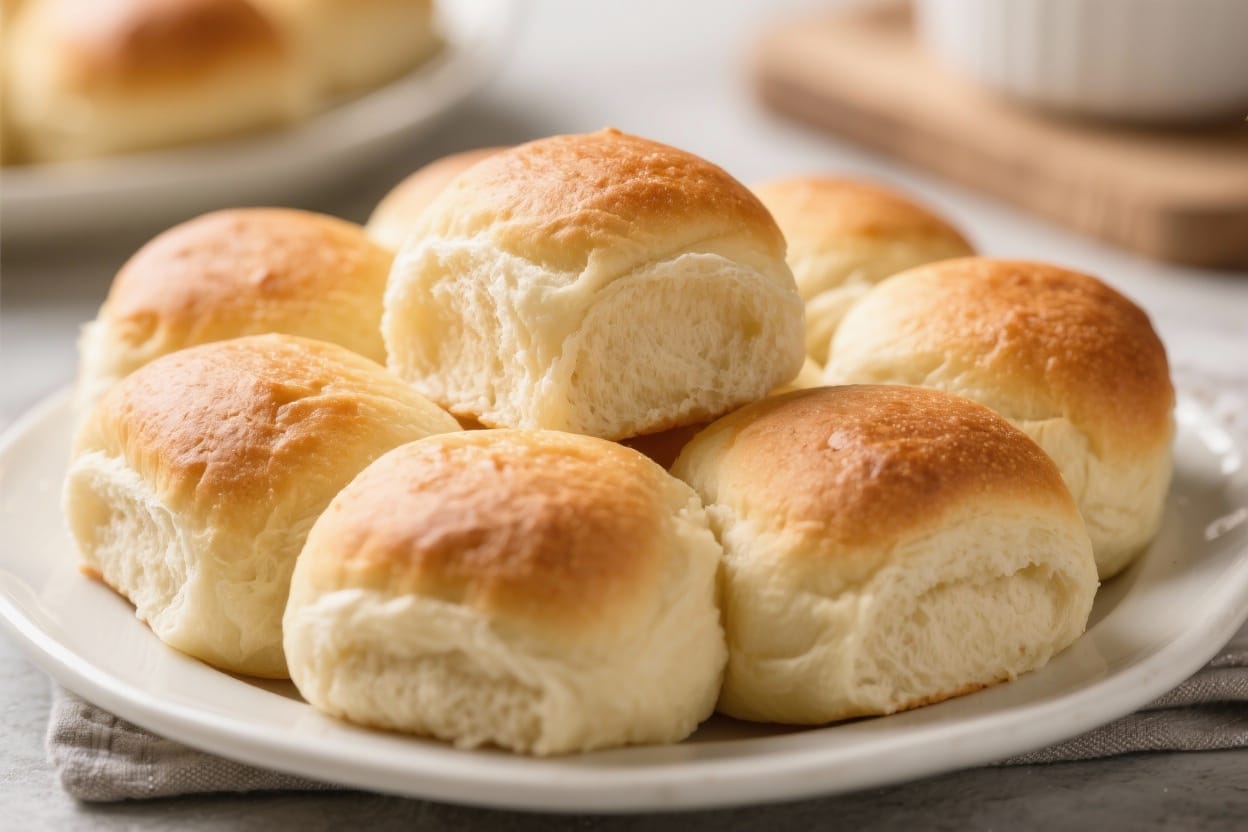
- Pillowy texture: These rolls rise beautifully and bake up light and tender.
- Balanced flavor: A touch of sugar and butter adds subtle sweetness and richness without being heavy.
- Beginner-friendly: The steps are straightforward, and you don’t need special equipment beyond a bowl and a baking pan.
- Flexible timing: You can pause the dough in the fridge, bake ahead, and reheat easily.
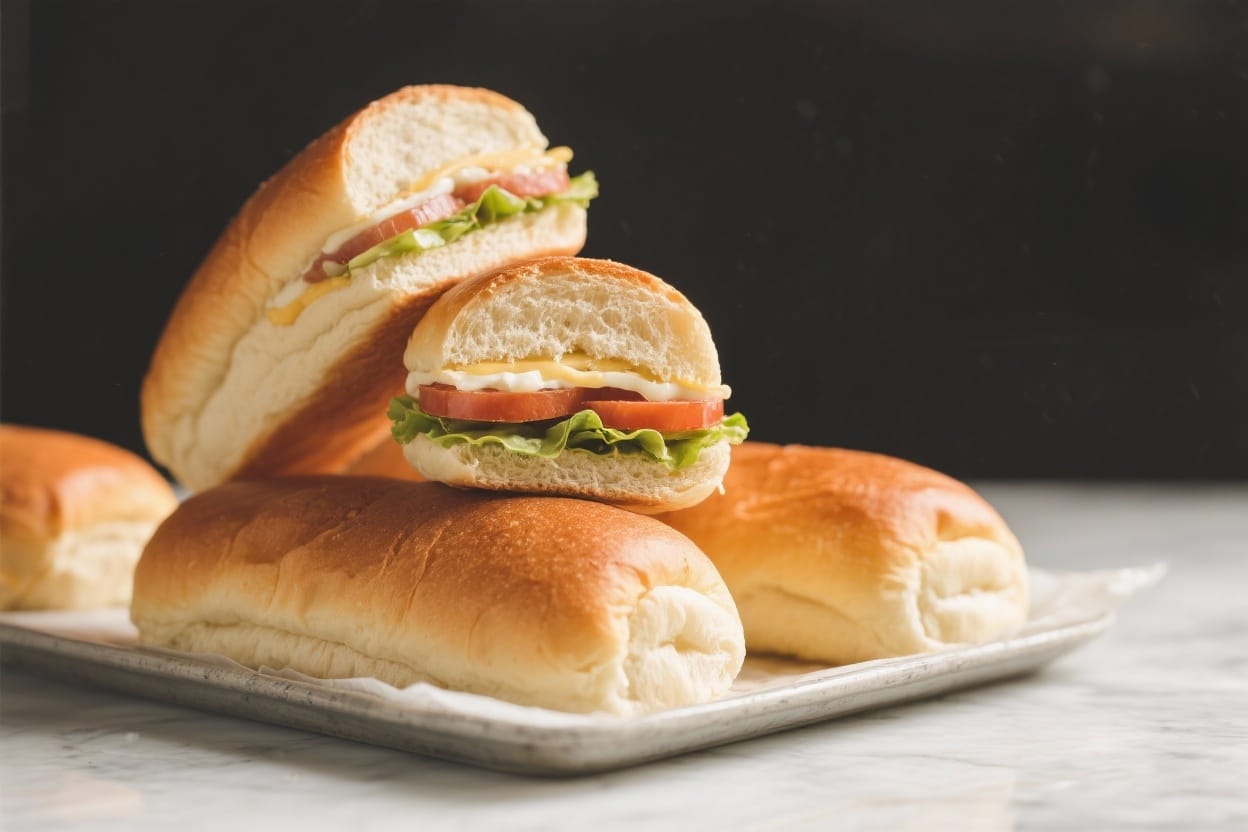
- Versatile: Great with soup, holiday dinners, or as slider buns.
Ingredients
Fluffy dinner rolls recipe – These fluffy dinner rolls are soft, slightly sweet, and perfect for weeknights or holidays
- 3 1/2 to 4 cups (420–480 g) all-purpose flour, plus more for dusting
- 2 1/4 teaspoons (1 packet) instant or rapid-rise yeast
- 1 cup (240 ml) warm milk (about 105–115°F/40–46°C)
- 1/3 cup (65 g) granulated sugar
- 1 teaspoon fine sea salt
- 1 large egg, room temperature
- 5 tablespoons (70 g) unsalted butter, softened, plus more for greasing
- 1–2 tablespoons melted butter for brushing after baking (optional but recommended)
Instructions
- Warm the milk: Heat the milk until it’s warm to the touch, not hot. Aim for about 105–115°F. If it feels hotter than bathwater, let it cool a minute so it doesn’t harm the yeast.
- Mix the dough: In a large bowl, whisk together 3 1/2 cups flour, yeast, sugar, and salt. Add the warm milk, egg, and softened butter. Stir with a sturdy spoon until a shaggy dough forms.
- Knead until smooth: Turn the dough onto a lightly floured surface. Knead for 8–10 minutes, adding small sprinkles of flour only if it’s very sticky. The dough should become smooth, stretchy, and slightly tacky. If using a stand mixer, knead on medium-low for about 6–8 minutes.
- First rise: Shape the dough into a ball and place it in a lightly greased bowl, turning once to coat. Cover with a clean towel or plastic wrap and let it rise in a warm place until doubled, about 1 to 1 1/2 hours.
- Prepare the pan: Grease a 9×13-inch baking dish or two 8- or 9-inch round pans. This keeps the rolls soft and helps them rise upward.
- Shape the rolls: Punch down the dough gently to release air. Turn it out and divide into 12 equal pieces for large rolls or 15 for smaller ones. Shape each piece into a tight ball by tucking edges underneath and rolling with a cupped hand.
- Second rise: Arrange the dough balls in the pan, spaced evenly. Cover and let rise again until puffy and touching, about 30–45 minutes. They should look light and airy.
- Preheat and bake: Heat the oven to 375°F (190°C). Bake the rolls for 16–20 minutes, until golden on top and set in the centers. If browning too quickly, tent loosely with foil for the last few minutes.
- Finish with butter: Brush warm rolls with melted butter for extra softness and shine. Let them cool slightly before serving so the crumb sets.
Storage Instructions
- Room temperature: Keep cooled rolls in an airtight container for up to 2 days.
- Refrigerator: Not ideal, as it can dry them out. If you must, warm them before serving.
- Freezer: Wrap rolls tightly and freeze up to 2 months. Thaw at room temperature, then warm in a 300°F (150°C) oven for 8–10 minutes.
- Make-ahead dough: After the first rise, cover tightly and refrigerate up to 24 hours. Shape, rise, and bake as directed, adding a little extra time for the second rise if the dough is cold.
Why This is Good for You
- Homemade control: You control the ingredients, avoiding preservatives and excess sodium found in many store-bought rolls.
- Balanced portion: Smaller rolls make portion control simple while still satisfying that bread craving.
- Comfort and connection: Baking bread can reduce stress, and sharing warm rolls at the table builds a cozy, unhurried meal.
- Simple, real foods: Flour, milk, eggs, and butter are straightforward ingredients you can pronounce and trust.
Common Mistakes to Avoid
- Milk too hot: Overheated liquid can kill the yeast. Keep it warm, not hot.
- Too much flour: Adding lots of extra flour during kneading leads to dense rolls. Aim for a slightly tacky dough.
- Under-kneading: Not enough kneading means weak gluten, which prevents that fluffy rise. Knead until the dough is elastic and smooth.
- Skipping the second rise: This step builds structure and softness. Don’t rush it.
- Overbaking: Dry rolls happen fast. Pull them when golden and just set.
Variations You Can Try
- Honey butter rolls: Replace the sugar with 1/4 cup honey. Brush with honey butter after baking.
- Garlic herb rolls: Add 1 teaspoon garlic powder and 2 teaspoons mixed dried herbs to the dough. Brush with garlic butter and sprinkle a little flaky salt.
- Whole wheat blend: Use half whole wheat flour and half all-purpose. Add 1 extra tablespoon milk if the dough feels dry.
- Cheesy tops: Sprinkle shredded cheddar or Parmesan on the rolls in the last 5 minutes of baking.
- Pull-apart slider buns: Make 15–18 smaller rolls for sliders. Shorten bake time by 2–3 minutes.
FAQ
Can I use active dry yeast instead of instant?
Yes. Bloom 2 1/4 teaspoons active dry yeast in the warm milk with a pinch of sugar for 5–10 minutes, until foamy. Then proceed with the recipe.
How do I know when the dough has been kneaded enough?
It should feel smooth, stretchy, and slightly tacky. If you gently stretch a small piece, it should form a thin window without tearing quickly. That elasticity means the gluten is developed.
My dough isn’t rising. What went wrong?
Check the age of your yeast, the milk temperature, and the room temperature. Old yeast or hot milk can stop the rise. If your kitchen is cool, let the dough rise in a slightly warm oven (turned off) or near a warm spot.
Can I make these without eggs?
Yes. Replace the egg with 3 tablespoons milk or a neutral oil. The texture will still be soft, though slightly less rich.
How do I keep the tops soft?
Brush the rolls with melted butter as soon as they come out of the oven. Cooling them under a clean towel also helps retain moisture.
Can I mix the dough in a stand mixer?
Absolutely. Use the dough hook on medium-low. Mix until the dough cleans the sides of the bowl and feels elastic, about 6–8 minutes.
What if I only have bread flour?
Bread flour works and can give a bit more chew. Start with 3 1/2 cups and add more only if the dough is too sticky. Watch the kneading time, as it may develop faster.
In Conclusion
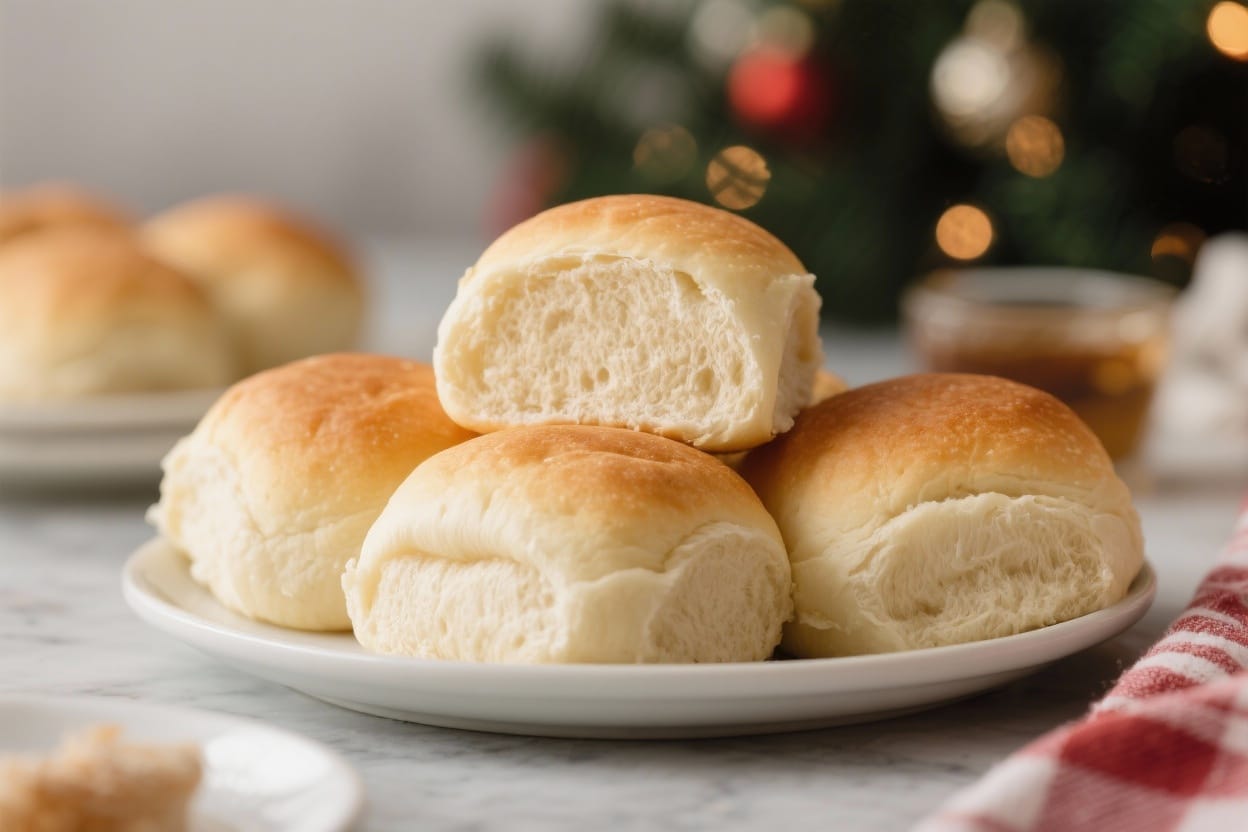
Soft, buttery dinner rolls are simpler than they look, and the payoff is huge. With a warm rise, gentle handling, and a little melted butter at the end, you’ll get bakery-level results at home. Keep this recipe handy for holidays, Sunday suppers, and any night that needs something cozy on the table. Once you master it, you’ll have a go-to roll that fits any meal.
Printable Recipe Card
Want just the essential recipe details without scrolling through the article? Get our printable recipe card with just the ingredients and instructions.