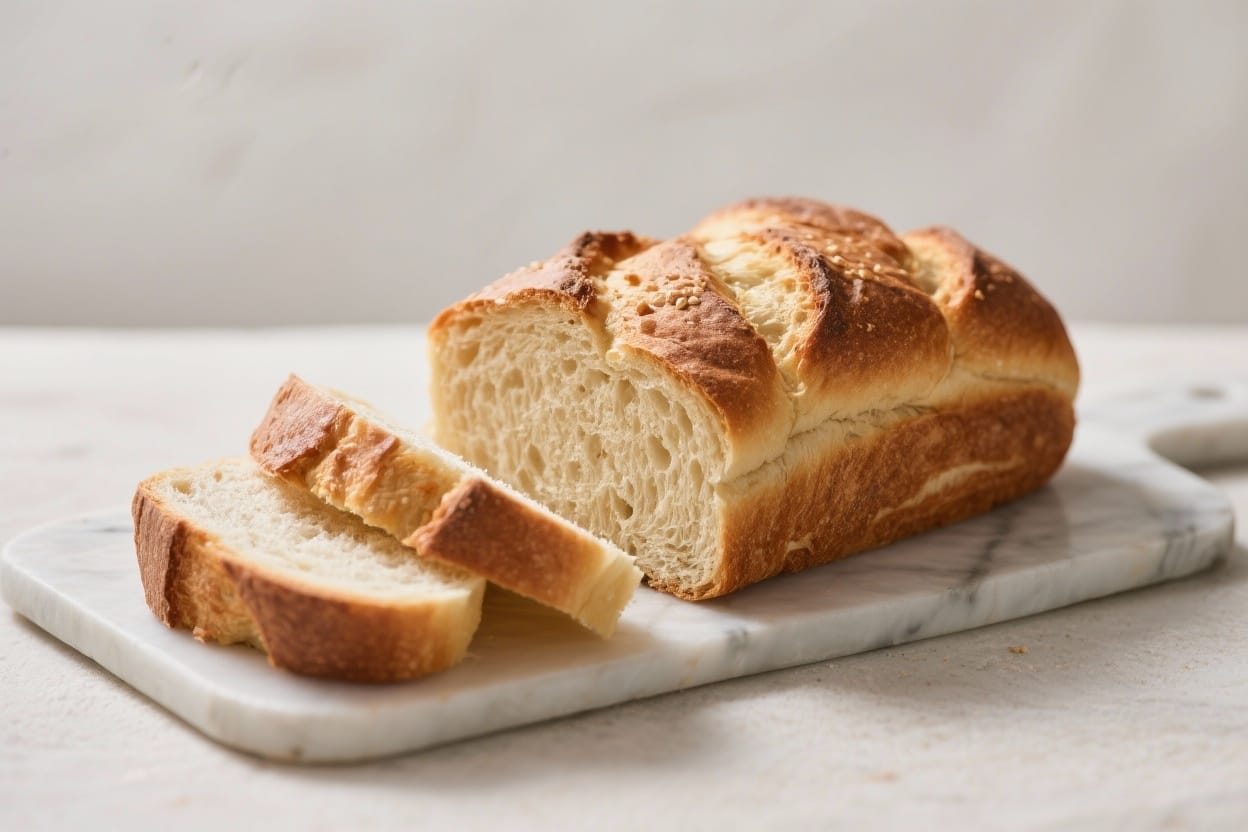
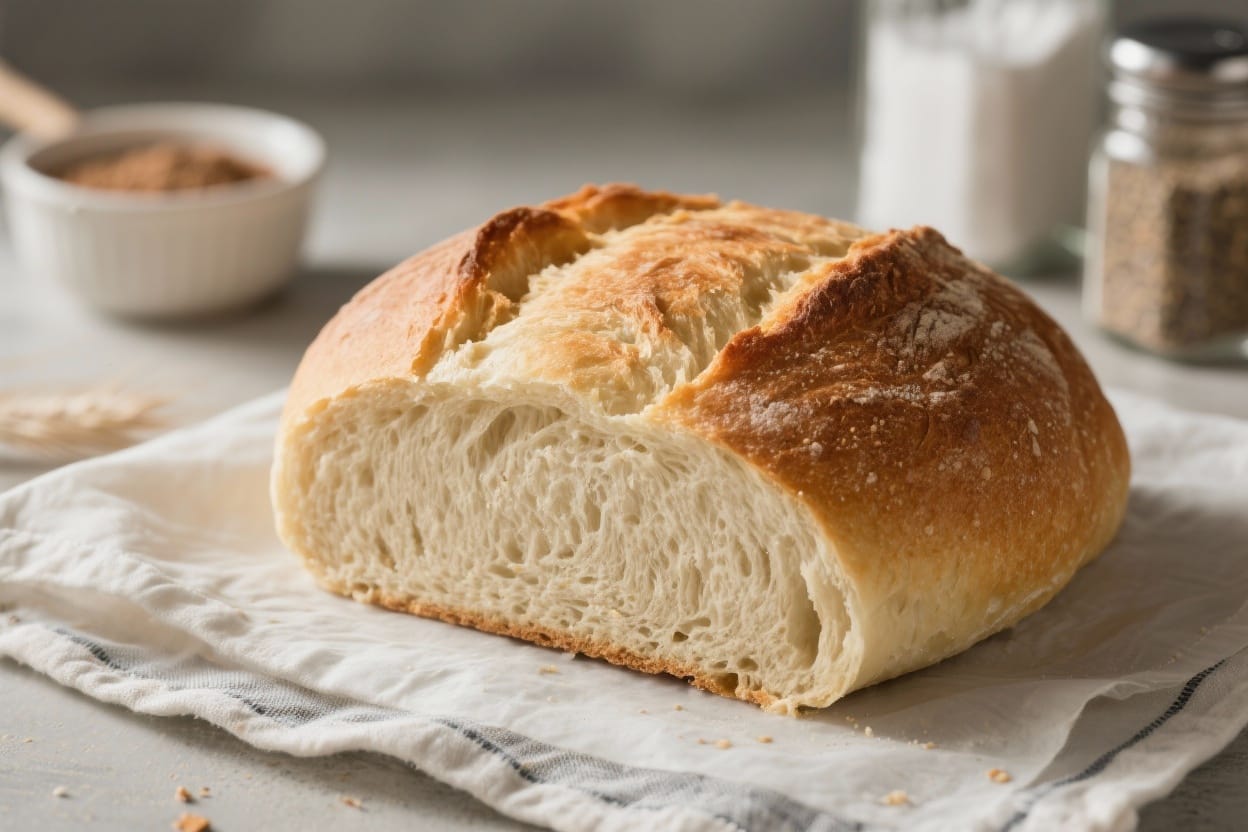
Emergency Bread Without Yeast – Quick, Simple, and Satisfying
This is the kind of bread you make when you need something warm and comforting on the table fast. No yeast, no long waits, no special tools. Just a few pantry basics and about 30 minutes from start to finish. The result is a rustic loaf with a tender crumb and a light crust, perfect for dipping, spreading, or serving alongside soup. It’s simple, reliable, and surprisingly delicious.
What Makes This Special
Emergency bread without yeast – Emergency Bread Without Yeast – Quick, Simple, and Satisfying This is the kind of bread you make whe
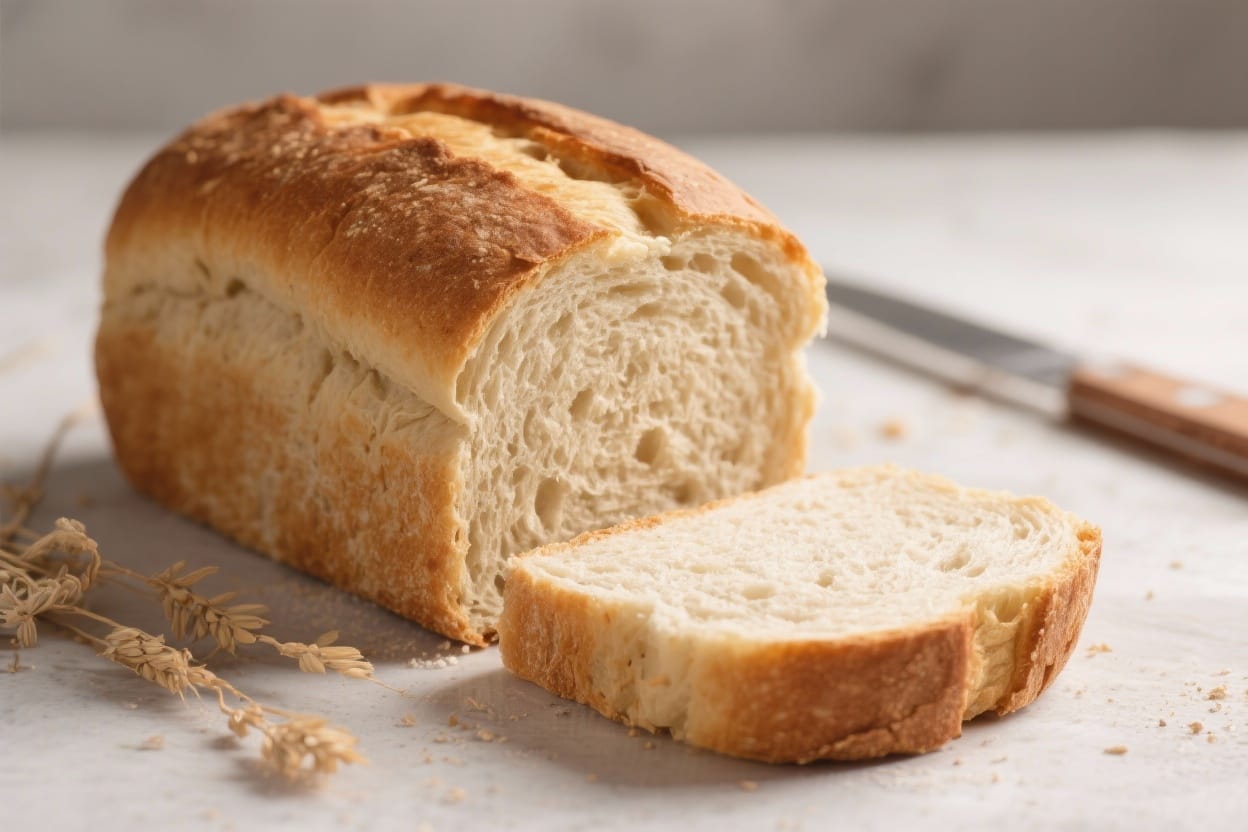
This bread is leavened with baking powder and baking soda instead of yeast, so there’s zero rise time. You mix, shape, and bake right away. The texture lands somewhere between a classic soda bread and a quick biscuit loaf—soft, cozy, and great warm from the oven. It also adapts well to what you have on hand, from milk to water to dairy-free options. Plus, it’s forgiving, so even new bakers can get a good loaf on the first try.
Ingredients
Emergency bread without yeast – No yeast, no long waits, no special tools
- 2 cups (250 g) all-purpose flour (plus a little extra for dusting)
- 1 cup (120 g) whole wheat flour (optional, for flavor and fiber; replace with all-purpose if you prefer)
- 1 tablespoon baking powder
- 1/2 teaspoon baking soda
- 1 teaspoon fine salt
- 1 tablespoon sugar or honey (optional, for a hint of sweetness and browning)
- 1 1/4 cups (300 ml) buttermilk, kefir, or milk mixed with 1 tablespoon lemon juice or vinegar
- 2 tablespoons neutral oil or melted butter
- Optional add-ins: 1/2 cup shredded cheese, 2 tablespoons chopped herbs, 1/3 cup seeds (sunflower, pumpkin, sesame), or 1/4 cup rolled oats
Instructions
Emergency bread without yeast – Just a few pantry basics and about 30 minutes from start to finish
- Preheat the oven: Set it to 400°F (200°C). Place a baking sheet or cast-iron skillet in the oven to heat while you mix the dough. A hot surface helps the loaf get a better rise.
- Prep the liquid: If you don’t have buttermilk, mix milk with lemon juice or vinegar and let it sit for 5 minutes to lightly thicken. This acidity helps activate the baking soda.
- Mix dry ingredients: In a large bowl, whisk the flours, baking powder, baking soda, salt, and sugar if using. Break up any clumps so everything is evenly combined.
- Add wet ingredients: Pour in the buttermilk mixture and the oil or melted butter. Stir with a spoon until the dough comes together. It should be soft and slightly sticky, but not runny.
- Adjust if needed: If the dough is too wet, sprinkle in a tablespoon or two of flour. If it’s dry and crumbly, add a splash of milk. Aim for a soft, workable dough.
- Shape the loaf: Turn the dough onto a lightly floured surface. Gently knead 5–6 times—just enough to bring it together. Shape it into a round about 1 1/2 inches thick. Don’t overwork it.
- Score the top: Use a sharp knife to cut a deep cross on top, about 1/2 inch deep. This helps the loaf expand and cook evenly.
- Bake: Carefully place the shaped dough on the preheated baking sheet or skillet. Bake for 25–35 minutes, until the top is golden and the loaf sounds hollow when tapped. An internal temperature of about 200°F (93°C) means it’s done.
- Cool briefly: Let it rest on a rack for 10–15 minutes before slicing. This helps the interior set and keeps it from getting gummy.
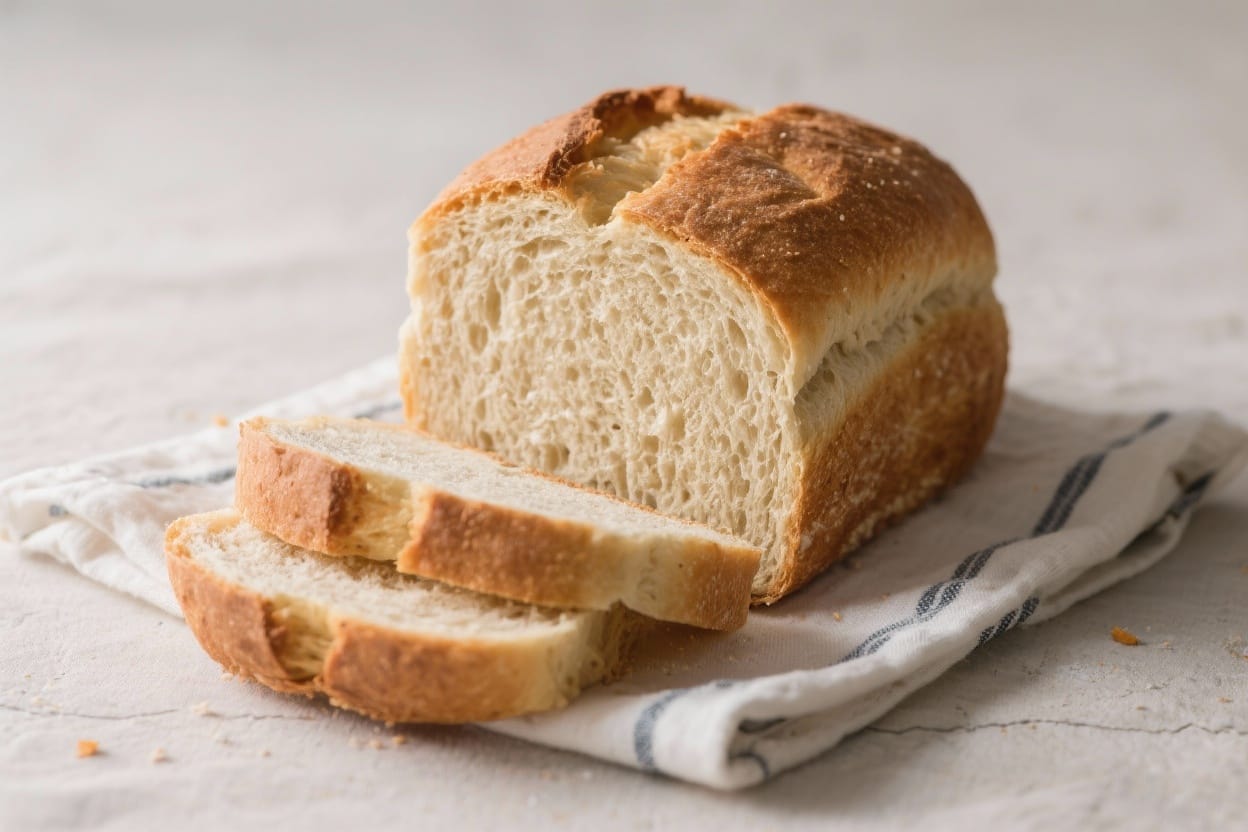
- Serve: Enjoy warm with butter, jam, soup, or stew. It’s best the day it’s made, but it toasts beautifully the next day.
How to Store
- Room temperature: Wrap the loaf in a clean kitchen towel or store in a paper bag for up to 24 hours. Avoid sealed plastic while it’s still warm—it can turn the crust soft and soggy.
- Short-term: Once fully cool, keep in an airtight container for up to 2 days. The crust will soften, but it will toast nicely.
- Freezer: Slice, wrap tightly, and freeze for up to 2 months. Toast slices straight from frozen.
- Refresh: To revive day-old bread, warm in a 325°F (165°C) oven for 8–10 minutes.
Why This is Good for You
- Simple ingredients: Flour, milk, and a few basics make a nourishing loaf without additives.
- Whole grains optional: Adding whole wheat flour boosts fiber and flavor without making the bread heavy.
- Less sodium control: You can adjust the salt to your taste and needs.
- Quick energy: This bread pairs well with proteins and fats, making balanced meals easy when time is tight.
What Not to Do
- Don’t overmix or knead hard: This can make the bread tough. Mix just until combined.
- Don’t skip the acidity: If you use regular milk without lemon juice or vinegar, the baking soda won’t activate properly.
- Don’t bake in a cold pan: A preheated sheet or skillet helps the loaf rise and set quickly.
- Don’t slice immediately: Give it 10–15 minutes to rest, or the interior can turn gummy.
- Don’t expect a yeast-style crumb: This is a quick bread. It’s tender and rustic, not airy like sandwich bread.
Variations You Can Try
- Herb and cheese: Add 1/2 cup shredded cheddar or parmesan and 2 tablespoons chopped chives, parsley, or rosemary.
- Seeded crust: Brush the top with milk and sprinkle sesame, poppy, or sunflower seeds before baking.
- Oat and honey: Fold in 1/4 cup rolled oats and 1 tablespoon honey. Sprinkle extra oats on top.
- Garlic and olive oil: Replace butter with olive oil and add 1 teaspoon garlic powder for a savory twist.
- Dairy-free: Use oat or almond milk plus 1 tablespoon vinegar. Add 1 extra tablespoon oil for tenderness.
- Gluten-free attempt: Use a cup-for-cup gluten-free blend with xanthan gum. Start with slightly less liquid and add as needed. Expect a denser crumb.
FAQ
Can I make this with only all-purpose flour?
Yes. Use 3 cups all-purpose flour total. The texture will be a bit lighter, and the flavor a bit milder.
What if I don’t have baking soda?
You can leave it out and increase baking powder to 1 tablespoon plus 1 teaspoon. The rise will be slightly less, but the bread will still work.
Is there a way to get a crisper crust?
Yes. Bake on a preheated cast-iron skillet, and let the loaf finish directly on the oven rack for the last 5 minutes. You can also lightly mist the oven with water at the start for a touch of steam.
My dough is too sticky. What should I do?
Dust lightly with flour and handle it gently. Sticky is normal; you just want it manageable. Avoid adding too much flour or the bread will turn dry.
How can I tell when it’s fully baked?
The top will be golden, the loaf will sound hollow when tapped on the bottom, and a thermometer will read about 200°F (93°C) in the center.
Can I bake this in a loaf pan?
Yes. Grease a standard loaf pan and shape the dough to fit. Bake for 30–40 minutes. The sides will be softer than a free-form loaf.
Can I add raisins or nuts?
Absolutely. Fold in 1/2 cup raisins or chopped nuts with the dry ingredients. A pinch of cinnamon pairs well if you’re going slightly sweet.
What’s the best way to serve it?
Warm with butter and jam, or alongside soups, stews, and salads. It also makes great toast the next morning.
Does this freeze well?
Yes. Slice, wrap tightly, and freeze. Toast slices straight from the freezer for best texture.
Why did my bread turn dense?
You may have overmixed, used milk without acid, or measured flour too heavily. Next time, fluff the flour before measuring, use the acid, and mix gently.
In Conclusion
Emergency bread without yeast is a fast, flexible recipe that delivers a warm loaf when you need it most. With a handful of pantry staples and no rise time, you can have homemade bread on the table in about half an hour. Keep it simple, or add herbs, seeds, and cheese to make it your own. It’s the kind of everyday recipe you’ll lean on again and again—reliable, comforting, and always welcome.
Printable Recipe Card
Want just the essential recipe details without scrolling through the article? Get our printable recipe card with just the ingredients and instructions.