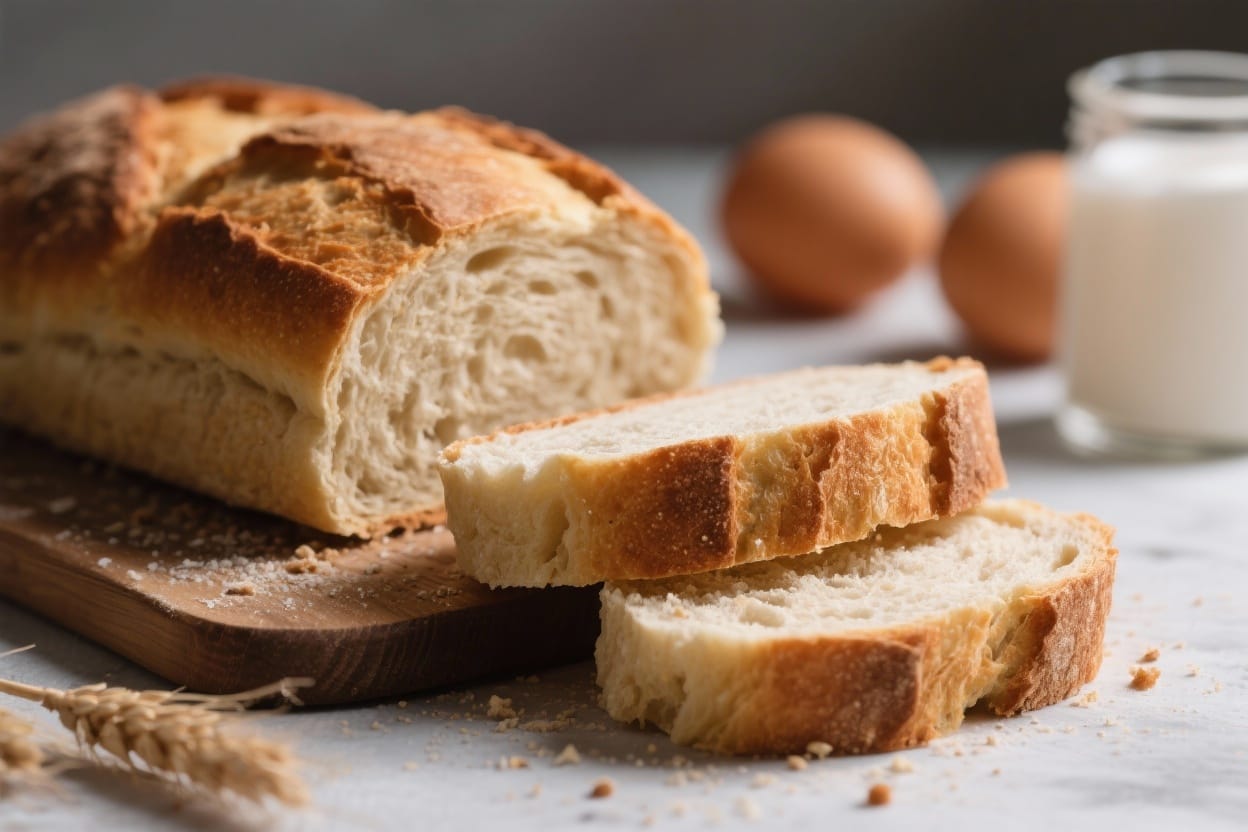
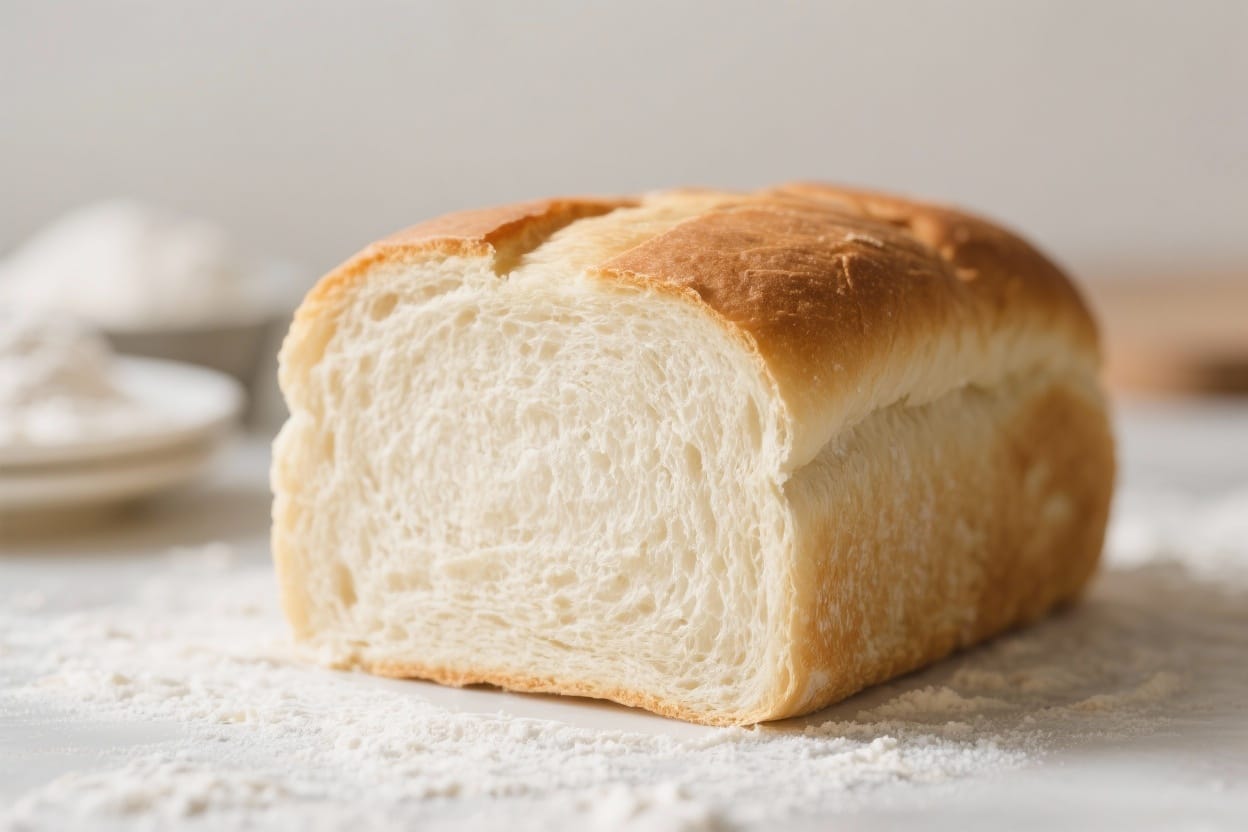
Easy White Bread Loaf From Scratch – Simple, Soft, and Reliable
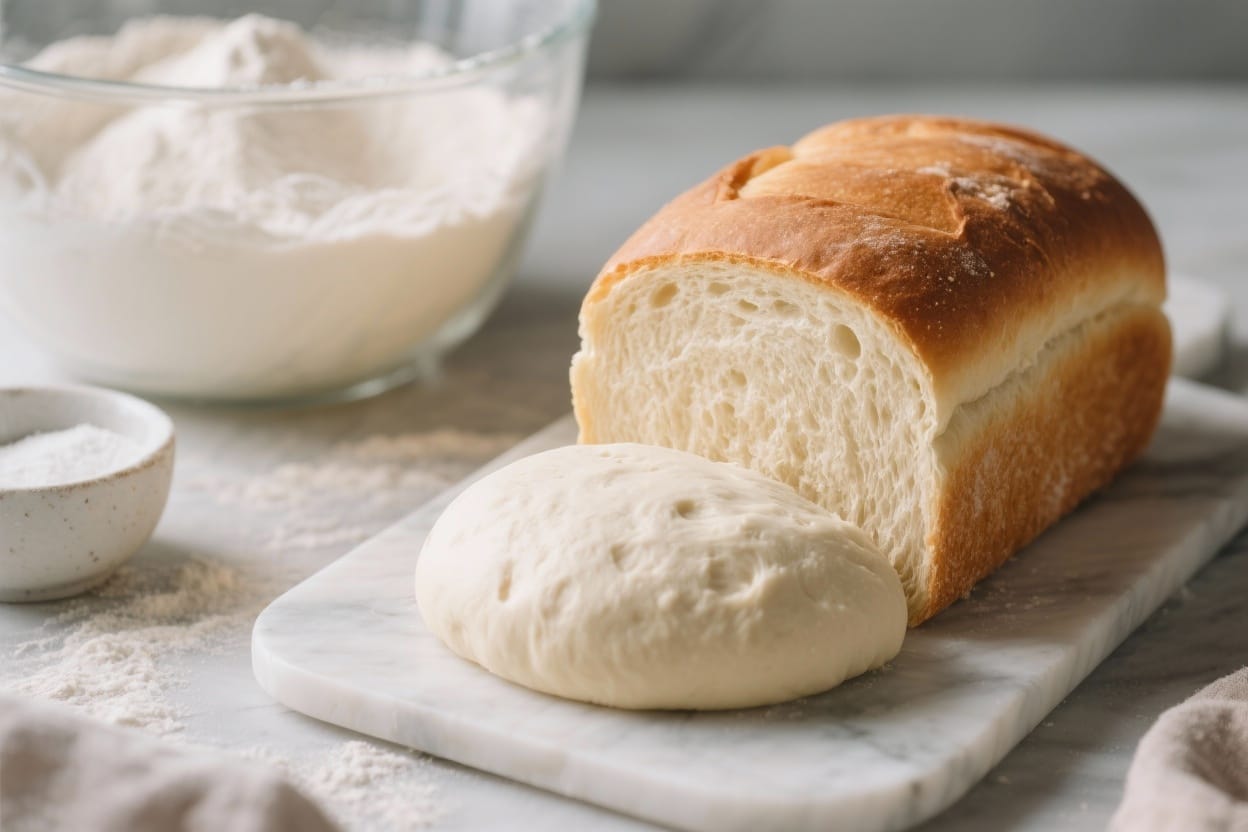
Warm, freshly baked bread can make any day feel special. This easy white bread loaf is simple enough for beginners and still satisfying for seasoned bakers. The dough comes together with basic pantry staples, and the process is straightforward from start to finish. You’ll get a soft crumb, a golden crust, and that classic homemade flavor. If you’ve ever wanted a go-to loaf for toast, sandwiches, or butter and jam, this is it.
What Makes This Special
Easy white bread loaf from scratch – Easy White Bread Loaf From Scratch – Simple, Soft, and Reliable Warm, freshly baked bread can make a
This recipe takes the intimidation out of bread baking by using clear steps and a forgiving dough. The loaf rises beautifully and bakes up soft and tender with just the right chew. It’s also flexible: use instant or active dry yeast, and mix by hand or with a stand mixer. The flavor is mild and comforting, perfect for everyday meals. You’ll also learn small tips that make a big difference, like proper proofing and how to check doneness.
Ingredients
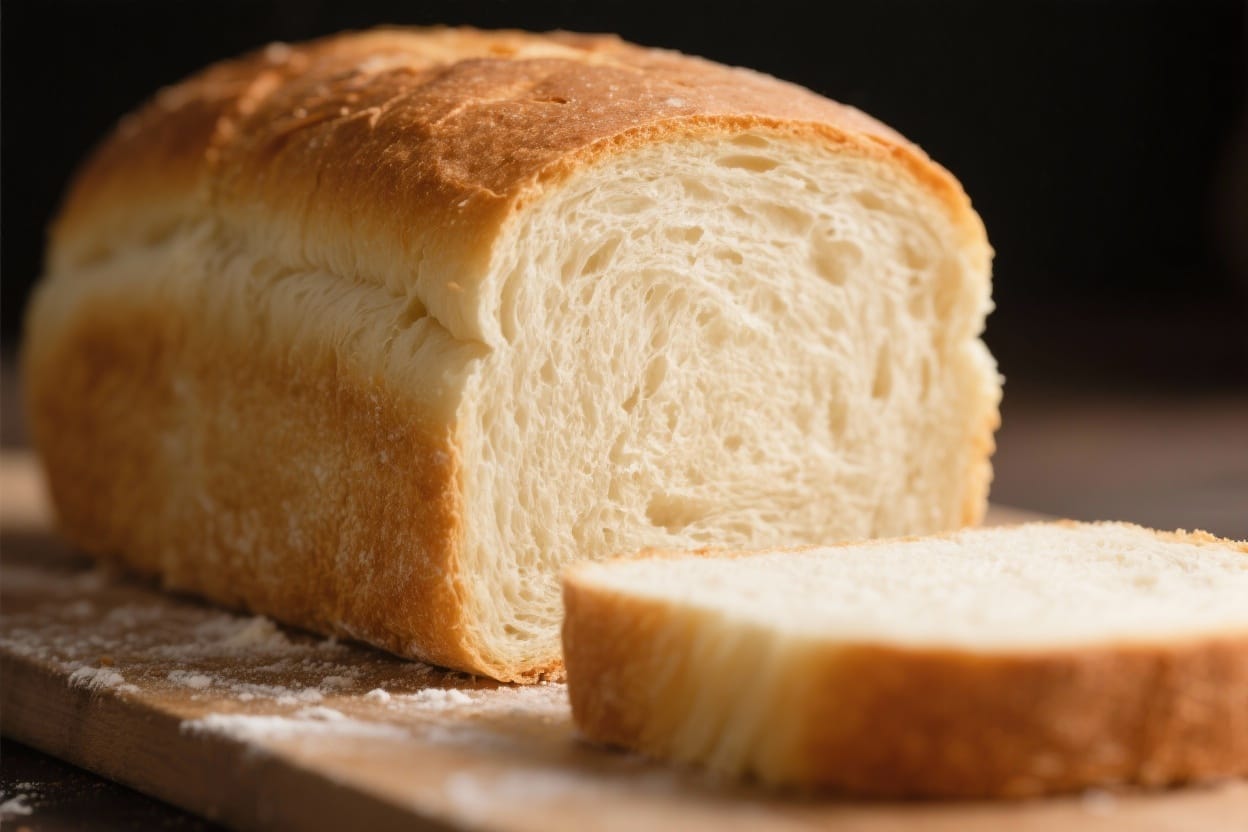
Easy white bread loaf from scratch – This easy white bread loaf is simple enough for beginners and still satisfying for seasoned bakers
- 3 1/2 cups (420 g) bread flour, plus more for dusting (all-purpose works in a pinch)
- 1 cup (240 ml) warm water, about 105–110°F (40–43°C)
- 1/2 cup (120 ml) milk, warmed to lukewarm
- 2 tablespoons (25 g) sugar
- 2 1/4 teaspoons (7 g) instant yeast (or active dry yeast)
- 1 1/2 teaspoons (9 g) fine salt
- 2 tablespoons (28 g) unsalted butter, softened (plus a little for greasing)
- Optional: 1 tablespoon (15 ml) neutral oil for greasing bowl
- Optional: 1 tablespoon milk or melted butter for brushing the top
Instructions
Easy white bread loaf from scratch – The dough comes together with basic pantry staples, and the process is straightforward from start to
- Proof the yeast (if using active dry): In a small bowl, combine warm water, sugar, and active dry yeast. Stir and let sit for 5–10 minutes until foamy. If using instant yeast, skip this step and add the yeast directly to the flour.
- Combine dry ingredients: In a large mixing bowl, whisk together 3 1/2 cups flour and salt. If using instant yeast, add it now and whisk again.
- Add liquids and fat: Pour in the warm milk, the water mixture (or just warm water if using instant yeast), and the softened butter. Mix with a wooden spoon or dough hook until a shaggy dough forms.
- Knead the dough: Knead by hand on a lightly floured surface for 8–10 minutes, or in a stand mixer on medium-low for 6–8 minutes. The dough should be smooth, slightly tacky, and elastic. Add a tablespoon of flour at a time only if it’s overly sticky.
- First rise: Shape the dough into a ball and place it in a lightly greased bowl, turning once to coat. Cover with a damp towel or plastic wrap. Let rise in a warm, draft-free spot until doubled, about 60–90 minutes.
- Shape the loaf: Gently deflate the dough and turn it onto a clean surface. Flatten into a rectangle about the length of your loaf pan. Fold the long edges toward the center, then roll it up tightly, pinching the seam closed.
- Pan and second rise: Place the shaped dough seam-side down in a greased 9×5-inch (23×13 cm) loaf pan. Cover and let rise until the dough crests about 1 inch above the rim, 45–60 minutes.
- Preheat the oven: While the loaf proofs, preheat the oven to 375°F (190°C). If you’d like a softer top, brush the loaf with milk before baking.
- Bake: Bake for 28–35 minutes, until the top is golden and the internal temperature reaches about 195–200°F (90–93°C). If it’s browning too quickly, tent with foil for the last 10 minutes.
- Cool properly: Remove the loaf from the pan and cool on a wire rack for at least 1 hour before slicing. This sets the crumb and prevents gumminess.
Storage Instructions
- Room temperature: Store the cooled loaf in a bread box or wrapped in a clean towel for up to 3 days. Avoid the fridge, which dries bread out.
- Freezing: Slice, wrap tightly, and freeze for up to 2 months. Toast slices straight from frozen or thaw at room temperature.
- Re-freshing: If the crust softens, re-crisp by warming the loaf in a 325°F (165°C) oven for 8–10 minutes.
Why This is Good for You
Homemade bread puts you in control of ingredients. There are no preservatives, unnecessary additives, or mystery oils. You can keep the sugar low and choose high-quality flour and butter. Freshly baked bread is also more satisfying, so a slice or two goes a long way. Plus, the process itself is calming and rewarding.
Pitfalls to Watch Out For
- Water too hot: Yeast dies above about 130°F (54°C). Aim for warm, not hot. If it feels like a hot bath, it’s fine.
- Not kneading enough: Under-kneaded dough tears easily and won’t rise well. Look for a smooth, stretchy feel and a slightly springy bounce.
- Over-flouring: Too much flour creates a dense loaf. Keep the dough slightly tacky and resist adding extra unless it’s truly sticky.
- Under-proofing or over-proofing: If the dough hasn’t risen enough, the loaf will be tight. If it rises too long, it may collapse. Aim for “doubled” in the first rise and “1 inch above the pan” in the second.
- Slicing too soon: Cutting hot bread compresses the crumb. Let it cool so it stays soft and sliceable.
Recipe Variations
- Milk bread style: Replace the water with milk and add 1 extra tablespoon of butter for a richer, softer crumb.
- Garlic herb loaf: Add 1 teaspoon garlic powder and 2 teaspoons mixed dried herbs to the flour. Brush the crust with melted butter and a pinch of salt after baking.
- Sesame or poppy seed top: Brush the loaf with milk or egg wash before baking and sprinkle seeds for a nutty finish.
- Half whole wheat: Swap 1 to 1 1/2 cups of the white flour for whole wheat. Add 1–2 tablespoons extra water if the dough feels stiff.
- Honey loaf: Replace sugar with 2 tablespoons honey for a subtle floral sweetness.
FAQ
Can I use all-purpose flour instead of bread flour?
Yes. Bread flour gives more chew and structure, but all-purpose flour works well. You may need 1–2 tablespoons less water, so add gradually and watch the dough’s texture.
What if I don’t have a loaf pan?
Shape the dough into a tight oval or batard and place it on a parchment-lined baking sheet. Bake at the same temperature, starting to check doneness around 25 minutes.
How do I know the dough has risen enough?
For the first rise, the dough should look puffy and roughly doubled. For the second rise in the pan, it should dome about 1 inch over the rim. The dough should slowly spring back when gently poked.
Can I make this without sugar?
Yes. Yeast can still rise without sugar because it feeds on flour starches. The rise may be a bit slower, and the crust will brown slightly less, but the loaf will still bake well.
Is hand kneading required?
No. A stand mixer with a dough hook works great. Knead on medium-low until the dough clears the sides of the bowl, looks smooth, and feels elastic.
How can I get a softer crust?
Brush the loaf with milk or melted butter right before baking and again right after it comes out of the oven. Store the cooled loaf wrapped in a towel to keep the crust tender.
Why is my bread dense?
Common reasons include cool water, old yeast, under-kneading, or adding too much flour. Check your yeast’s freshness, measure liquids accurately, and knead until smooth and stretchy.
Can I add mix-ins like cheese or olives?
Yes, fold them in after the first rise to avoid tearing the gluten early. Pat the dough into a rectangle, sprinkle your add-ins evenly, roll up, and shape as usual.
Final Thoughts
This easy white bread loaf hits that sweet spot of simple and rewarding. With a few pantry staples and a little patience, you’ll pull a golden, fragrant loaf from your oven. Keep this as your base recipe and tweak it to match your taste and routine. Once you’ve made it a couple of times, it becomes second nature—fresh bread on a weekday suddenly feels possible.
Printable Recipe Card
Want just the essential recipe details without scrolling through the article? Get our printable recipe card with just the ingredients and instructions.