If you’ve ever wanted to bake your own bread but felt intimidated, this loaf is the perfect place to start. It’s soft, slightly chewy, and smells amazing fresh out of the oven. You don’t need special equipment or advanced techniques—just a bowl, a loaf pan, and some patience.
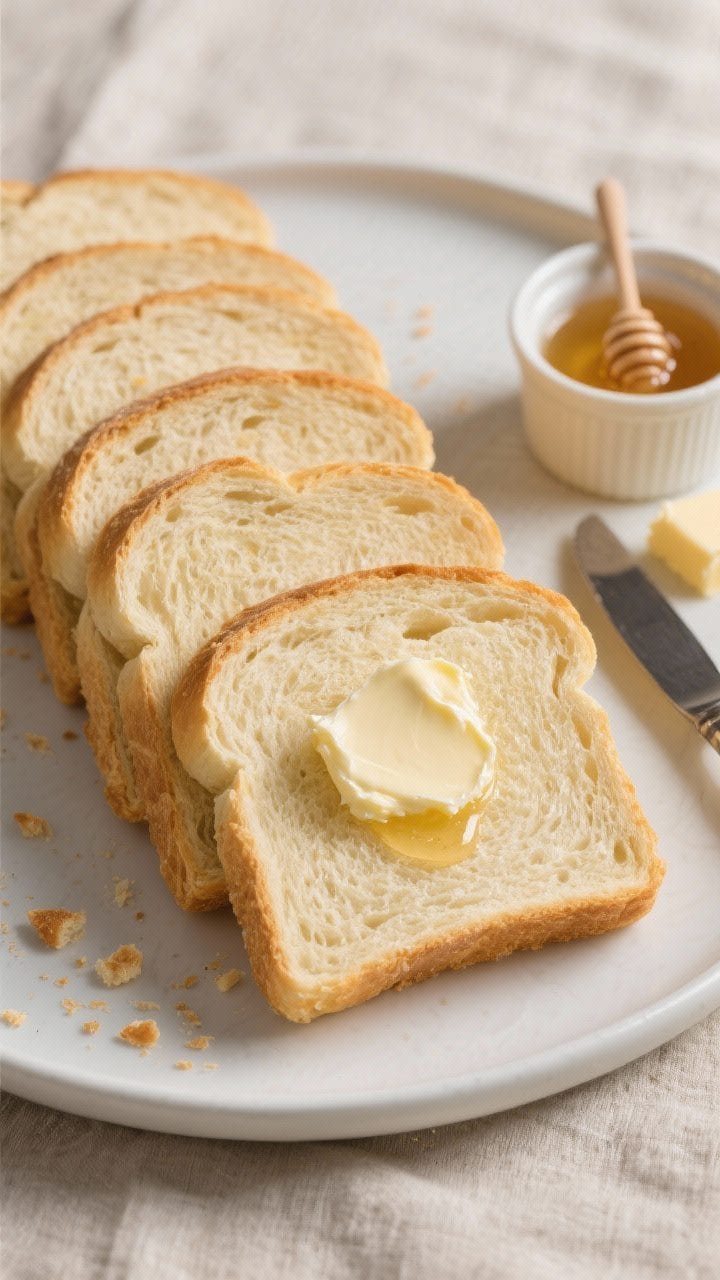
This recipe walks you through each step so you know what to look for and when to move on. By the end, you’ll have a golden loaf that slices beautifully for toast, sandwiches, or just butter and jam.
Why This Recipe Works
This loaf uses straightforward ingredients and a tried-and-true mixing method. The hydration level is forgiving, making the dough easy to handle even for first-time bakers.
A single rise in the bowl, followed by a short rise in the pan, keeps the process simple while still giving great structure. The sugar and fat help promote browning and a soft crumb. With a warm oven preheat and a properly shaped loaf, you get a consistent rise and that classic bakery-style look.
Ingredients
- 3 1/4 to 3 1/2 cups (390–420 g) all-purpose flour, plus extra for dusting
- 1 cup (240 ml) warm water, about 105–110°F (40–43°C)
- 1/2 cup (120 ml) warm milk, or use more water for dairy-free
- 2 1/4 teaspoons (1 packet, 7 g) instant or active dry yeast
- 2 tablespoons (25 g) granulated sugar
- 2 tablespoons (28 g) unsalted butter, softened (or 2 tablespoons oil)
- 1 1/2 teaspoons fine salt
- Optional: 1 tablespoon melted butter for brushing the crust
Instructions
- Proof the yeast (if using active dry). In a large bowl, mix warm water, warm milk, and sugar.Sprinkle the yeast over the top and let it sit for 5–10 minutes until foamy. If using instant yeast, you can skip the proofing and mix it directly with the flour, then add the warm liquid.
- Combine the dough. Add 3 1/4 cups flour, salt, and softened butter to the bowl. Stir with a sturdy spoon until a rough dough forms.If it’s very sticky, add more flour 1 tablespoon at a time. Aim for slightly tacky, not gummy.
- Knead until smooth. Turn the dough onto a lightly floured surface. Knead for 8–10 minutes by hand (or 5–6 minutes on medium-low in a stand mixer) until the dough is smooth and elastic.It should spring back when poked and feel soft, not stiff.
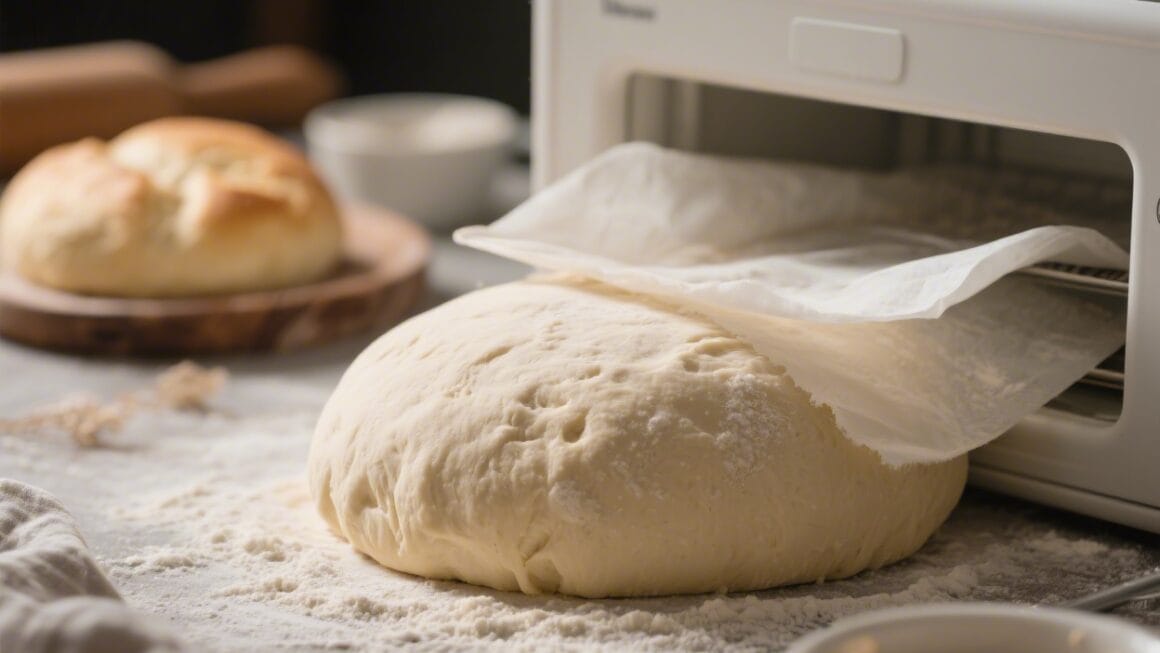
- First rise. Shape the dough into a ball and place it in a lightly oiled bowl, turning once to coat. Cover with a clean towel or plastic wrap. Let it rise in a warm, draft-free spot for 60–90 minutes, until doubled in size.
- Prepare the pan. Grease a standard 9×5-inch (23×13 cm) loaf pan with butter or oil.You can also line it with a parchment sling for easy removal.
- Shape the loaf. Gently deflate the risen dough. Pat it into a rectangle, roughly the length of your pan. Roll it up tightly from the short end, pinch the seam closed, and tuck the ends under.Place it seam-side down in the prepared pan.
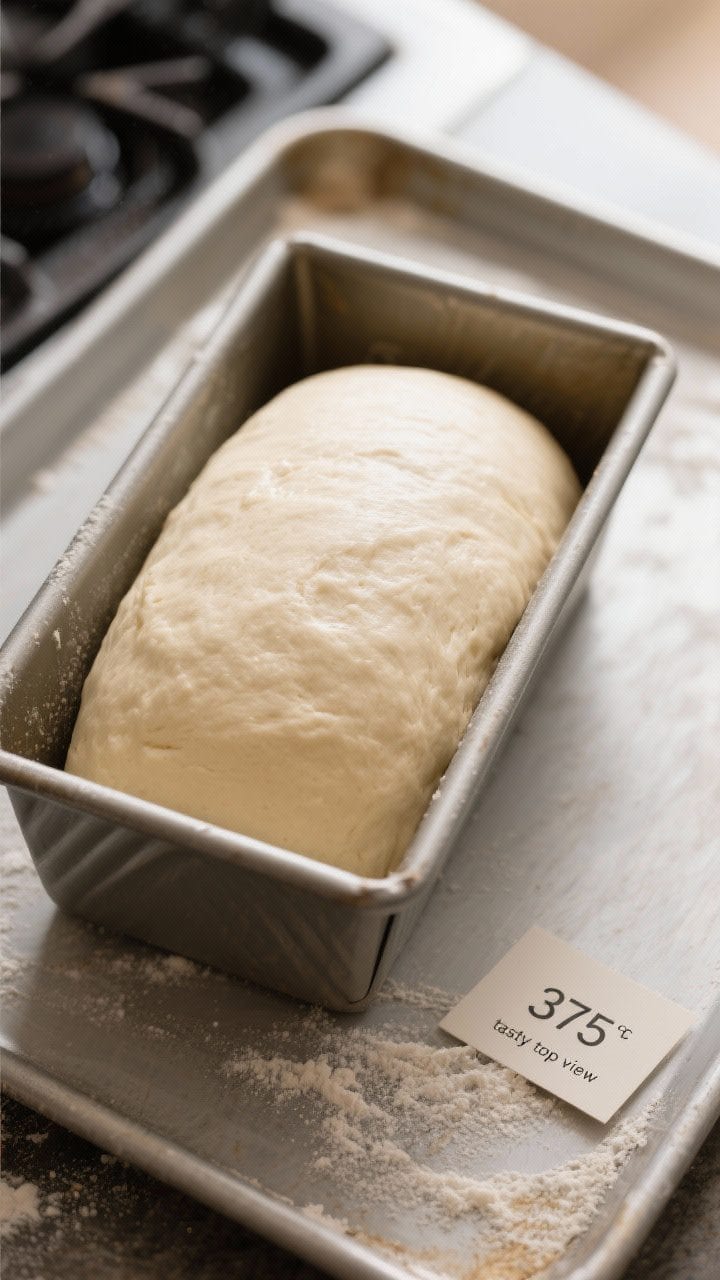
- Second rise. Cover the pan lightly and let the loaf rise again for 30–45 minutes, until it crowns about 1 inch above the rim. Preheat your oven to 375°F (190°C) during this rise.
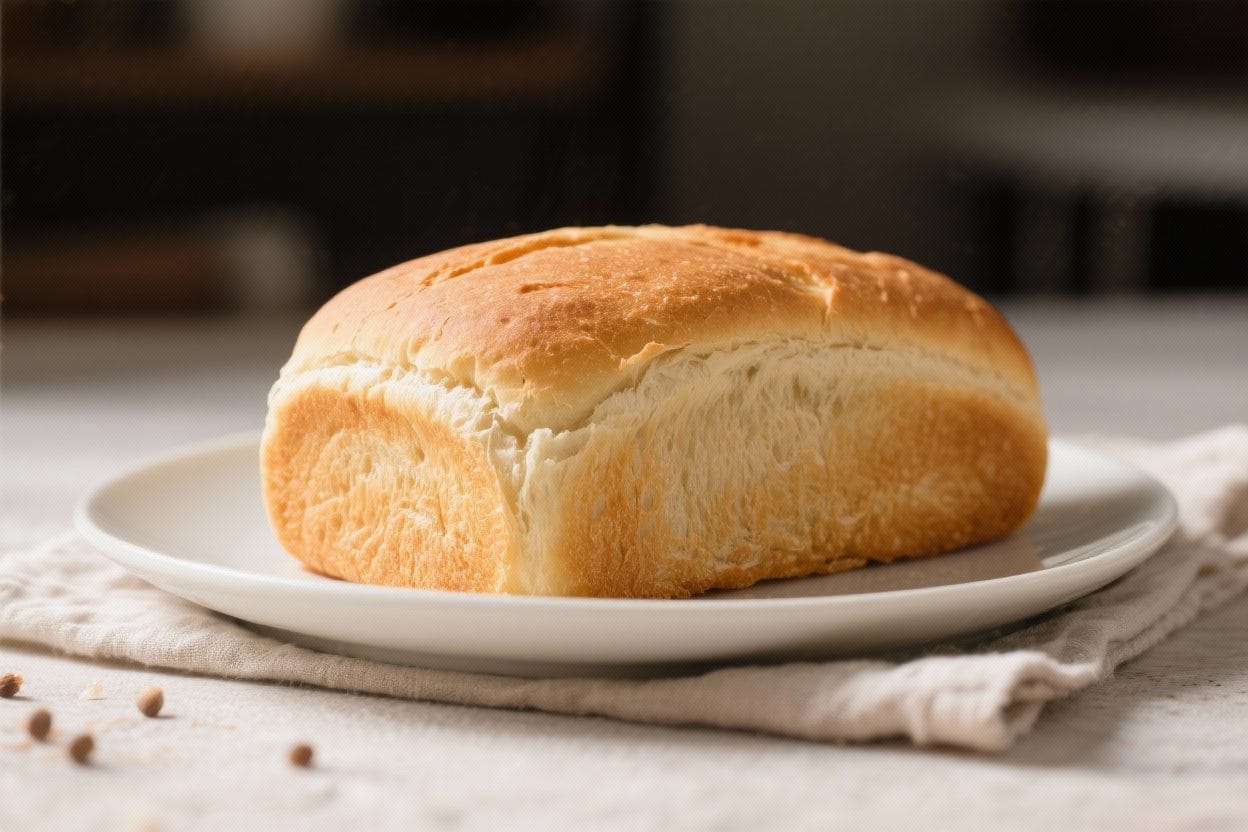
- Bake. Bake on the middle rack for 28–35 minutes, until the top is deep golden and the loaf sounds hollow when tapped. For accuracy, an instant-read thermometer inserted into the center should read about 195–200°F (90–93°C).
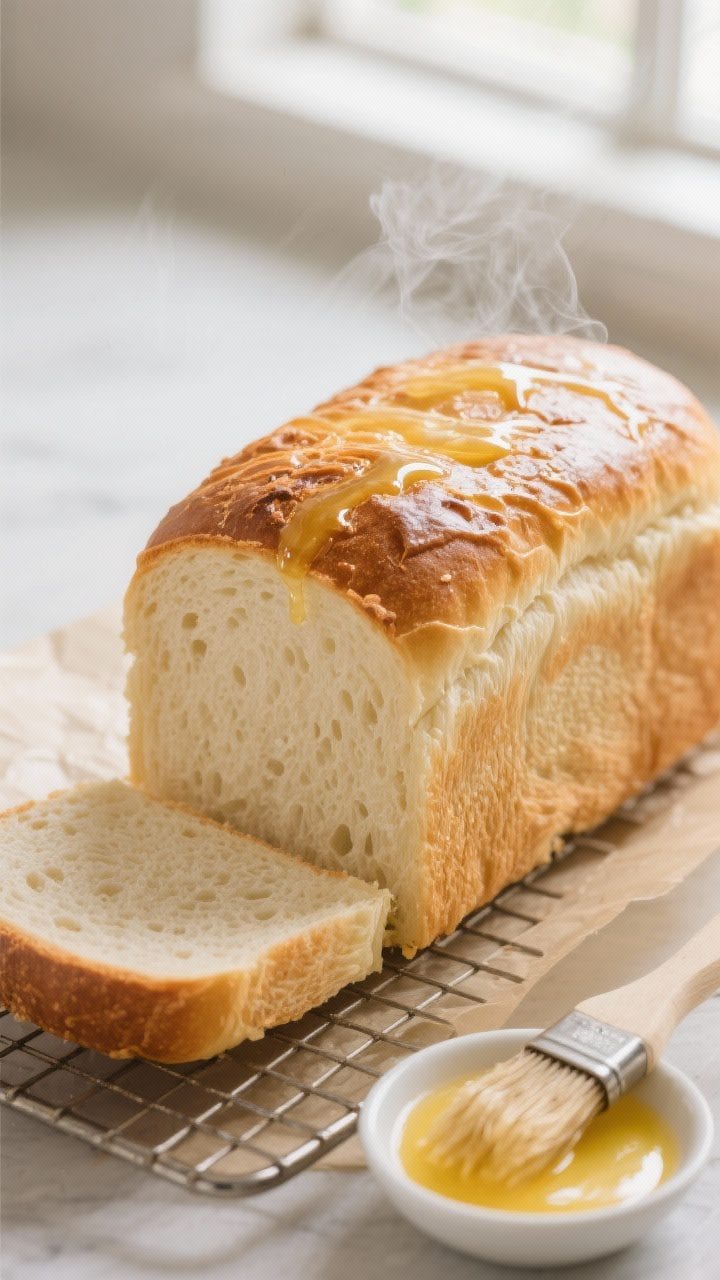
- Finish and cool. If you like a softer crust, brush the hot loaf with melted butter.Carefully remove it from the pan and cool on a wire rack for at least 1 hour before slicing. Cutting too soon compresses the crumb.
Storage Instructions
- Room temperature: Store the cooled loaf in an airtight bag or bread box for 2–3 days. Avoid the fridge—it dries bread out faster.
- Freezer: Slice the loaf, wrap tightly, and freeze for up to 2 months.Toast slices straight from the freezer.
- Reviving: If the crust softens, reheat slices in a toaster or warm the whole loaf in a 300°F (150°C) oven for 8–10 minutes.
Why This is Good for You
Homemade bread keeps the ingredient list short and simple. You control the salt, sugar, and fat, and you skip preservatives found in many store loaves. Freshly baked bread is often more satisfying, so a smaller slice can feel more filling.
Plus, baking is a useful skill that builds confidence in the kitchen. The process itself can be relaxing and rewarding.
What Not to Do
- Don’t use liquid that’s too hot. Temperatures above 120°F (49°C) can kill yeast and stop the rise.
- Don’t add too much flour. A stiff, dry dough makes a dense loaf. Keep it slightly tacky for the best texture.
- Don’t skip the second rise. It helps the crumb open up and creates a taller loaf.
- Don’t cut while hot. The crumb needs time to set; slicing early squashes the loaf and makes it gummy.
- Don’t underbake. Pale crust often means a doughy center.Aim for that deep golden color or check the internal temperature.
Variations You Can Try
- Honey White Loaf: Swap the sugar for 2 tablespoons honey and reduce the water by 1 teaspoon to balance the extra moisture.
- Garlic-Butter Swirl: Before the final shape, brush the rectangle lightly with garlic butter, then roll and pinch. Keep the layer thin to avoid separations.
- Sesame or Poppy Seed Top: Brush the shaped loaf with a little milk before baking and sprinkle seeds on top for crunch and flavor.
- Half Whole-Wheat: Replace 1 cup of all-purpose flour with whole-wheat flour. Add 1–2 teaspoons extra water if the dough feels tight.
- Herb Loaf: Mix 1–2 teaspoons dried herbs (like thyme, rosemary, or Italian seasoning) into the flour for a savory twist.
FAQ
Can I make this without milk?
Yes.
Replace the milk with the same amount of warm water. The loaf will be slightly less tender but still soft and delicious.
What if I only have bread flour?
Bread flour works well. It has more protein, so you may need an extra teaspoon or two of water.
Expect a chewier crumb and great structure.
How do I know my dough is kneaded enough?
It should feel smooth and elastic, and it will spring back when poked. If you stretch a small piece gently, it should form a thin “window” without tearing quickly. If it rips right away, knead a bit more.
My dough isn’t rising.
What went wrong?
Common causes are old yeast, liquid that was too hot or too cold, or a room that’s too cool. Check your yeast’s expiration date and aim for a warm, draft-free spot. If needed, warm your oven briefly, turn it off, and let the dough rise inside with the light on.
Can I use a stand mixer?
Absolutely.
Mix on low to combine, then knead on medium-low for about 5–6 minutes. Avoid high speed; it can overheat the dough and make it tough.
How do I get a softer crust?
Brush the hot loaf with melted butter and store it in a sealed bag after it’s fully cool. Steam in the oven can soften crusts, but for this style of loaf, butter is the simplest approach.
Is it okay to double the recipe?
Yes.
Make two loaves and bake them side by side, rotating the pans halfway through for even color. Kneading time may be slightly longer with a larger batch.
Can I let it rise overnight?
Yes, for the first rise. Cover the bowl and refrigerate overnight.
The next day, bring the dough to room temperature, shape, let it rise in the pan, and bake. The flavor will be slightly deeper.
In Conclusion
This easy white bread loaf is a friendly, no-fuss way to learn bread making. With simple steps and dependable results, it delivers the soft, golden loaf you want for everyday meals.
Once you bake it a couple of times, you’ll start to feel the dough and trust your instincts. From there, customizing becomes fun and effortless. Warm slices with butter might just become your new favorite comfort snack.
Printable Recipe Card
Want just the essential recipe details without scrolling through the article? Get our printable recipe card with just the ingredients and instructions.