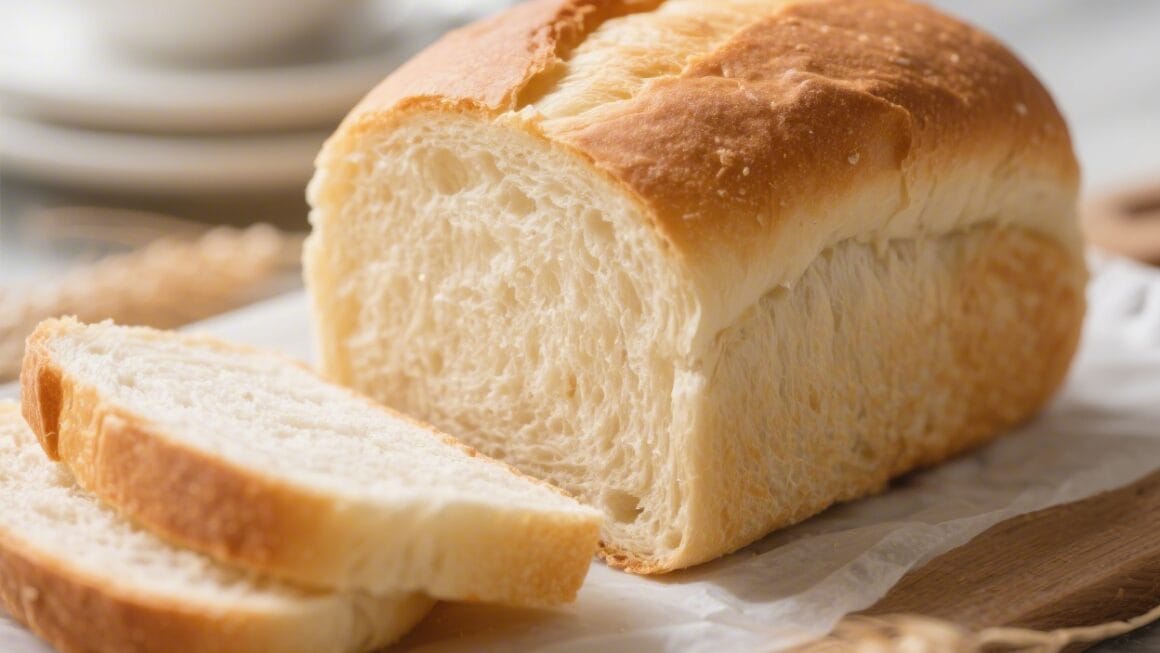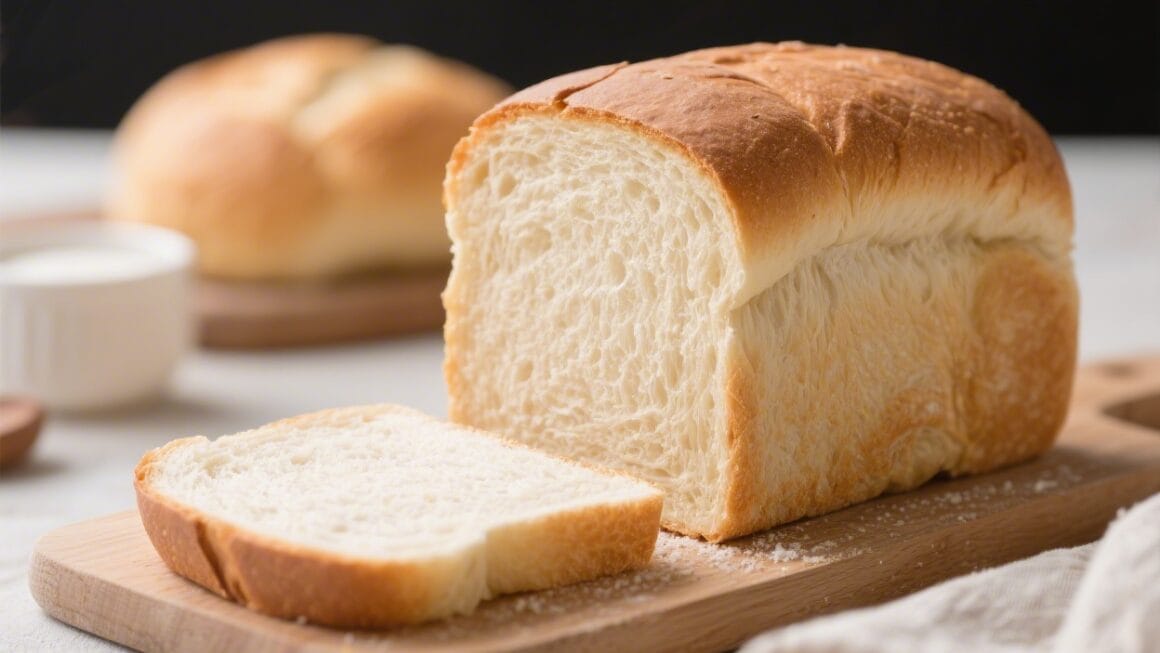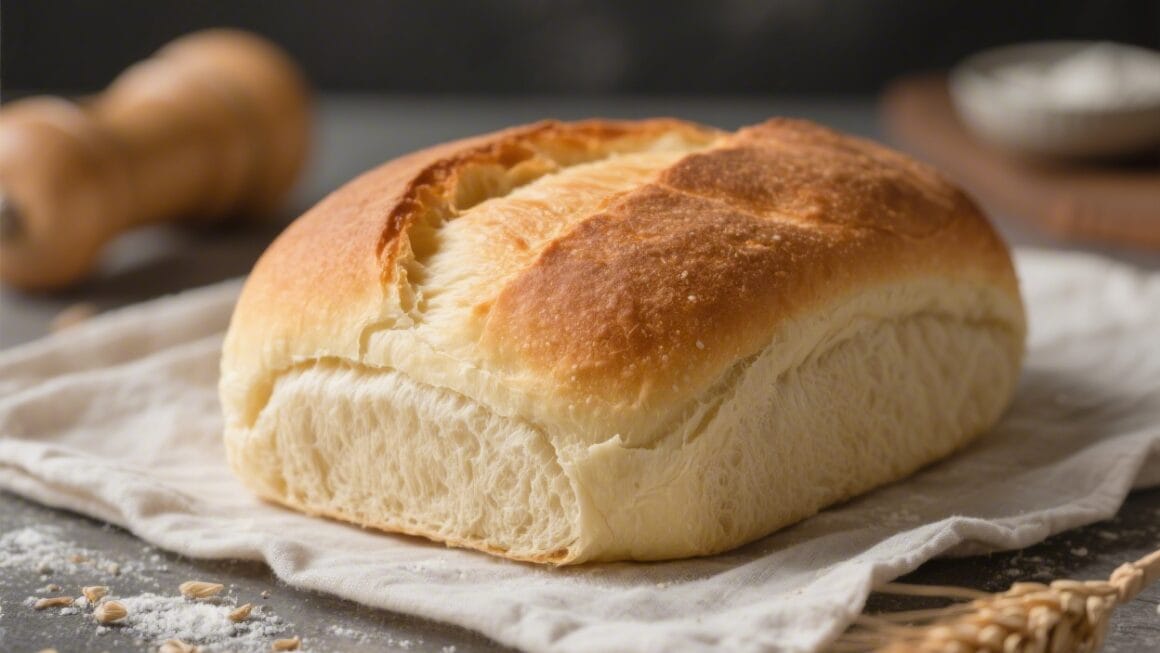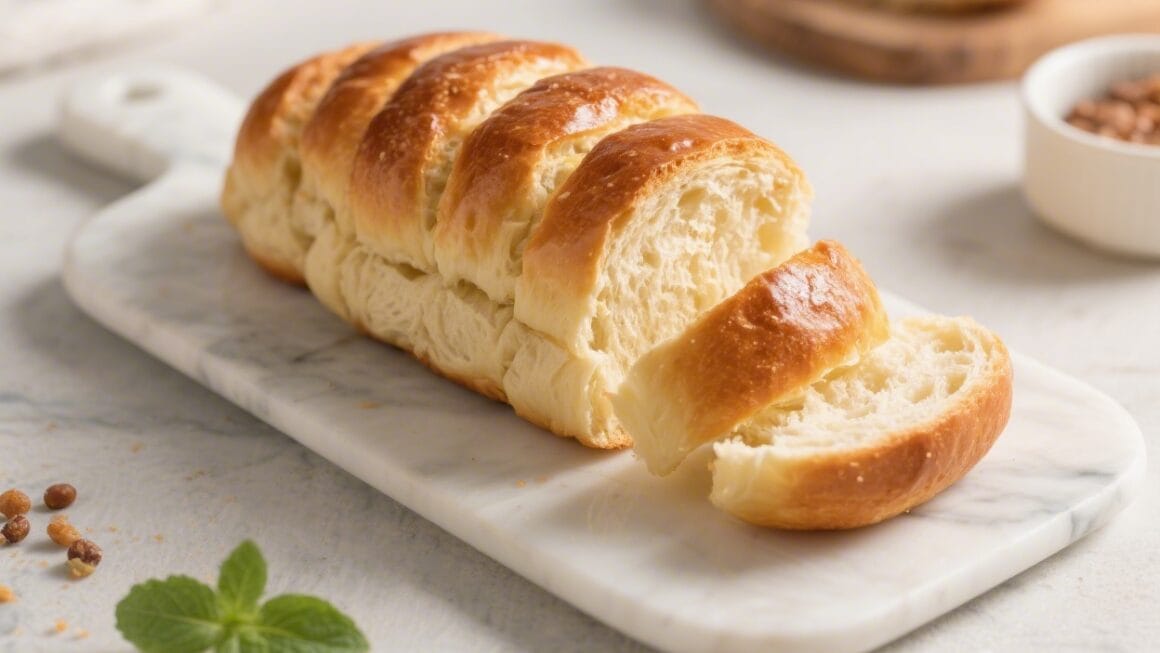
Easy Pull Apart Bread for Kids – Fun, Shareable, and Simple
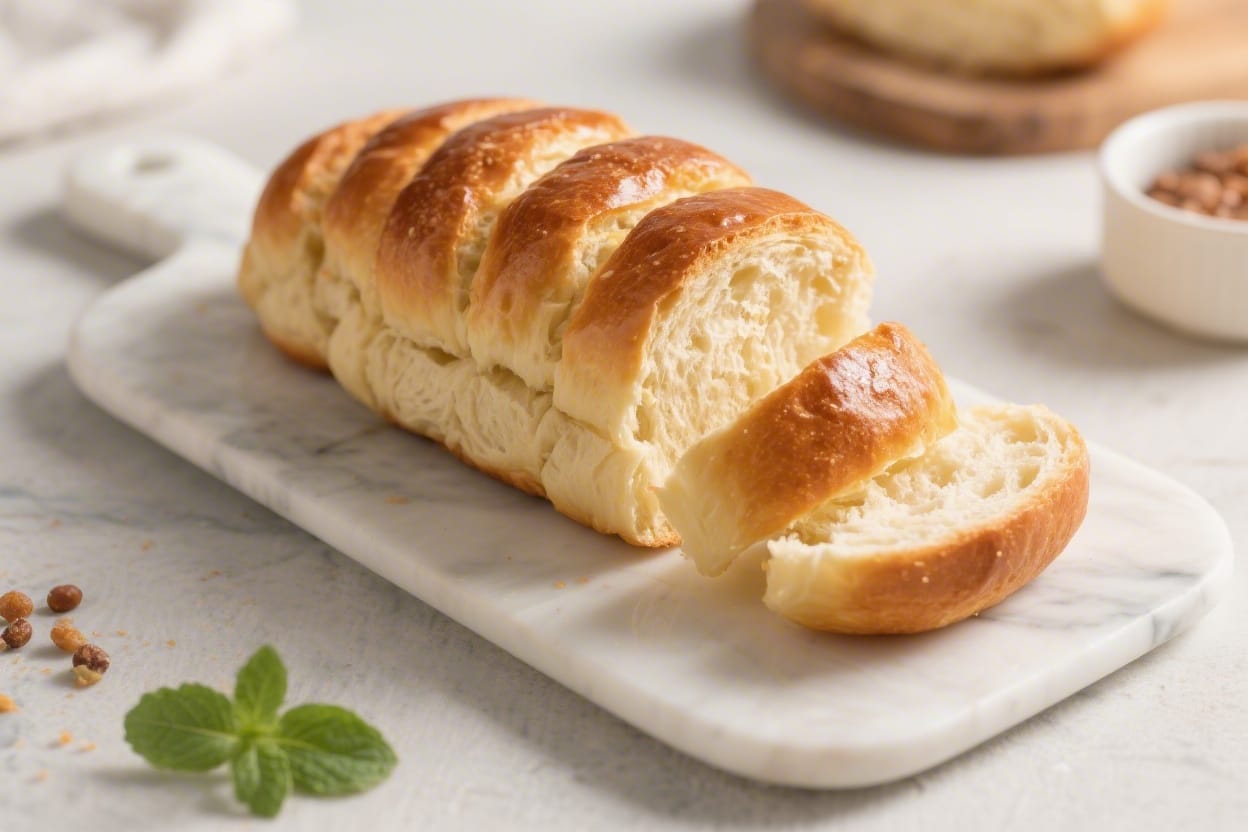
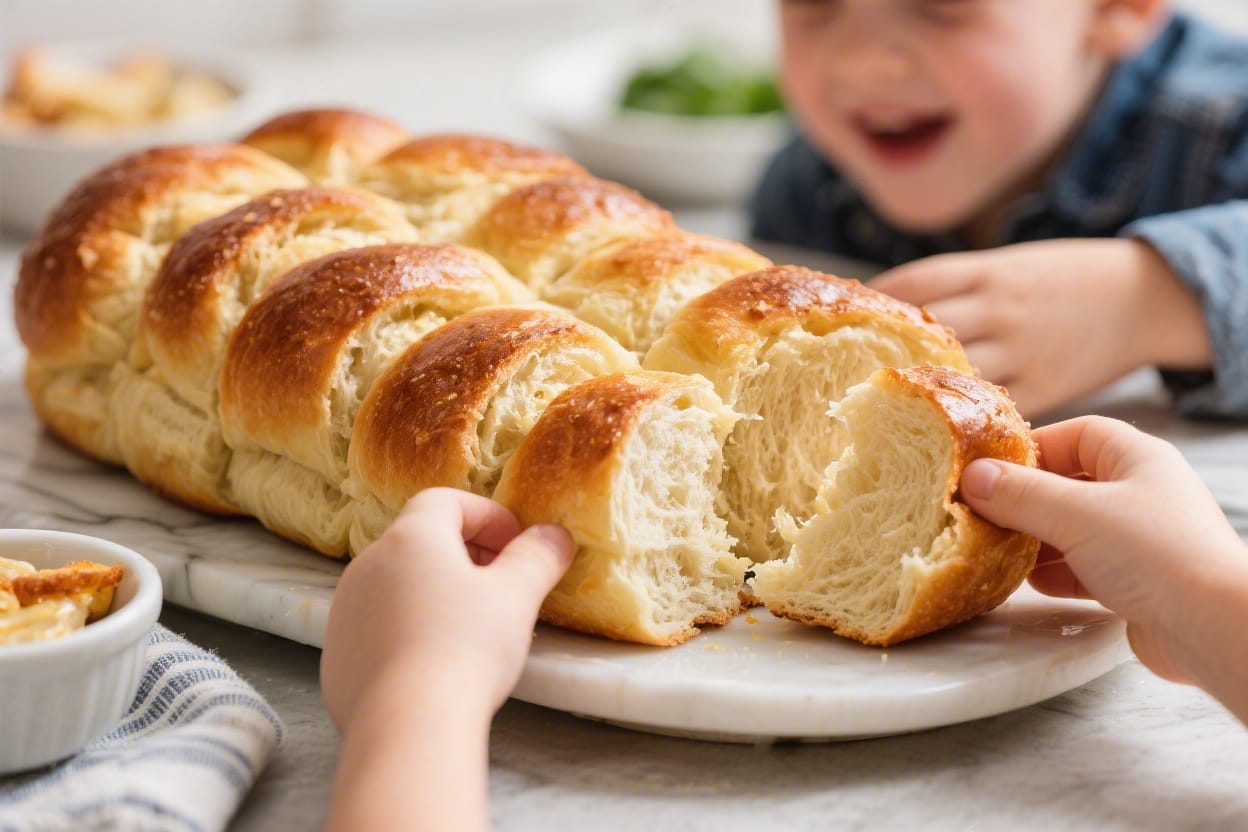
This easy pull apart bread is the kind of recipe that brings the whole family to the kitchen. It’s soft, buttery, and slightly sweet, with little pockets of cinnamon and sugar that kids love. You don’t need special tools or baking skills—just a few ingredients and a simple assembly. The rolls bake into a golden, tear-and-share loaf that’s perfect for breakfast, snacks, or a cozy weekend treat. Best of all, it’s hands-on, so kids can help at every step.
What Makes This Recipe So Good
Easy pull apart bread for kids – Easy Pull Apart Bread for Kids – Fun, Shareable, and Simple This easy pull apart bread is the kind o
- Kid-friendly steps: Rolling dough balls and shaking them in cinnamon sugar feels like a game.
- Shortcut dough: Using canned biscuits or pre-made dough keeps it easy and consistent.
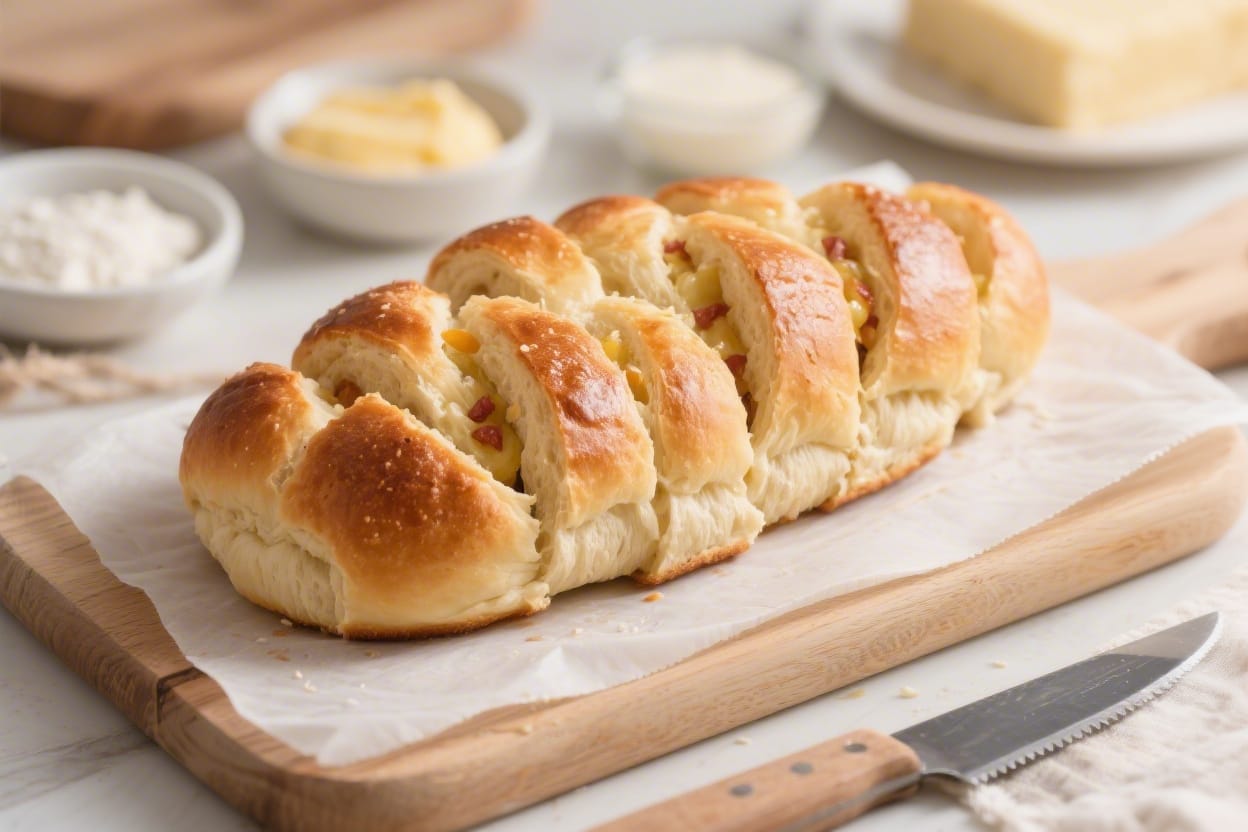
- Customizable flavors: Add chocolate chips, berries, or a simple glaze to switch it up.
- Perfect for sharing: Everyone can pull off a warm piece—no knives needed.
- Quick to bake: Prep takes about 10 minutes, and baking is under 30.
Ingredients
Easy pull apart bread for kids – You don’t need special tools or baking skills—just a few ingredients and a simple assembly
- 2 cans (16–17 oz total) refrigerated biscuit dough (plain, not flaky layers works best)
- 1/2 cup granulated sugar
- 1 tablespoon ground cinnamon
- 1/2 cup unsalted butter, melted
- 1/3 cup packed brown sugar
- 1 teaspoon vanilla extract (optional but tasty)
- Pinch of salt
- Optional add-ins: mini chocolate chips, raisins, chopped apples, or finely chopped nuts
- Optional glaze: 1/2 cup powdered sugar + 1–2 tablespoons milk, plus a drop of vanilla
Instructions
- Prep the pan and oven: Heat the oven to 350°F (175°C). Grease a bundt pan or 9×5-inch loaf pan with butter or nonstick spray. Line the bottom with parchment if using a loaf pan for easier release.
- Make the cinnamon sugar: In a small bowl, mix granulated sugar and cinnamon. Set aside for rolling.
- Cut the dough: Open the biscuit cans and separate the biscuits. Cut each biscuit into 4 pieces. Kids can help with kid-safe scissors or a butter knife under supervision.
- Roll and coat: Roll each piece into a rough ball. Toss a few pieces at a time in the cinnamon sugar until well coated. Shake off extra sugar.
- Layer in the pan: Sprinkle a few optional add-ins (like mini chocolate chips) into the pan. Add a layer of coated dough balls. Repeat, alternating dough and add-ins so everything spreads evenly.
- Make the butter mixture: In a microwave-safe bowl, melt the butter. Stir in brown sugar, vanilla, and a pinch of salt until smooth. It should be glossy and pourable.
- Pour and tap: Drizzle the butter mixture evenly over the dough in the pan. Gently tap the pan on the counter to settle everything.
- Bake: Place on the center rack and bake for 25–30 minutes, or until the top is deep golden brown and the center feels set. If using a loaf pan, check at 23 minutes and add time as needed.
- Cool briefly: Let the bread rest in the pan for 8–10 minutes. This helps the sticky syrup thicken slightly so it doesn’t run everywhere.
- Flip it out: Place a plate over the pan and carefully invert. Lift the pan away. If any pieces stick, nudge them out and press back onto the loaf.
- Optional glaze: Whisk powdered sugar and milk until smooth. Drizzle over the warm bread. Let it set 2–3 minutes.
- Serve: Set in the center of the table and let everyone pull off warm pieces. It’s best enjoyed fresh.
Storage Instructions
- Room temperature: Store leftovers in an airtight container for up to 2 days. Rewarm briefly in the microwave for soft, gooey texture.
- Refrigerator: If your kitchen is warm or the bread has a dairy glaze, refrigerate for up to 4 days. Reheat in 10–15 second bursts.
- Freezer: Wrap tightly in foil and place in a freezer bag. Freeze up to 1 month. Thaw overnight in the fridge, then warm in a 300°F (150°C) oven for 10–12 minutes.
Benefits of This Recipe
- Hands-on learning: Kids practice measuring, counting, and following steps.
- Fine motor skills: Rolling dough balls and sprinkling add-ins builds coordination.
- Flexible schedule: Prep is quick, and you can bake it fresh for breakfast or an after-school snack.
- Budget-friendly: Pantry staples and accessible dough keep costs low.
- Shareable fun: Great for birthday breakfasts, sleepovers, or weekend family time.
Common Mistakes to Avoid
- Overbaking: Dry pull apart bread usually means it stayed in the oven too long. Pull it when the top is dark golden and the center no longer jiggles.
- Skipping the rest time: If you flip it out immediately, the syrup can run and pieces may slide. Give it 8–10 minutes.
- Using too many add-ins: A heavy hand with chocolate or fruit can weigh down the layers. Keep it to about 1/2 cup total.
- Uneven coating: Make sure each dough piece gets cinnamon sugar. Bare spots won’t caramelize as nicely.
- Cold pan: Pour the butter mixture right after melting so it flows between pieces and binds everything.
Alternatives
- From-scratch dough: Use a simple sweet yeast dough if you prefer. Let it rise once, then cut and proceed with the same coating and bake time (add 5–10 minutes if needed).
- Savory version: Swap cinnamon sugar for garlic powder, grated Parmesan, and parsley. Use olive butter (half butter, half olive oil) and serve with marinara.
- Apple pie twist: Toss in small diced apples and a pinch of nutmeg. Drizzle with caramel after baking.
- Gluten-free option: Choose gluten-free biscuit dough if available, or use a gluten-free yeasted dough. Watch bake time closely.
- Dairy-free swap: Use plant-based butter and check your dough label. A simple vanilla glaze with dairy-free milk works well.
- Mini pull aparts: Bake in a muffin tin with 4–5 dough pieces per cup. Check for doneness at 14–16 minutes.
FAQ
Can I make this the night before?
Yes. Assemble the coated dough in the pan, cover tightly, and refrigerate up to 12 hours. Bake straight from the fridge, adding 3–5 extra minutes as needed.
What if I don’t have a bundt pan?
A 9×5-inch loaf pan or an 8×8-inch square pan works fine. In a loaf or square pan, keep the layers fairly even so the center cooks through.
How do I know it’s fully baked?
The top should be deep golden and the edges should look set. If you gently pull a piece near the center, the dough should be cooked, not doughy. An instant-read thermometer in the center should read about 190–195°F (88–90°C).
Can I reduce the sugar?
You can cut the granulated sugar to 1/3 cup and the brown sugar to 1/4 cup. The bread will be less sticky-sweet but still delicious.
What spices go well besides cinnamon?
Try pumpkin pie spice, cardamom, or a hint of cocoa powder mixed with cinnamon. Start with 1/2 teaspoon and adjust to taste.
Is it safe for toddlers?
Serve small, soft pieces and avoid hard add-ins like nuts. Always supervise and ensure the bread has cooled enough to prevent burns.
Can I add frosting instead of glaze?
Yes. A light cream cheese frosting is great. Spread it while the bread is warm so it melts slightly and coats the ridges.
How do I keep the bottom from getting too sticky?
Let it rest in the pan before flipping, and don’t overdo the butter mixture. If you prefer less syrup, reduce the brown sugar to 1/4 cup.
Final Thoughts
This easy pull apart bread for kids is warm, welcoming, and simple enough for a busy morning. It turns basic ingredients into a cozy, shareable treat that kids can proudly help make. Keep it classic with cinnamon sugar, or try a new flavor each time. Either way, you’ll have a pan of golden, fluffy pieces that everyone will rush to the table for. It’s the kind of recipe you’ll make once and then keep in your back pocket for years.
Printable Recipe Card
Want just the essential recipe details without scrolling through the article? Get our printable recipe card with just the ingredients and instructions.