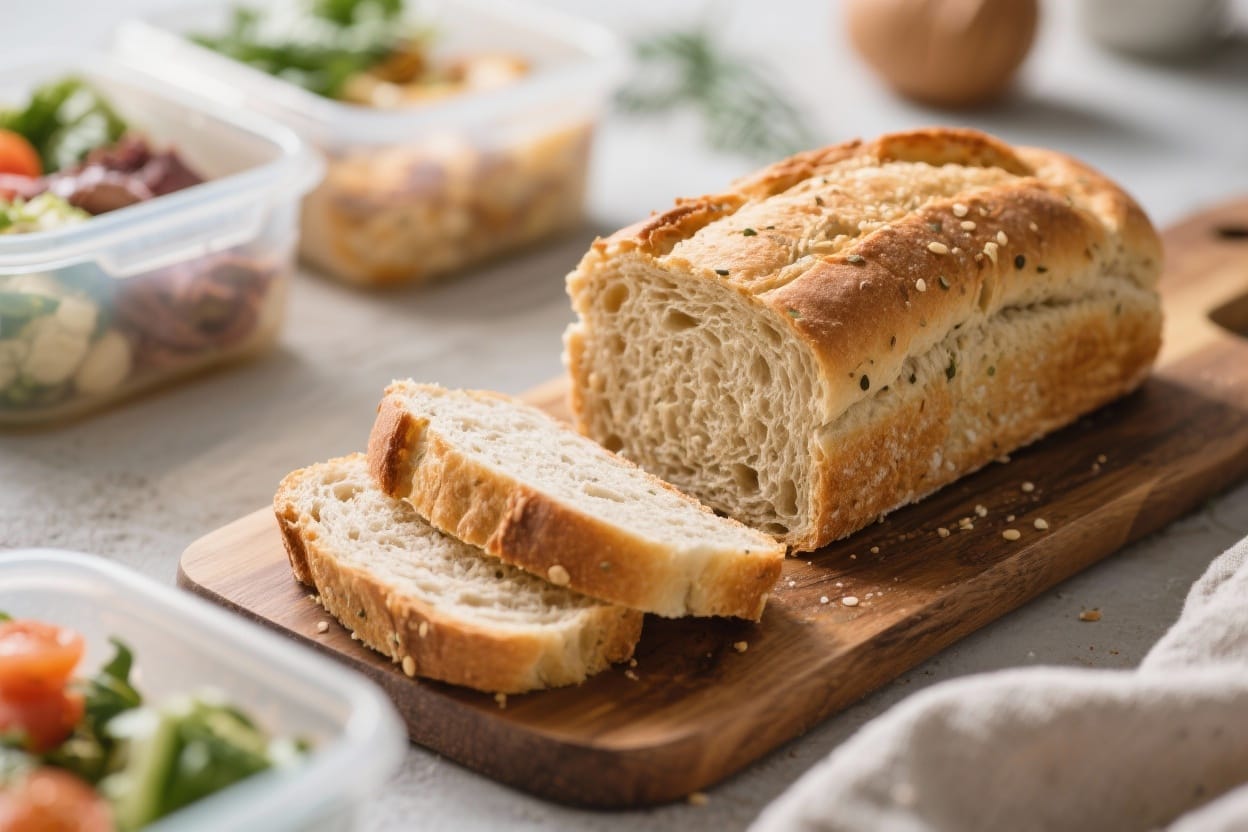
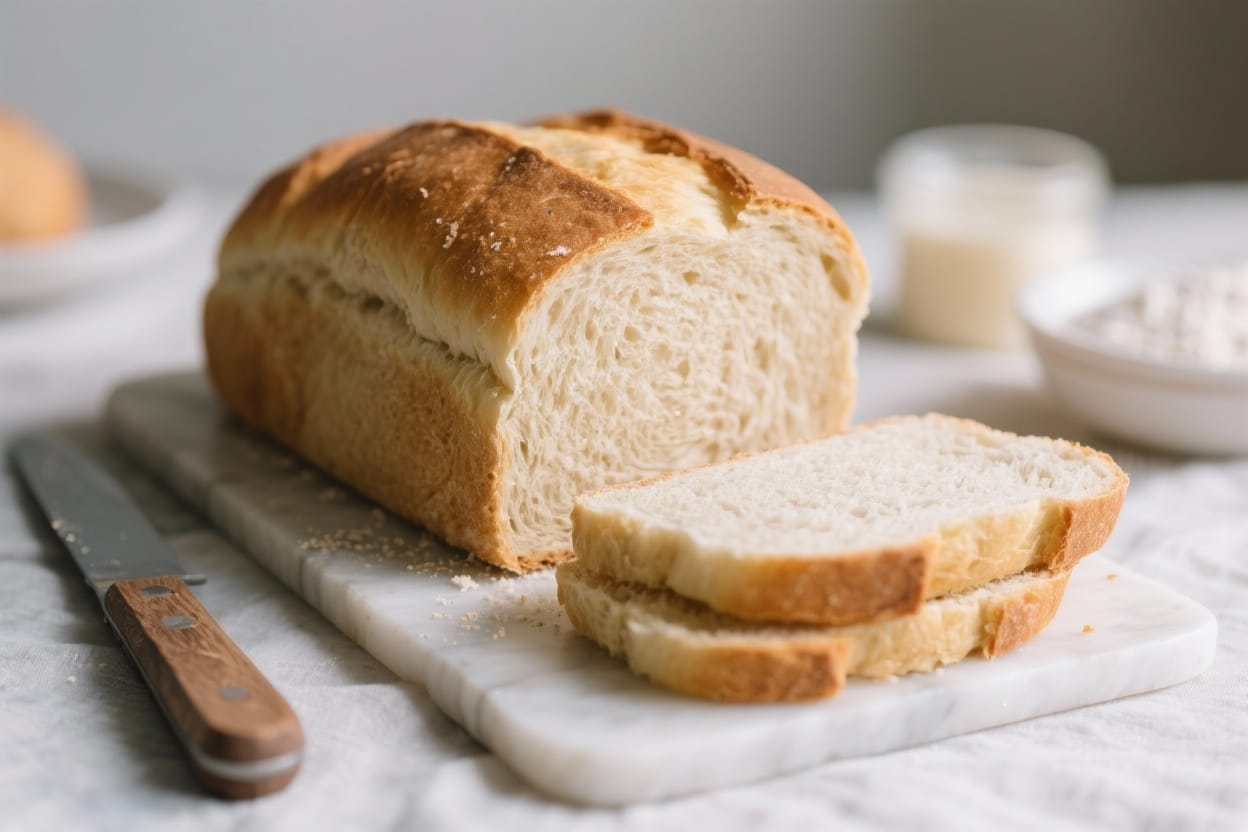
Dairy Free Bread Recipe – Soft, Simple, and Everyday Friendly

If you’ve been hunting for a soft, reliable dairy free bread recipe, you’re in the right place. This loaf bakes up with a tender crumb, a light crust, and that comforting, fresh-bread smell. It’s great for toast, sandwiches, or just tearing off a warm piece and swiping it through olive oil. No butter, no milk—just pantry staples and a few simple techniques. You don’t need special equipment either, just a mixing bowl, a loaf pan, and some patience.
Why This Recipe Works
Dairy free bread recipe – Dairy Free Bread Recipe – Soft, Simple, and Everyday Friendly If you’ve been hunting for a soft, rel
This bread swaps dairy with water and oil, keeping the crumb moist without heaviness. A balanced amount of sugar helps activate the yeast and adds light browning without making the loaf sweet. Bread flour (or all-purpose with a small tweak) provides enough protein for structure and spring. The method uses two rises for better flavor and texture, and a short rest after baking keeps the crust from hardening too much.
Ingredients
- 3 cups (360 g) bread flour (or 2 3/4 cups all-purpose flour + 2 tbsp vital wheat gluten)
- 1 cup + 2 tbsp (270 ml) warm water (about 105–110°F/40–43°C)
- 2 1/4 tsp (1 packet) instant yeast or active dry yeast
- 2 tbsp granulated sugar (or maple syrup)
- 2 tbsp neutral oil (olive, avocado, or sunflower)
- 1 1/2 tsp fine sea salt
- Optional: 1 tbsp olive oil for brushing the top
Instructions
- Proof the yeast (if using active dry). In a large bowl, mix warm water and sugar. Sprinkle the yeast on top and let it sit for 5–8 minutes, until foamy. If using instant yeast, you can skip this step and add it directly to the flour, then combine with warm water and sugar.
- Make the dough. Add flour, salt, and oil to the bowl. Stir with a spoon until a shaggy dough forms and most flour is incorporated. The dough should be soft and slightly tacky but not sticky; add a tablespoon of water or flour if needed to adjust.
- Knead until smooth. Turn the dough onto a lightly floured surface. Knead for 8–10 minutes, until it’s smooth, elastic, and springs back when poked. You can also use a stand mixer with a dough hook for 6–7 minutes on medium-low speed.
- First rise. Place the dough in a lightly oiled bowl, turning once to coat. Cover with a clean towel or plastic wrap and let it rise in a warm spot for 60–75 minutes, or until doubled in size.
- Shape the loaf. Gently punch down the dough to release air. Press it into a rectangle about 8×12 inches. Roll it up tightly from the short end, pinch the seam, and tuck the ends under. Place seam side down in a greased 8.5×4.5-inch loaf pan (a 9×5-inch pan also works; the loaf will be slightly shorter).
- Second rise. Cover and let rise for 30–45 minutes, until the dough crowns about 1 inch above the rim of the pan. Preheat your oven to 375°F (190°C) during this rise.
- Bake. Bake for 28–34 minutes, until the top is golden and the loaf sounds hollow when tapped. For accuracy, the internal temperature should reach about 195–200°F (90–93°C).
- Finish and cool. Brush the hot loaf with a little olive oil for a soft, shiny crust (optional). Cool in the pan for 10 minutes, then transfer to a wire rack. Let it cool at least 45 minutes before slicing to avoid a gummy crumb.
Storage Instructions
- Room temperature: Wrap the cooled loaf in a clean kitchen towel or store in a bread bag or airtight container for up to 3 days.
- Freezer: Slice the loaf, then freeze slices in a zip-top bag with the air pressed out. They keep well for up to 2 months. Toast straight from frozen.
- Revive: If the crust softens, re-crisp slices in a toaster or a 350°F (175°C) oven for 5–7 minutes.
Why This is Good for You
This loaf is dairy free yet still satisfying, thanks to the protein in bread flour. You get simple, recognizable ingredients with no additives or preservatives. Making bread at home lets you control sugar and salt, and you can choose heart-friendly oils. It’s a budget-friendly staple that’s easy to fit into many dietary needs.
Common Mistakes to Avoid
- Water that’s too hot. Water above 115°F can kill the yeast. Aim for warm, not hot—think cozy bath temperature.
- Too much flour. A dry dough won’t rise well. Keep it slightly tacky; add extra flour only a teaspoon at a time.
- Skipping the second rise. This shortens the loaf and tightens the crumb. The second rise creates a softer interior and better shape.
- Slicing too soon. Cutting hot bread compresses the crumb. Let it rest so steam redistributes and the texture sets.
- Underbaking. Pale bread can be gummy. Look for a deep golden top and check internal temperature if unsure.
Recipe Variations
- Whole wheat blend: Use 2 cups bread flour + 1 cup whole wheat. Add 1–2 extra tablespoons of water to keep the dough soft.
- Herb and garlic: Mix in 1 tsp dried rosemary, 1 tsp dried thyme, and 1 tsp garlic powder for a savory loaf.
- Seeded crust: Brush the shaped loaf lightly with water and roll the top in sesame, poppy, or sunflower seeds before the second rise.
- Olive oil loaf: Use extra-virgin olive oil for a fruity note and brush the top with more oil after baking.
- Sweet breakfast twist: Add 2 tbsp maple syrup and 1/2 tsp cinnamon; reduce sugar to 1 tbsp for a lightly sweet slice.
- Soft sandwich style: Replace 2 tbsp of the water with aquafaba (chickpea liquid) for extra tenderness.
FAQ
Can I make this bread without a stand mixer?
Yes. Mix with a spoon, then knead by hand for 8–10 minutes. You’re looking for a smooth, elastic dough that doesn’t stick to your hands but still feels soft.
Can I use all-purpose flour?
Yes. Use all-purpose and, if possible, add 2 tablespoons vital wheat gluten for structure. If you don’t have it, the bread will still work—just expect a slightly softer crumb and a bit less rise.
What if I only have active dry yeast?
Proof it first in warm water with sugar until foamy, then proceed. If it doesn’t foam after 10 minutes, the yeast may be expired and you’ll need a fresh packet.
How do I make it gluten free?
Use a high-quality 1:1 gluten free flour blend that includes xanthan gum, and add 1 extra tablespoon of oil. Note that gluten free dough is more like thick batter; bake in a loaf pan and expect a denser, tender crumb.
Why did my bread collapse?
It likely overproofed during the second rise or had too much liquid. Next time, stop the rise when it’s about 1 inch above the pan rim and make sure the dough is soft but holds shape.
How do I get a softer crust?
Brush the hot loaf with oil and let it cool under a towel. You can also reduce the bake temperature to 350°F (175°C) and increase time by a few minutes.
Can I make rolls instead of a loaf?
Yes. Divide the dough into 10–12 pieces, shape into balls, and place on a lined sheet. Rise for 25–30 minutes and bake at 375°F (190°C) for 15–18 minutes.
Is this bread sweet?
No. The sugar feeds the yeast and helps browning, but the loaf tastes savory. For a sweeter loaf, add an extra tablespoon of sugar or maple syrup.
In Conclusion
This dairy free bread recipe is simple, dependable, and easy to customize. With a few pantry staples and a couple of rises, you’ll have a soft, golden loaf that fits into everyday meals. Keep a sliced loaf in the freezer, toast as you go, and enjoy fresh-tasting bread anytime—no dairy required.
Printable Recipe Card
Want just the essential recipe details without scrolling through the article? Get our printable recipe card with just the ingredients and instructions.