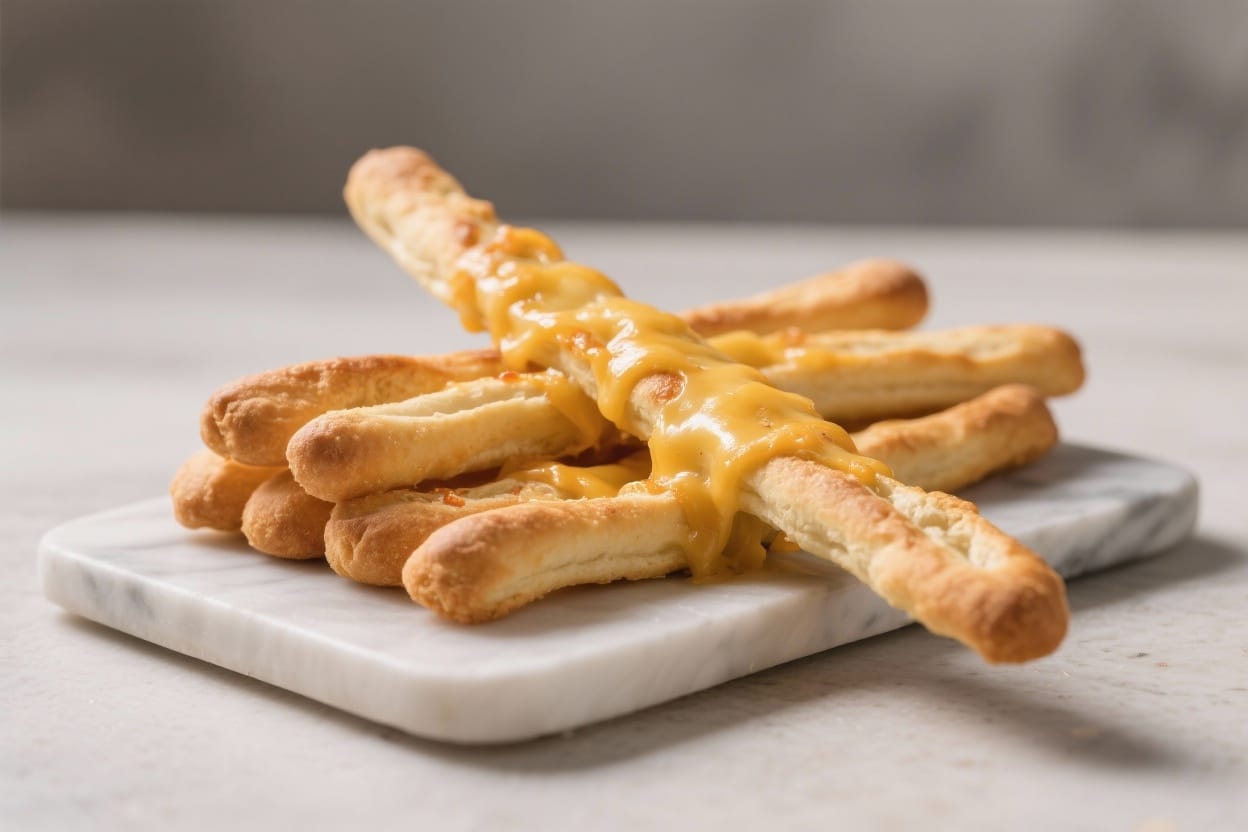
There’s something about warm, cheesy breadsticks that makes any meal feel a little more special. Whether you’re pairing them with soup, pasta, or a movie night at home, these breadsticks deliver that perfect mix of soft dough, melty cheese, and buttery garlic. This recipe keeps things simple, approachable, and satisfying—all without fancy equipment.
If you’re new to baking with yeast, don’t worry. You’ll find clear steps, helpful tips, and plenty of room to customize to your taste.
Why This Recipe Works
This recipe uses a straightforward yeast dough that’s easy to knead and forgiving, making it great for beginners. The dough rises quickly, thanks to warm water and a touch of sugar, so you get soft, fluffy breadsticks with minimal wait time.
A garlic-butter wash adds rich flavor, while a blend of cheeses creates a bubbly, golden crust. The method also avoids complicated shaping—just stretch, top, and slice after baking.
Ingredients
- Warm water: 1 cup (about 105–110°F)
- Active dry yeast: 2¼ teaspoons (one packet)
- Sugar: 1 tablespoon
- All-purpose flour: 2½ to 3 cups (start with 2½, add more as needed)
- Salt: 1 teaspoon
- Olive oil: 2 tablespoons (plus a little for greasing)
- Unsalted butter: 3 tablespoons, melted
- Garlic: 2–3 cloves, minced (or 1 teaspoon garlic powder)
- Mozzarella cheese: 1½ cups, shredded
- Parmesan cheese: ¼ cup, finely grated
- Italian seasoning or dried oregano: 1 teaspoon
- Crushed red pepper flakes (optional): a pinch
- Fresh parsley (optional): 1 tablespoon, chopped, for garnish
Instructions
- Activate the yeast. In a large bowl, combine warm water and sugar. Sprinkle the yeast on top and let it sit for 5–10 minutes until foamy.If it doesn’t foam, the yeast may be old or the water too hot or cold—start over.
- Make the dough. Add 2½ cups flour, salt, and olive oil to the yeast mixture. Stir with a spoon until a shaggy dough forms. If it’s very sticky, add flour 1 tablespoon at a time until the dough is soft and slightly tacky, not wet.
- Knead. Transfer the dough to a lightly floured surface and knead for 5–7 minutes until smooth and elastic.You can also use a stand mixer with a dough hook on medium-low for 4–5 minutes.
- First rise. Grease a clean bowl with a little olive oil. Place the dough inside, turning once to coat. Cover with a clean towel or plastic wrap and let it rise in a warm spot for 45–60 minutes, or until doubled in size.
- Prepare the pan and topping. Preheat your oven to 425°F (220°C).Line a baking sheet with parchment and lightly oil it. Melt the butter and stir in the minced garlic. In a small bowl, mix mozzarella, Parmesan, and Italian seasoning.
- Shape the base. Punch down the dough to release air.Place it on the prepared sheet and press or roll it into a large rectangle, about 10×14 inches and roughly ½ inch thick. Keep the edges even.
- Butter and cheese. Brush the dough generously with the garlic butter, saving a little for later. Sprinkle the cheese mixture evenly over the top.Add red pepper flakes if you like a gentle kick.
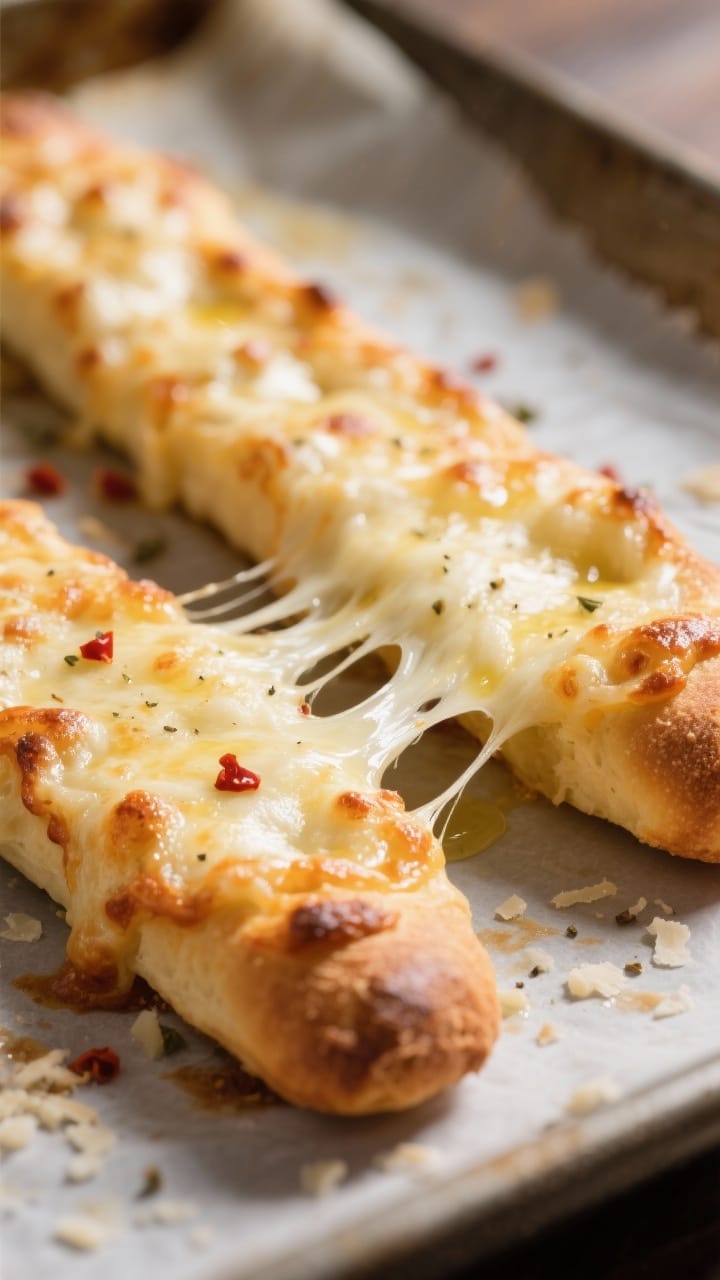
- Bake. Bake for 12–15 minutes, until the edges are golden and the cheese is bubbling and lightly browned in spots.
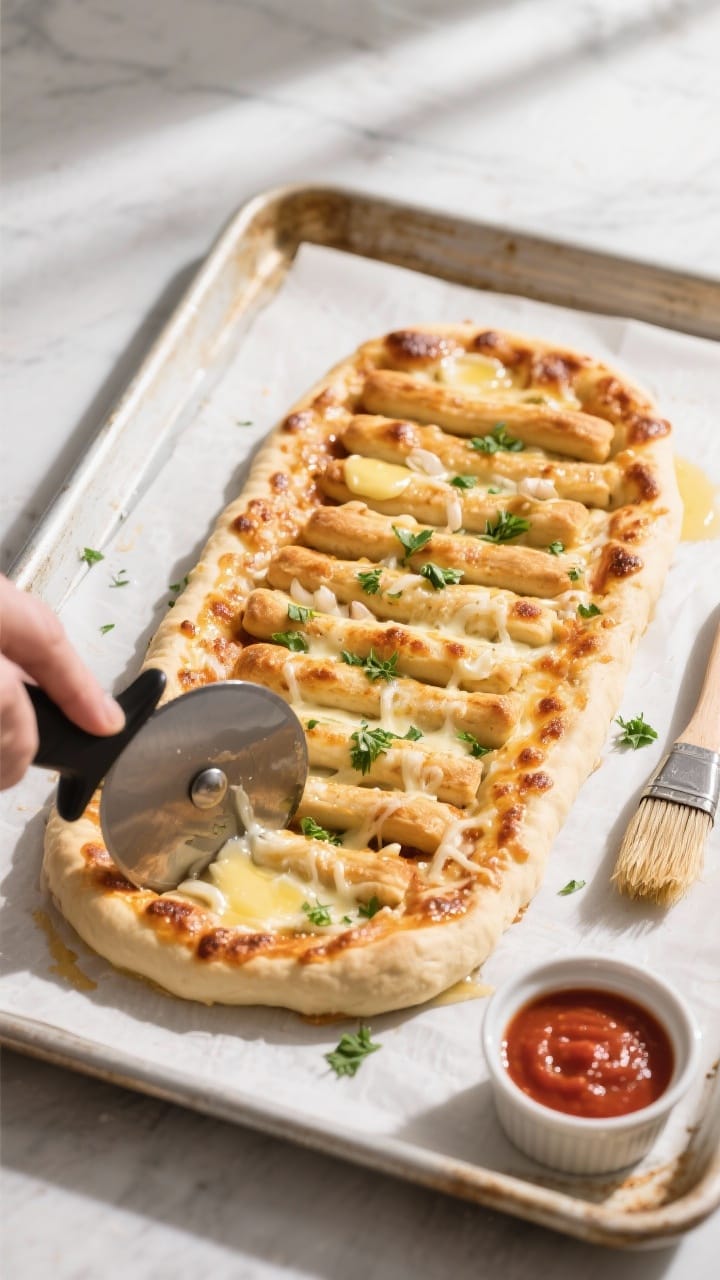
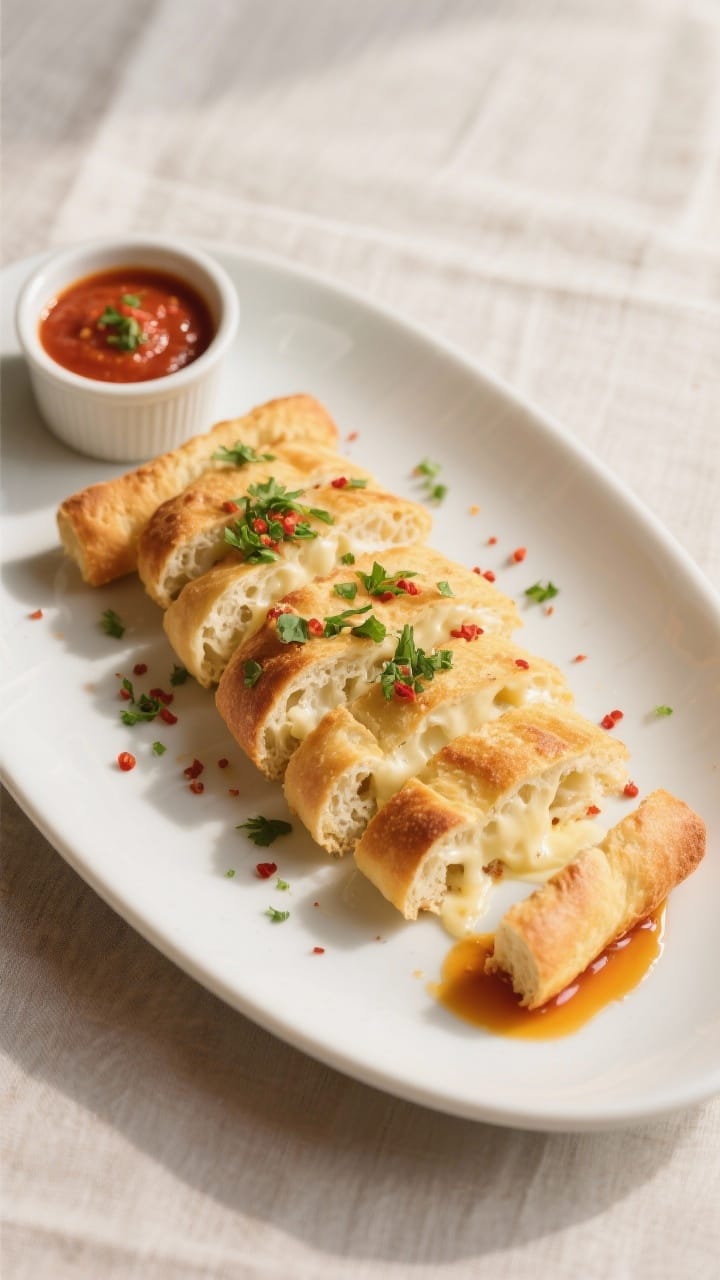
- Finish and slice. Brush the hot breadsticks with the remaining garlic butter. Sprinkle with fresh parsley. Let them rest for 3–5 minutes, then slice into sticks with a pizza cutter or sharp knife.
- Serve. Enjoy warm with marinara sauce, ranch, or a drizzle of chili oil.
How to Store
- Room temperature: Keep leftovers in an airtight container for up to 1 day.Reheat in a 350°F (175°C) oven for 5–7 minutes to revive the texture.
- Refrigerator: Store for up to 3 days. Reheat in the oven or air fryer to keep them crisp on the edges and soft inside.
- Freezer: Freeze sliced, baked breadsticks in a single layer, then transfer to a freezer bag for up to 2 months. Reheat from frozen at 375°F (190°C) for 8–10 minutes.
Health Benefits
These breadsticks offer carbohydrates for energy and some protein and calcium from the cheese.
Using olive oil and real butter in moderation provides flavor and satiety. You can make them lighter by using part-skim mozzarella, reducing butter, or adding a side salad to balance the meal. Whole wheat flour can replace up to half the all-purpose flour for extra fiber without sacrificing texture too much.
Pitfalls to Watch Out For
- Water temperature mistakes: If the water is too hot, it kills the yeast; too cold, and it won’t activate.Aim for warm, not hot—about 105–110°F.
- Too much flour: Over-flouring leads to dense breadsticks. The dough should be soft and slightly tacky. Add flour gradually.
- Skipping the rise: Under-proofed dough won’t bake up fluffy.Let it double in size for the best texture.
- Uneven thickness: Thick spots stay doughy while thin areas burn. Press the dough into an even rectangle before baking.
- Overbaking: Cheese can turn greasy and hard if baked too long. Pull them when the cheese is just golden and bubbling.
Variations You Can Try
- Herb and garlic: Add fresh rosemary or thyme to the dough and double the garlic in the butter for a fragrant, savory twist.
- Stuffed breadsticks: Fold the dough over strips of cheese (like mozzarella sticks), seal the edges, and bake for gooey centers.
- Spicy jalapeño: Scatter thinly sliced jalapeños over the cheese before baking for heat and crunch.
- Everything seasoning: Sprinkle everything bagel seasoning on top after the butter for a toasty, savory finish.
- Gluten-free: Use a 1:1 gluten-free baking flour with xanthan gum and add 1 extra tablespoon olive oil to keep the dough tender.
- Dairy-light: Use part-skim mozzarella and reduce butter to 1–2 tablespoons.Brush with olive oil if you prefer.
FAQ
Can I use instant yeast instead of active dry yeast?
Yes. Use the same amount and skip the activation step. Mix it directly with the flour, then add warm water and oil.
The rise time should be similar.
How do I know the dough has been kneaded enough?
It should feel smooth and stretchy. When you poke it, the indentation should slowly bounce back. If you can stretch a small piece thin without tearing (the “windowpane” test), you’re there.
What cheese melts best for breadsticks?
Mozzarella is the safest choice for melt and stretch.
A little Parmesan adds salty depth. You can mix in provolone or Monterey Jack for extra creaminess.
Can I make the dough ahead of time?
Yes. After the first rise, punch it down, cover tightly, and refrigerate for up to 24 hours.
Let it sit at room temperature for 30–45 minutes before shaping and baking.
Why did my breadsticks turn out dense?
Common reasons include adding too much flour, not allowing the dough to rise fully, or using expired yeast. Also check your oven temperature—too low can cause poor lift.
How can I make them extra crisp on the bottom?
Preheat a baking stone or an inverted baking sheet in the oven, then slide the parchment with the dough onto the hot surface. A hotter base gives a crispier bottom.
What sauces pair well with these breadsticks?
Classic marinara is great.
Garlic butter, ranch, pesto, or a spicy tomato sauce also work well. For a lighter option, serve with a simple olive oil and herb dip.
Final Thoughts
Cheesy breadsticks made at home are simple, comforting, and endlessly adaptable. With a reliable dough, a quick rise, and a generous layer of cheese, you’ll have a crowd-pleasing side that fits almost any meal.
Keep the tips in mind, try a variation or two, and enjoy them fresh from the oven while the cheese is still wonderfully melty. Simple ingredients, familiar flavors, and a guaranteed hit at the table—what’s not to love?
Printable Recipe Card
Want just the essential recipe details without scrolling through the article? Get our printable recipe card with just the ingredients and instructions.