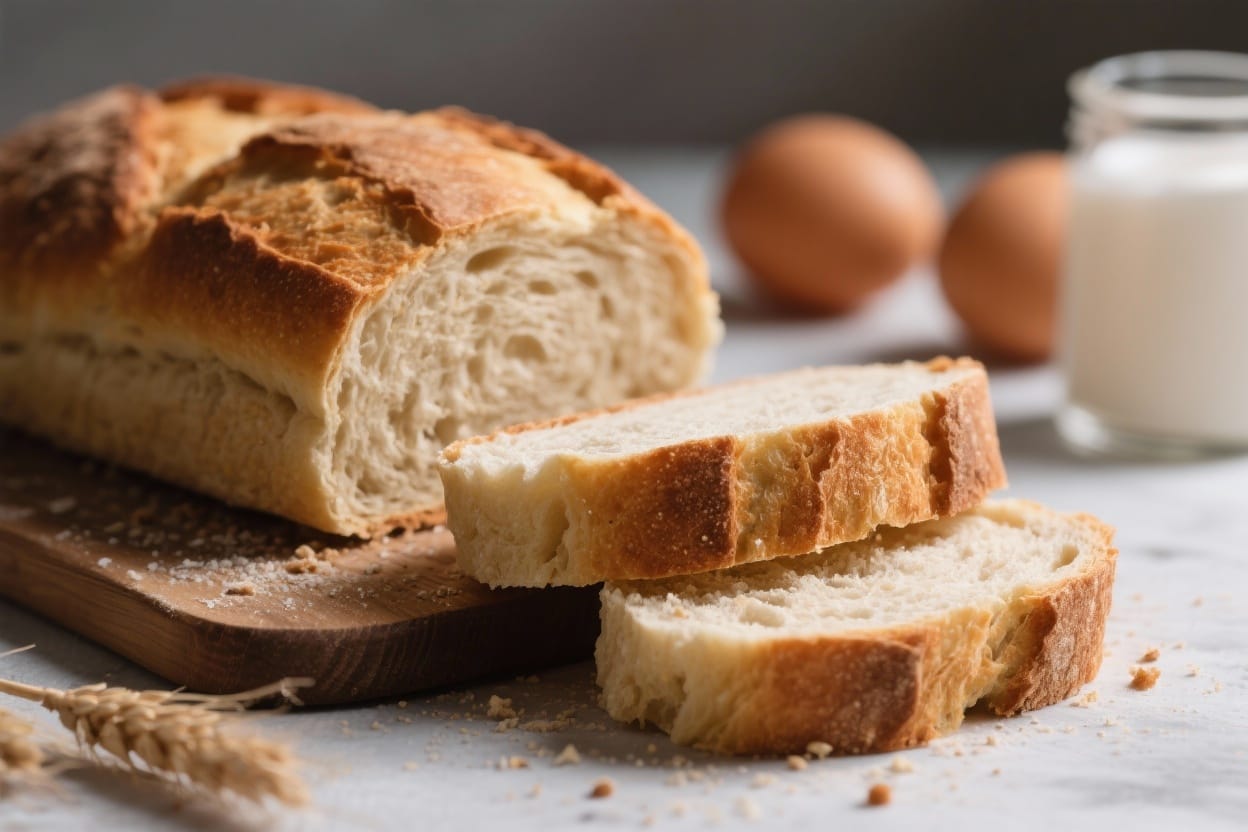
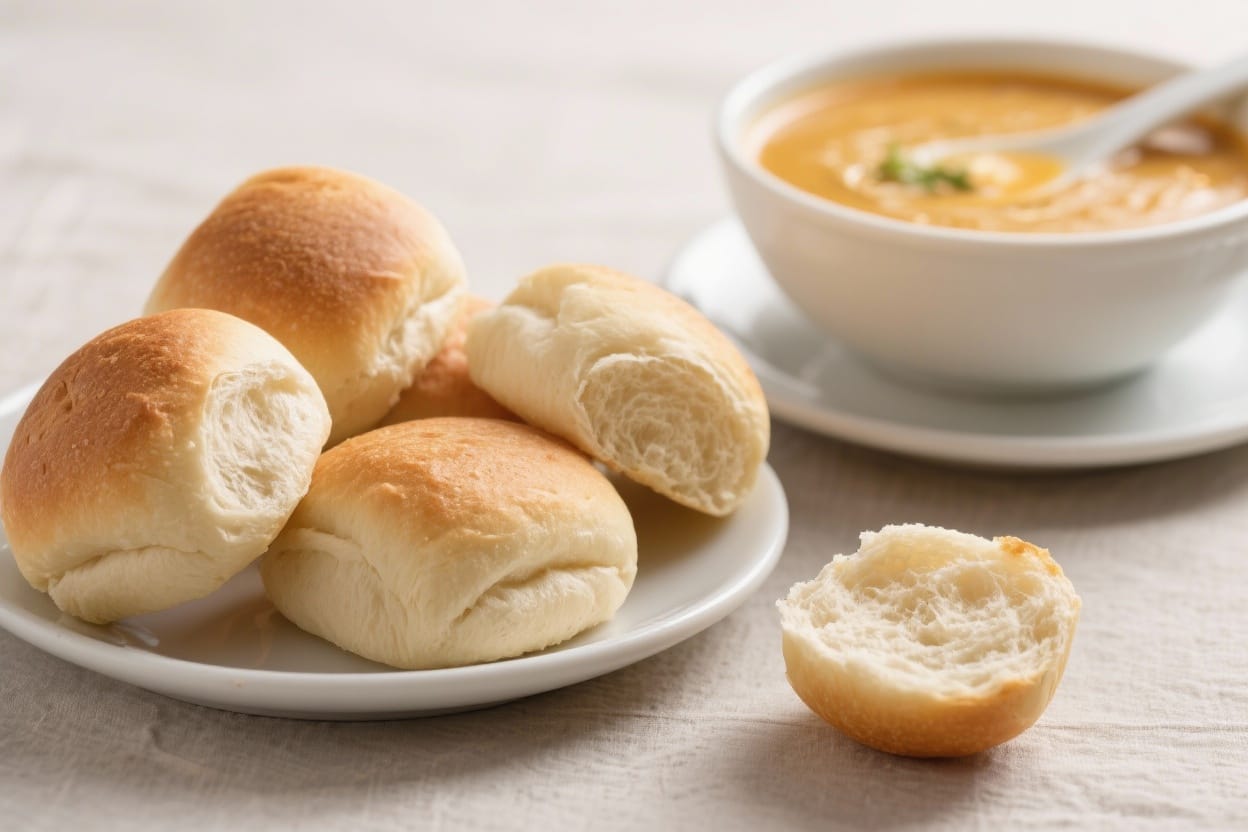
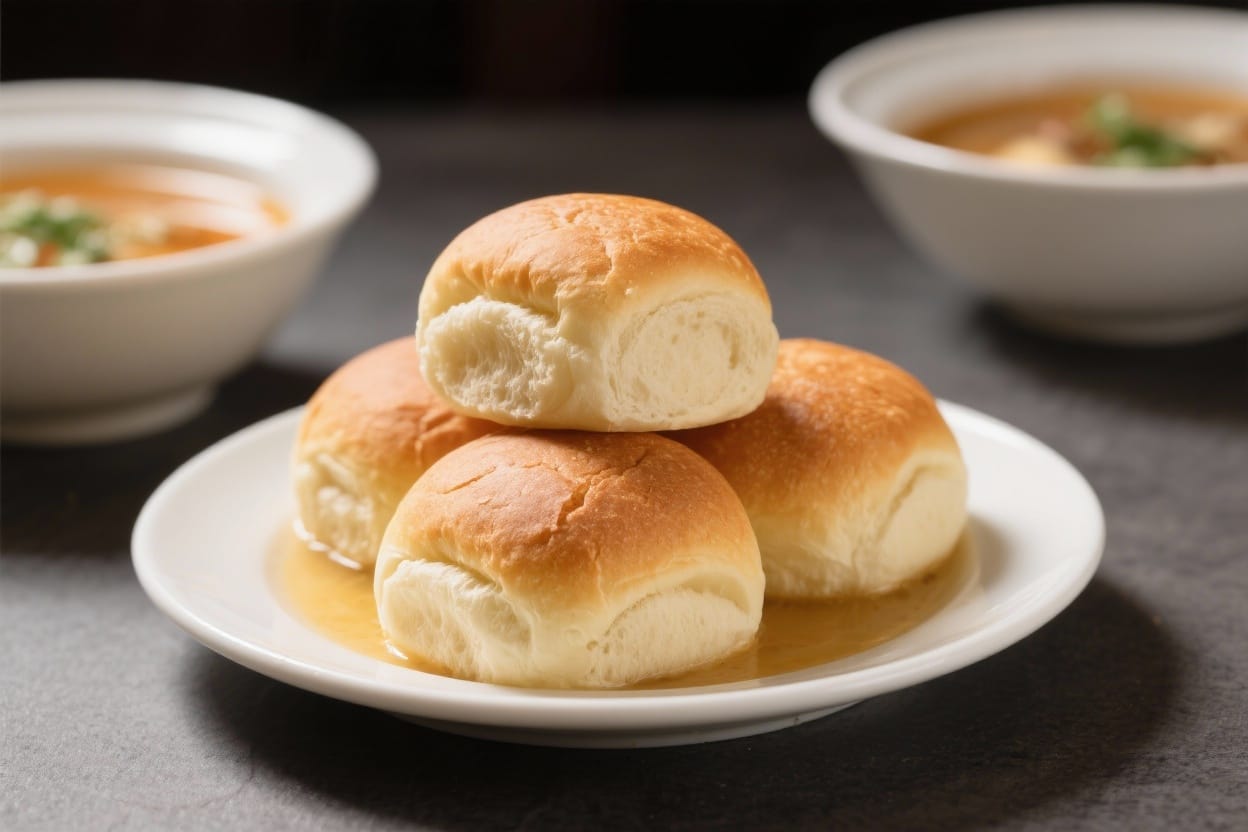
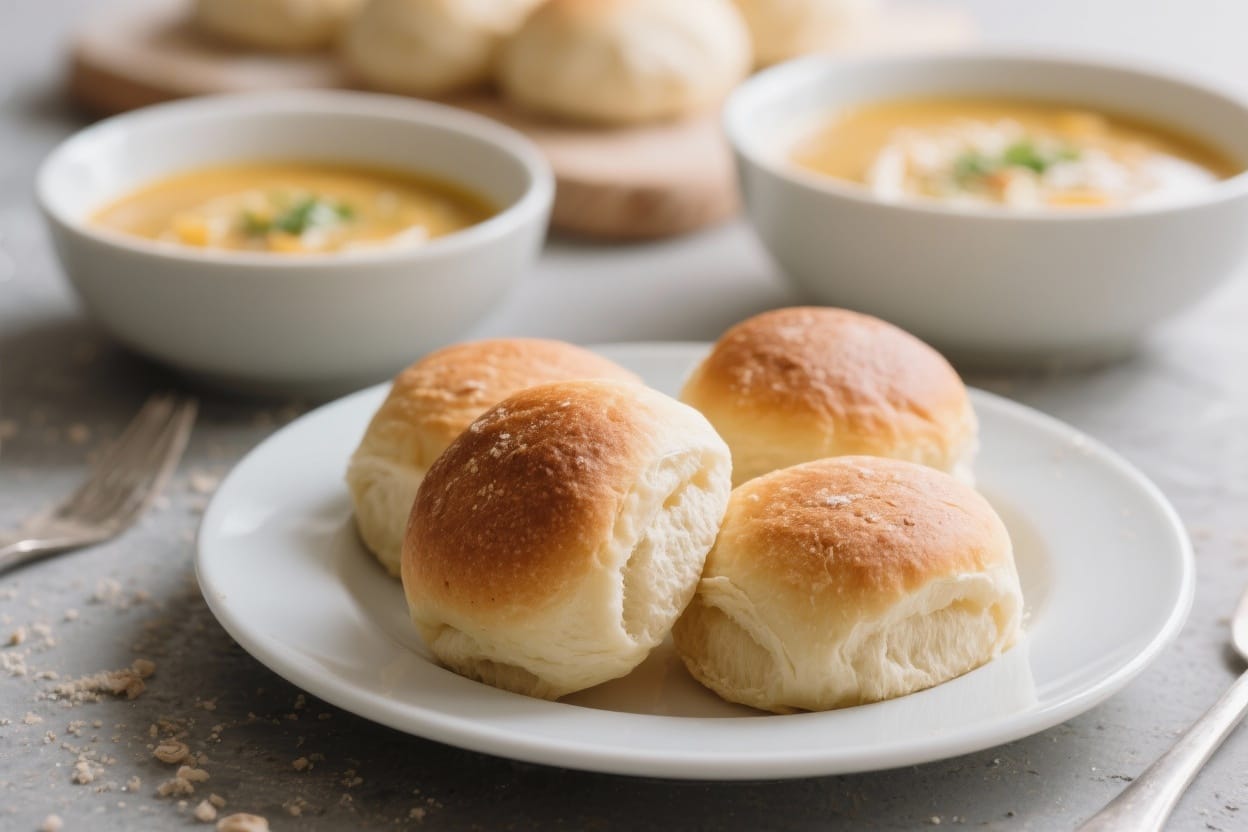
Bread Rolls for Soup – Soft, Light, and Perfect for Dipping

Few things feel as comforting as a warm bowl of soup with a soft roll on the side. These bread rolls are tender inside, lightly golden outside, and built to soak up broth without falling apart. They’re simple to make and easy to customize, even if you’re new to baking. You’ll get consistent results with basic ingredients and a little patience. Make a batch on the weekend and enjoy all week with your favorite soups.
What Makes This Recipe So Good
Bread rolls for soup – Bread Rolls for Soup – Soft, Light, and Perfect for Dipping Few things feel as comforting as a warm
- Soft and fluffy crumb: The rolls are light inside, perfect for dipping and sopping up soup.
- Golden, thin crust: A touch of butter creates a gentle crust that doesn’t overpower delicate soups.
- Beginner-friendly: Straightforward steps and common pantry ingredients.
- Reliable rise: Uses warm milk and a little sugar to wake up the yeast for consistent lift.
- Freezer-friendly: Make ahead and reheat for quick weeknight dinners.
Ingredients
Bread rolls for soup – These bread rolls are tender inside, lightly golden outside, and built to soak up broth without fall
- 3 1/4 cups (410 g) bread flour, plus extra for dusting
- 1 cup (240 ml) warm milk, about 105–110°F (40–43°C)
- 1/2 cup (120 ml) warm water, about 105–110°F (40–43°C)
- 2 1/4 teaspoons (7 g) instant or rapid-rise yeast
- 2 tablespoons (25 g) granulated sugar
- 1 1/2 teaspoons fine sea salt
- 3 tablespoons (40 g) unsalted butter, melted and slightly cooled, plus more for brushing
- 1 large egg, room temperature
- Optional: 1 tablespoon olive oil for greasing the bowl
- Optional toppings: flaky salt, sesame seeds, poppy seeds
Instructions
Bread rolls for soup – They’re simple to make and easy to customize, even if you’re new to baking
- Activate the yeast (if using active dry): If you’re using active dry yeast instead of instant, mix warm water, sugar, and yeast in a bowl. Let it sit for 5–10 minutes until foamy. If using instant yeast, skip this step and add it directly with the dry ingredients.
- Make the dough: In a large bowl (or stand mixer), combine bread flour, salt, and instant yeast (if using). Add warm milk, warm water, sugar (if you didn’t use it to activate yeast), melted butter, and egg. Mix with a spoon until a shaggy dough forms.
- Knead: Knead by hand on a lightly floured surface for 8–10 minutes, or in a stand mixer with a dough hook for 6–7 minutes. The dough should be smooth, slightly tacky, and stretchy. If it’s sticky, add a tablespoon of flour at a time. If it’s stiff, add a teaspoon of water.
- First rise: Shape the dough into a ball and place it in a lightly oiled bowl. Cover with a clean towel or plastic wrap. Let it rise in a warm spot until doubled in size, about 60–75 minutes.
- Shape the rolls: Gently punch down the dough to release air. Turn it out and divide into 12 equal pieces (about 65–70 g each). Shape each piece into a tight ball by tucking the edges underneath and rolling against the counter with a cupped hand.
- Second rise: Arrange the balls on a parchment-lined baking sheet or in a 9×13-inch pan for pull-apart rolls. Leave a little space between them. Cover and let rise until puffy, 30–45 minutes. They should look airy and bounce back slowly when pressed.
- Preheat the oven: Set to 375°F (190°C). If you like softer tops, brush the rolls lightly with melted butter before baking.
- Bake: Bake for 16–20 minutes, until the tops are golden and the internal temperature hits about 200°F (93°C). If browning too fast, tent with foil for the last few minutes.
- Finish: Brush the hot rolls with a little melted butter and a pinch of flaky salt, if you like. Let cool for 10–15 minutes before serving with soup.
Keeping It Fresh
- Room temperature: Store cooled rolls in an airtight bag or container for up to 3 days. Add a paper towel inside to absorb moisture.
- Freezer: Freeze in a zip-top bag for up to 3 months. Squeeze out excess air to avoid freezer burn.
- Reheating: Warm at 300°F (150°C) for 8–10 minutes, or microwave for 10–15 seconds per roll. For a crisp edge and soft center, wrap in foil for the oven, then uncover for the last minute.
- Make ahead: After shaping, cover and refrigerate overnight. Let sit at room temperature for 45–60 minutes the next day, then bake.
Benefits of This Recipe
- Works with any soup: Mild flavor pairs well with tomato, chicken noodle, creamy potato, or hearty chili.
- Budget-friendly: Uses basic pantry items to create bakery-quality rolls at home.
- Customizable: Adjust size, toppings, and flavors to match your meal.
- Family-friendly: Soft texture and subtle sweetness make these a hit with kids and adults.
- Good for batch cooking: Bake once, enjoy multiple meals.
Pitfalls to Watch Out For
- Water or milk too hot: Liquids hotter than 115°F can kill yeast, leading to dense rolls.
- Too much flour: Over-flouring makes rolls dry. The dough should feel slightly tacky, not sticky.
- Under-proofing: If the dough doesn’t double before shaping, the rolls won’t be light.
- Over-proofing: If the shaped rolls rise too long, they may collapse in the oven and taste yeasty.
- Skipping the butter brush: That small step keeps the crust tender and adds flavor.
Recipe Variations
- Garlic herb: Mix 1 teaspoon garlic powder and 2 teaspoons chopped fresh herbs (parsley, rosemary, or thyme) into the dough. Brush with garlic butter after baking.
- Whole wheat blend: Swap 1 cup of bread flour for whole wheat flour. Add 1–2 teaspoons extra water if needed.
- Cheddar and chive: Fold in 3/4 cup shredded sharp cheddar and 2 tablespoons chopped chives during the last minute of kneading.
- Sesame-topped: Brush with egg wash before baking and sprinkle sesame seeds for a light crunch.
- Mini soup dippers: Divide into 16–18 small rolls and bake 12–15 minutes for bite-sized pieces.
- Dairy-free: Use warm water or unsweetened plant milk and replace butter with olive oil or vegan butter.
- Sourdough touch: Replace 1/2 cup flour and 1/2 cup liquid with 3/4 cup active sourdough starter; reduce yeast to 1 teaspoon and extend rise times.
FAQ
Can I use all-purpose flour?
Yes. The rolls will still be soft and delicious, though slightly less chewy. Start with the same amount and add a tablespoon more if the dough is too sticky.
How do I know my dough is kneaded enough?
It should feel smooth and elastic, not shaggy. Stretch a small piece between your fingers; if it forms a thin “window” without tearing quickly, you’re there.
What if I don’t have a stand mixer?
No problem. Hand-kneading works well. Use a bench scraper and lightly flour the surface to keep the dough manageable.
Can I make them gluten-free?
Use a high-quality 1:1 gluten-free flour blend designed for yeast doughs and add 1 teaspoon xanthan gum if your blend doesn’t include it. Expect a denser texture, but still tasty.
How do I get an extra-soft crust?
Brush with melted butter before and after baking. Cooling the rolls under a clean towel also helps keep moisture in the crust.
What soups do these pair best with?
They shine with tomato basil, chicken noodle, creamy broccoli, potato leek, minestrone, and bean soups. Their mild flavor lets the soup stand out.
Can I add sweetness for breakfast-style rolls?
Increase sugar to 3–4 tablespoons and add a pinch of cinnamon. They’ll still work with savory soups but lean slightly sweet.
In Conclusion
These bread rolls for soup strike the right balance: soft, airy, and sturdy enough for dunking. The method is simple, the ingredients are basic, and the result feels special every time. Keep a batch on hand to turn any bowl of soup into a comforting, satisfying meal. Once you’ve made them a couple of times, you’ll have a reliable go-to for cozy dinners and easy leftovers.
Printable Recipe Card
Want just the essential recipe details without scrolling through the article? Get our printable recipe card with just the ingredients and instructions.