Basic Bread Dough Step by Step Guide – A Simple Way to Bake Fresh Bread at Home
Making bread at home doesn’t have to be complicated. With a few simple ingredients and a little patience, you can turn flour, water, yeast, and salt into a warm, fragrant loaf. This guide walks you through a basic dough that’s easy to master and hard to mess up. Whether you’re brand new to baking or just want a reliable go-to recipe, this one covers the essentials. By the end, you’ll know not just what to do, but why each step matters.
What Makes This Recipe So Good
Basic bread dough step by step guide – Basic Bread Dough Step by Step Guide – A Simple Way to Bake Fresh Bread at Home Making bread at home
- Simple ingredients: You only need flour, water, yeast, and salt. A touch of sugar and oil are optional.
- Beginner-friendly: The steps are straightforward with clear cues, so you know when your dough is ready.
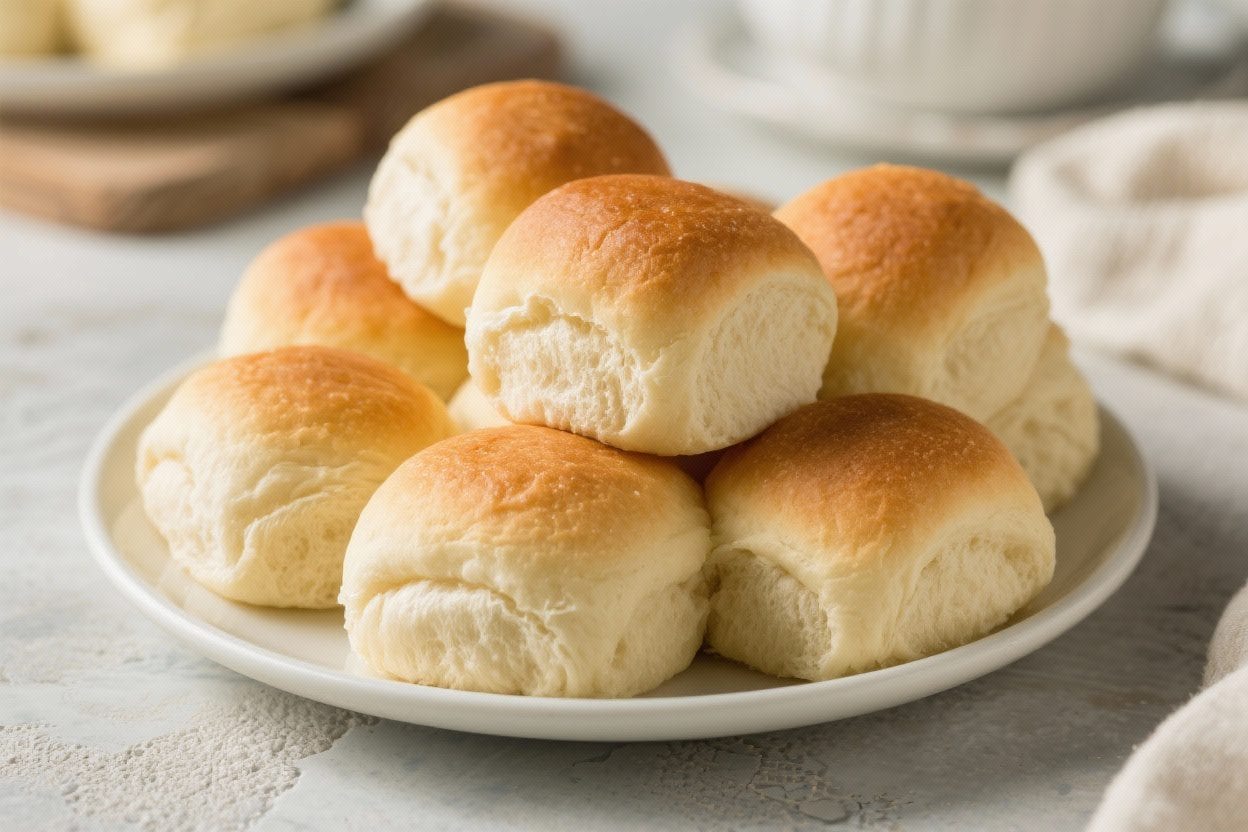
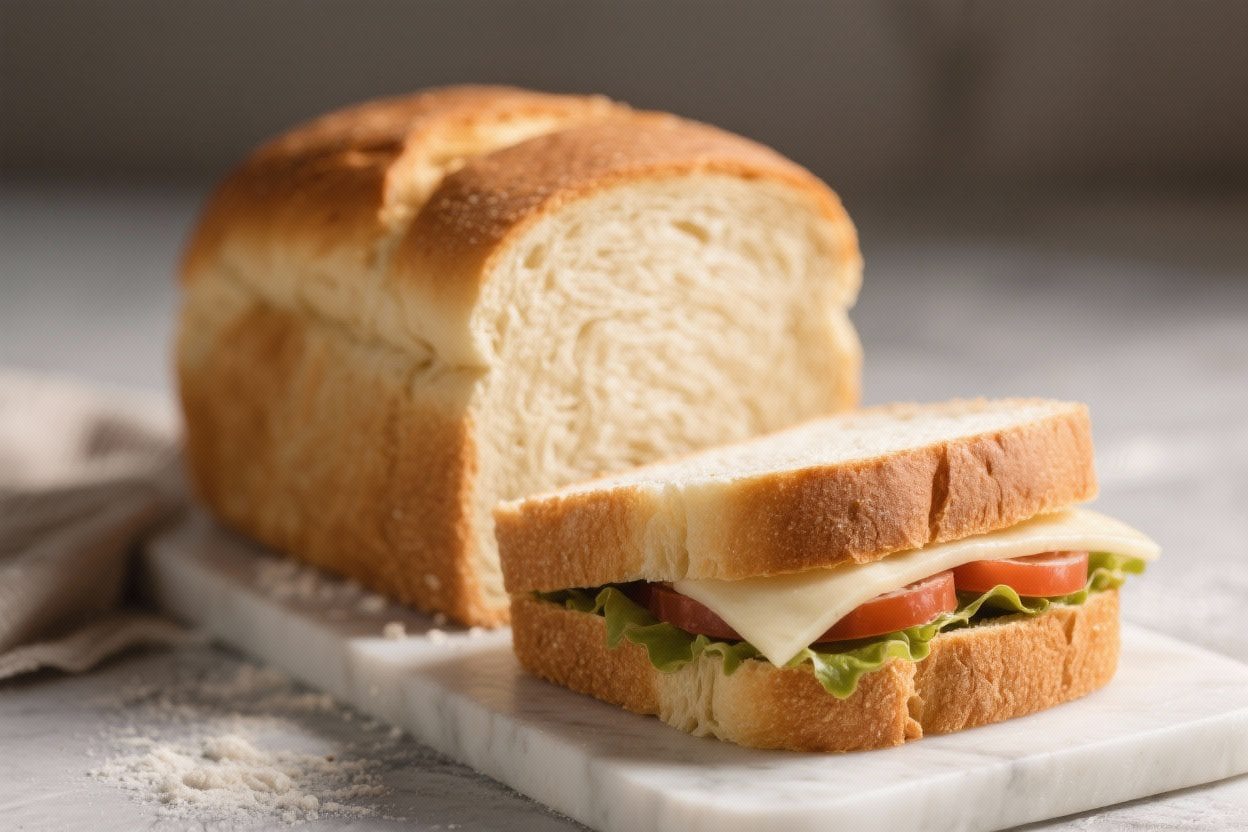
- Versatile: Use this dough for sandwich loaves, rolls, pizza bases, or rustic rounds.
- Reliable rise: With the right water temperature and proof times, the dough rises beautifully.
- Great texture: Soft inside, light chew, and a golden crust without special equipment.
Ingredients
Basic bread dough step by step guide – With a few simple ingredients and a little patience, you can turn flour, water, yeast, and salt into
- 3 1/2 to 4 cups (420–480 g) bread flour or all-purpose flour
- 1 1/4 cups (300 ml) warm water (about 105–110°F or 40–43°C)
- 2 1/4 teaspoons (7 g) instant or active dry yeast (one standard packet)
- 2 teaspoons (10 g) fine sea salt
- 1 tablespoon (12 g) sugar or honey (optional, helps browning and yeast activity)
- 1–2 tablespoons (15–30 ml) olive oil or neutral oil (optional, for softness)
- Extra flour for dusting
Instructions

Basic bread dough step by step guide – This guide walks you through a basic dough that’s easy to master and hard to mess up
- Activate the yeast (if using active dry): In a bowl, mix warm water and sugar or honey. Sprinkle in the yeast and let it sit for 5–10 minutes until foamy. If using instant yeast, you can skip this and add it directly to the flour, but keep the water warm.
- Mix the dry ingredients: In a large bowl, combine 3 1/2 cups of flour and the salt. Whisk to distribute evenly. This prevents salty pockets and helps the dough hydrate properly.
- Bring the dough together: Pour the foamy yeast mixture into the flour. Add oil if you’re using it. Stir with a wooden spoon or your hand until a shaggy dough forms. If it’s very sticky, sprinkle in more flour a tablespoon at a time.
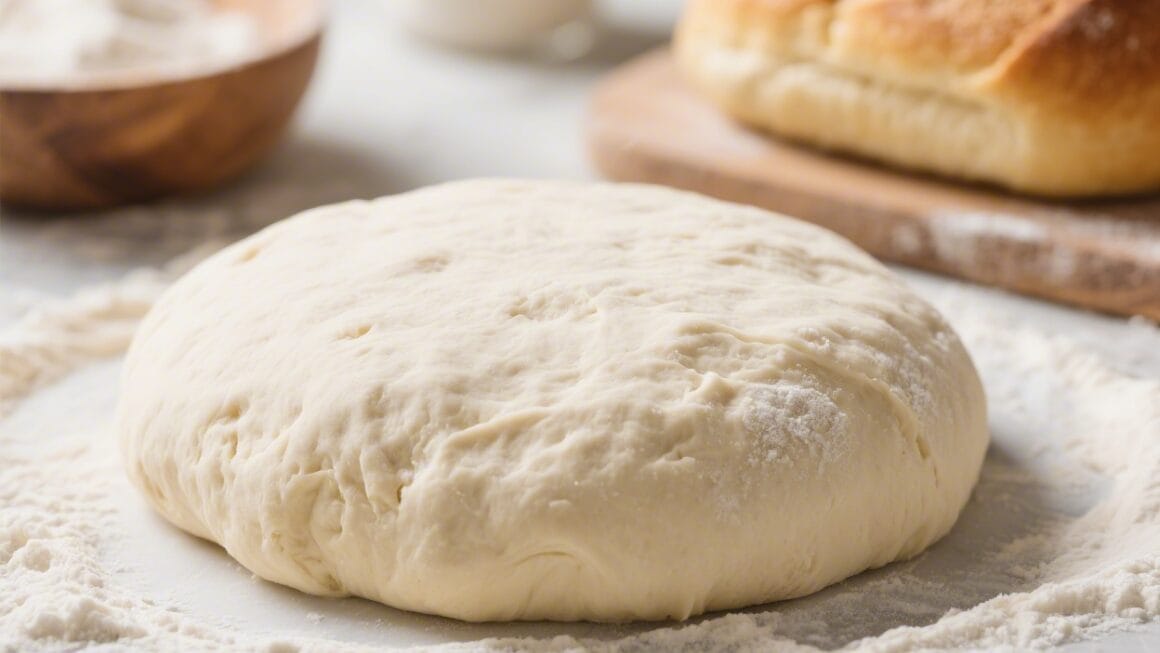
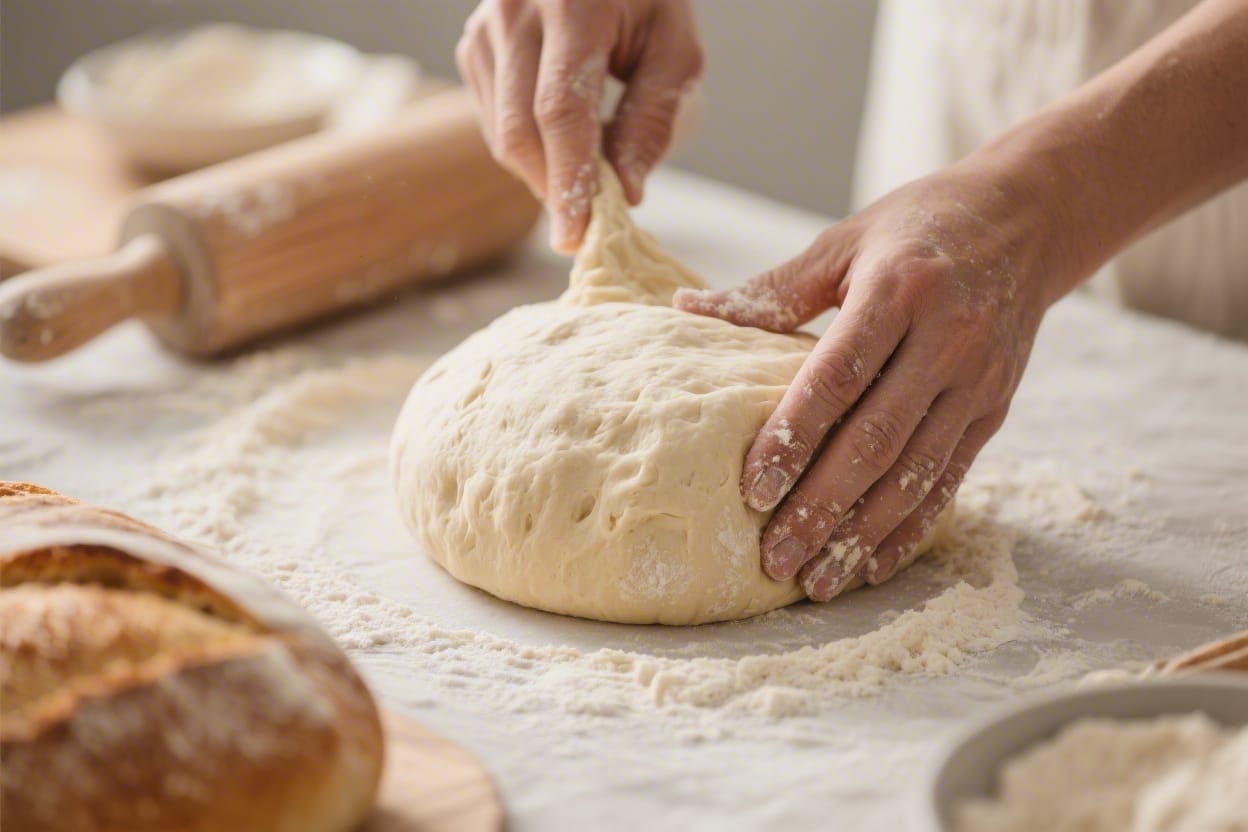
- Knead the dough: Turn the dough onto a lightly floured surface. Knead for 8–10 minutes. Use a push-fold-turn rhythm until the dough is smooth, elastic, and slightly tacky but not gluey. If it tears easily, knead a bit longer.
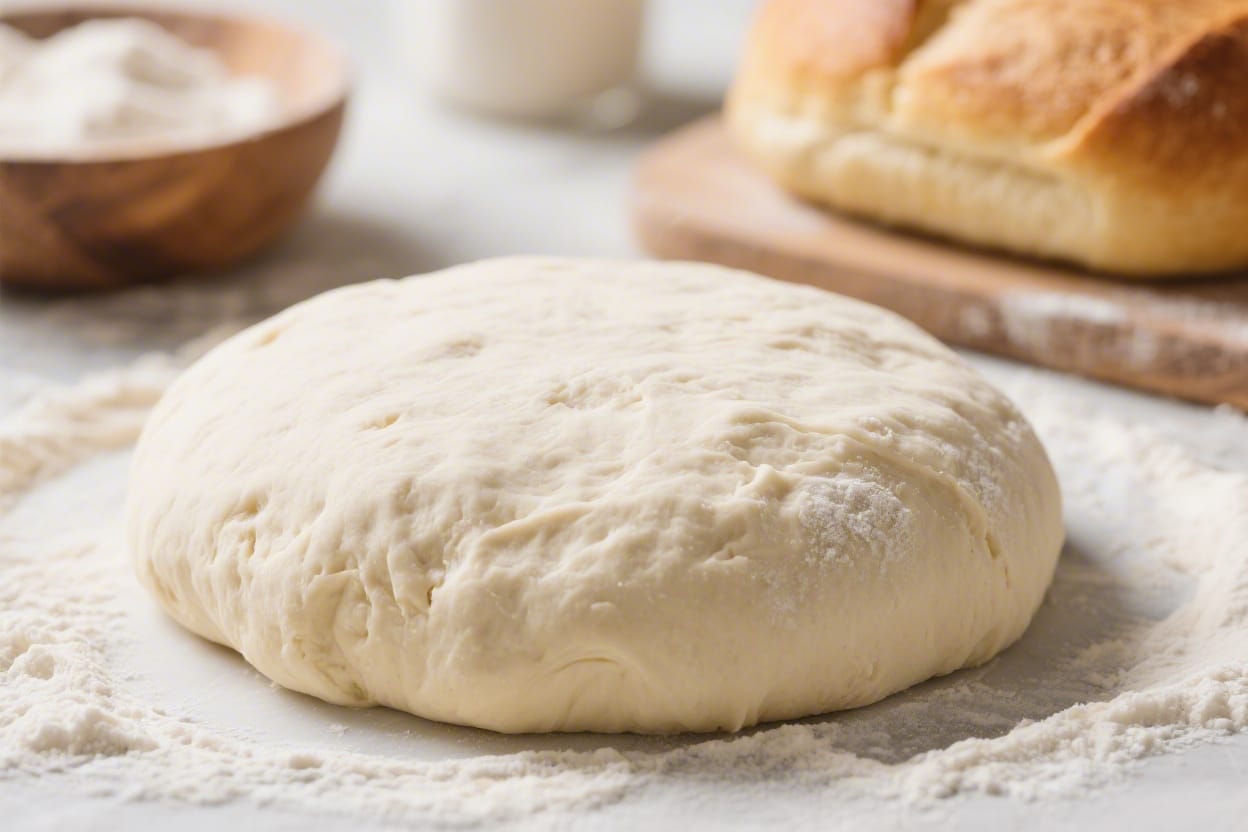
- First rise (bulk fermentation): Place the dough in a lightly oiled bowl and turn it to coat. Cover with a damp towel or plastic wrap. Let it rise in a warm, draft-free spot until doubled in size, about 60–90 minutes. If your kitchen is cool, it may take a little longer.
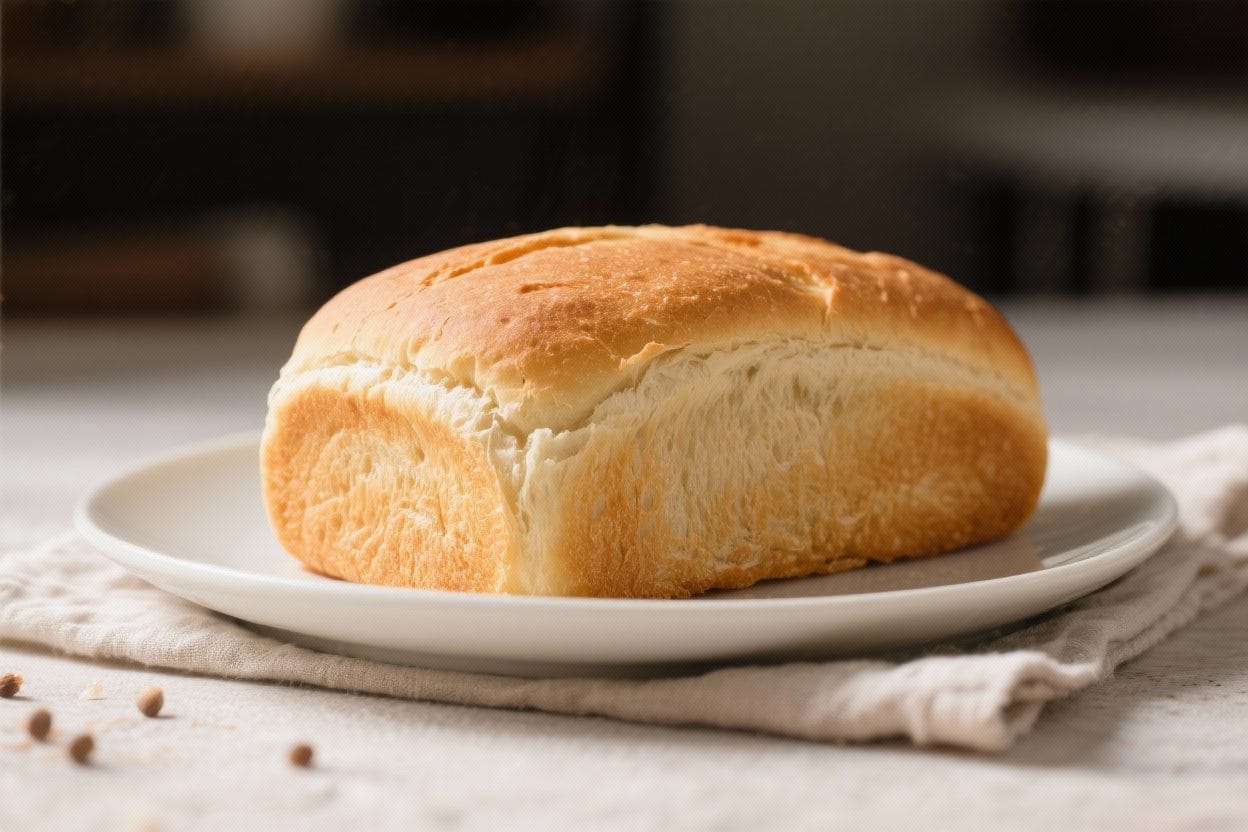
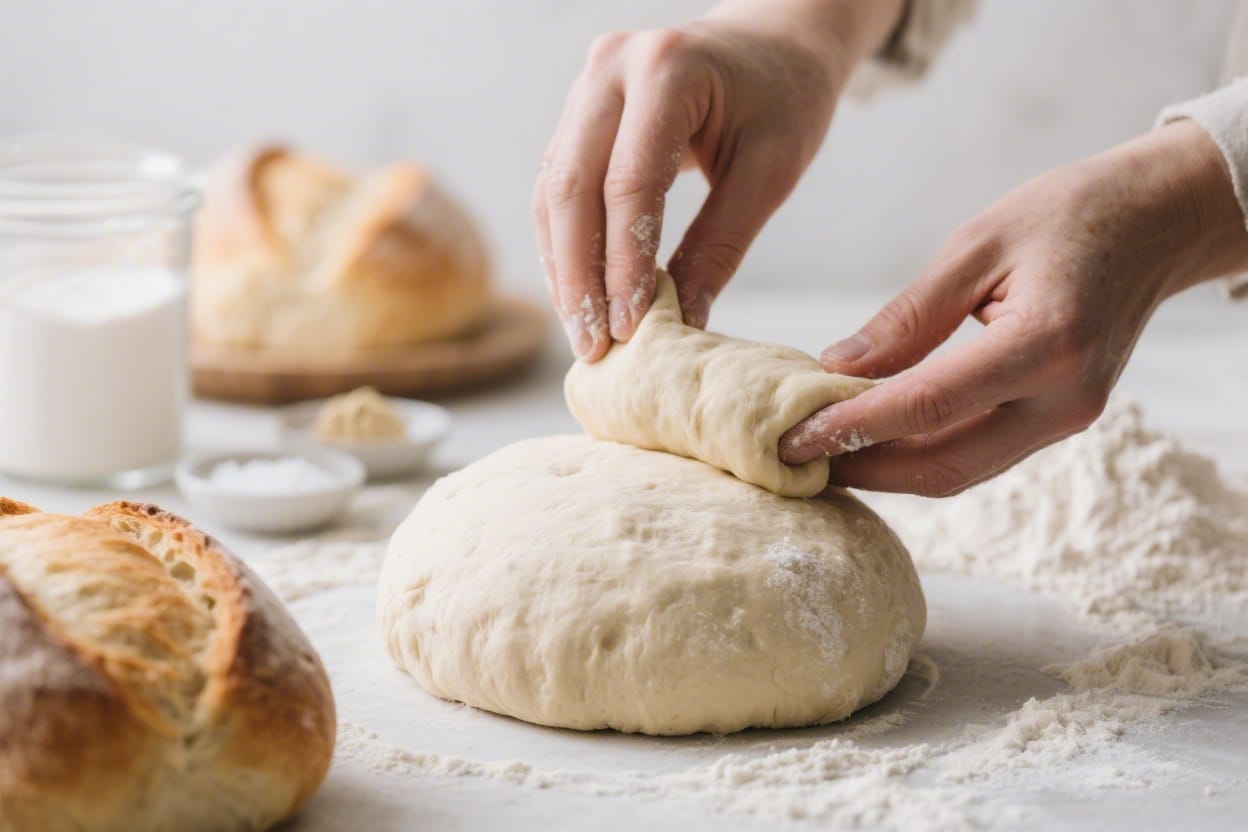
- Shape the dough: Gently deflate the dough and turn it out. For a loaf, pat it into a rectangle, then roll it up tightly and pinch the seam. For a round, tuck edges under to create surface tension. Place into a greased loaf pan or onto a parchment-lined sheet.
- Second rise (proofing): Cover and let the shaped dough rise until puffy and nearly doubled, 30–60 minutes. A gentle poke should spring back slowly, leaving a slight dent.
- Preheat the oven: Heat to 425°F (220°C). If you like a crisper crust, place a metal pan on the bottom rack to create steam later.
- Score and steam (optional): Using a sharp knife or lame, make a few shallow slashes on the top. Add a cup of hot water to the preheated pan to create steam right before loading the bread.
- Bake: Place the dough in the oven and bake for 25–35 minutes. The crust should be golden brown. The loaf should sound hollow when tapped on the bottom, or register about 200–205°F (93–96°C) inside.
- Cool completely: Transfer to a rack and let it cool for at least 45 minutes before slicing. This sets the crumb and keeps it from turning gummy.
Keeping It Fresh
- Room temperature: Store the cooled loaf in a paper bag or wrapped in a clean towel for 1–2 days. This keeps the crust from going soft.
- Longer storage: For 3–4 days, place in a bread box or loosely wrapped in plastic to slow staling, though the crust will soften.
- Freezing: Slice the loaf, wrap tightly, and freeze for up to 3 months. Toast slices straight from the freezer.
- Reviving the crust: Warm the loaf at 350°F (175°C) for 8–10 minutes to crisp it back up.
Health Benefits
- Simple ingredient list: You control the salt, sugar, and fats. No preservatives or additives.
- Complex carbs: Provides steady energy, especially when paired with protein or healthy fats.
- Whole-grain option: Swap in 50–100% whole wheat flour to add fiber, B vitamins, and minerals.
- Fermentation perks: A longer, slower rise can make bread easier to digest and boost flavor.
Pitfalls to Watch Out For
- Water too hot: If it’s above 120°F (49°C), you’ll kill the yeast. Aim for warm bath temperature.
- Too much flour: Adding flour every time it sticks can lead to a dense loaf. Slight stickiness is normal.
- Under-kneading: The dough should stretch without tearing easily. If it rips, knead longer.
- Rushing the rise: Let it double. Under-proofed dough won’t spring well and may split oddly.
- Slicing too soon: Cutting hot bread compresses the crumb and makes it gummy.
Alternatives
- Whole wheat version: Use 50% whole wheat and 50% bread flour. Add 1–2 tablespoons extra water if the dough feels stiff.
- No-oil dough: Skip the oil for a chewier crust and leaner texture.
- Herb and garlic: Mix in 1–2 teaspoons dried herbs, or 1 tablespoon minced fresh herbs. Add 1 clove minced garlic to the dough or brush garlic oil on top.
- Seeded crust: Brush the shaped dough lightly with water and roll in sesame, poppy, or sunflower seeds before the second rise.
- Overnight rise: Reduce yeast to 1 teaspoon and let the dough rise in the fridge overnight for deeper flavor and easier scheduling.
- Gluten-free note: Use a gluten-free bread flour blend with added xanthan gum and follow the blend’s hydration guidelines. Expect a batter-like dough and a single rise.
FAQ
Can I use all-purpose flour instead of bread flour?
Yes. All-purpose flour works well and makes a slightly softer loaf. Bread flour has more protein, which gives extra chew and structure, but both are great for this recipe.
How do I know when I’ve kneaded enough?
The dough should feel smooth and elastic. When you stretch a small piece, it should form a thin, almost translucent “window” without tearing right away. If it tears quickly, knead a few minutes more.
My dough didn’t rise. What went wrong?
Common causes are dead yeast, water that was too hot or too cold, or a chilly kitchen. Check the yeast’s expiration date, keep water warm (not hot), and give it more time if your room is cool.
Do I need a stand mixer?
No. Hand kneading works perfectly. A stand mixer with a dough hook saves effort, but keep speeds low and knead about 6–8 minutes, checking the dough often.
How can I get a crispier crust?
Bake with steam for the first 10 minutes by adding hot water to a preheated pan or spritzing the oven walls. Also, avoid storing the bread in plastic if you want to keep the crust crisp.
Can I add milk instead of water?
You can. Milk makes a softer crumb and helps browning, but it may slow the rise slightly. Warm it gently to the same temperature range before mixing.
What pan should I use?
A standard 8.5×4.5-inch loaf pan works well for a sandwich loaf. For a rustic round, use a baking sheet or a preheated Dutch oven for great oven spring and crust.
Final Thoughts
Basic bread dough is a skill worth having. With a handful of ingredients and some simple steps, you’ll get a loaf that tastes far better than store-bought. Once you’ve made it a couple of times, you’ll feel when the dough is right and how long to proof in your kitchen. From there, you can play with flours, add-ins, and shapes. Keep it simple, trust the process, and enjoy that first warm slice.
Printable Recipe Card
Want just the essential recipe details without scrolling through the article? Get our printable recipe card with just the ingredients and instructions.