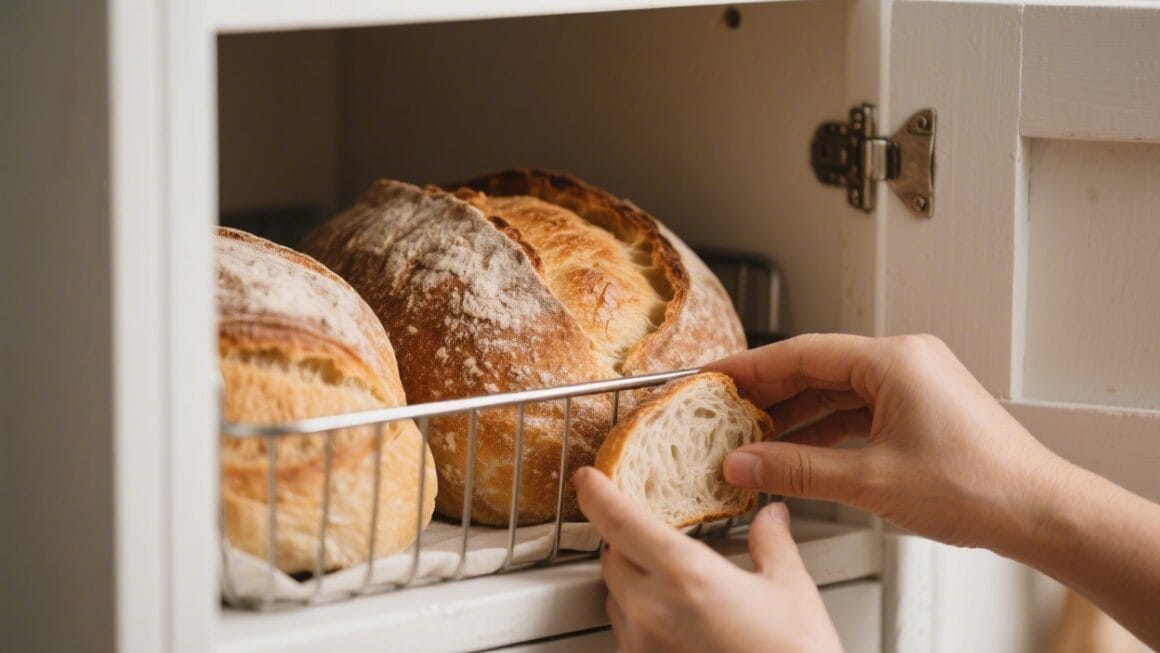
If warm, crusty bread makes you think of a cozy bakery, you’re in the right place. You can make that same loaf at home without a bread machine, using everyday ingredients and simple techniques. This recipe gives you a golden crust, soft interior, and that unmistakable fresh-baked smell.
No special tools, no complicated steps—just good bread that works for weeknights, weekends, and everything in between.
What Makes This Recipe So Good

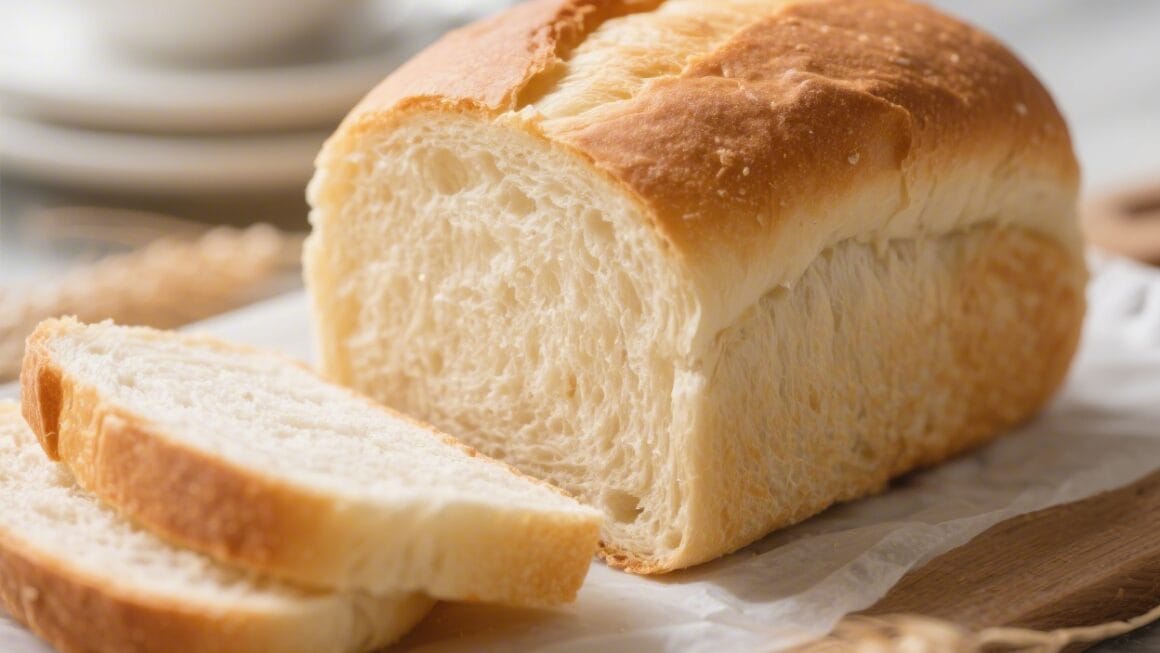
This loaf hits that sweet spot between rustic and approachable. It uses a straightforward dough that’s easy to mix by hand and delivers a chewy, open crumb and crisp crust. The method relies on rest periods instead of hard kneading, so the dough develops flavor and structure without wearing you out.
A hot oven and steam finish the job, giving you a bakery-style finish. It’s versatile, too—great for sandwiches, toast, or dipping into soup.
Ingredients
- Bread flour (or all-purpose flour, though bread flour gives better chew)
- Warm water (around 105–110°F / 40–43°C)
- Active dry yeast (or instant yeast)
- Fine sea salt
- Sugar or honey (just a teaspoon to help activate the yeast)
- Olive oil or unsalted butter (optional, for a softer crumb and flavor)
- Cornmeal or extra flour (for dusting)
Instructions

- Activate the yeast: In a large bowl, stir together 1 1/2 cups warm water and 1 teaspoon sugar or honey. Sprinkle 2 1/4 teaspoons active dry yeast (one packet) over the top.Let it sit for 5–10 minutes until foamy. If it doesn’t foam, your yeast may be expired or the water too hot or cold.
- Mix the dough: Add 3 1/2 cups bread flour and 2 teaspoons fine sea salt to the bowl. Stir with a wooden spoon until a shaggy dough forms.If you like a softer crumb, add 1 tablespoon olive oil. The dough should be slightly sticky but hold together.
- Rest (autolyse): Cover the bowl and let the dough rest for 15 minutes. This short rest makes the dough easier to work with and improves texture.
- Knead briefly: Turn the dough onto a lightly floured surface.Knead for 5–7 minutes until smooth and elastic. If the dough sticks, dust lightly with flour, but avoid adding too much. A slightly tacky dough is ideal.
- First rise: Place the dough in a lightly oiled bowl, turning once to coat.Cover with a damp towel or plastic wrap. Let rise in a warm spot until doubled, about 60–90 minutes, depending on room temperature.
- Shape the loaf: Gently deflate the dough and turn it out onto a lightly floured surface. Shape into a tight round (boule) or an oval (batard).Tuck edges underneath to create surface tension, which helps the bread rise upward.
- Second rise: Place the shaped dough on a parchment-lined baking sheet dusted with cornmeal or flour. Cover loosely and let rise 35–50 minutes, until puffy and slightly springy when gently pressed.
- Preheat with steam plan: Place a baking stone or inverted sheet pan in the oven and preheat to 450°F (232°C) for at least 30 minutes. Put an empty metal pan on the bottom rack to heat as well.This helps create steam for a crusty loaf.
- Score the dough: Just before baking, dust the loaf lightly with flour and use a sharp knife or razor to make 2–3 shallow slashes (about 1/4 inch deep). This controls how the bread expands in the oven.
- Load and steam: Slide the parchment with the loaf onto the preheated stone or sheet pan. Carefully pour 1 cup hot water into the hot pan on the bottom rack and close the oven door quickly.The burst of steam helps form a shiny, crisp crust.
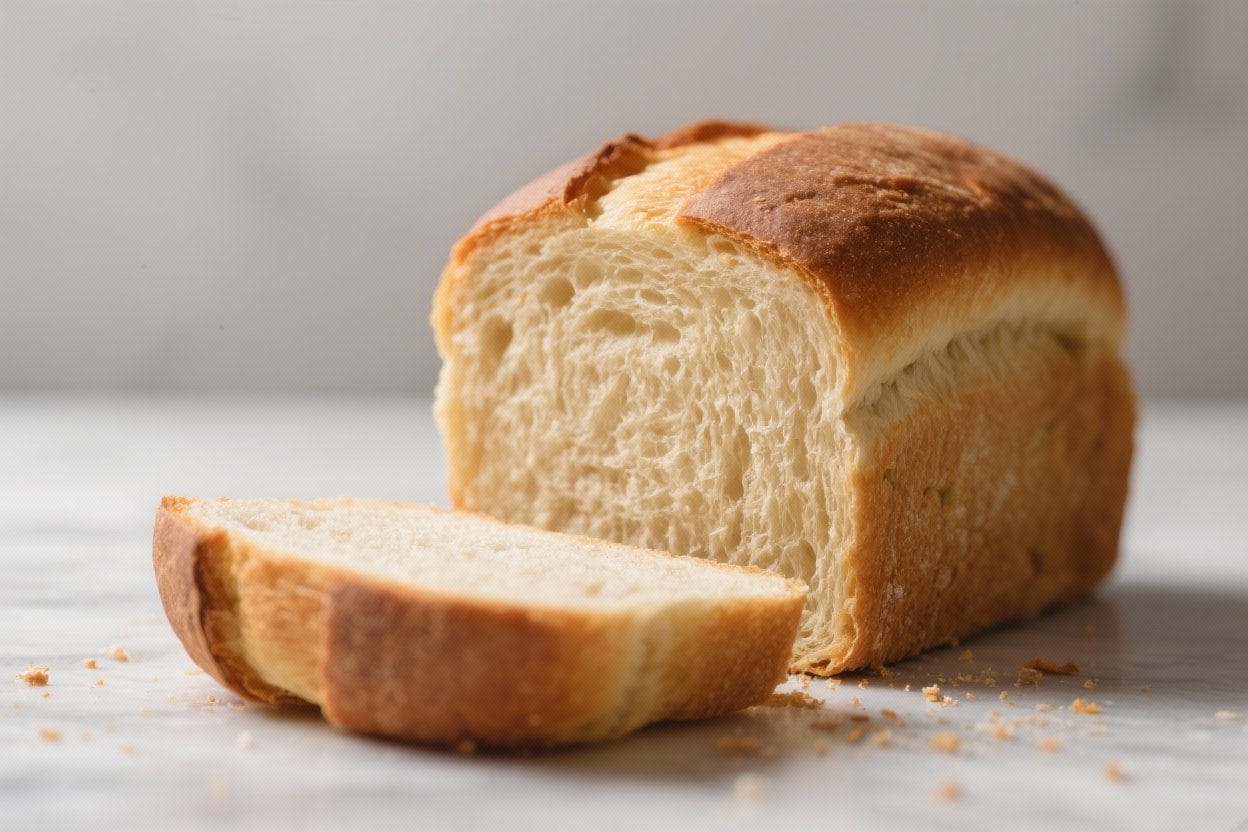
- Bake: Bake 15 minutes, then reduce oven temperature to 425°F (218°C). Continue baking 15–20 minutes more, until the crust is deep golden and the loaf sounds hollow when tapped on the bottom. An instant-read thermometer should read about 200–205°F (93–96°C) inside.
- Cool properly: Transfer the bread to a wire rack and let cool at least 45 minutes before slicing.This sets the crumb and keeps the loaf from turning gummy.
Storage Instructions
- Room temperature: Store the loaf at room temperature in a paper bag or wrapped in a clean kitchen towel for up to 2 days. Avoid plastic unless you prefer a softer crust.
- Freezing: Slice the bread, wrap tightly in foil or plastic, then place in a freezer bag. Freeze up to 3 months.Toast slices straight from the freezer or thaw at room temperature.
- Reviving the crust: If the crust softens, reheat the loaf in a 350°F (175°C) oven for 8–10 minutes to crisp it up.

Health Benefits
- Simple ingredients: This bread has flour, water, yeast, and salt—no preservatives, emulsifiers, or added oils unless you choose to add a bit for flavor.
- Portion control: Slicing your own loaf encourages mindful portions and reduces added sugars found in many packaged breads.
- Fermentation perks: The rise times allow for some gluten development and mild fermentation, which can improve digestibility and flavor.
- Customizable: You can use part whole-wheat flour or add seeds for fiber and healthy fats.
Common Mistakes to Avoid
- Water too hot or cold: Overly hot water kills yeast; cold water slows it to a crawl. Aim for warm but not hot, about 105–110°F (40–43°C).
- Adding too much flour: A sticky dough is normal. Adding extra flour makes a dense loaf.Use a light dusting only when kneading.
- Skipping the second rise: The second proof improves structure and oven spring. Don’t rush it.
- Underbaking: Pulling the bread early leads to a pale crust and gummy center. Bake until deep golden and check for 200–205°F inside.
- Cutting too soon: Let the loaf rest.Slicing hot bread compresses the crumb and releases steam, drying it out faster.
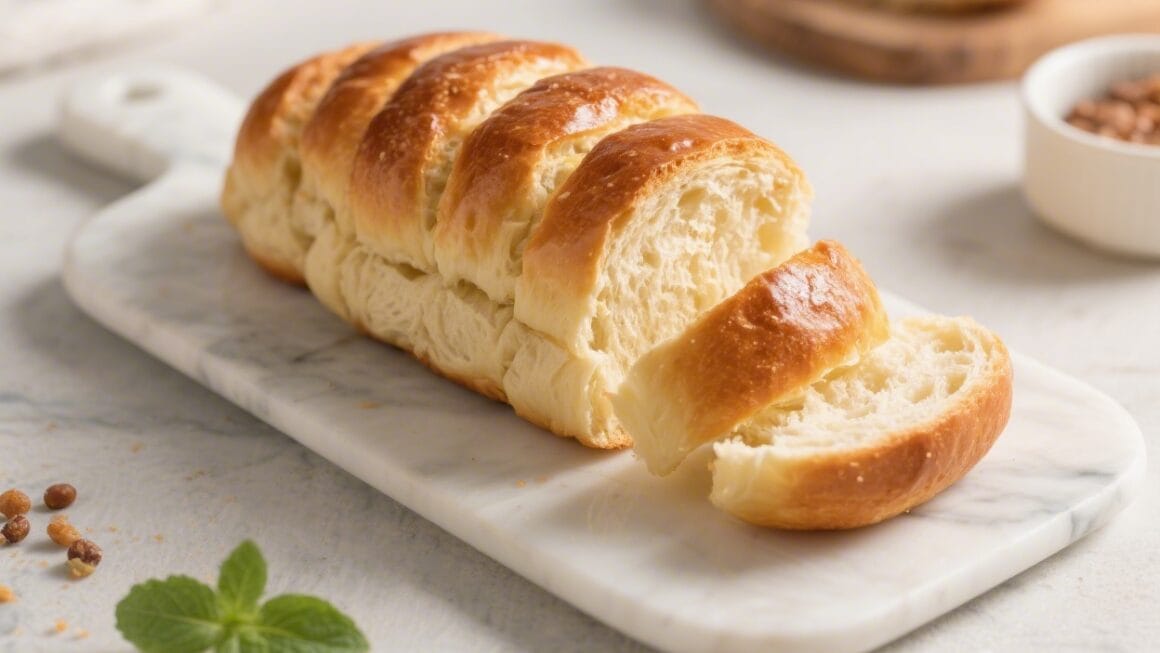
Recipe Variations
- Part Whole Wheat: Swap 1 to 1 1/2 cups of the bread flour for whole wheat. Add 1–2 tablespoons extra water if needed, since whole wheat absorbs more.
- Herb and Garlic: Add 1–2 teaspoons dried herbs (rosemary, thyme, or Italian blend) and 1–2 minced garlic cloves during mixing. Brush the loaf with olive oil before baking for extra aroma.
- Seeded Crust: After shaping, brush with water and roll the dough in sesame, poppy, or sunflower seeds.Press gently so they stick.
- Olive Oil Loaf: Increase olive oil to 2 tablespoons for a softer crumb and slightly richer flavor. Great for sandwiches.
- Overnight Flavor Boost: After the first rise, refrigerate the dough overnight (8–24 hours). Shape cold, proof slightly longer, then bake.The flavor deepens and the crust improves.
FAQ
Can I use all-purpose flour instead of bread flour?
Yes. All-purpose flour works well and still produces a delicious loaf. Bread flour gives a chewier texture and slightly better structure, but the difference isn’t deal-breaking.
What if I only have instant yeast?
Use the same amount.
You can skip the activation step and mix instant yeast directly with the flour. Still use warm water and follow the rest of the steps as written.
How do I make steam if I don’t have a spare pan?
Mist the oven walls with water right after loading the bread and again after 2 minutes, being careful of the hot surfaces. You can also place a few ice cubes on a preheated pan to generate steam quickly.
Why is my bread dense?
Common causes include not letting the dough rise enough, water that’s too cool, old yeast, or adding too much flour.
Make sure the dough doubles on the first rise, stays slightly tacky, and that your yeast is fresh.
Can I bake this in a Dutch oven?
Absolutely. Preheat the Dutch oven at 450°F (232°C) for 30 minutes. Place the shaped dough on parchment, score, and carefully lower it in.
Cover and bake 20 minutes, then uncover and bake 15–20 minutes more until golden.
How do I know when proofing is done?
Gently press the dough with a fingertip. If the indentation slowly springs back but doesn’t disappear completely, it’s ready. If it bounces back instantly, it needs more time.
If it stays sunken, it may be over-proofed.
Can I add cheese?
Yes. Fold in 1 cup shredded cheese during the last minute of mixing. Cheddar, Parmesan, or Gruyère all work well.
Keep an eye on browning and tent with foil if it darkens too fast.
In Conclusion
Bakery-style bread at home is totally achievable without a bread machine. With warm water, fresh yeast, and a bit of patience, you’ll get a crisp crust and tender crumb every time. Once you’ve made this base loaf, play with herbs, seeds, and flours to make it your own.
Slice it warm (after resting!), share it at the table, and enjoy that fresh-baked magic from your own oven.
Printable Recipe Card
Want just the essential recipe details without scrolling through the article? Get our printable recipe card with just the ingredients and instructions.