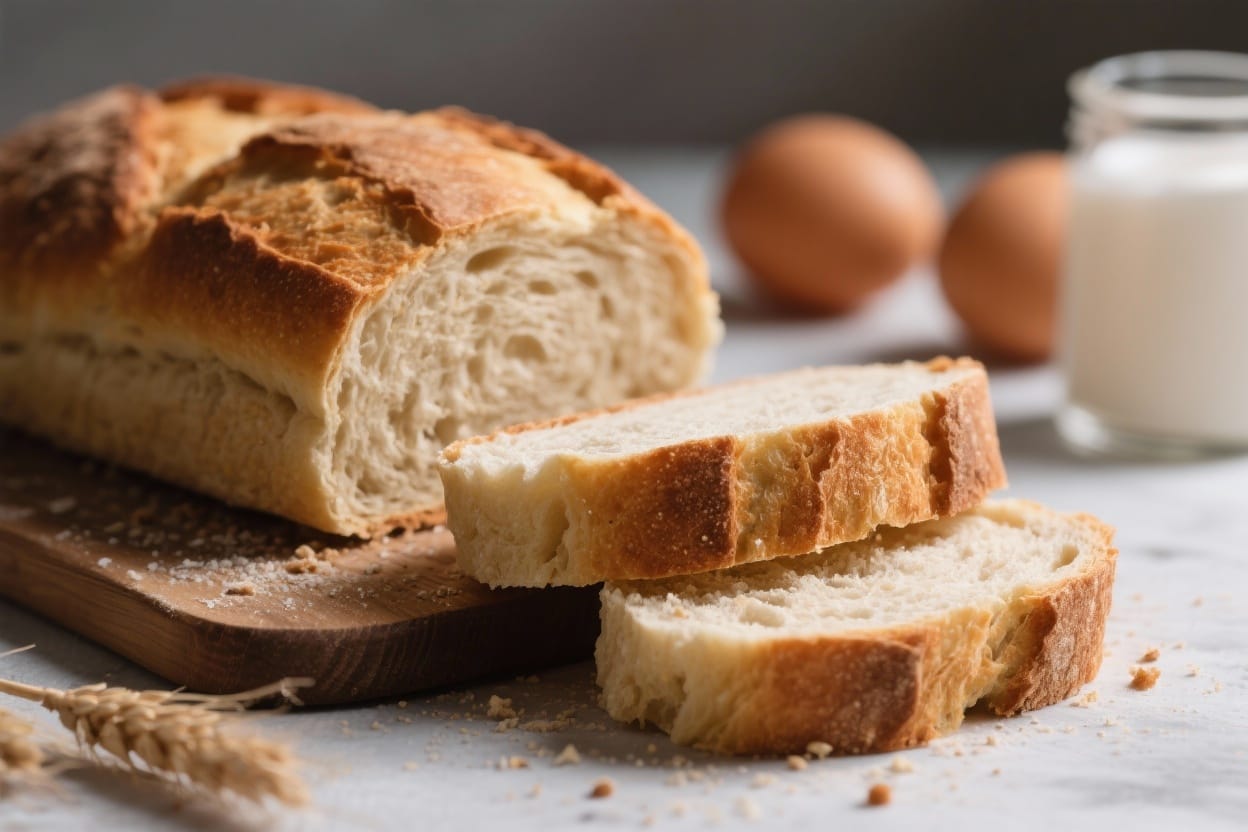
Bakery Style Bread at Home – A Simple, Reliable Loaf
Nothing beats the smell of fresh bread coming out of your own oven. This bakery-style loaf is soft inside, golden on the outside, and perfect for toast, sandwiches, or just a warm slice with butter. You don’t need special equipment or a professional mixer—just a bowl, patience, and a good stretch and fold. If you’ve ever felt nervous about yeast, this method keeps things straightforward and forgiving. By the end, you’ll have a loaf you’ll be proud to slice.
Why This Recipe Works
Bakery style bread at home – Bakery Style Bread at Home – A Simple, Reliable Loaf Nothing beats the smell of fresh bread coming o
This recipe uses a blend of all-purpose and bread flour for a balance of tenderness and structure. Bread flour brings chew; all-purpose keeps the crumb soft. A moderate hydration dough and a long, gentle rise develop flavor without fuss. Stretch-and-fold replaces heavy kneading, so the dough builds strength with minimal effort. Baking in a preheated oven with steam helps the loaf rise high and form that crisp, bakery-style crust.
Ingredients
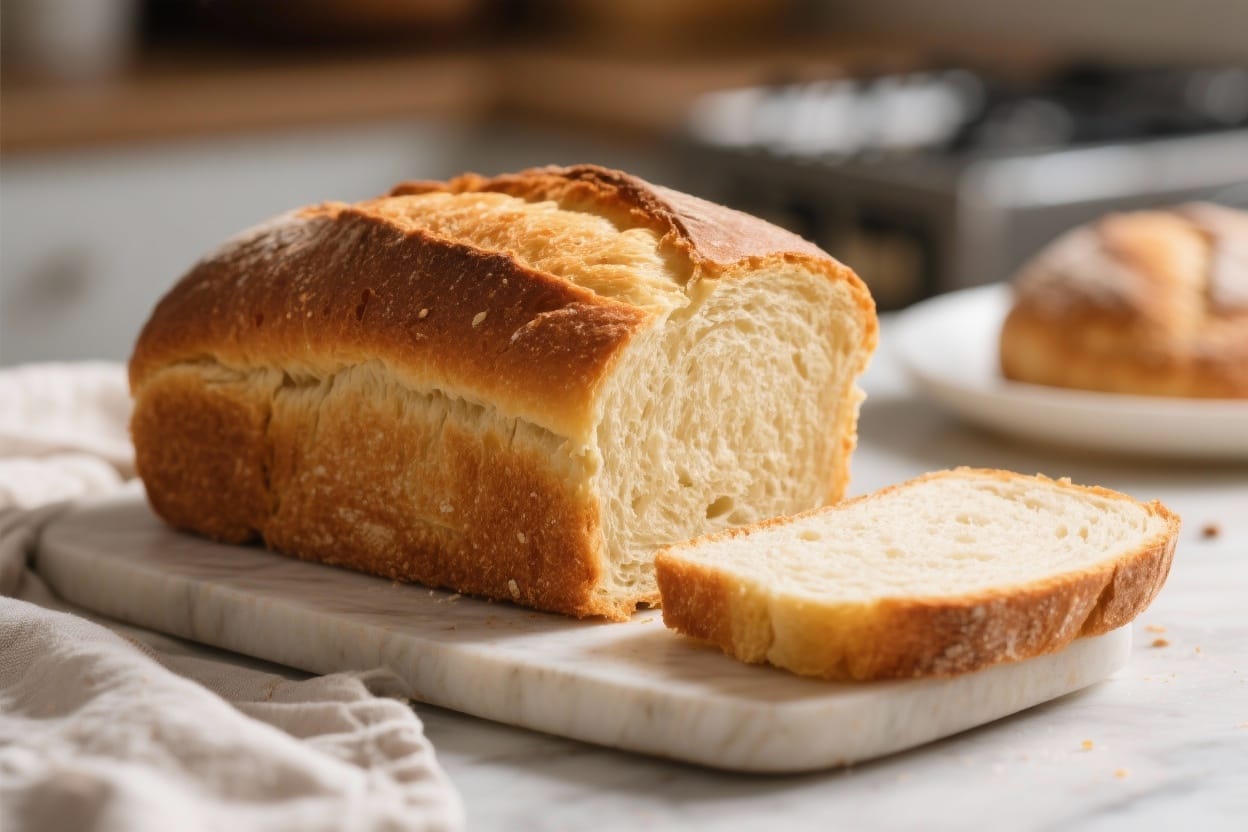
Bakery style bread at home – This bakery-style loaf is soft inside, golden on the outside, and perfect for toast, sandwiches, or
- 2 cups (260 g) bread flour
- 1 1/2 cups (190 g) all-purpose flour
- 1 1/2 cups (360 ml) warm water (about 105–110°F/40–43°C)
- 2 1/4 tsp (7 g) instant yeast (or active dry yeast, see notes)
- 2 tsp (10 g) fine sea salt
- 1 tbsp (12 g) sugar or honey
- 1 1/2 tbsp (20 g) unsalted butter, melted and cooled (or 1 tbsp olive oil)
- Optional: 1 egg for egg wash, or a splash of milk for brushing
Instructions
Bakery style bread at home – You don’t need special equipment or a professional mixer—just a bowl, patience, and a good stretch a
- Mix the dough: In a large bowl, whisk warm water, sugar, and yeast. Let sit 2–3 minutes until lightly foamy. Add bread flour, all-purpose flour, and salt. Stir with a spatula until shaggy. Add melted butter and mix until a rough dough forms. It will be slightly sticky.
- Rest and hydrate: Cover the bowl and let the dough rest for 15 minutes. This short rest makes it easier to handle and improves gluten development.
- Stretch and fold: With damp hands, lift one edge of the dough, stretch it up, and fold it over the center. Turn the bowl a quarter turn and repeat 4–6 times. Cover and rest 15 minutes, then repeat the stretch-and-fold once more. The dough should look smoother and hold its shape better.
- First rise: Cover the bowl and let the dough rise at room temperature until doubled, about 60–90 minutes, depending on your kitchen warmth. It should look puffy and airy.
- Shape the loaf: Lightly flour your counter and turn the dough out. Pat it into a rectangle. Fold the top third down and the bottom third up like a letter. Rotate, then roll it into a snug log, sealing the seam. Tuck the ends under for a neat shape.
- Second rise: Place the loaf seam-side down in a lightly greased 9×5-inch loaf pan, or on a parchment-lined sheet for a free-form bâtard. Cover loosely and let rise until the dough crowns about 1 inch above the pan rim, 35–60 minutes. It should slowly spring back when poked.
- Preheat and steam setup: Heat the oven to 425°F (220°C). Place a metal pan on a lower rack to preheat; you’ll add hot water for steam. If using, whisk the egg with a splash of water and brush the top of the loaf for shine, or brush with milk for a softer crust. Score the top with a sharp knife or razor—one long slash down the center or three diagonal slashes.
- Bake with steam: Place the loaf in the oven. Carefully pour 1 cup of hot water into the preheated pan to create steam and close the door quickly. Bake 10 minutes at 425°F (220°C).
- Finish baking: Reduce the oven to 375°F (190°C) and continue baking 20–25 minutes, until the crust is deep golden and the internal temperature reaches about 200–205°F (93–96°C). If the top darkens too fast, tent loosely with foil.
- Cool properly: Transfer the loaf to a wire rack. Wait at least 1 hour before slicing. This sets the crumb and keeps it from becoming gummy.
Storage Instructions
- Room temperature: Store the cooled loaf in a bread box or wrapped in a clean towel for up to 3 days. Avoid sealing it in plastic right away, which softens the crust.
- Freezing: Slice the loaf, wrap tightly in plastic, then place in a freezer bag. Freeze up to 3 months. Toast slices straight from frozen.
- Reviving the crust: If the crust softens, bake the loaf at 350°F (175°C) for 8–10 minutes to crisp it back up.
Benefits of This Recipe
- Reliable rise: The method balances flavor and speed, so you get consistent results without an overnight wait.
- Great texture: Springy crumb with a crisp crust—just like a bakery, but from your kitchen.
- Flexible method: Works in a loaf pan or free-form, with butter or olive oil, and with different toppings.
- Beginner-friendly: Minimal kneading and simple cues make it approachable for first-time bakers.
- Budget-friendly: Everyday ingredients turn into a loaf that beats store-bought.
What Not to Do
- Don’t rush the rise: If the dough hasn’t doubled, give it more time. Under-proofed dough bakes dense and tight.
- Don’t over-flour the dough: Slight stickiness is normal. Too much flour leads to a dry, heavy loaf.
- Don’t skip the steam: Steam helps oven spring and crust. If you skip it, expect a duller, thicker crust.
- Don’t slice hot: Cutting too soon squashes the crumb and makes it gummy. Let it cool fully.
- Don’t kill the yeast: Water hotter than 120°F (49°C) can harm yeast. Aim for warm, not hot.
Recipe Variations
- Whole Wheat Blend: Swap 1 cup (130 g) of all-purpose flour for whole wheat. Add 1–2 tablespoons extra water if the dough feels stiff.
- Herb and Garlic: Mix in 1–2 teaspoons dried Italian herbs and 1–2 minced garlic cloves during the initial mix.
- Seeded Crust: Brush the shaped loaf with water or egg wash and roll in sesame, poppy, or sunflower seeds before the second rise.
- Olive Oil Loaf: Replace butter with 2 tablespoons extra-virgin olive oil for a softer crumb and Mediterranean flavor.
- Cheddar and Pepper: Fold in 1 cup shredded sharp cheddar and 1 teaspoon cracked black pepper after the first rest.
- Overnight Flavor Boost: After the first rise, refrigerate the covered dough up to 12 hours. Shape cold, let it warm and rise, then bake for deeper flavor.
FAQ
Can I use active dry yeast instead of instant?
Yes. Use the same amount. Proof it in the warm water with the sugar for 5–10 minutes until foamy before adding the flours and salt.
Do I need a stand mixer?
No. This dough is designed for hand mixing with stretch-and-folds. A mixer works too; knead on low for 5–7 minutes until smooth and elastic.
Why is my bread dense?
Common reasons are under-proofing, adding too much flour, or using water that’s too hot or cold for the yeast. Make sure the dough doubles on the first rise and feels airy before baking.
How do I get a shinier, darker crust?
Use an egg wash and bake with steam. You can also bake the last 5 minutes at 400°F (205°C) to deepen the color, watching closely.
Can I bake this in a Dutch oven?
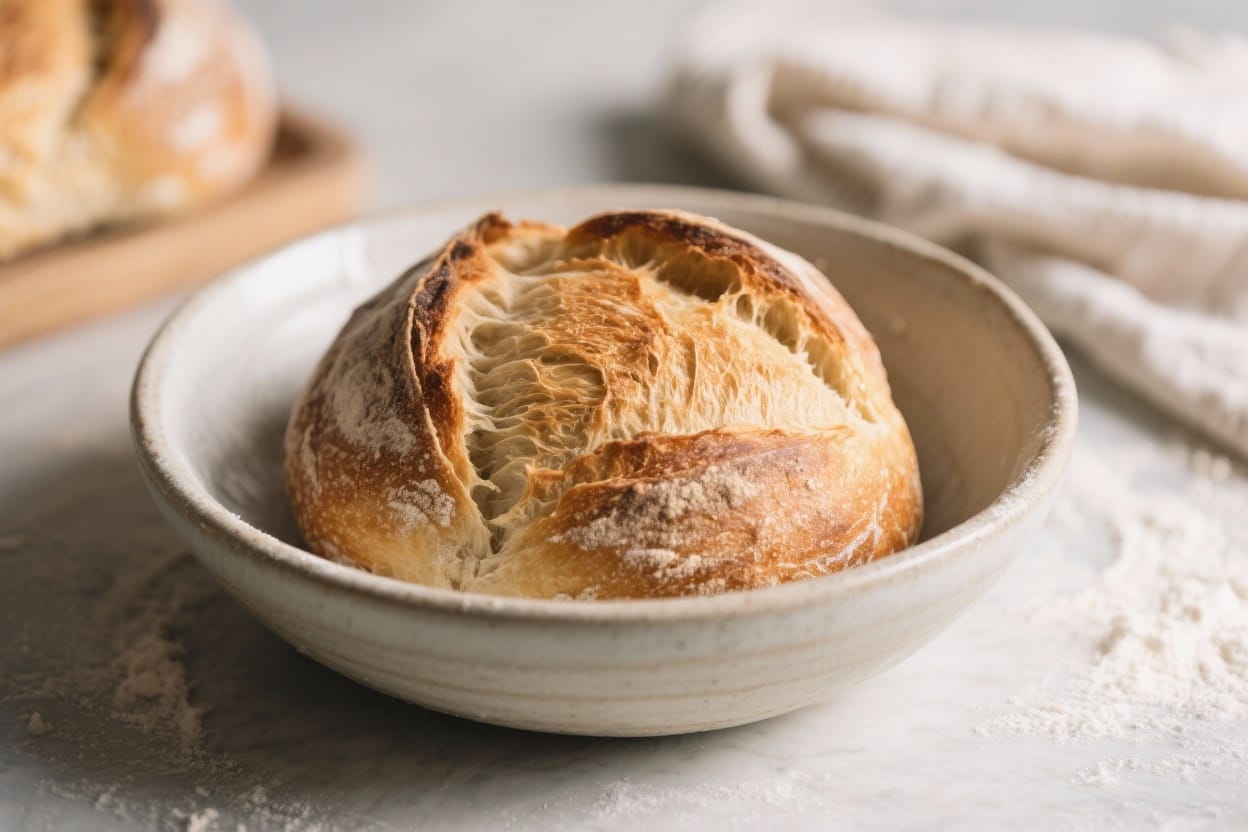
Yes. Shape a round loaf, place it on parchment, and preheat the Dutch oven at 450°F (230°C). Bake covered for 20 minutes, then uncovered 15–20 minutes until golden and 200–205°F inside.
How do I know when the dough is ready to bake?
During the second rise, press the dough gently. If the indent springs back slowly and not fully, it’s ready. If it springs back quickly, give it more time.
What’s the best way to slice the loaf?
Let it cool fully, then use a serrated bread knife. For even slices, turn the loaf on its side and slice in gentle sawing motions.
In Conclusion
This bakery-style bread hits that sweet spot of simple steps and impressive results. With a few stretches, a patient rise, and some steam in the oven, you’ll get a tall, golden loaf with a tender crumb and crisp crust. Keep this base recipe handy, then tweak it with seeds, herbs, or whole grains. Once you’ve baked it once or twice, it’ll become your go-to bread for everyday meals.
Printable Recipe Card
Want just the essential recipe details without scrolling through the article? Get our printable recipe card with just the ingredients and instructions.