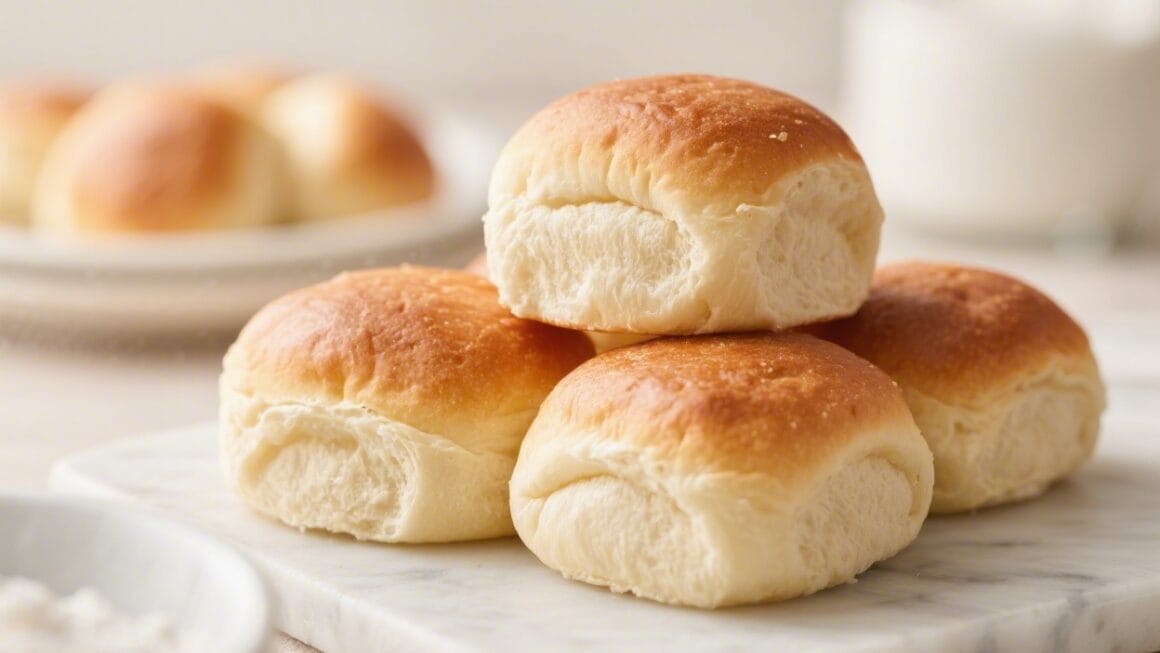
Warm, fragrant dinner rolls make any meal feel special. These savory dinner rolls are soft and pillowy inside, golden on top, and bursting with herby, garlicky goodness. They’re simple enough for a weeknight and impressive enough for a holiday table.
You’ll mix a straightforward dough, let it rise, shape into rolls, and finish with a buttery herb glaze. The result is a basket of rolls that disappear fast and pair with just about anything.
What Makes This Recipe So Good

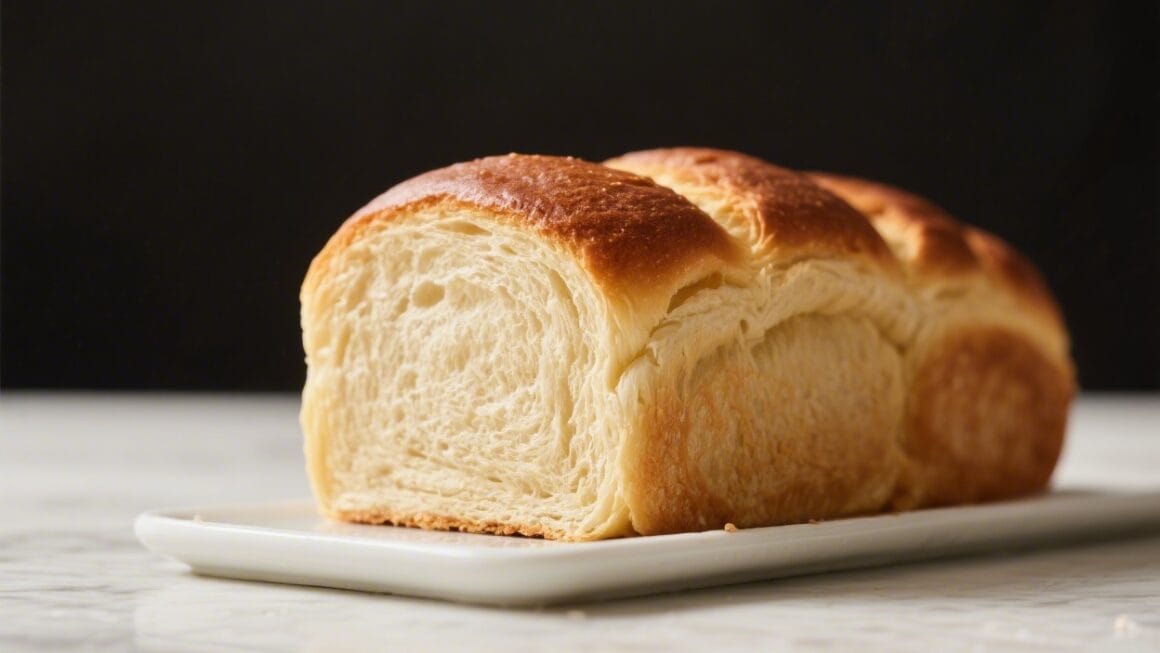
- Soft and fluffy texture: The combination of milk, butter, and just the right amount of kneading creates tender rolls that stay light.
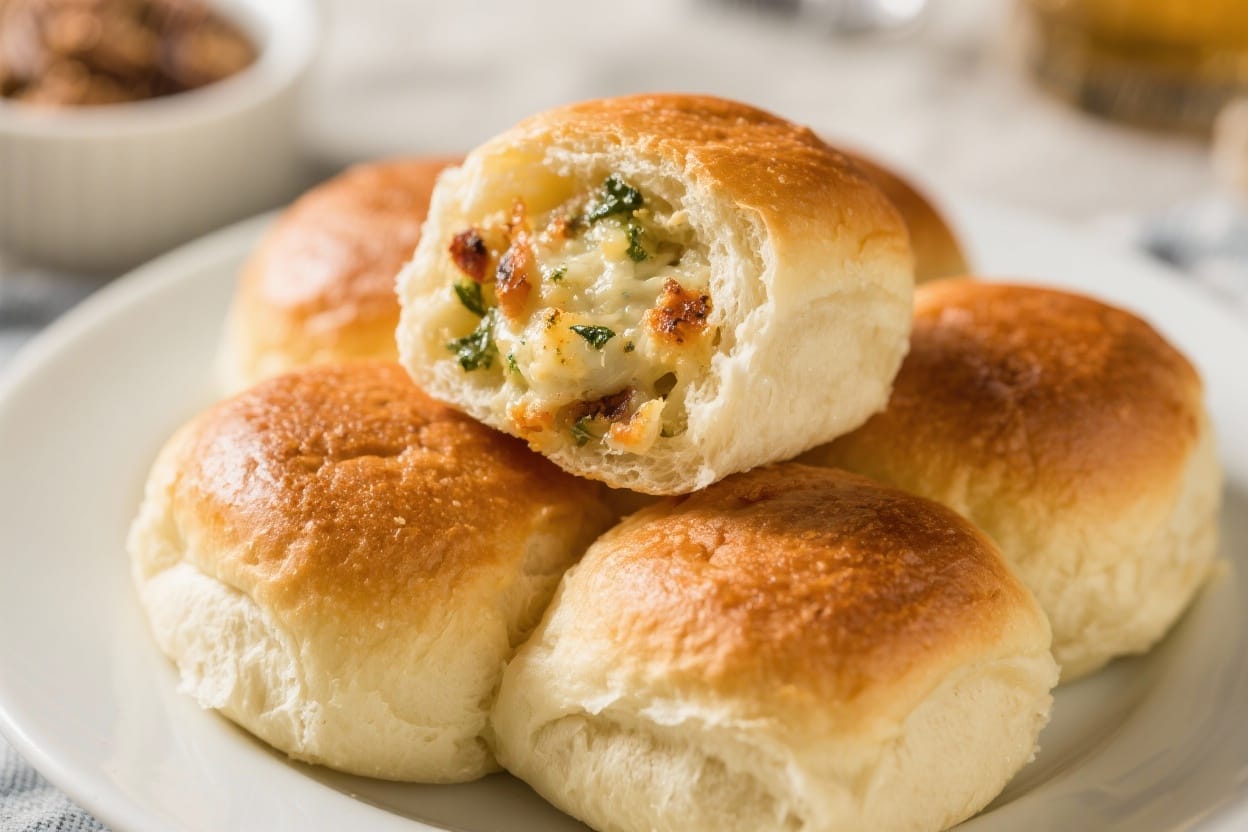
- Balanced savory flavor: Garlic, herbs, and Parmesan add depth without being overpowering. They complement soups, roasts, and salads.
- Beginner-friendly steps: If you’ve never baked bread, this method walks you through with clear, repeatable steps.
- Make-ahead friendly: You can proof the shaped rolls in the fridge and bake them fresh when needed.
- Customizable: Change up the herbs, cheese, or toppings to suit your menu and taste.
Ingredients
- 3 1/2 cups (420 g) all-purpose flour, plus more for dusting
- 2 1/4 teaspoons (1 packet) instant yeast or rapid-rise yeast
- 2 tablespoons granulated sugar
- 1 1/2 teaspoons fine sea salt
- 1 cup (240 ml) warm milk (about 105–110°F / 40–43°C)
- 1/2 cup (120 ml) warm water (about 105–110°F / 40–43°C)
- 4 tablespoons (56 g) unsalted butter, melted, divided
- 2 cloves garlic, finely minced (or 1 teaspoon garlic powder)
- 2 tablespoons finely chopped fresh parsley (or 2 teaspoons dried)
- 1 tablespoon finely chopped fresh rosemary (or 1 teaspoon dried)
- 1/4 cup (25 g) finely grated Parmesan (optional but excellent)
- 1 large egg (for egg wash, optional)
- Flaky salt, for topping (optional)
Instructions

- Mix the dry ingredients. In a large bowl, whisk together 3 1/2 cups flour, yeast, sugar, and salt.If using a stand mixer, fit it with the dough hook.
- Combine the liquids. In a measuring cup, stir together the warm milk and warm water. Make sure they’re warm to the touch but not hot. Hot liquid can kill yeast.
- Form the dough. Pour the warm liquid into the dry ingredients.Add 2 tablespoons melted butter. Stir with a wooden spoon or mix on low until a shaggy dough forms.
- Knead until smooth. Knead by hand on a lightly floured surface for 8–10 minutes, or mix on medium-low for 6–8 minutes, until the dough is smooth and slightly tacky. If it’s very sticky, sprinkle in a tablespoon of flour at a time.
- First rise. Place the dough in a lightly oiled bowl, turning to coat.Cover with a clean towel or plastic wrap and let rise in a warm spot until doubled, about 60–90 minutes.
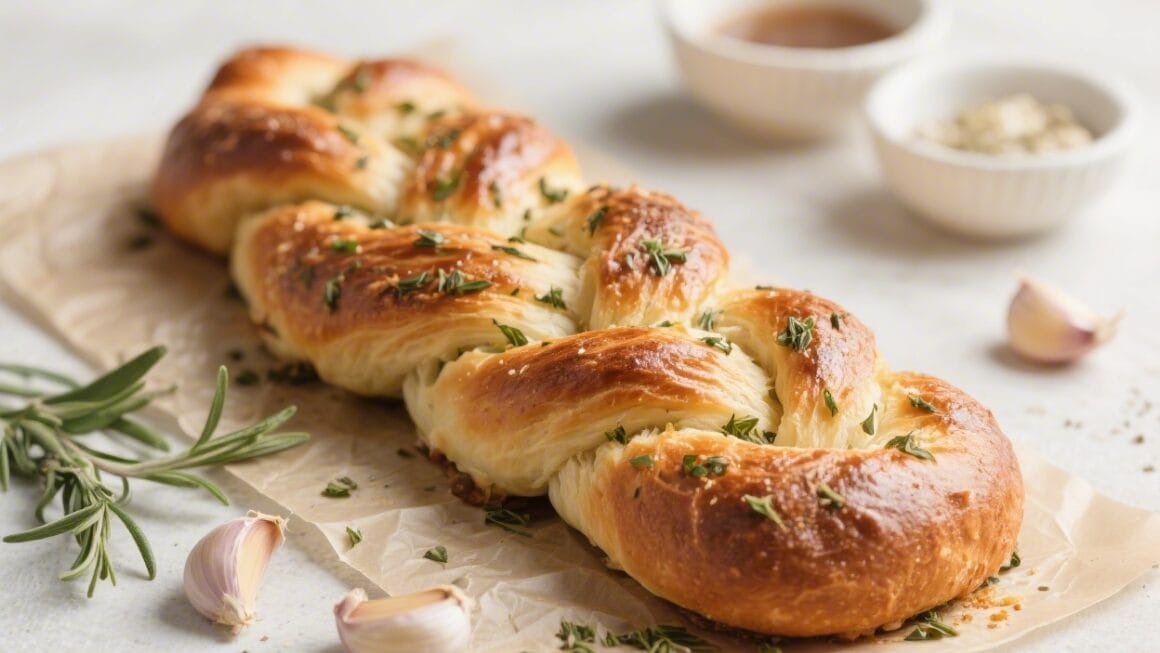
- Prepare the herb butter. In a small bowl, combine the remaining 2 tablespoons melted butter with minced garlic, parsley, and rosemary. Stir in Parmesan if using.
- Shape the rolls. Punch down the dough to release air. Turn it out and divide into 12–15 equal pieces.Shape each piece into a tight ball by tucking edges under and rolling under your palm.
- Pan and brush. Arrange balls in a greased 9×13-inch pan or two 9-inch round pans. Brush tops lightly with half of the herb butter. Reserve the rest for after baking.
- Second rise. Cover and let rise until puffy and touching, about 30–45 minutes.Toward the end, preheat the oven to 375°F (190°C).
- Optional egg wash. Beat the egg with a teaspoon of water. Brush rolls for extra shine. Sprinkle a pinch of flaky salt if you like.
- Bake. Bake 18–22 minutes, until golden brown and the center of a roll registers about 195°F (90°C).If browning too fast, tent loosely with foil.
- Finish and serve. Brush hot rolls with the remaining herb butter. Let cool 10 minutes in the pan, then serve warm. The aroma will be irresistible.
How to Store
- Room temperature: Keep cooled rolls in an airtight container for up to 2 days.Rewarm in a 300°F (150°C) oven for 8–10 minutes to refresh.
- Refrigerator: Not recommended for baked rolls, as it can dry them out. Instead, freeze if storing longer than two days.
- Freezer: Freeze baked rolls in a zip-top bag for up to 2 months. Thaw at room temperature and reheat at 325°F (165°C) for 10–12 minutes.
- Make-ahead shaping: After shaping, cover the pan and refrigerate up to 18 hours.Bring to room temp for 45–60 minutes, then bake as directed.
Benefits of This Recipe
- Reliable rise: Instant yeast speeds things up and keeps steps simple.
- Great texture: Milk adds tenderness, while butter keeps the crumb rich and moist.
- Versatile flavor: The herb-garlic base works with chicken, pasta, roasted vegetables, or holiday roasts.
- Crowd-pleaser: These rolls look bakery-worthy but don’t require special equipment.
- Budget-friendly: Pantry staples turn into something restaurant-quality without much cost.
Pitfalls to Watch Out For
- Water too hot: Liquids hotter than 115°F (46°C) can kill yeast. Aim for warm bathwater temperature.
- Under-kneading: If the dough tears easily and doesn’t feel stretchy, knead longer for better structure.
- Too much flour: Adding too much flour leads to dense rolls. Keep the dough slightly tacky and resist over-dusting.
- Skipping the second rise: This short rise is crucial for light, fluffy rolls.Don’t rush it.
- Overbaking: Rolls go from perfect to dry quickly. Check at 18 minutes and use color and temperature as guides.
Variations You Can Try
- Cheddar and chive: Fold 1 cup shredded sharp cheddar and 2 tablespoons chopped chives into the dough after the first rise.
- Everything seasoning: Skip Parmesan and sprinkle the tops with everything bagel seasoning before baking.
- Roasted garlic: Mash 1 whole head of roasted garlic into the melted butter for a mellow, sweet garlic flavor.
- Olive oil and thyme: Replace butter in the dough with extra-virgin olive oil and use thyme in the herb mix for a Mediterranean note.
- Whole wheat boost: Swap 1 cup all-purpose flour for whole wheat. Add 1 extra tablespoon water if the dough feels stiff.
- Seeded tops: Brush with egg wash and sprinkle sesame or poppy seeds for crunch and visual appeal.
FAQ
Can I use active dry yeast instead of instant yeast?
Yes.
Use the same amount, but proof it first by mixing it with the warm milk, warm water, and sugar. Let it sit for 5–10 minutes until foamy, then proceed.
Do I need a stand mixer?
No. A stand mixer makes kneading easier, but hand-kneading works well.
Aim for a smooth, elastic dough that springs back when pressed.
How do I know the dough has risen enough?
It should look doubled and feel airy. Gently press a fingertip into the dough; if the indentation slowly springs back and doesn’t fully fill in, it’s ready.
What if my kitchen is cold?
Create a warm spot by turning the oven on for 2 minutes, then turning it off. Place the covered bowl inside with the light on.
You just want gentle warmth, not heat.
Can I make smaller slider-size rolls?
Absolutely. Divide the dough into 18–20 pieces and start checking for doneness at 14–16 minutes.
How do I keep the bottoms from over-browning?
Use a light-colored pan, avoid placing the rack too low, and consider doubling the pan (set your baking dish on top of another sheet pan) to diffuse heat.
What can I serve these with?
They pair beautifully with roast chicken, beef stew, creamy soups, pasta dishes, and big salads. They also make great mini sandwiches the next day.
Can I make them dairy-free?
Use warm unsweetened plant milk and replace the butter with olive oil or a dairy-free butter substitute.
Skip the Parmesan or use a vegan alternative.
In Conclusion
These savory dinner rolls are the kind of side that turns a simple meal into something memorable. The dough is straightforward, the flavor is comforting, and the results are consistently soft and golden. Whether you’re feeding a crowd or rounding out a weeknight dinner, this recipe delivers every time.
Keep a batch in the freezer, and you’re never far from warm, homemade bread on the table.
Printable Recipe Card
Want just the essential recipe details without scrolling through the article? Get our printable recipe card with just the ingredients and instructions.