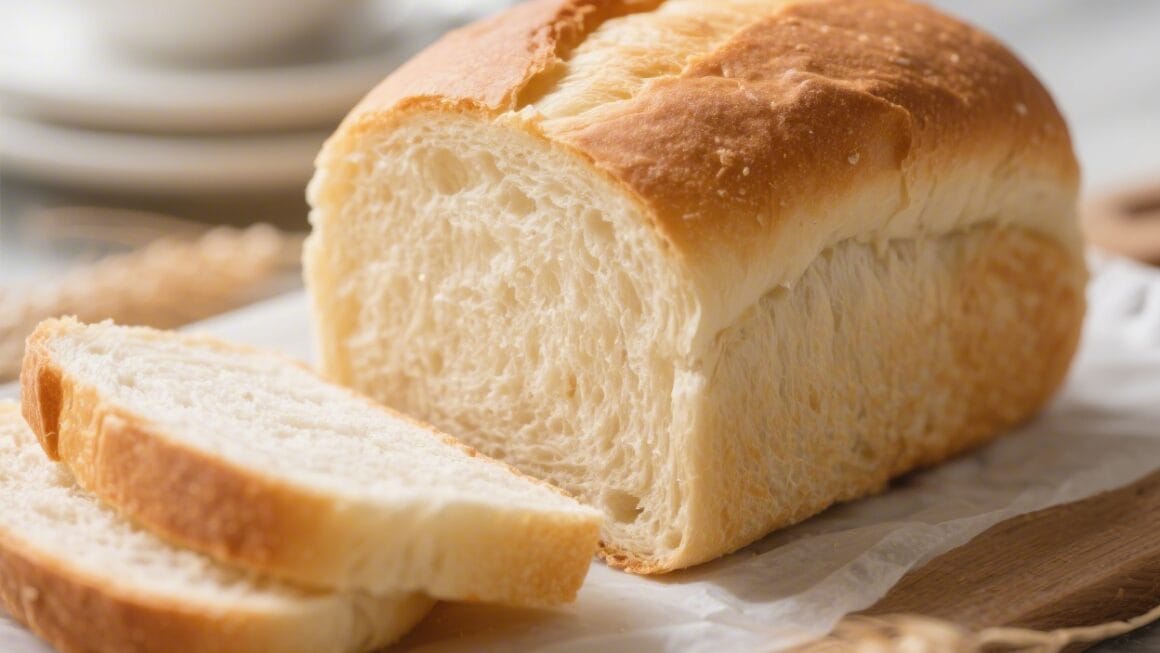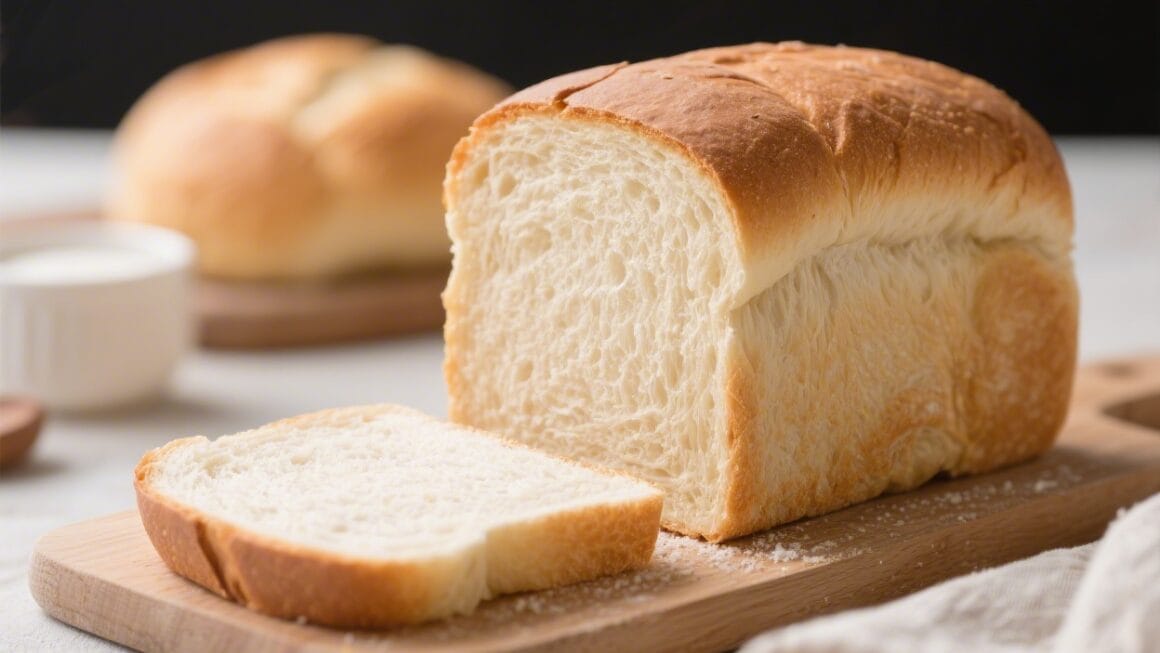
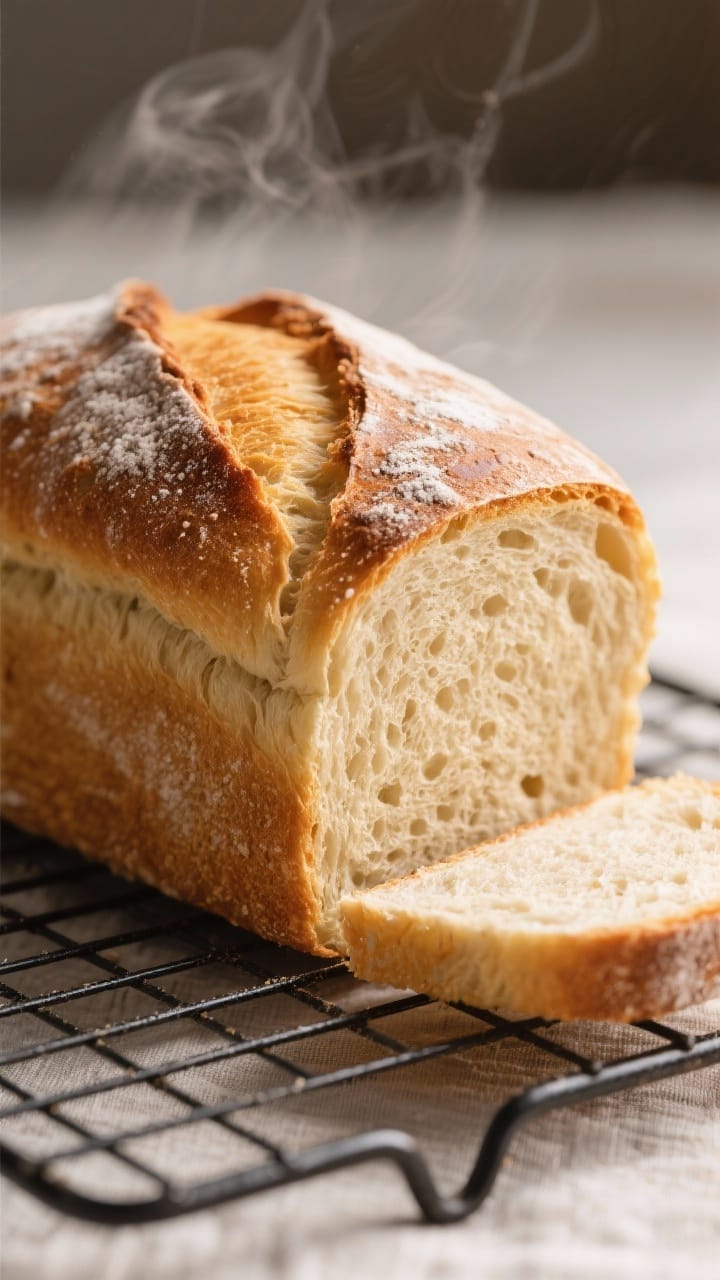
This is the kind of bread you make when you want something warm and homemade without a big production. It uses basic pantry ingredients and a straightforward method that anyone can follow. The result is a golden, crusty loaf with a soft, tender interior that’s perfect for toast, sandwiches, or soup.
If you’ve ever felt intimidated by bread baking, this is your friendly entry point. No special tools, no complicated steps—just reliable, satisfying bread.
Why This Recipe Works
This recipe focuses on a simple ratio and steady timing, so you’re not guessing your way through it. The dough is forgiving because it’s slightly hydrated, which helps the loaf rise well and stay soft.
A short rest after mixing allows the flour to hydrate and makes kneading easier. Plus, the oven spring is boosted by a hot preheated oven and a quick burst of steam from a water pan, which helps form a lovely crust.
Ingredients
- 3 cups (360 g) all-purpose flour (or bread flour for a chewier crumb)
- 1 cup (240 ml) warm water (about 105–110°F/40–43°C)
- 2 teaspoons (7 g) instant yeast (or active dry yeast)
- 1 tablespoon (12 g) sugar (or honey)
- 1 teaspoon (6 g) fine salt
- 1 tablespoon (14 g) neutral oil or softened butter (optional, for a softer crumb)
- Additional flour for dusting
- Oil or butter for greasing the bowl and pan
Instructions
- Proof the yeast (if using active dry): In a bowl, mix warm water and sugar. Sprinkle in the yeast and let it sit for 5–10 minutes until foamy.If using instant yeast, you can skip this step and mix it directly with the flour.
- Mix the dough: In a large bowl, combine flour and salt. Add the yeast mixture (or water, sugar, and instant yeast), plus the oil or butter if using. Stir with a spoon until a shaggy dough forms.If it’s very dry, add 1–2 tablespoons of water. If it’s sticky like paste, sprinkle in a tablespoon of flour.
- Rest briefly: Let the dough sit for 10 minutes. This quick rest helps the flour absorb water and makes kneading easier.
- Knead: Turn the dough onto a lightly floured surface.Knead for 7–10 minutes until smooth and elastic. It should feel soft and slightly tacky but not cling to your hands. A windowpane test (stretching a small piece thin without tearing) is a good sign you’re there.
- First rise: Place the dough in a lightly oiled bowl, turning once to coat.Cover with a clean towel or plastic wrap and let rise in a warm spot until doubled, about 60–90 minutes.
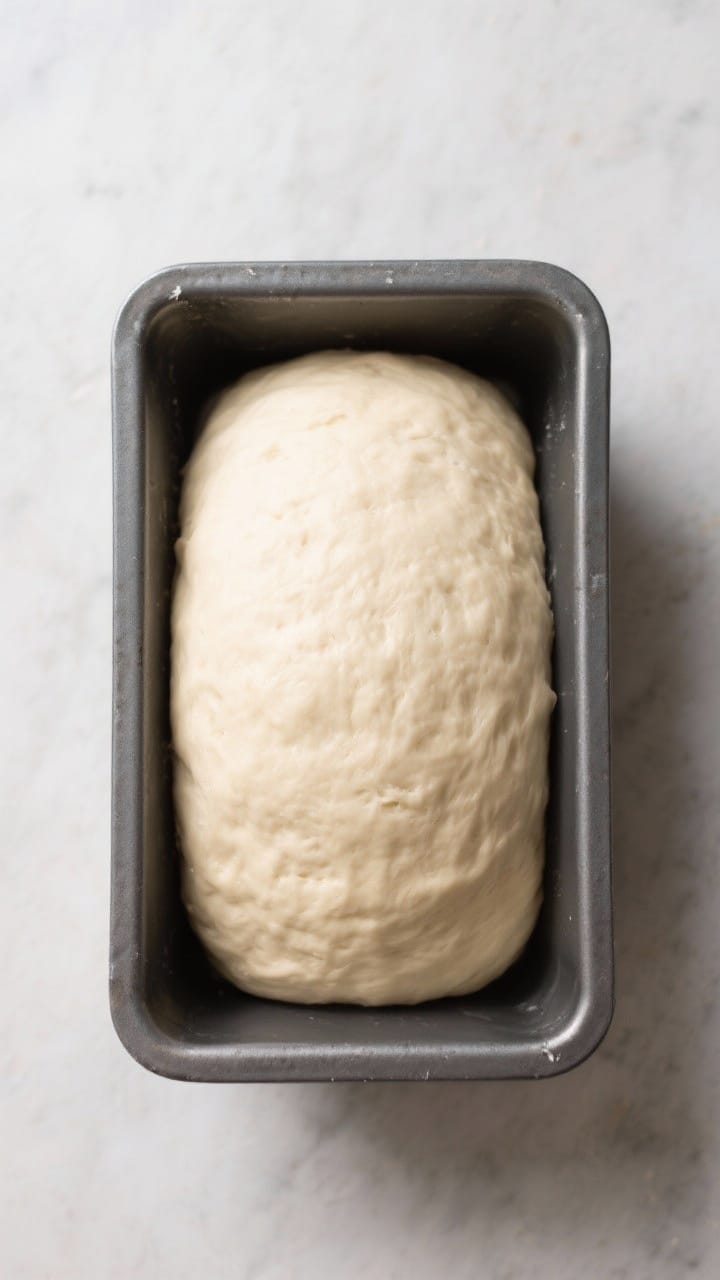
- Shape: Gently deflate the dough. For a loaf pan, press into a rectangle, then roll tightly into a log, pinching the seam. For a free-form boule, shape into a tight ball by tucking the edges underneath.
- Second rise: Place the shaped dough into a greased 8.5×4.5-inch loaf pan or onto a parchment-lined sheet.Cover and let rise until puffed and just above the rim for a pan loaf, 30–45 minutes.
- Preheat the oven: Heat to 425°F (220°C). Place a small, oven-safe pan on the bottom rack for water (steam). If baking a free-form loaf, preheat a baking sheet or stone for better oven spring.
- Score and steam: If baking a free-form loaf, slash the top with a sharp knife or razor (one long cut or a few short ones).Pour a cup of hot water into the preheated pan to create steam right after putting the bread in the oven.
- Bake: Bake at 425°F (220°C) for 10 minutes, then reduce to 375°F (190°C) and bake 20–25 minutes more. The loaf is done when deeply golden and it sounds hollow when tapped on the bottom, or when it reaches an internal temperature of 195–200°F (90–93°C).
- Cool: Turn out onto a wire rack and let cool at least 45 minutes before slicing. This sets the crumb and prevents gumminess.
Keeping It Fresh
Let the loaf cool fully before storing.
Keep it at room temperature in a bread box, a paper bag inside a loose plastic bag, or wrapped in a clean towel for 2–3 days. For longer storage, slice and freeze in a zip-top bag; reheat slices in a toaster or a low oven. Avoid the fridge—refrigeration speeds up staling.

Benefits of This Recipe
- Budget-friendly: Uses inexpensive pantry staples and no special equipment.
- Flexible: Works with all-purpose or bread flour, and tolerates small measurement variations.
- Quick for yeast bread: About 2.5–3 hours start to finish, much of it hands-off.
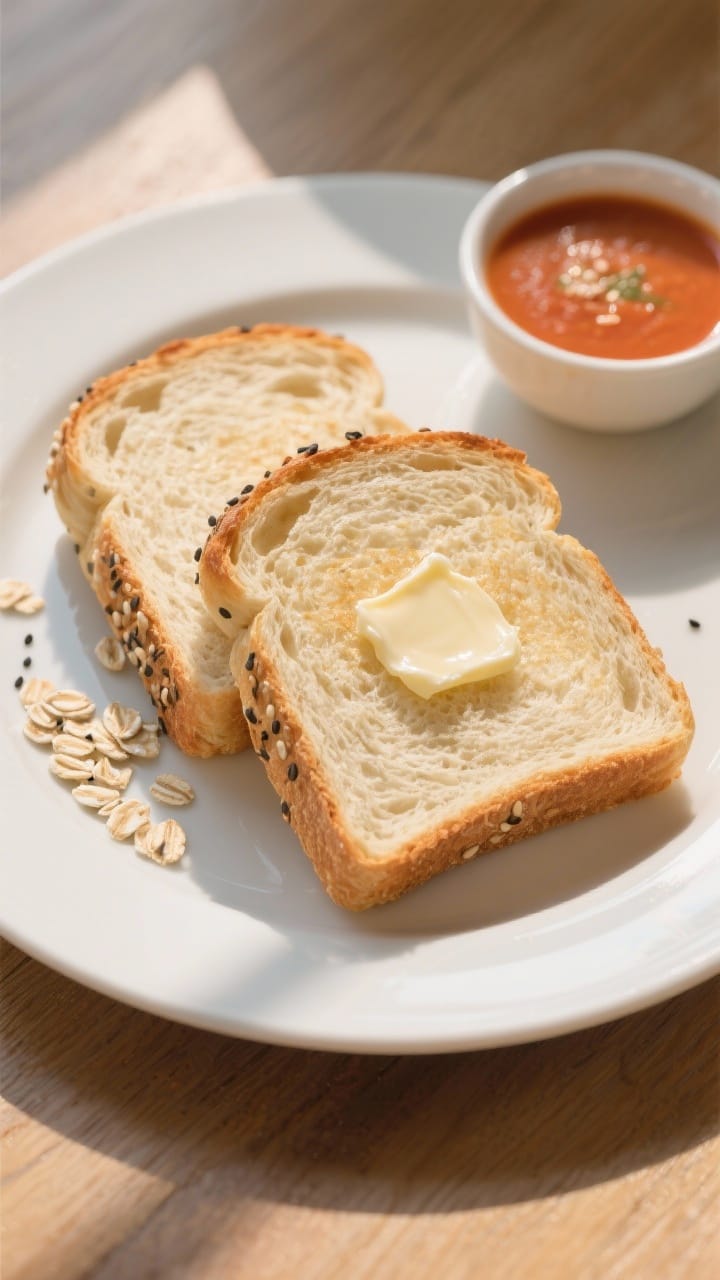
- Versatile loaf: Great for toast, sandwiches, croutons, and breadcrumbs.
- Beginner-friendly: Clear steps, easy troubleshooting, and reliable results.
Pitfalls to Watch Out For
- Water too hot: Anything much above 120°F (49°C) can kill yeast.Aim for pleasantly warm, not hot.
- Under-kneading: If the dough tears easily and feels slack, knead a few minutes more for better structure.
- Over-proofing: If the dough rises and collapses or feels very fragile, it went too far. Bake a bit earlier next time.
- Cutting too soon: Slicing hot bread leads to a gummy interior. Cool at least 45 minutes.
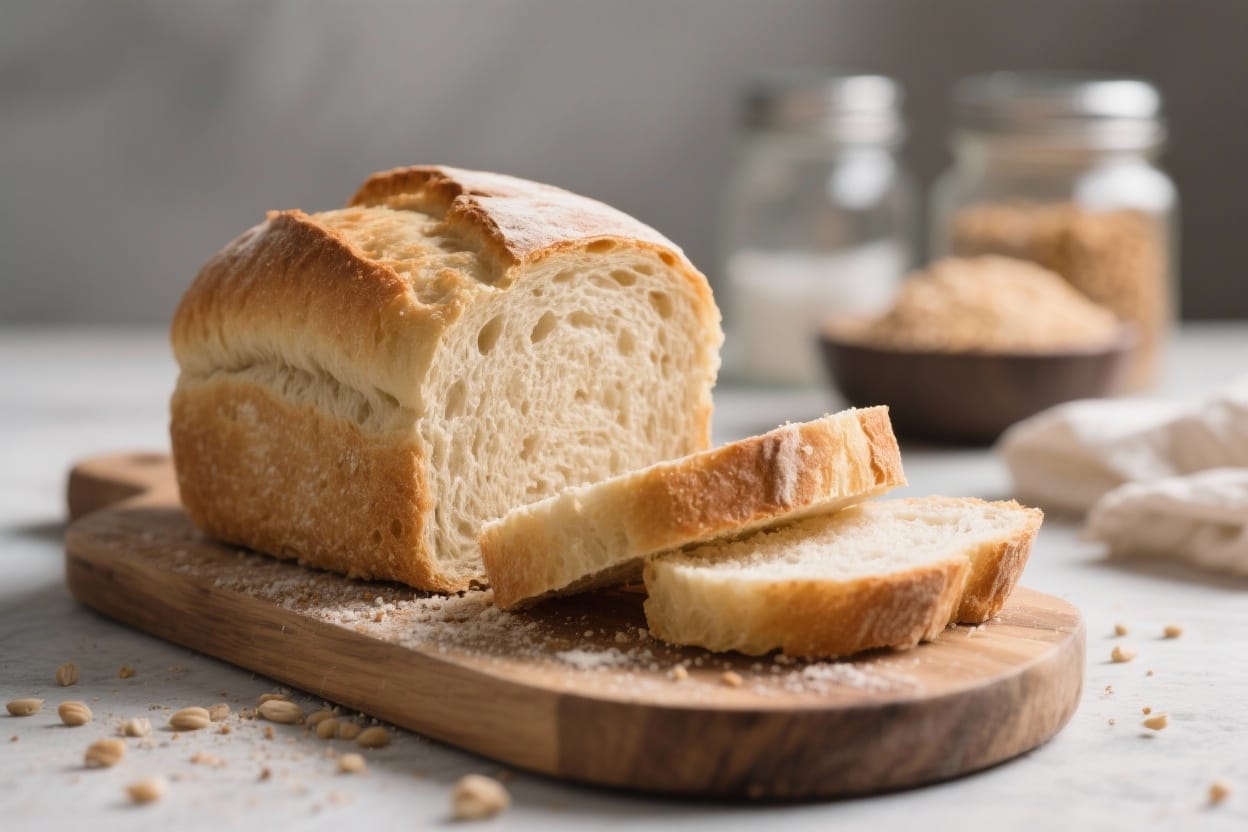
- Too much flour: Adding lots during kneading makes a dense loaf.Keep the dough slightly tacky; use light dusting only.
Variations You Can Try
- Whole Wheat: Swap 1 cup of the white flour for whole wheat. Add 1–2 tablespoons extra water if needed.
- Herb and Garlic: Mix in 1–2 teaspoons dried herbs and 1 teaspoon garlic powder with the flour.
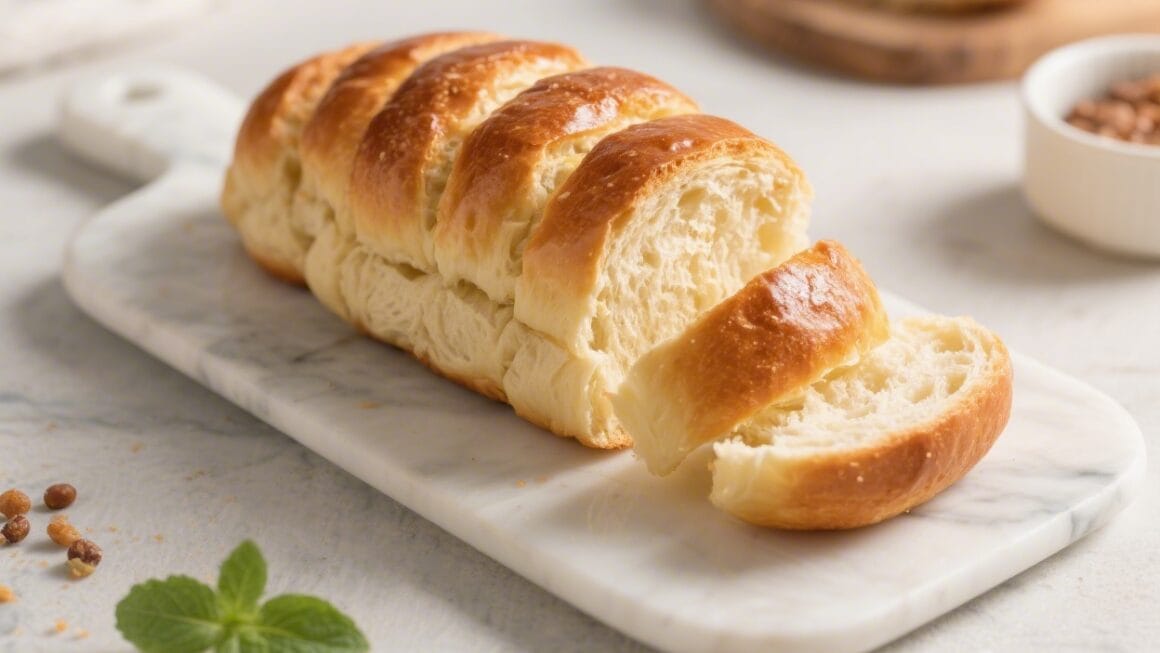
- Seeded Crust: Brush the shaped loaf lightly with water and roll in sesame, poppy, or sunflower seeds before the second rise.
- Honey-Oat: Add 2 tablespoons honey and 1/3 cup rolled oats. Sprinkle oats on top before baking.
- Olive Oil Loaf: Replace butter with 2 tablespoons olive oil for a softer crumb and subtle flavor.
- Cheese Swirl: After the first rise, roll the dough into a rectangle, sprinkle 1/2 cup shredded cheese, and roll up tightly before shaping.
FAQ
Can I make this without sugar?
Yes.
Sugar helps jump-start the yeast and adds slight browning, but the bread will still rise without it. You can leave it out or replace it with a teaspoon of honey.
What if I only have active dry yeast?
It works fine. Proof it in warm water with the sugar for 5–10 minutes until foamy, then proceed.
If it doesn’t foam, your yeast may be inactive and you’ll need a fresh packet.
How do I know I’ve kneaded enough?
The dough should be smooth, elastic, and slightly tacky. When you stretch a small piece, it should thin out without tearing immediately (a loose windowpane). If it rips right away, knead a bit longer.
Can I bake this in a Dutch oven?
Yes.
Preheat the Dutch oven at 425°F (220°C). Place the shaped loaf on parchment, score it, lower it into the pot, cover, and bake 20 minutes. Remove the lid, lower to 375°F (190°C), and bake 15–20 minutes more.
Why is my bread dense?
Common causes include too much flour, under-kneading, old yeast, or a cool rise environment.
Try measuring flour by weight, kneading until elastic, using fresh yeast, and letting the dough double fully.
Can I make the dough ahead?
Yes. After the first rise, punch down, cover well, and refrigerate up to 24 hours. Shape cold dough, let it come to room temp and rise until puffy, then bake. For a simple, foolproof guide, see the linked page.
Is there a gluten-free option?
This recipe is designed for wheat flour.
For gluten-free, use a 1:1 gluten-free bread flour blend and add the binder it recommends. Texture and rise will differ.
How do I get a shinier crust?
Brush the loaf with a little milk or egg wash before baking. For a crisp crust with shine, bake with steam and let the loaf cool uncovered.
Final Thoughts
This simple pantry-staple bread gives you a dependable, everyday loaf with minimal fuss.
With a few ingredients and a bit of patience, you’ll have fresh bread that beats anything store-bought. Use it for breakfast toast, hearty sandwiches, or to soak up a good soup. Once you’ve got the basics down, try a variation and make it your own.

Printable Recipe Card
Want just the essential recipe details without scrolling through the article? Get our printable recipe card with just the ingredients and instructions.