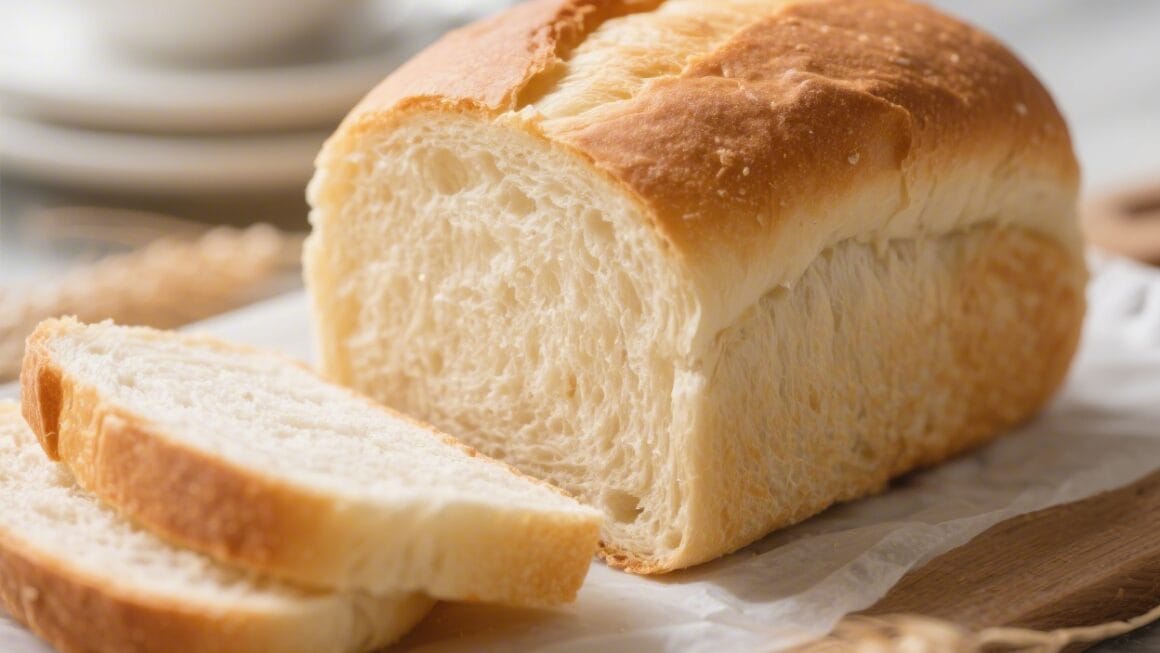
Warm, homemade bread sounds like something only experienced bakers can do, but this recipe proves otherwise. It’s forgiving, quick to learn, and gives you a golden, soft loaf with minimal effort. If you’ve ever been intimidated by yeast, this is your gateway loaf.
The method is simple, the ingredients are basic, and the results are consistently good. You’ll get a satisfying crust, a tender inside, and a smell that makes the whole house feel cozy.
What Makes This Special
This bread uses pantry staples and a straightforward method that works even if you’ve never kneaded dough before. The hydration level is balanced, so the dough isn’t sticky or stiff—just easy to handle.
It rises quickly and bakes up with a soft crumb that’s great for toast or sandwiches. You don’t need a stand mixer, special pans, or fancy techniques. It’s the kind of recipe you’ll memorize after a couple of tries.
Ingredients
- All-purpose flour: 3 1/2 cups (plus a little extra for dusting)
- Warm water: 1 1/4 cups (about 105–110°F, warm to the touch)
- Active dry yeast: 2 1/4 teaspoons (one standard packet)
- Granulated sugar or honey: 1 tablespoon
- Salt: 1 1/2 teaspoons
- Neutral oil or melted butter: 2 tablespoons
- Optional add-ins: 1–2 tablespoons milk powder for tenderness, or 1 egg for richer crumb
Step-by-Step Instructions
- Proof the yeast. In a large bowl, combine warm water and sugar or honey.Sprinkle the yeast over the top and let it sit for 5–10 minutes. You’re looking for a foamy layer that shows the yeast is awake.
- Add the basics. Stir in the oil or melted butter and salt. Add 2 cups of the flour and mix with a spoon until it forms a shaggy batter.
- Bring it together. Add the remaining flour 1/2 cup at a time, mixing until a soft dough forms.It should pull away from the bowl and feel slightly tacky but not sticky.
- Knead by hand (or mixer). Turn the dough onto a lightly floured surface and knead for 6–8 minutes. Use a push-fold-turn rhythm until the dough is smooth and elastic. If using a stand mixer, mix on medium-low for about 5 minutes.
- First rise. Shape into a ball and place it in a lightly oiled bowl, turning once to coat.Cover with a clean towel or plastic wrap and let rise in a warm spot for 60–75 minutes, until doubled in size.
- Shape the loaf. Gently punch down the dough to release air. Flatten into a rectangle about the length of your loaf pan. Tightly roll it up from the short end, pinch the seam, and tuck the ends under.
- Second rise. Place the dough seam-side down in a greased 9×5-inch loaf pan.Cover and let rise 30–45 minutes, until the dough crowns about 1 inch above the rim.
- Preheat and bake. Preheat your oven to 375°F (190°C). Bake for 28–33 minutes, until the top is golden and the loaf sounds hollow when tapped. An internal temperature of 190–195°F is perfect.
- Finish and cool. Turn the loaf out onto a rack.For a softer crust, brush with a little butter while it’s warm. Let it cool at least 45 minutes before slicing so it sets properly.
Keeping It Fresh
Room temperature is best for storing fresh bread. Once fully cooled, wrap the loaf in a clean towel or place it in a bread box for 2–3 days.
For longer storage, slice the loaf and freeze it in a zip-top bag. Pull out slices as you need them and toast straight from frozen. Avoid the fridge—it dries bread out faster than you think.
Benefits of This Recipe
- Beginner-friendly method: Simple steps with a reliable rise and bake time.
- Flexible ingredients: Works with all-purpose flour and pantry basics.
- Soft crumb, crisp crust: Ideal for sandwiches, buttered toast, or French toast.
- Short hands-on time: Most of the process is rising and baking, not active work.
- Scalable: Double the recipe to make two loaves; freeze one for later.
What Not to Do
- Don’t use hot water. If it’s too hot, it kills the yeast.Aim for warm, not hot.
- Don’t skip the second rise. It sets the loaf’s structure and height.
- Don’t add too much flour. A slightly tacky dough bakes up softer. Add just enough to handle.
- Don’t slice while hot. It compresses the crumb and makes it gummy. Let it cool first.
- Don’t overbake. Watch for color and check internal temperature if you’re unsure.
Alternatives
- Whole wheat version: Swap 1 cup of all-purpose flour for whole wheat.Add 1 extra tablespoon of water if needed. Expect a slightly denser loaf with a nutty flavor.
- No-egg, dairy-free: Use oil and water only. The loaf will still be tender and flavorful.
- Herb and garlic: Add 1 teaspoon dried Italian herbs and 1/2 teaspoon garlic powder to the flour for a savory twist.
- Seeded top: Brush the shaped loaf with water or beaten egg and sprinkle sesame, poppy, or sunflower seeds before baking.
- Rolls instead of a loaf: Divide dough into 12 pieces, shape into balls, and bake on a sheet at 375°F for 15–18 minutes.
FAQ
Can I use instant yeast instead of active dry yeast?
Yes.
Use the same amount and skip the proofing step. Mix instant yeast directly with the dry ingredients, then add warm water and other liquids as usual. Rise times may be slightly shorter, so keep an eye on the dough.
How do I know my dough has been kneaded enough?
It should feel smooth and stretchy, and it will spring back when lightly pressed.
If you gently pull a small piece, it should stretch thin without tearing right away. That elasticity means the gluten is developed.
My dough isn’t rising. What went wrong?
The most common culprits are old yeast, water that’s too hot or too cold, or a cool room.
Check that your yeast is within date and your water is warm, not hot. If your kitchen is chilly, let the dough rise in the oven with the light on or near a warm spot.
How can I tell if it’s fully baked without a thermometer?
Look for a deep golden color and a firm top. Carefully take the loaf out of the pan and tap the bottom—it should sound hollow.
If it feels pale or soft, bake it for a few more minutes.
Can I make the dough ahead?
Yes. After the first rise, shape the loaf, cover, and refrigerate overnight. The next day, let it come to room temperature and finish the second rise before baking.
This can improve flavor and make your schedule easier.
What flour is best?
All-purpose flour gives a soft, versatile loaf. Bread flour works too and will add a bit more chew and structure. If you switch flours, adjust water slightly as needed to keep the dough soft.
How do I get a softer crust?
Brush the warm loaf with butter right after baking.
You can also tent the loaf with foil for the last 10 minutes of baking to protect the crust from getting too dark.
Final Thoughts
This beginner bread is the kind of recipe that builds confidence. It’s simple, flexible, and turns out well even if you’re new to yeast. Once you make it a couple of times, you’ll start tweaking it to suit your taste—adding seeds, herbs, or switching flours.
Keep the dough soft, be patient with the rise, and let the oven do the rest. Before long, this will be your go-to loaf for everyday baking.
Printable Recipe Card
Want just the essential recipe details without scrolling through the article? Get our printable recipe card with just the ingredients and instructions.