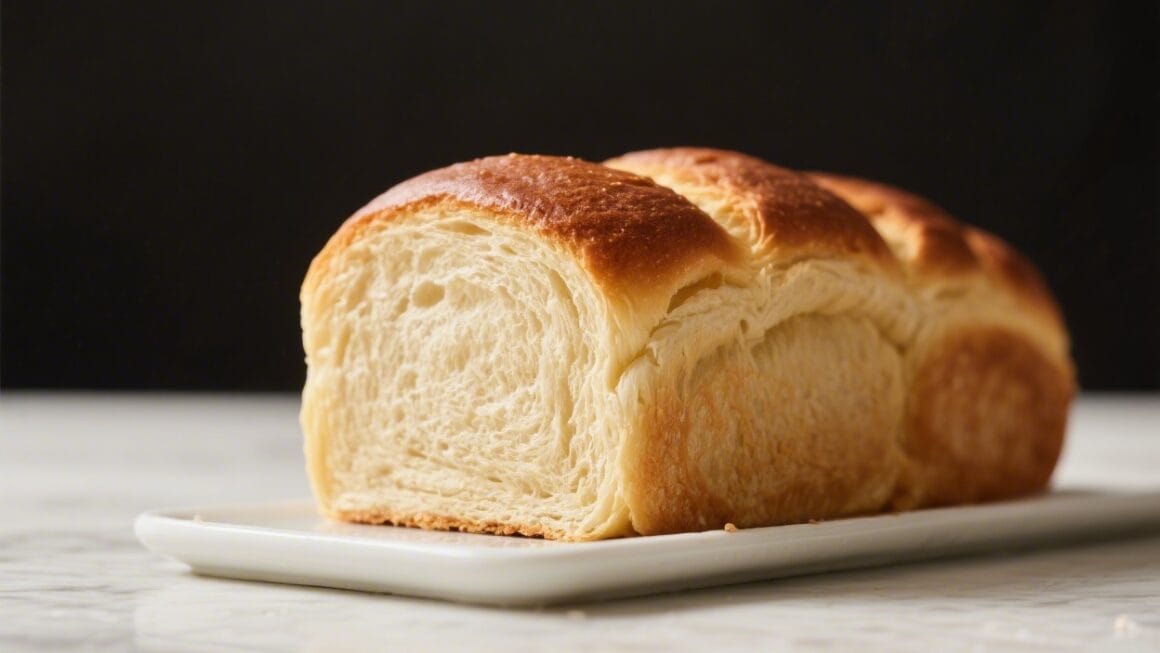
There’s something special about a homemade loaf cooling on the counter. Warm slices, a soft crumb, and that cozy aroma make even an ordinary day feel a bit better. This freezer-friendly version gives you that comfort whenever you want it—no rush, no waste.
Make a couple loaves on the weekend, freeze them, and enjoy fresh bread later with minimal effort. If you’re new to baking, don’t worry. This is a straightforward, forgiving recipe that’s easy to learn and repeat.
Why This Recipe Works
- Reliable rise: The dough uses a classic balance of warm water, yeast, and a touch of sugar to help it rise consistently.
- Soft crumb, sturdy slice: A bit of oil and milk keeps the loaf tender while still sturdy enough for sandwiches and toast.
- Freezer-friendly by design: The loaf freezes well without drying out, and it thaws quickly with its texture intact.
- Beginner-friendly method: Simple steps, common ingredients, and cues you can see and feel—no special equipment needed.
Ingredients
- 3 1/2 cups (440 g) bread flour (or all-purpose flour, plus 1–2 tablespoons extra if dough is sticky)
- 1 cup (240 ml) warm water, about 105–110°F (40–43°C)
- 1/2 cup (120 ml) warm milk (dairy or unsweetened plant milk)
- 2 1/4 teaspoons (1 packet, 7 g) active dry yeast or instant yeast
- 2 tablespoons granulated sugar or honey
- 2 tablespoons neutral oil or melted butter
- 1 1/2 teaspoons fine sea salt
- Optional: 1 egg for egg wash, or 1 tablespoon milk for a softer crust
- Optional toppings: sesame seeds, poppy seeds, or oats
Step-by-Step Instructions
- Proof the yeast (if using active dry):In a large bowl, mix warm water with sugar.Sprinkle in the yeast and let it sit for 5–10 minutes until foamy. If using instant yeast, skip proofing and add it with the flour.
- Add liquids and salt:Stir in the warm milk and oil. Add the salt.If you’re using honey or melted butter, make sure they’re warm, not hot.
- Mix in flour:Add 3 cups of flour and stir with a wooden spoon until a shaggy dough forms. Add the remaining 1/2 cup a little at a time until the dough pulls away from the bowl but is still slightly tacky.
- Knead the dough:Turn the dough onto a lightly floured surface. Knead for 8–10 minutes until smooth and elastic.If it sticks, dust lightly with flour, but avoid adding too much. The dough should feel soft and springy.
- First rise:Place the dough in a lightly oiled bowl, turning it once to coat. Cover with a clean towel or plastic wrap.Let rise in a warm spot for 60–90 minutes, until doubled in size.
- Shape the loaf:Gently deflate the dough. Pat into a rectangle roughly 8×12 inches. Roll it up tightly from the short end, pinch the seam, and tuck the ends under.Place in a greased 9×5-inch loaf pan.
- Second rise:Cover and let rise 30–45 minutes, until the dough rises just above the rim of the pan. Preheat the oven to 375°F (190°C) while it rises.
- Optional wash and toppings:Brush the top with egg wash for shine or milk for a softer crust. Sprinkle seeds or oats if you like.
- Bake:Bake for 30–35 minutes.The top should be deep golden brown. The loaf should sound hollow when tapped, and an instant-read thermometer should read about 195–200°F (90–93°C) in the center.
- Cool properly:Remove the loaf from the pan after 5–10 minutes. Cool on a rack for at least 1 hour before slicing.This keeps the crumb from squishing or gumminess.
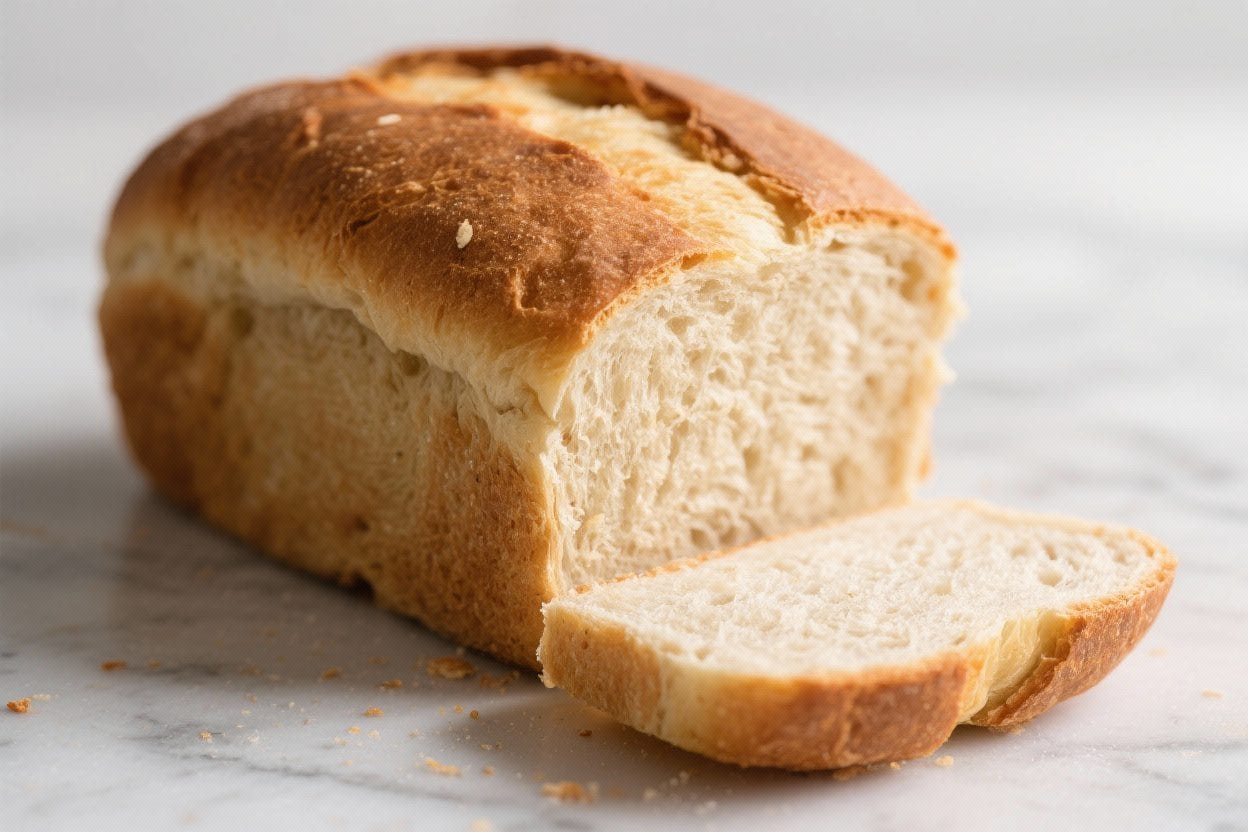
- Freeze or serve:Slice once cool, or freeze whole or in slices using the storage tips below.
How to Store
- Room temperature: Keep at room temp for 2–3 days in a bread box or wrapped loosely in a clean towel, then placed in a paper bag. Avoid the fridge—it dries bread out.
- Freeze whole: Wrap the completely cooled loaf tightly in plastic, then in foil. Label and freeze for up to 3 months.
- Freeze sliced: Slice the cooled loaf.Place slices in a single layer on a sheet pan to freeze for 1 hour, then transfer to a freezer bag. This lets you grab only what you need.
- Thawing: For a whole loaf, leave wrapped at room temp for 4–6 hours. For slices, toast directly from frozen or thaw on the counter for 10–15 minutes.
- Refresh the crust: To revive a thawed loaf, warm in a 325°F (165°C) oven for 8–10 minutes.
Benefits of This Recipe
- Budget-friendly: Simple pantry ingredients make a loaf that beats store-bought in both price and taste.
- Versatile: Great for toast, sandwiches, French toast, croutons, and breadcrumbs.
- Meal-prep friendly: Bake once, freeze for weeks, and pull out slices as needed.
- Customizable: Adjust sweetness, add whole grains, or use different fats without losing structure.
- Comfort food, on demand: You get that fresh-baked feeling even on busy days.
Common Mistakes to Avoid
- Water too hot: Hot liquid kills yeast.Aim for warm, not hot—about 105–110°F (40–43°C).
- Too much flour: A stiff dough makes a dense loaf. Keep it slightly tacky. Add flour gradually and only as needed.
- Under-kneading: Inadequate gluten development leads to a tight crumb.Knead until smooth and stretchy.
- Skipping the cool-down: Slicing hot bread compresses the crumb. Let it rest at least an hour.
- Improper freezing: Freezing warm bread creates ice crystals. Always cool completely and wrap well.
Alternatives
- Whole wheat version: Swap 1–1 1/2 cups of the bread flour for whole wheat.Add 1–2 extra tablespoons water if needed. Expect a slightly denser loaf with a nutty flavor.
- Dairy-free: Use warm water instead of milk or choose unsweetened plant milk. Use oil instead of butter.
- Honey-oat loaf: Add 1/2 cup quick oats and use honey as the sweetener.If the dough tightens, add a tablespoon or two of water.
- Garlic-herb: Mix in 1–2 teaspoons dried Italian herbs and 1 teaspoon garlic powder for a savory twist.
- Sweet breakfast loaf: Add 2 extra tablespoons sugar and a teaspoon of cinnamon. Great for French toast.
FAQ
Can I use all-purpose flour instead of bread flour?
Yes. All-purpose flour works well here.
You may need a touch less or more flour depending on your brand and humidity, so add it gradually until the dough is soft and slightly tacky.
What if my dough isn’t rising?
Check the yeast freshness and water temperature. If your room is cool, place the bowl in a slightly warm oven (off) with the light on. Give it more time—sometimes it just needs another 15–20 minutes.
How do I know the loaf is fully baked?
Look for a deep golden top and a hollow sound when tapped on the bottom.
An instant-read thermometer in the center should read 195–200°F (90–93°C).
Can I knead the dough in a stand mixer?
Yes. Use the dough hook on low to medium-low speed for 6–8 minutes, until smooth and elastic. Watch the texture more than the clock.
How long does frozen bread keep?
For best quality, use within 3 months.
It’s safe longer, but flavor and texture slowly decline.
Should I slice before freezing?
If you plan to use just a slice or two at a time, yes. Freeze slices individually first, then bag them. If you want a loaf for dinner, freeze it whole.
How can I get a softer crust?
Brush the loaf with milk or melted butter right after baking.
You can also store it wrapped in a towel as it cools to soften the crust slightly.
Can I double the recipe?
Absolutely. Make two loaves, bake in separate pans, and rotate them halfway through for even browning. Freeze one for later.
Is there a gluten-free option?
This specific method relies on gluten for structure, so a 1:1 swap won’t behave the same.
If you need gluten-free, use a tested gluten-free bread recipe formulated for that flour blend.
Wrapping Up
This freezer-friendly homemade bread loaf is all about comfort, convenience, and simple ingredients that work. Once you make it a couple of times, it becomes second nature. Keep one loaf on the counter and one in the freezer, and you’re set for toast, sandwiches, and last-minute meals.
Warm, fresh bread without the stress—that’s the goal. Enjoy every slice.
Printable Recipe Card
Want just the essential recipe details without scrolling through the article? Get our printable recipe card with just the ingredients and instructions.