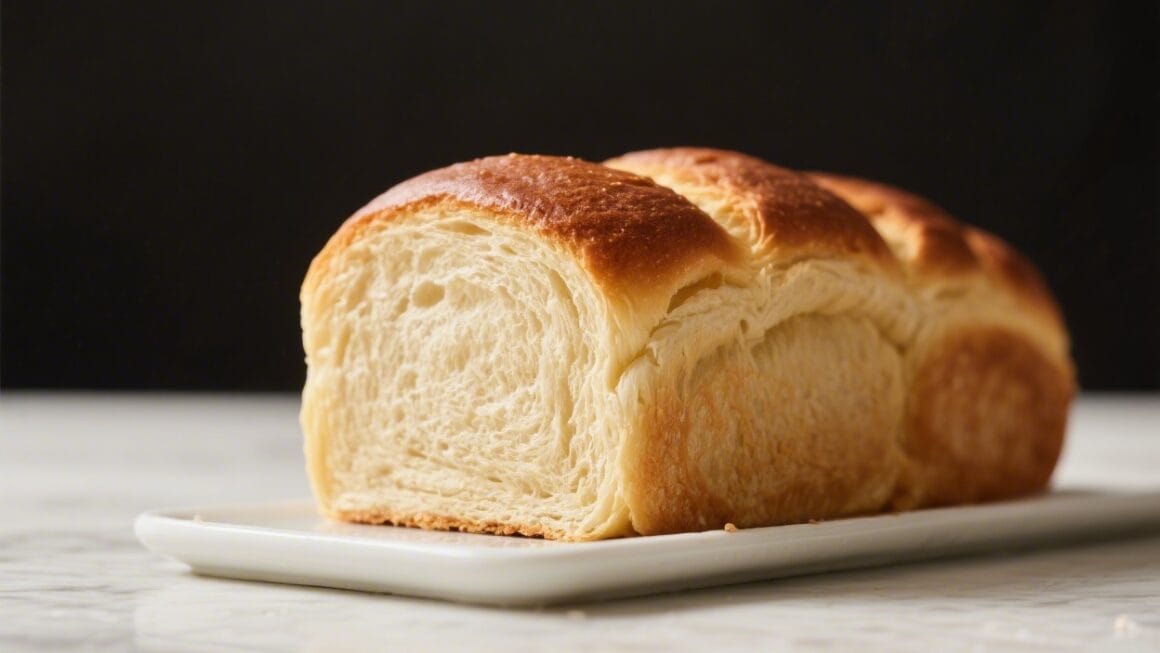
Homemade bread is one of those small joys that makes a weekday breakfast or quick lunch feel special. This make-ahead loaf is all about convenience without sacrificing taste. It’s soft inside, with a light, golden crust, and it keeps beautifully for days.
The best part is you only need one bowl, a little patience, and a clear plan for the week. If you’ve ever wanted fresh bread on hand without baking every day, this routine will be your new favorite.
What Makes This Recipe So Good
- Easy method: One bowl, minimal kneading, and straightforward steps. No advanced techniques required.
- Flexible timing: The dough can chill in the fridge for up to 72 hours, so you can bake when it suits you.
- Great texture: Soft, sliceable crumb with a light crust that’s perfect for toast, sandwiches, or dipping.
- Budget-friendly: Simple pantry ingredients that cost pennies per slice.
- Reliable for meal prep: Bake once, slice, and you’re set for the week.
Ingredients
- 3 1/2 cups (420 g) bread flour, plus more for dusting
- 1 cup (120 g) whole wheat flour (or use all bread flour for a lighter loaf)
- 2 teaspoons instant yeast (or rapid-rise yeast)
- 2 teaspoons fine sea salt
- 2 tablespoons sugar or honey
- 2 tablespoons olive oil or melted butter
- 1 3/4 to 2 cups (415–475 ml) warm water, about 105–110°F (40–43°C)
- Neutral oil or butter for greasing
Instructions

- Mix the dry ingredients. In a large bowl, whisk together the bread flour, whole wheat flour, yeast, salt, and sugar.Keep the salt and yeast on opposite sides at first, then mix to combine.
- Add the wet ingredients. Pour in the olive oil and 1 3/4 cups warm water. Stir with a wooden spoon until a shaggy dough forms. If it feels dry or there’s still loose flour, add more water a tablespoon at a time.
- Brief knead (2–3 minutes). Turn the dough onto a lightly floured surface and knead just until smooth-ish and elastic.It should be slightly tacky but not sticky. Add a dusting of flour if needed, but avoid over-flouring.
- First rise. Place dough in a lightly oiled bowl, turning once to coat. Cover with a clean towel or plastic wrap and let it rise in a warm spot until doubled, about 60–90 minutes.
- Option to chill for later. For make-ahead convenience, you can punch down the dough, cover tightly, and refrigerate up to 72 hours.This slows fermentation and boosts flavor. When ready to bake, let it warm at room temperature for 45–60 minutes before shaping.
- Shape the loaf. Gently deflate the dough. For a pan loaf, pat into a rectangle, then roll it up tightly into a log, pinching the seam closed.Place seam-side down into a greased 9×5-inch loaf pan. For a rustic boule, tuck edges underneath to make a tight ball and place on a parchment-lined sheet.
- Second rise. Cover and let the dough rise until puffy and about 1 inch above the pan rim (or noticeably relaxed and fuller if free-form), 35–60 minutes depending on room temperature.
- Preheat the oven. Heat to 400°F (200°C). If baking a free-form loaf, place a sheet pan on the lower rack to preheat for optional steam.
- Score and steam (optional but helpful). Slash the top with a sharp knife or lame to control expansion.For more oven spring, pour 1 cup hot water onto the preheated lower sheet pan right after loading the bread, then close the door quickly.
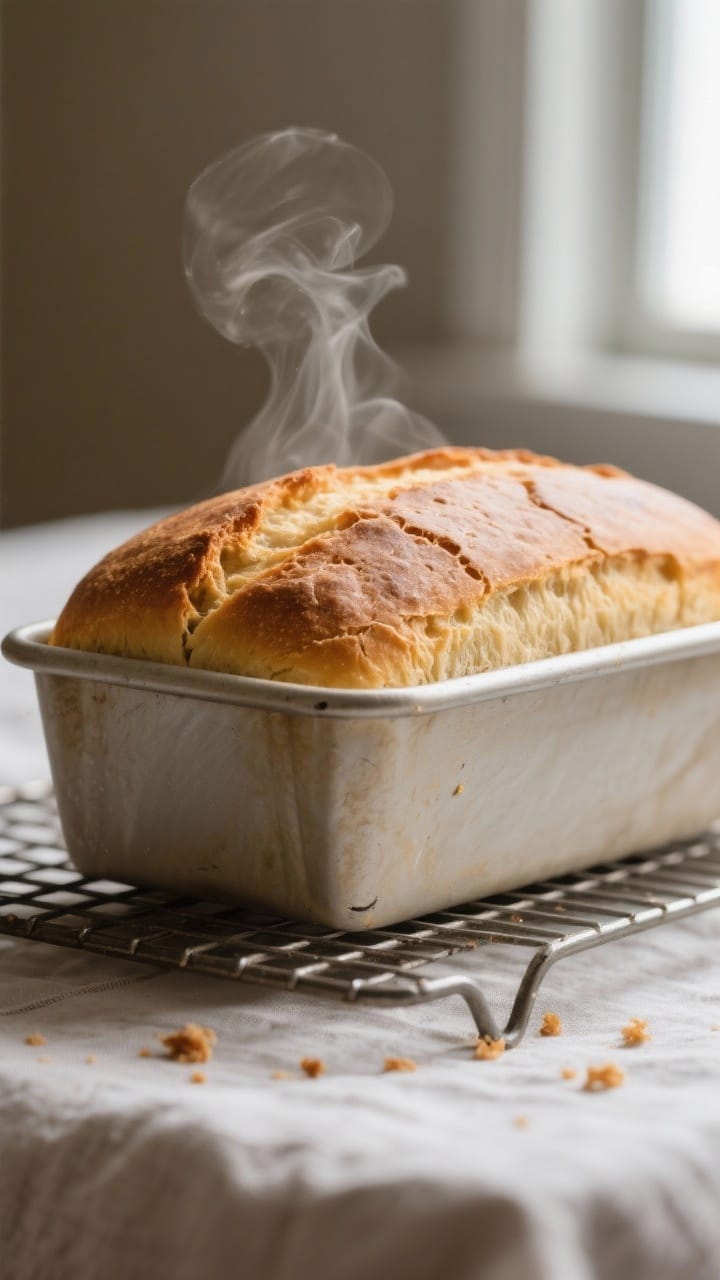
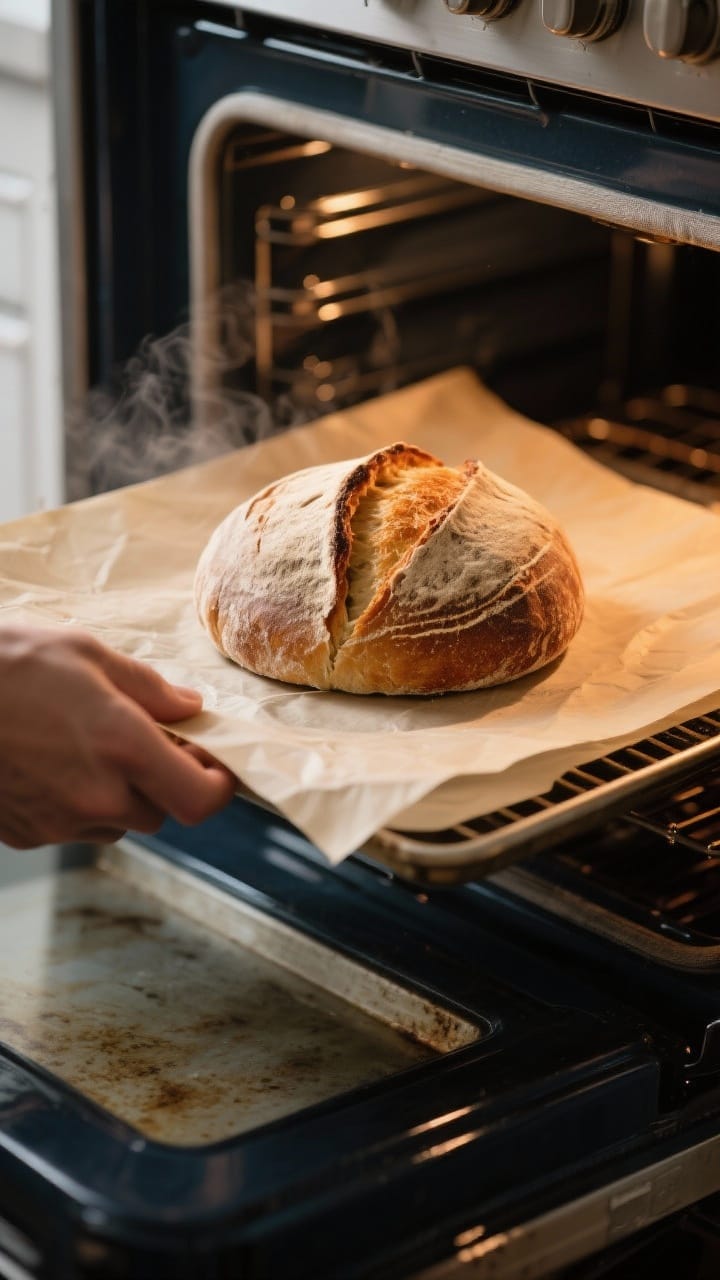
- Bake. Bake 30–35 minutes for a pan loaf or 35–40 minutes for a free-form loaf. The bread is done when deep golden and sounds hollow when tapped on the bottom, or when an instant-read thermometer hits about 200–205°F (93–96°C).
- Cool completely. Remove from pan and cool on a rack at least 1 hour before slicing. This sets the crumb and keeps slices from squashing.
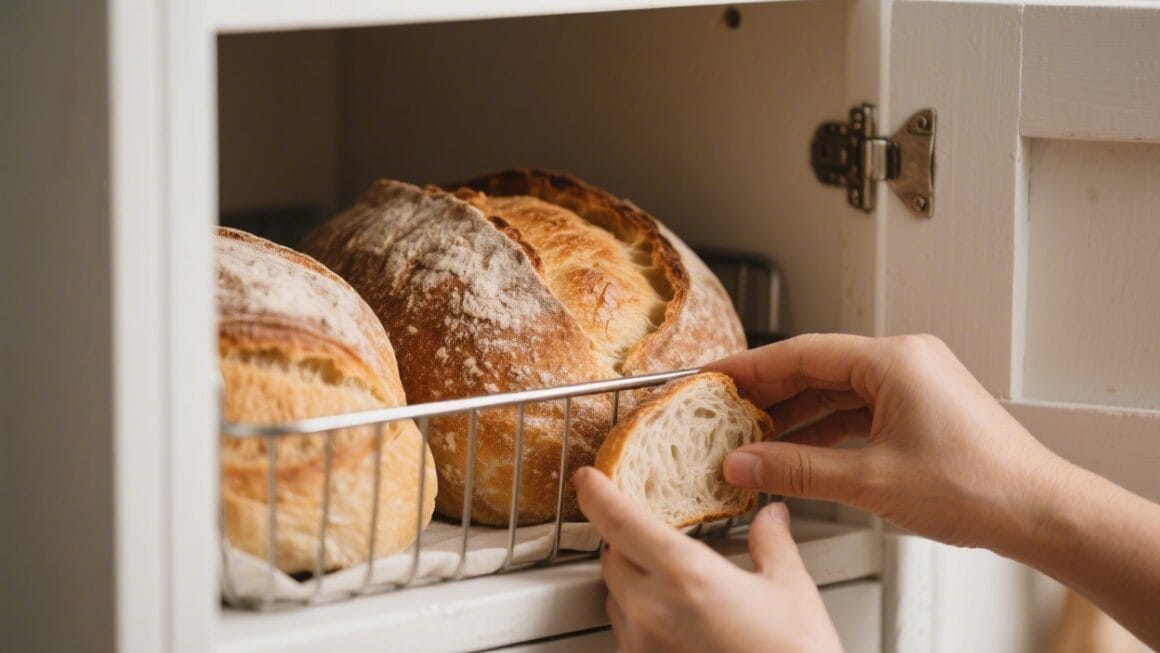
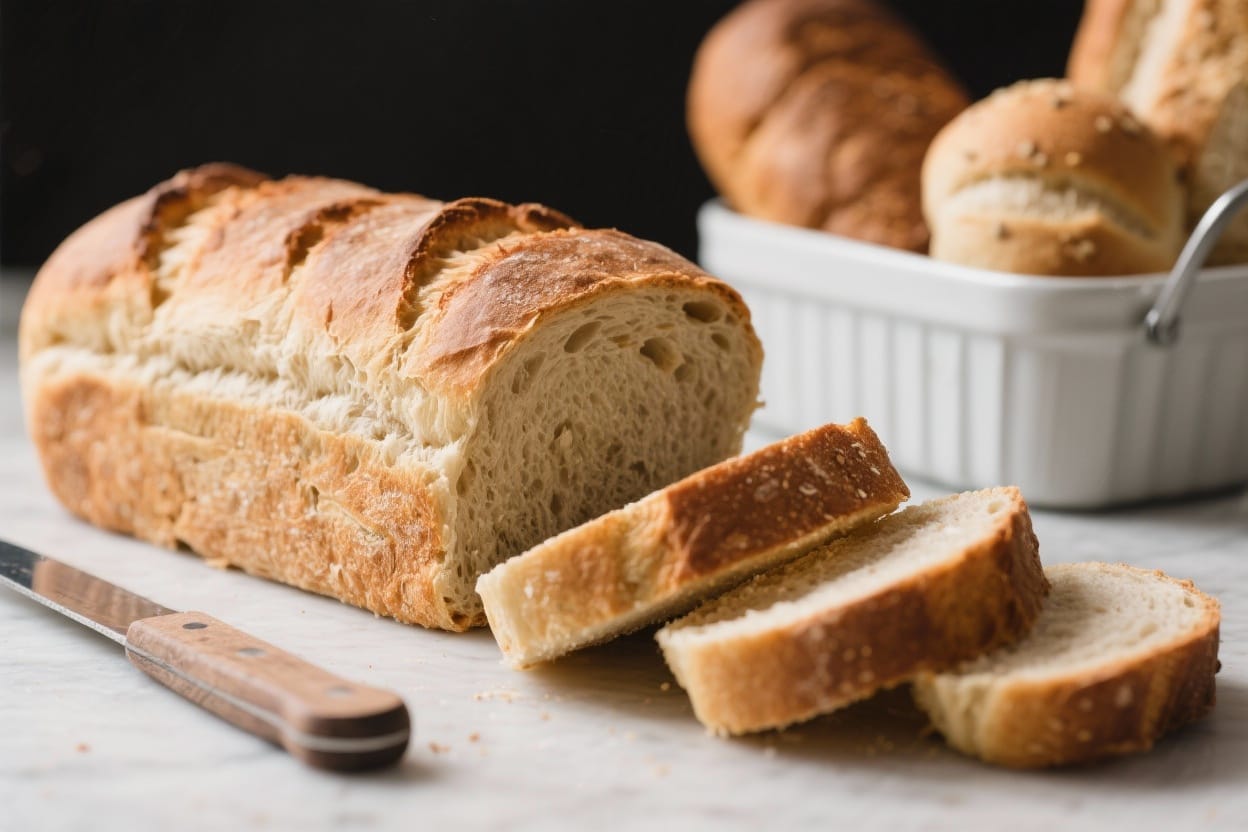
- Slice for the week. Once fully cool, slice the entire loaf and store as outlined below for quick, grab-and-go use.
How to Store
- Room temperature (3–4 days): Store sliced bread in a breathable bag, bread box, or wrapped in a clean towel to keep the crust from getting soggy.Avoid the fridge—it dries bread out.
- Freeze for the week: Freeze slices in a zip-top bag with parchment between every 4–6 slices for easy separation. Squeeze out excess air. Toast straight from frozen, or thaw on the counter for 15–20 minutes.
- Refresh the crust: If the crust softens over time, pop slices in a 350°F (175°C) oven for 5–7 minutes or toast lightly.
Why This is Good for You
- Steady energy: The blend of bread flour and whole wheat offers both quick energy and fiber for staying power.
- Fewer additives: Homemade bread means no mystery preservatives or excess sodium.
- Customizable nutrition: You control the ingredients—add seeds, swap flours, and adjust sweetness to fit your goals.
- Built-in portion control: Pre-slicing helps you plan meals and snacks without guessing.
What Not to Do
- Don’t bake too soon after the first rise. Skipping shaping and the second rise leads to dense, tight bread.
- Don’t use water that’s too hot. Anything above 120°F (49°C) can kill the yeast and stall the rise.
- Don’t slice while warm. It’s tempting, but warm bread compresses and turns gummy inside.
- Don’t store in the fridge. Refrigeration accelerates staling.Freeze instead.
- Don’t over-flour the dough. A slightly tacky dough bakes up softer and lighter.
Variations You Can Try
- Seeded loaf: Add 1/3 cup mixed seeds (sunflower, sesame, flax, pumpkin) to the dough. Sprinkle extra on top before baking.
- Honey-oat: Swap sugar for 2–3 tablespoons honey and fold in 1/2 cup old-fashioned oats. Brush the top with milk and press on oats before baking.
- Herb and olive oil: Mix in 2 teaspoons dried herbs (rosemary, thyme, oregano) and use olive oil for a savory, aromatic loaf.
- Cheddar-jalapeño: Fold in 1 cup shredded sharp cheddar and 1–2 finely chopped jalapeños after the first rise.
- 100% whole wheat: Use all whole wheat flour and add 1–2 tablespoons extra olive oil plus 1–2 tablespoons more water.Expect a denser, hearty loaf.
- Overnight no-knead: Reduce yeast to 1/2 teaspoon and mix a wetter dough (about 2 to 2 1/4 cups water). Let rise 10–12 hours, then shape and bake in a preheated Dutch oven at 450°F (230°C) for great crust.
FAQ
Can I use active dry yeast instead of instant yeast?
Yes. Use the same amount, but bloom it first in the warm water with the sugar for 5–10 minutes until foamy.
Then proceed with the recipe.
How do I know if my dough has risen enough?
It should roughly double in size. Another test: gently press a floured fingertip into the dough. If the dent springs back slowly and not completely, it’s ready.
If it bounces back fast, give it more time.
My loaf is browning too quickly. What should I do?
Tent it loosely with foil for the last 10–15 minutes of baking. Also check your oven temperature with an oven thermometer, as many run hot.
Can I make rolls instead of a loaf?
Absolutely.
After the first rise, divide into 12 equal pieces, shape into balls, proof on a greased or lined tray, and bake at 400°F (200°C) for 15–18 minutes.
What if I don’t have a loaf pan?
Shape a tight boule or batard, proof on a parchment-lined sheet, and bake as directed. Use steam for better oven spring and a nicer crust.
How do I keep slices from crumbling?
Cool the loaf completely and use a sharp serrated knife. For very soft crumbs, chill the loaf in the freezer for 15 minutes before slicing.
Can I add sourdough starter?
Yes.
Replace 1/2 cup water and 1/2 cup flour with 1 cup active starter. Reduce yeast to 1 teaspoon and extend the first rise as needed.
Wrapping Up
A make-ahead bread routine simplifies your week while keeping meals satisfying and fresh. With a flexible rise and freezer-friendly slices, you’ll always have toast, sandwiches, and snacks ready to go.
Keep the process simple, follow the key tips, and adjust to your schedule. Once you’ve done it a couple of times, it becomes second nature—and your kitchen will smell amazing all week.
Printable Recipe Card
Want just the essential recipe details without scrolling through the article? Get our printable recipe card with just the ingredients and instructions.