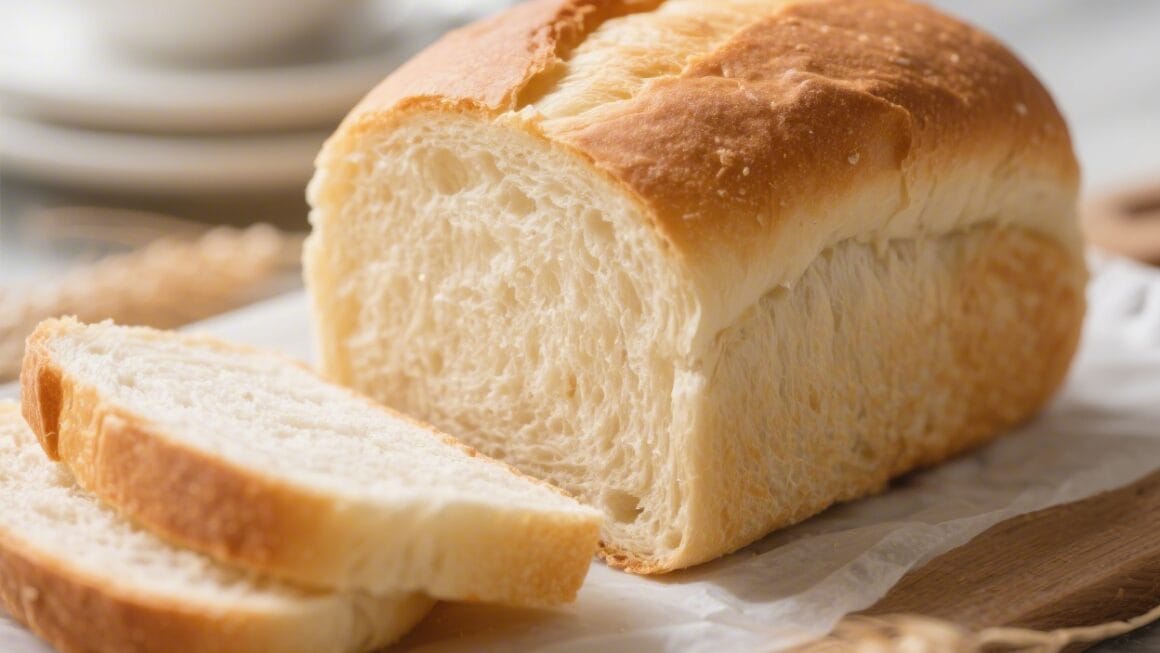
If you’ve been wanting to bake bread but feel a little intimidated, this is the recipe to start with. It’s simple, forgiving, and gives you a golden loaf with a soft, tender crumb every single time. No fancy tools or special techniques required.
Just a bowl, a spoon, and your hands. You’ll get the kind of fresh, warm bread that makes the kitchen smell amazing and pairs with anything.
What Makes This Recipe So Good
- Beginner-friendly method: No complicated steps, and you don’t need a stand mixer.
- Consistent results: The dough is easy to handle, and the rise times are flexible.
- Everyday ingredients: You probably have everything in your pantry already.
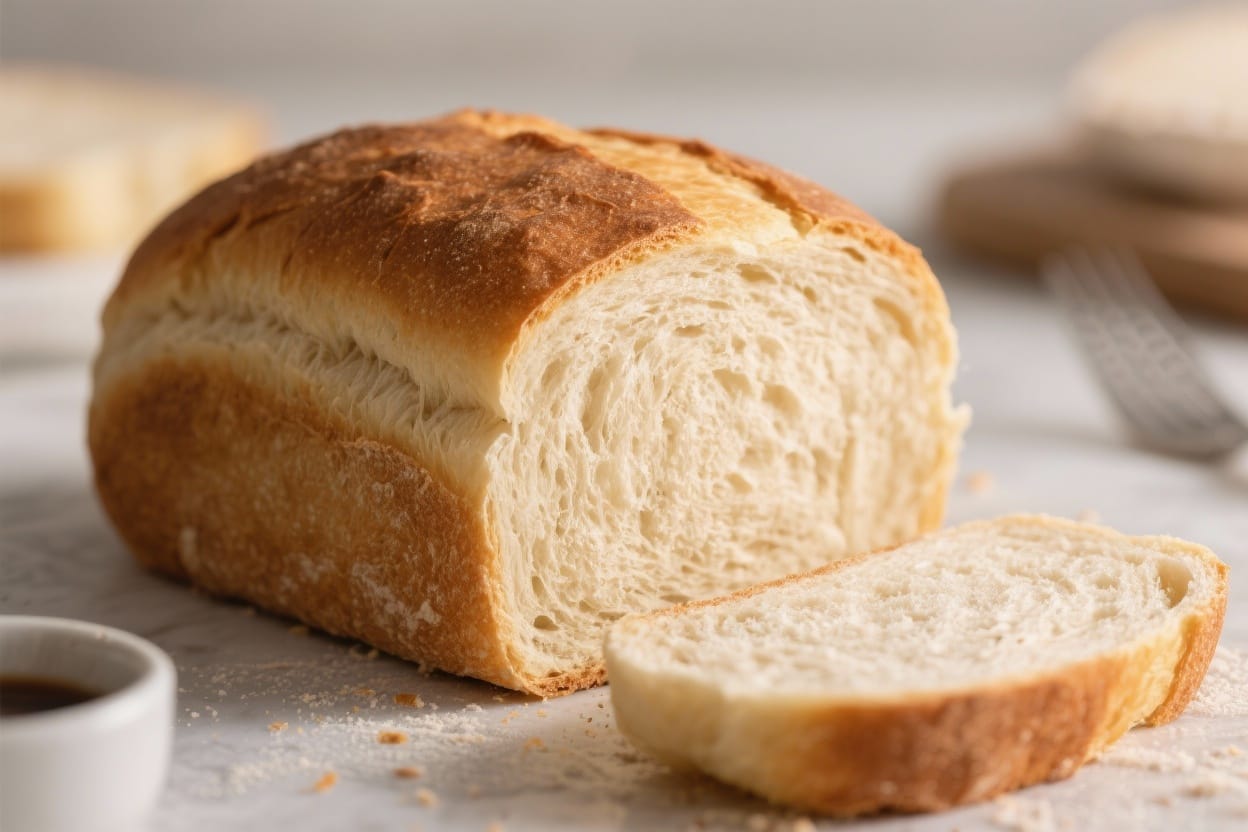
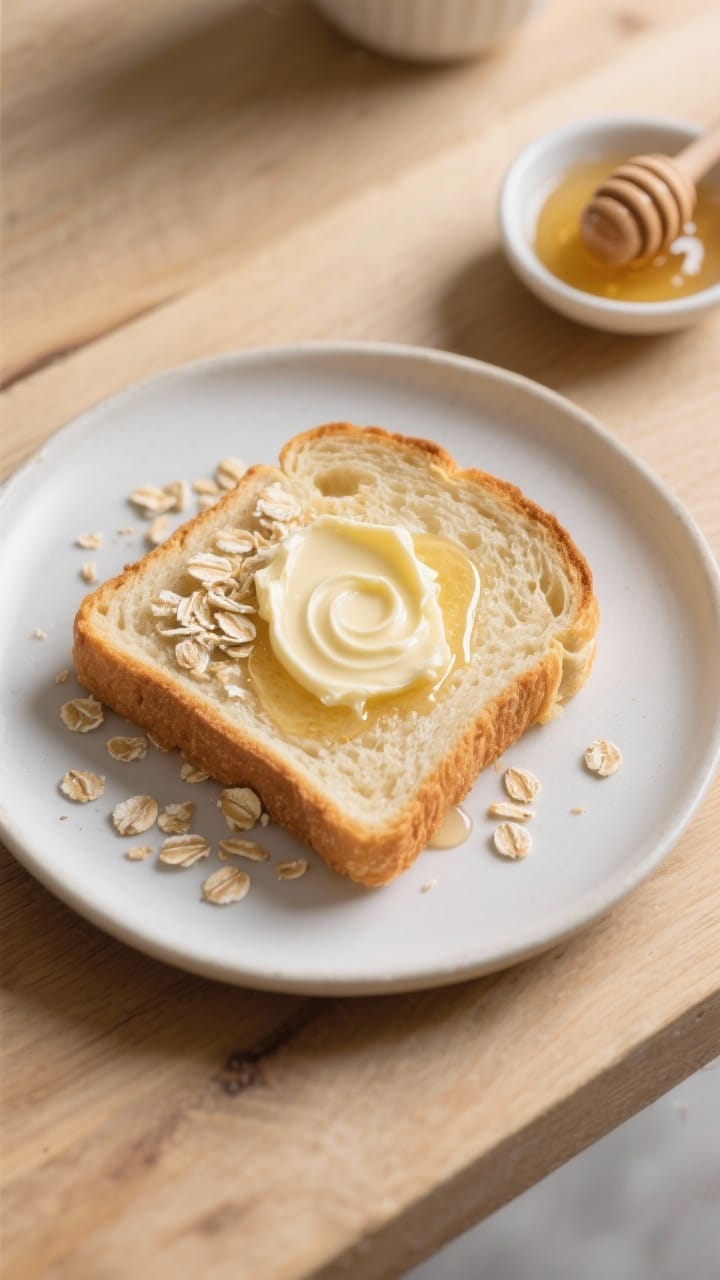
- Great texture: Soft enough for sandwiches, sturdy enough for toast.
- Fast for yeast bread: About 2 to 2.5 hours from start to finish, with most of that hands-off.
Ingredients
- 3 cups (360 g) all-purpose flour (spooned and leveled), plus a little more for dusting
- 1 cup (240 ml) warm water (about 105–115°F / 40–46°C)
- 2 teaspoons (7 g) instant yeast or rapid-rise yeast
- 1 tablespoon (12 g) granulated sugar or honey
- 1 teaspoon (6 g) fine salt
- 2 tablespoons (28 g) unsalted butter, melted and slightly cooled (or olive oil)
- Optional: 1 tablespoon milk for brushing, or a little extra butter for the crust
Instructions
- Mix the wet and dry. In a large bowl, whisk the warm water, sugar, and yeast. Let it sit for 2–3 minutes until foamy on top.Add the melted butter and stir.
- Add flour and salt. Stir in the flour and salt with a wooden spoon until a shaggy dough forms. It should look a bit rough but hold together.
- Knead the dough. Turn the dough onto a lightly floured surface. Knead for 6–8 minutes until smooth and elastic.If it’s sticky, dust with a teaspoon of flour at a time. Avoid adding too much.
- First rise. Shape the dough into a ball and place it in a lightly oiled bowl. Cover with a clean towel or plastic wrap.Let it rise in a warm spot for 45–60 minutes, or until doubled.
- Shape the loaf. Punch down the dough gently to release air. Pat it into a rectangle, then roll it up tightly from the short end. Pinch the seam and tuck the ends under.
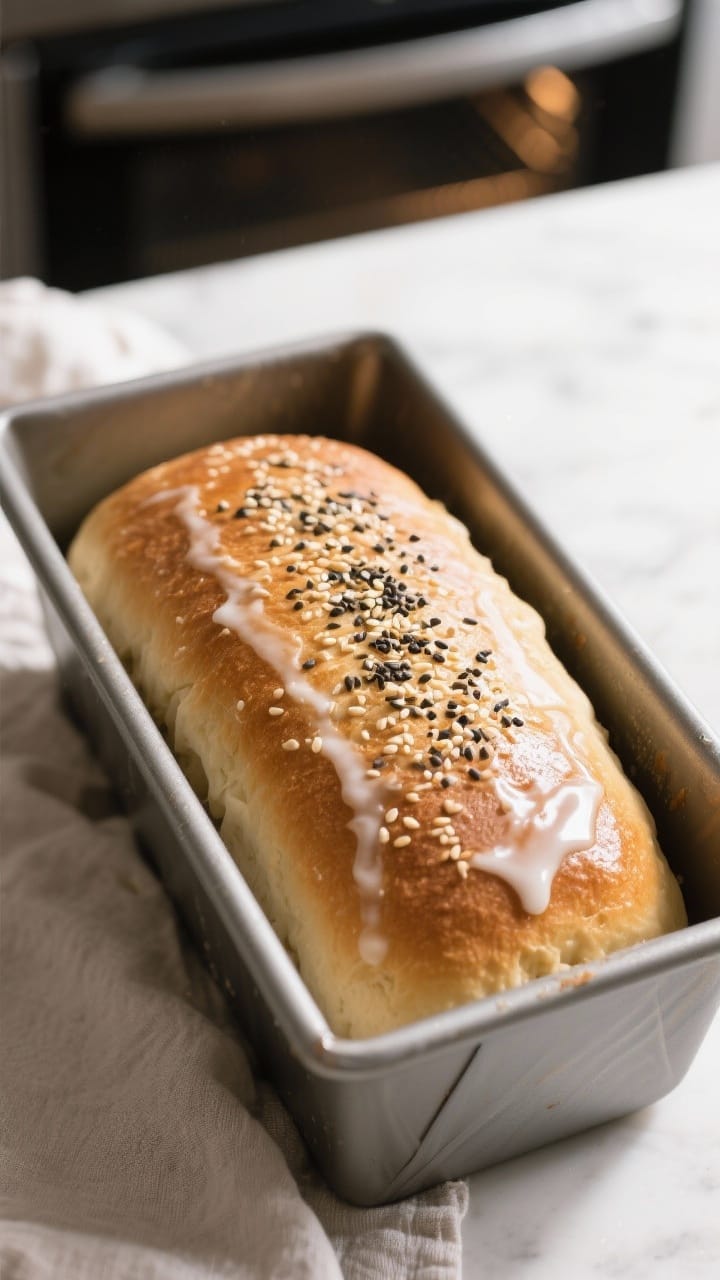
- Second rise. Place the loaf seam-side down in a greased 8.5×4.5-inch or 9×5-inch loaf pan.Cover and let it rise again for 30–40 minutes, until it crowns about an inch above the pan.
- Preheat the oven. While the dough rises, heat your oven to 375°F (190°C). This ensures an even bake and good oven spring.
- Optional glaze. For a soft crust, brush the top with milk. For a richer flavor, brush with melted butter after baking.
- Bake. Bake for 28–32 minutes until the top is golden brown.The loaf should sound hollow when tapped, and an instant-read thermometer should read about 195–200°F (90–93°C) in the center.
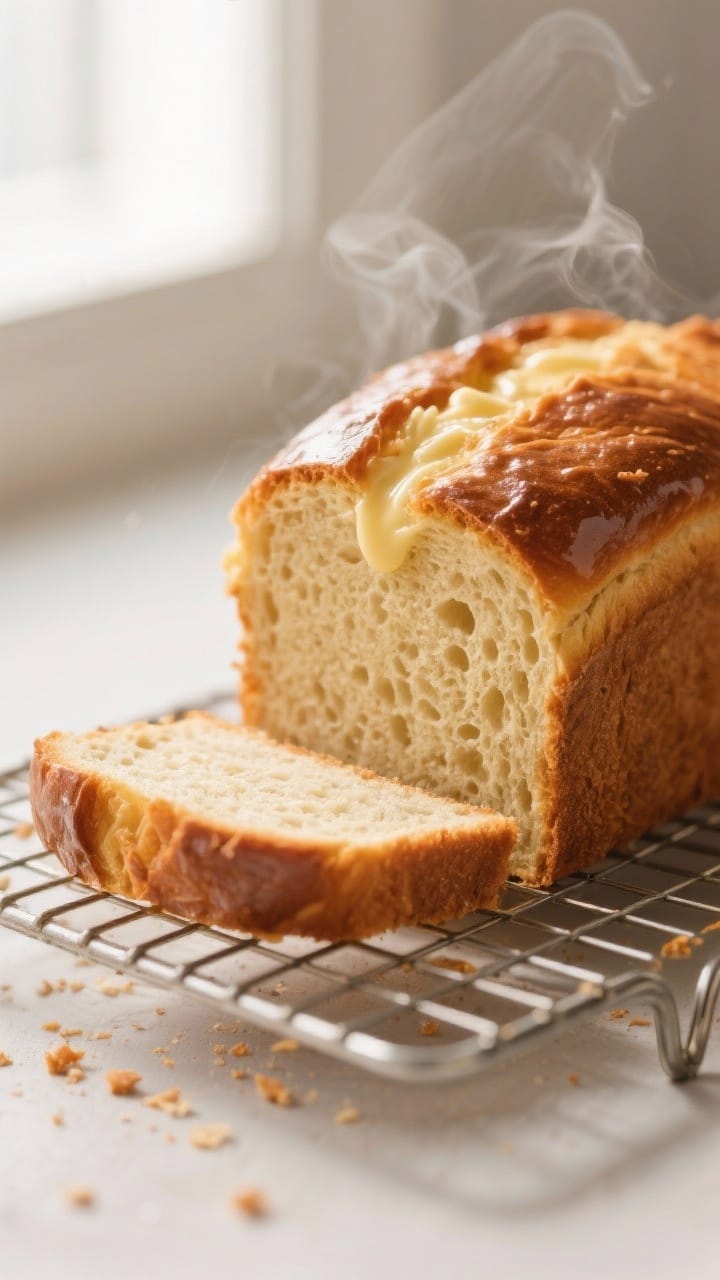
- Cool properly. Remove from the pan right away and cool on a wire rack for at least 45 minutes before slicing. This sets the crumb and keeps it from getting gummy.
Keeping It Fresh
- Room temperature: Store the cooled loaf in a bread bag, airtight container, or wrapped in a clean towel for up to 3 days.
- Freeze: Slice, then freeze in a zip-top bag for up to 3 months. Toast slices straight from the freezer.
- Avoid the fridge: Refrigeration dries bread out quickly.Stick to the counter or freezer.
Benefits of This Recipe
- Budget-friendly: Costs less than store-bought and uses pantry staples.
- Flexible timing: The dough is forgiving if it rises a little longer or shorter.
- Customizable: Easy to add seeds, herbs, or swap flours.
- Beginner confidence: Clear steps build good habits for other breads.
What Not to Do
- Don’t use hot water. Water hotter than 120°F can kill the yeast. Warm, not hot.
- Don’t add too much flour. Slight stickiness is normal. Excess flour makes the bread dense and dry.
- Don’t skip the cool-down. Slicing too soon compresses the crumb and makes it gummy.
- Don’t underproof or overproof. If the dough hasn’t risen enough, the loaf will be tight.If it rises too much, it may collapse.
Variations You Can Try
- Whole wheat twist: Swap 1 cup of the all-purpose flour for whole wheat. Add 1 extra tablespoon of water if needed.
- Olive oil and herb loaf: Replace butter with olive oil. Mix 1 teaspoon dried rosemary or Italian herbs into the dough.
- Honey oat: Add 2 tablespoons honey and 1/3 cup rolled oats.Sprinkle oats on top after brushing with milk.
- Garlic butter swirl: Roll the dough into a rectangle after the first rise, spread with soft garlic butter, roll up, and continue as directed.
- Seeded crust: Brush the top with milk and sprinkle sesame, poppy, or sunflower seeds before baking.
FAQ
Can I use active dry yeast instead of instant yeast?
Yes. Use the same amount, but bloom it first in the warm water with the sugar for 5–10 minutes until foamy before adding the flour and salt. Rise times may be a bit longer.
What if my dough isn’t rising?
Check the yeast freshness and water temperature.
Move the bowl to a warmer spot, like near a preheating oven. If your kitchen is cold, give it more time—yeast is patient, and a slower rise still works.
How do I know I’ve kneaded enough?
The dough should feel smooth and slightly springy. When you press it gently with a finger, it should bounce back slowly.
You can also do the windowpane test—stretch a small piece thinly; if it doesn’t tear right away, you’re good.
Can I make this without a loaf pan?
Yes. Shape it into a round or oval and place it on a parchment-lined baking sheet. Slash the top and bake at the same temperature, checking a few minutes earlier.
How do I get a softer crust?
Brush the top with milk before baking and with melted butter right after it comes out of the oven.
Let it cool under a clean kitchen towel for 10 minutes.
Can I use bread flour?
Absolutely. Bread flour gives more chew and structure. Start with the same amount, and add a teaspoon or two of extra water if the dough feels stiff.
Why did my loaf sink in the middle?
It was likely overproofed or underbaked.
Aim for the loaf to rise just 1 inch above the pan before baking, and bake until it reaches about 195–200°F inside.
In Conclusion
This beginner bread is simple, steady, and satisfying. It uses ingredients you already know and a method you can repeat with confidence. Once you make it a couple of times, you’ll have a go-to loaf for toast, sandwiches, and soup nights.
Keep it basic or make it your own—the results will still be warm, fresh, and reliably good.
Printable Recipe Card
Want just the essential recipe details without scrolling through the article? Get our printable recipe card with just the ingredients and instructions.