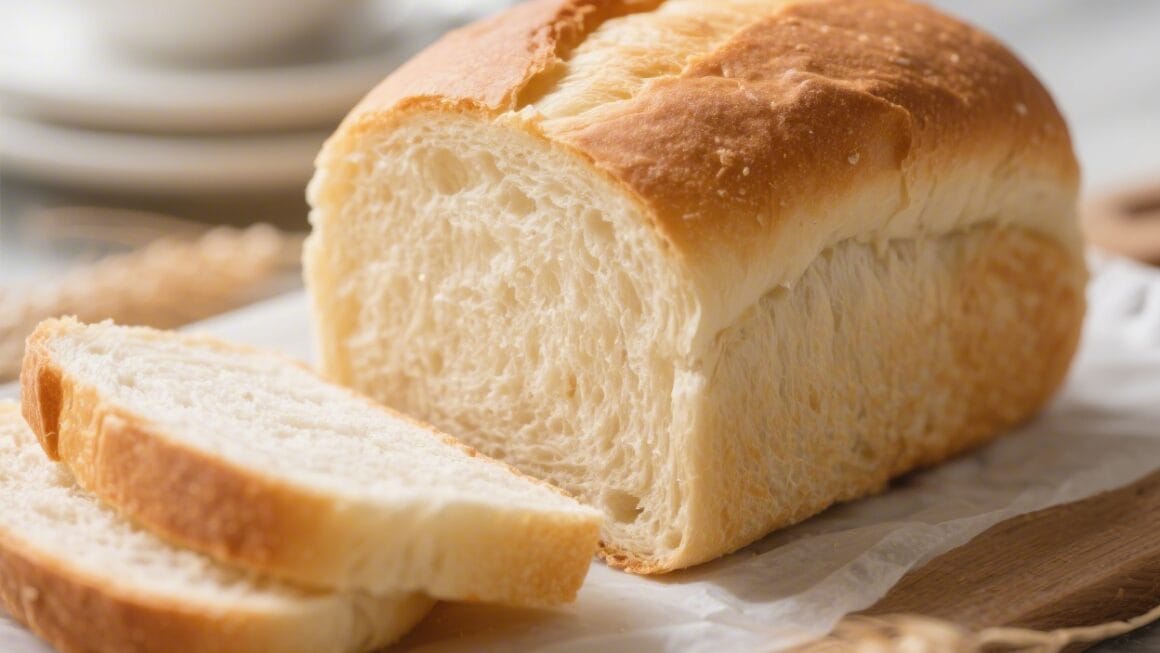
Fresh bread can turn an ordinary meal into something warm and comforting, but a full loaf is often too much for two people. This small-batch bread solves that problem with a compact loaf that’s soft inside, crisp outside, and easy to make on a weeknight. You don’t need special equipment—just a bowl, a spoon, and a baking sheet or small pan.
The dough is forgiving and comes together quickly, even if you’re new to baking. Think of it as just enough bread for dinner and a snack tomorrow, with no waste.
Why This Recipe Works
This recipe uses a modest amount of yeast and a slightly higher hydration to keep the crumb tender. It also includes a short rest called an autolyse, which helps gluten form with less kneading.
A warm rise ensures the dough develops flavor without taking all day. Finally, baking with steam (or a covered pan) gives the crust that bakery-style crackle and color.
Ingredients
- 1 1/3 cups (160 g) bread flour(or all-purpose flour, but bread flour gives better chew)
- 1/3 cup (40 g) whole wheat flour(optional but recommended for flavor; sub with more white flour if you prefer)
- 3/4 cup (180 ml) warm water(about 105–110°F; warm to the touch, not hot)
- 1 teaspoon (4 g) sugar or honey
- 1 teaspoon (5 g) fine sea salt
- 3/4 teaspoon (2–3 g) instant or active dry yeast
- 1 tablespoon (14 g) olive oil(optional; adds softness and flavor)
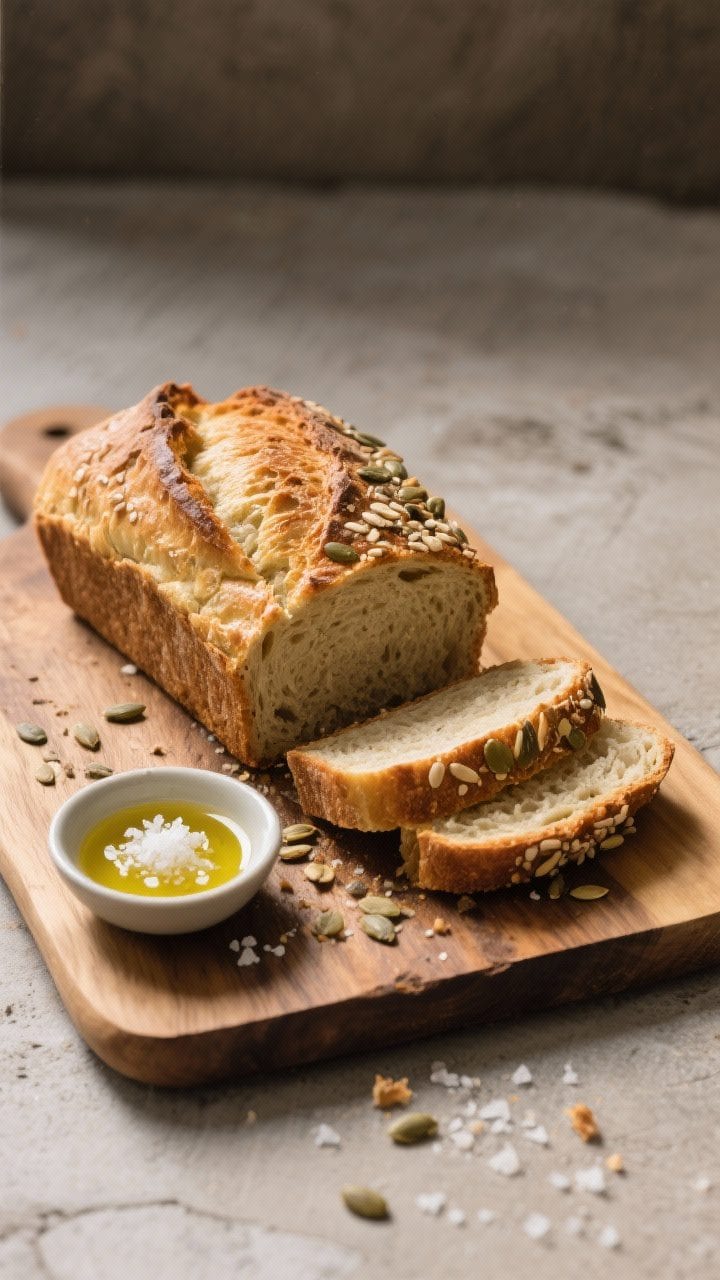
- Optional toppings:sesame seeds, poppy seeds, coarse salt, or a dusting of flour for freezer-friendly bread
Instructions
- Proof the yeast (if using active dry): In a small bowl, stir the warm water with sugar or honey. Sprinkle the yeast on top and let it sit for 5–10 minutes until foamy.If using instant yeast, you can skip proofing and add it directly to the flour; still mix the warm water with the sugar or honey separately.
- Combine dry ingredients: In a medium bowl, whisk together the bread flour, whole wheat flour, and salt. If using instant yeast, add it now and whisk to distribute.
- Bring the dough together: Pour the water (with dissolved sugar/honey) into the flour mixture. Add olive oil if using.Stir with a spoon until a shaggy dough forms and no dry spots remain. The dough should be slightly sticky.
- Rest (autolyse): Cover the bowl with a towel and let the dough rest for 15 minutes. This short break makes kneading much easier.
- Knead briefly: Lightly flour your hands and a clean surface.Knead the dough for 4–6 minutes until smooth and elastic. If it sticks, dust lightly with flour, but avoid adding too much. The dough should feel soft and springy.
- First rise: Place the dough in a lightly oiled bowl, turning to coat.Cover and let it rise in a warm spot until doubled, 45–75 minutes depending on room temperature. Warmer room = quicker rise.
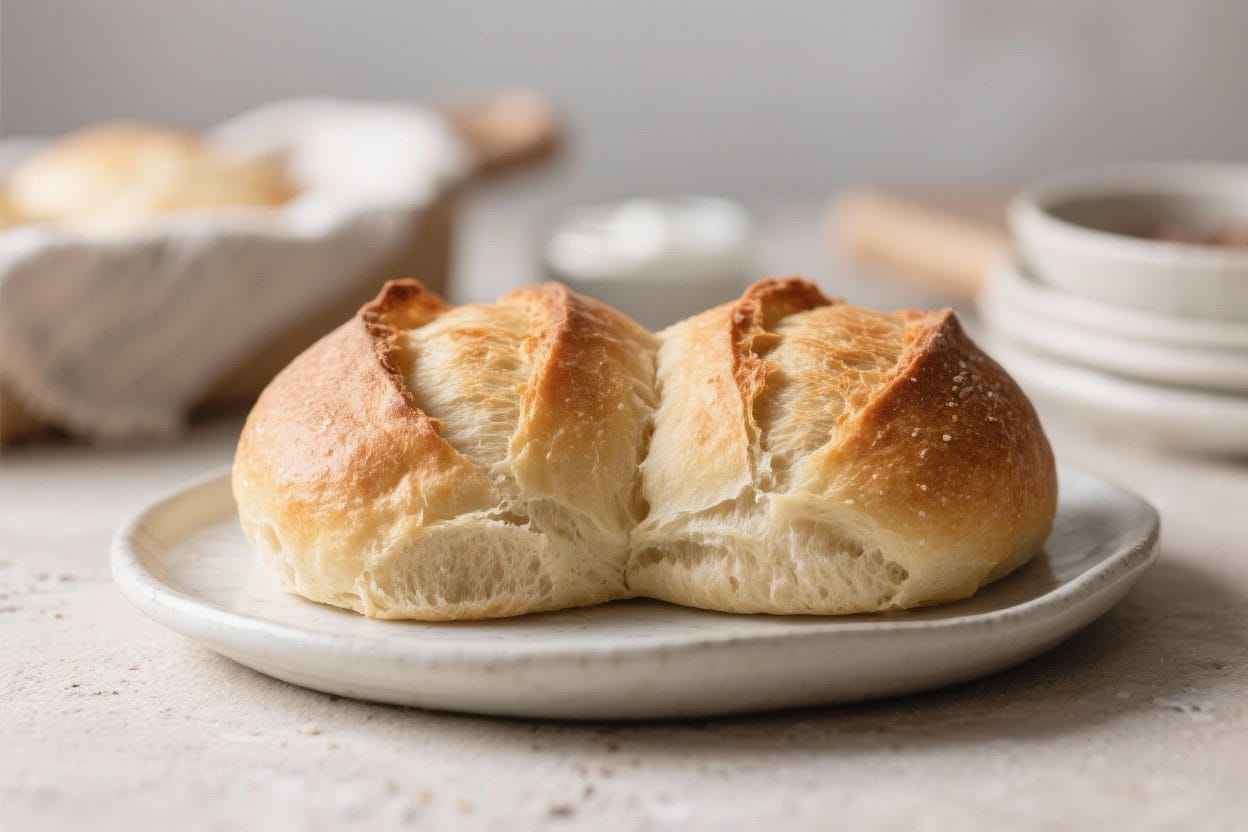
- Shape the loaf: Gently deflate the dough. For a mini boule (round loaf), tuck the edges under to create surface tension and form a smooth ball. For a mini batard (oval), flatten into a rectangle, fold the long sides toward the center, and roll into a tight log.
- Second rise: Place the shaped dough on a parchment-lined baking sheet or in a small 6–7 inch loaf pan.Cover lightly and let it rise until puffy and about 50% larger, 30–45 minutes. The dough should spring back slowly when poked.
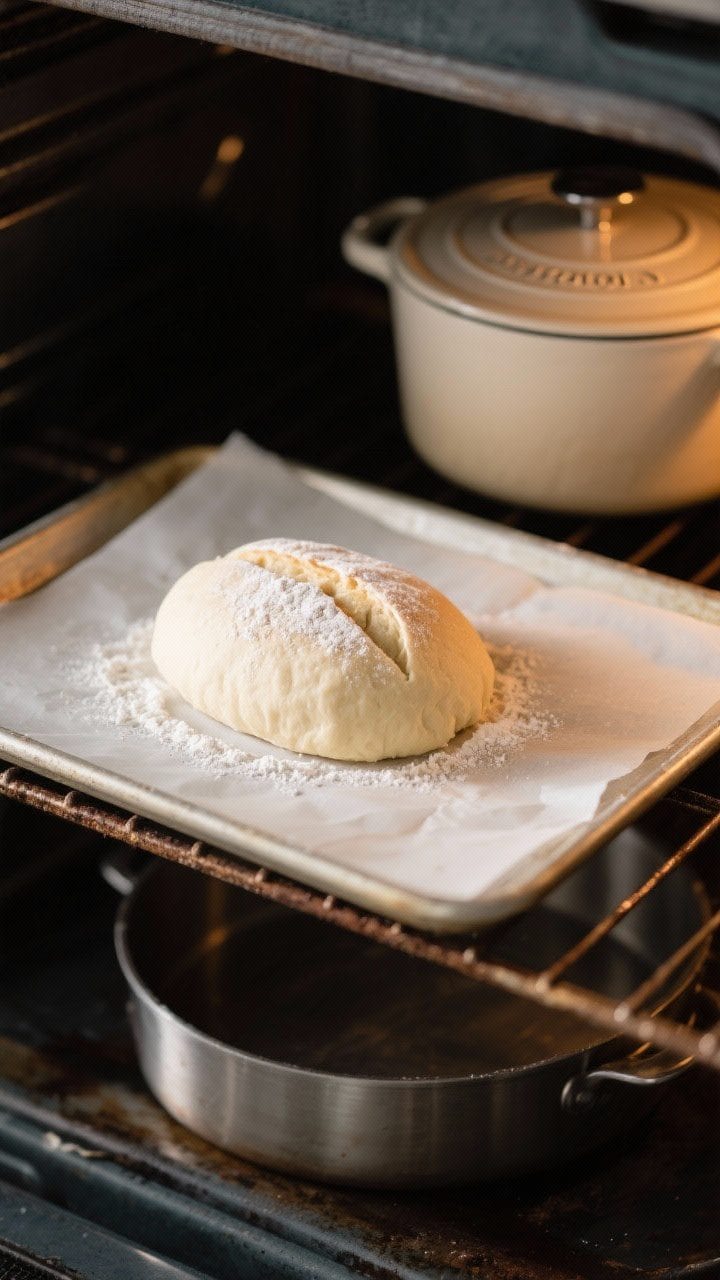
- Preheat the oven: While the dough proofs, preheat your oven to 425°F (220°C). Place a small, empty metal pan on the lowest rack to heat (for steam).If you have a small Dutch oven, preheat it as well and bake covered instead of using steam.
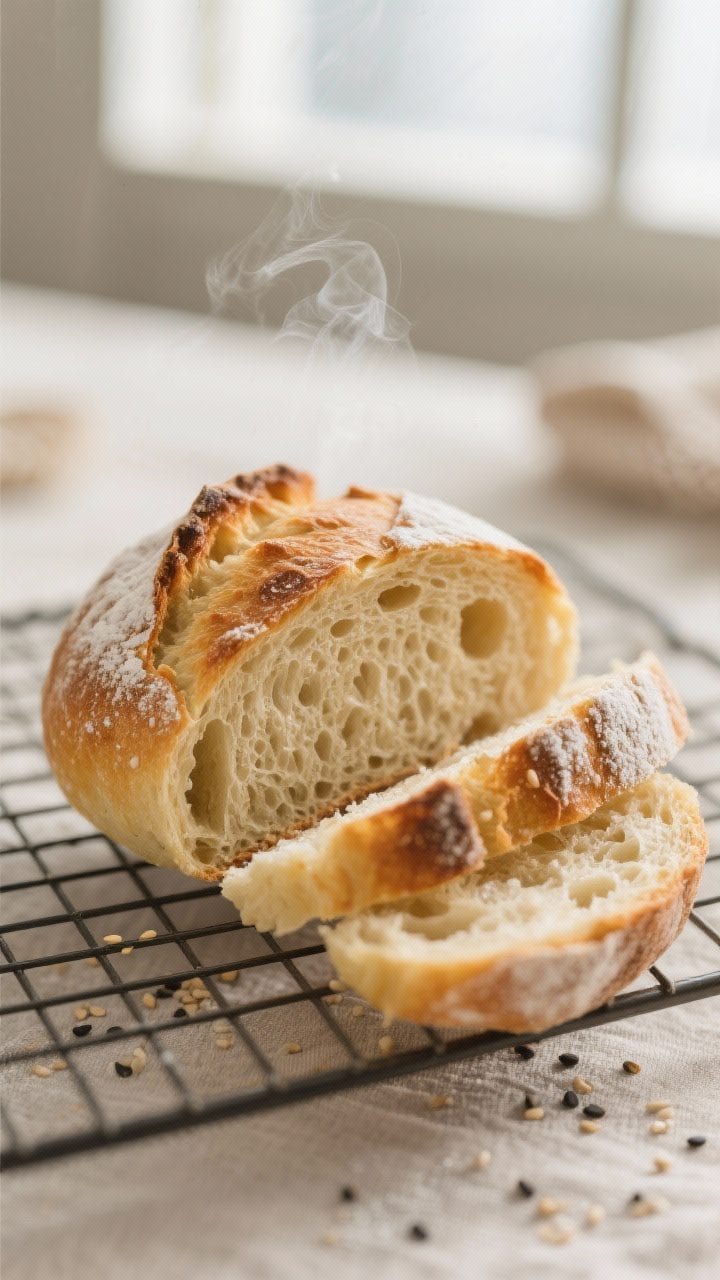
- Score and steam: Sprinkle the loaf with a little flour or brush with water. Use a sharp knife or razor to make a 1/4-inch deep slash on top. Pour 1/2 cup hot water into the preheated pan in the oven to create steam and close the door quickly.
- Bake: Bake for 22–28 minutes, until the crust is deep golden and the loaf sounds hollow when tapped. Internal temperature should reach 200–205°F (93–96°C). If using a Dutch oven, bake covered for 18 minutes, then uncover for 6–10 minutes to brown.
- Cool: Transfer the bread to a rack and let it cool at least 30 minutes before slicing.This sets the crumb and prevents gumminess.
Keeping It Fresh
- Short term: Once cool, store the loaf cut side down on a cutting board and cover with a clean towel for up to 24 hours. This keeps the crust crisp and the inside soft.
- Longer storage: Place in a paper bag inside a loose plastic bag for 2–3 days at room temperature. Avoid the fridge—it dries bread out.
- Freezing: Slice, place in a freezer bag, and freeze up to 2 months.Toast straight from frozen or warm in a 325°F oven for 8–10 minutes.
- Reviving: To refresh day-old bread, spritz lightly with water and bake at 350°F for 5–8 minutes.
Benefits of This Recipe
- Right-sized: Makes 1 small loaf—perfect for two people with minimal leftovers.
- Flexible: Works with bread flour or all-purpose, and you can swap the whole wheat for more white flour.
- Low effort: Short resting time and brief knead make it beginner-friendly.
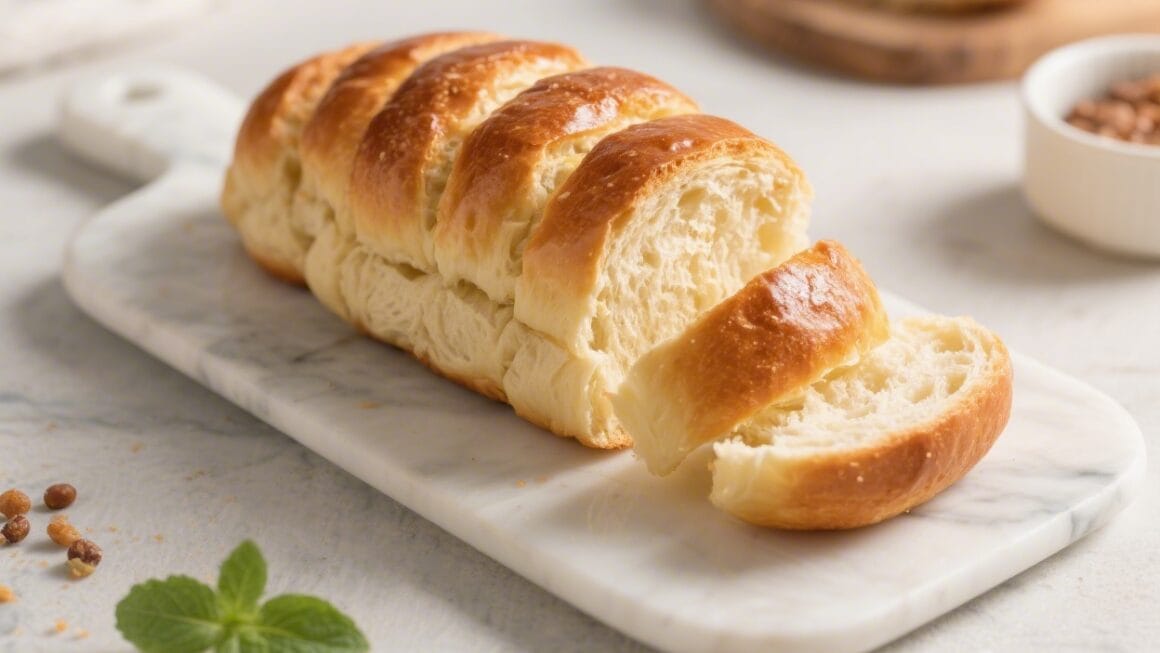
- Great texture: Crisp crust, soft crumb, and a mild, slightly wheaty flavor.
- Weeknight-friendly: From start to finish in about 2 hours, most of it hands-off.
What Not to Do
- Don’t use hot water: Anything above 120°F can kill yeast. Aim for warm, not hot.
- Don’t add too much flour: A sticky dough is normal. Over-flouring makes the loaf dense and dry.
- Don’t skip the rest: The 15-minute rest reduces kneading and improves texture.
- Don’t slice too soon: Cutting while hot compresses the crumb and makes it gummy.
- Don’t store in the fridge: Refrigeration speeds staling.Freeze instead.
Alternatives
- Herb and garlic: Add 1 teaspoon Italian seasoning and 1–2 minced garlic cloves during mixing. Brush with olive oil before baking.
- Seeded crust: Brush the shaped dough with water and roll in sesame, poppy, or sunflower seeds before the second rise.
- Olive loaf: Fold in 1/3 cup chopped, well-drained olives after the first rise. Reduce added oil to 1 teaspoon.
- Honey oat: Replace sugar with 1 tablespoon honey and add 2 tablespoons rolled oats to the dough; sprinkle more oats on top.
- No-knead shortcut: Use 1/2 teaspoon yeast, mix the dough, cover, and rest at room temp for 8–12 hours.Shape, then bake in a preheated Dutch oven at 450°F for 25–30 minutes (covered, then uncovered to brown).
- Gluten-free note: Use a 1:1 gluten-free flour blend designed for yeast breads and add 1/2 teaspoon xanthan gum if not included. Expect a more batter-like dough; rise in a pan rather than free-form.
FAQ
Can I make this without whole wheat flour?
Yes. Replace the whole wheat flour with the same amount of white flour.
The loaf will be a bit lighter in color and slightly softer.
What if I don’t have a kitchen scale?
Use the cup measures given, but spoon and level your flour—don’t scoop directly from the bag. Scooping compacts the flour and adds too much, which can make the bread dense.
How do I know if my dough is kneaded enough?
It should feel smooth and elastic and hold its shape. If you gently stretch a small piece, it should thin without tearing right away.
If it rips instantly, knead 1–2 minutes more.
My dough isn’t rising. What’s wrong?
Warm up the environment. Place the covered bowl near a warm oven, on top of the fridge, or in a turned-off oven with the light on.
If nothing happens after 90 minutes, your yeast may be expired.
Can I use a stand mixer?
Yes. Mix on low for 2 minutes to combine, then knead on medium-low for 4–5 minutes. Stop when the dough is smooth and slightly tacky.
How do I get a crusty exterior?
Steam is key.
Use the hot water pan or bake in a preheated Dutch oven. Also, avoid brushing with butter after baking if you want a crisp crust.
Can I double the recipe?
Absolutely. Double all ingredients and split into two small loaves or bake one medium loaf.
Add a few extra minutes to the bake time and check for doneness.
Is olive oil necessary?
No. Oil adds flavor and softness, but you can omit it for a chewier, more rustic loaf. The method stays the same.
What’s the best way to slice it?
Use a serrated knife and gentle sawing motions.
Let the bread cool at least 30 minutes before slicing for clean cuts.
Can I add cheese?
Yes. Fold in 1/3 cup shredded Parmesan or cheddar after the first rise. Reduce added salt by a pinch if your cheese is salty.
In Conclusion
This small-batch bread gives you the pleasure of fresh, homemade loaves without extra leftovers.
It’s straightforward, flexible, and sized for two, making it an easy win for weeknights or lazy weekends. With a short ingredient list and a few smart steps, you’ll get a tender crumb and a crisp crust every time. Keep this recipe handy—it’s the kind you’ll make again and again.
Printable Recipe Card
Want just the essential recipe details without scrolling through the article? Get our printable recipe card with just the ingredients and instructions.