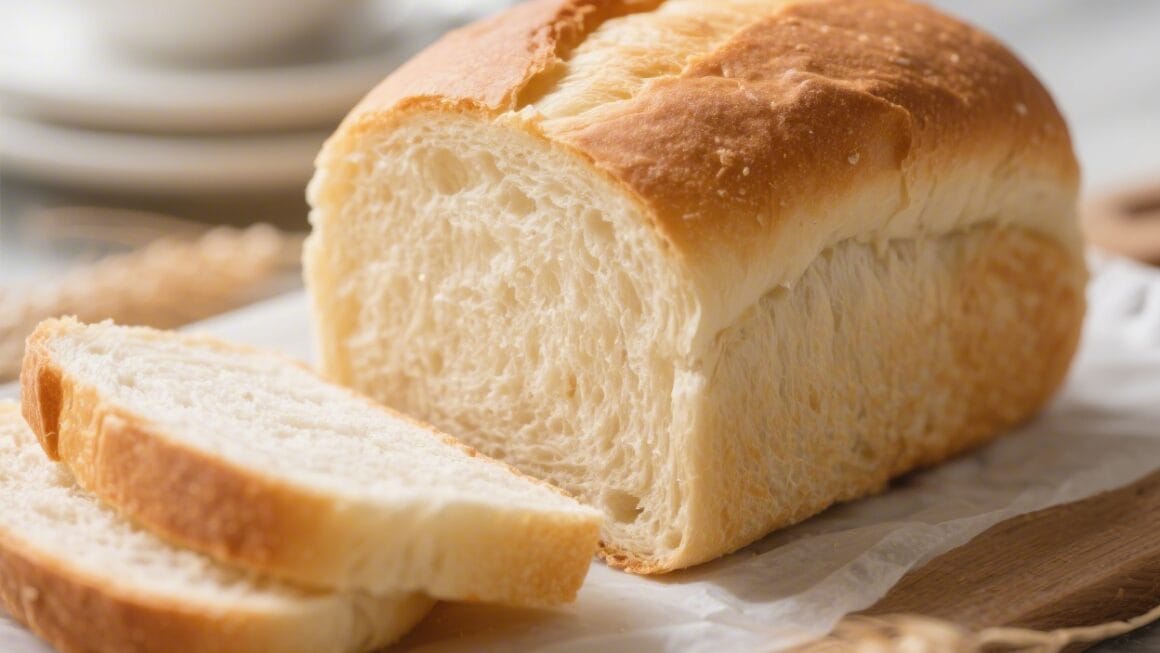
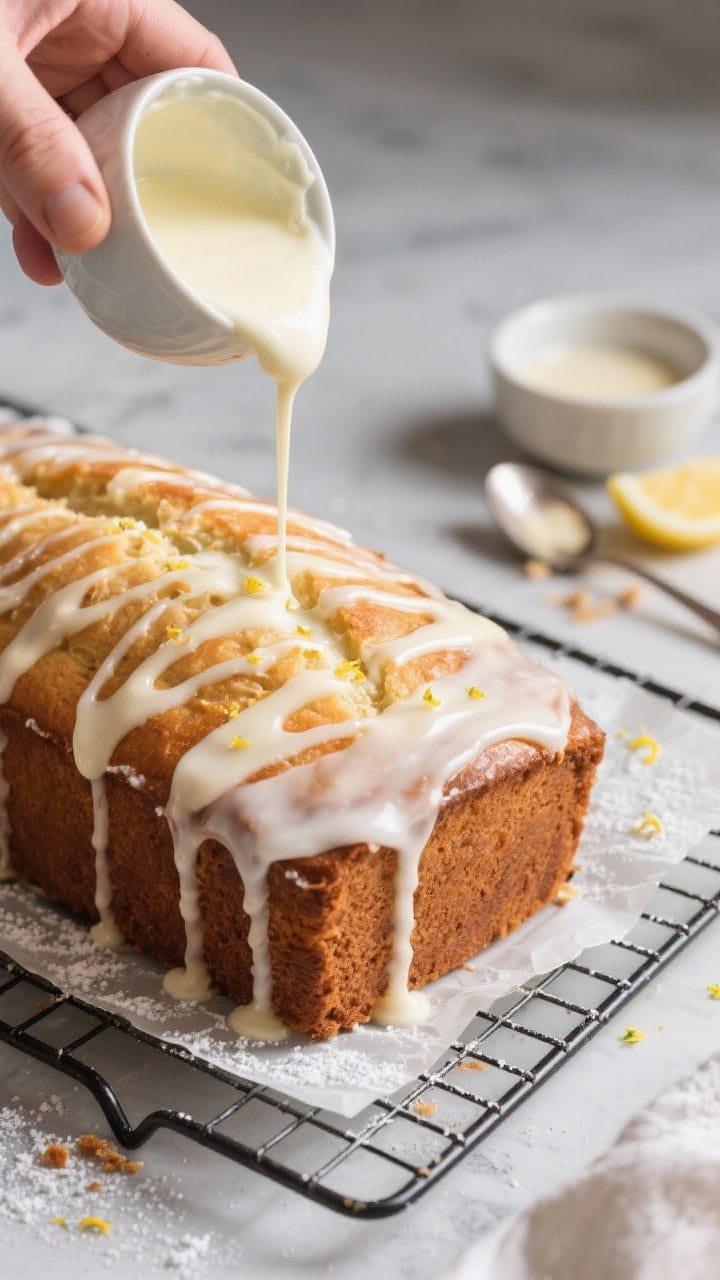
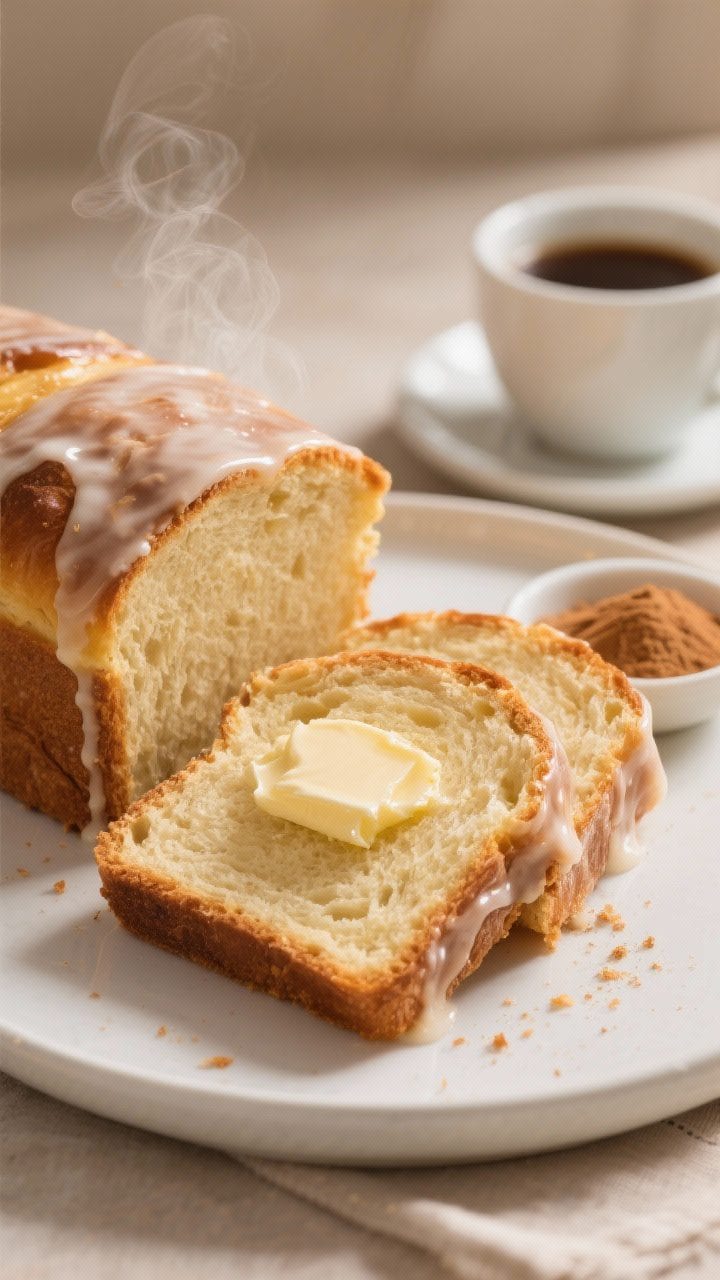
This sweet bread loaf is the kind of treat that makes your kitchen smell like a bakery. It’s soft, lightly sweet, and finished with a glossy vanilla glaze that sets just enough to slice cleanly. Whether you’re serving it warm with butter or alongside coffee, it feels special without being fussy.
The dough is easy to work with, and the glaze comes together in minutes. If you’re new to baking bread, this is a gentle place to start.
What Makes This Special
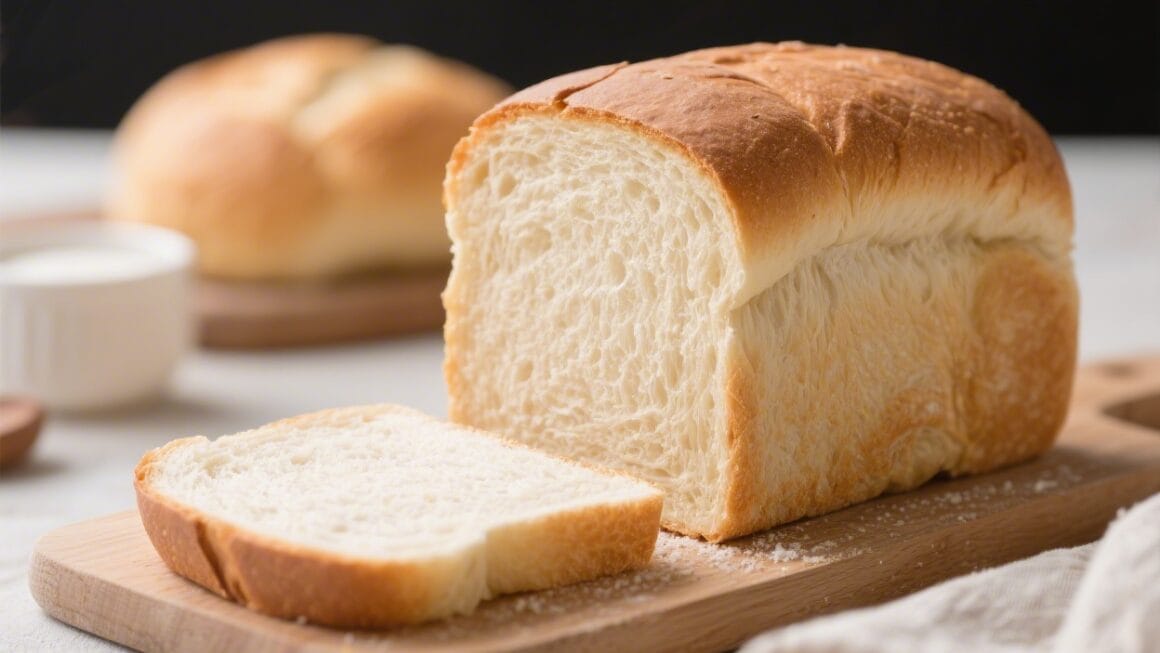
This loaf isn’t overly sweet, so it works for breakfast, brunch, or dessert. The crumb is tender and fluffy, thanks to a simple enriched dough made with milk, eggs, and butter.
The vanilla glaze adds a nostalgic touch—sweet, fragrant, and shiny.
It also holds up well for a few days and toasts beautifully, making it a great make-ahead option. Bake one for your family or bring it to a friend; it’s the kind of bread that makes people linger at the table.
Ingredients
- All-purpose flour (3 1/2 to 4 cups)
- Granulated sugar (1/3 cup for the dough)
- Active dry yeast (2 1/4 teaspoons, one packet)
- Whole milk (1 cup), warmed
- Unsalted butter (6 tablespoons), softened
- Eggs (2 large)
- Salt (1 teaspoon)
- Vanilla extract (2 teaspoons total; 1 for dough, 1 for glaze)
- Powdered sugar (1 1/2 cups) for the glaze
- Heavy cream or milk (2–3 tablespoons) for the glaze
- Optional flavor boosters: ground cinnamon, lemon zest, or almond extract
Instructions
- Warm the milk. Heat the milk until it’s warm to the touch, about 105–110°F. It should feel pleasantly warm, not hot.
- Activate the yeast. In a large bowl, mix the warm milk with the yeast and a pinch of sugar.Let it sit for 5–10 minutes until foamy. If it doesn’t foam, the yeast may be inactive and you should start over with fresh yeast.
- Make the dough. Add the sugar, salt, 1 teaspoon vanilla, eggs, and 3 1/2 cups flour to the yeast mixture. Stir until a shaggy dough forms.Add the softened butter and knead (by hand or mixer) for 8–10 minutes, adding small amounts of flour as needed, until the dough is smooth, slightly tacky, and elastic.
- First rise. Place the dough in a lightly greased bowl, cover, and let it rise in a warm spot until doubled, about 60–90 minutes.
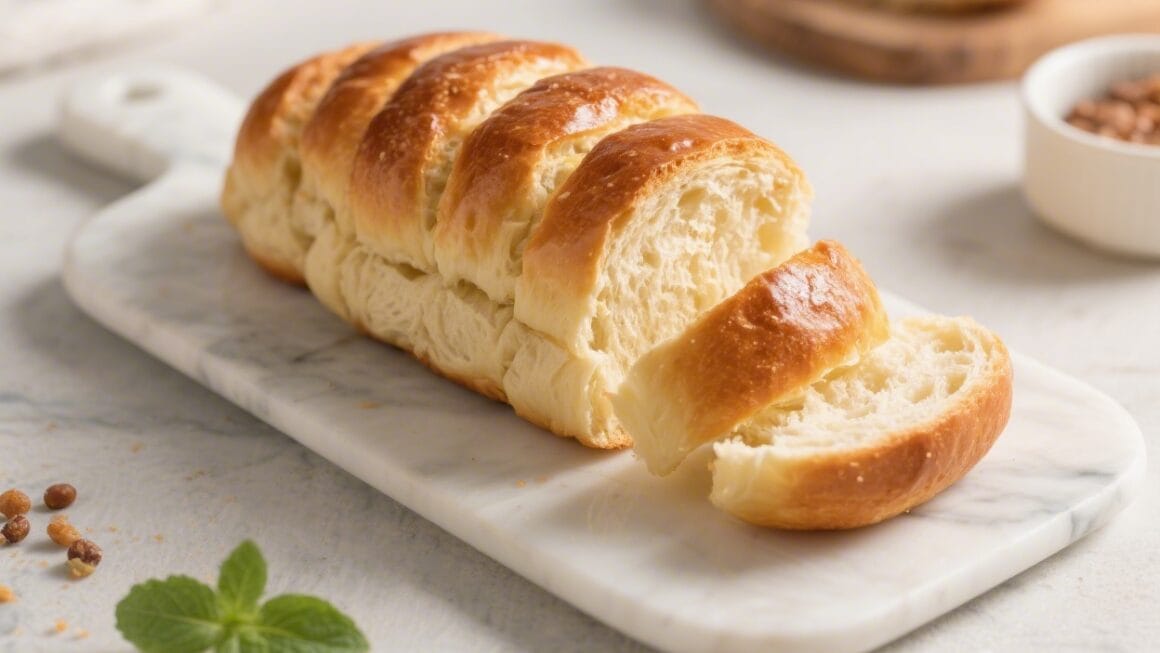
- Shape the loaf. Punch down the dough gently. Turn it onto a lightly floured surface and shape it into a tight loaf. You can roll it into a rectangle and then roll it up like a jelly roll, pinching the seam, or braid three strands for a prettier top.
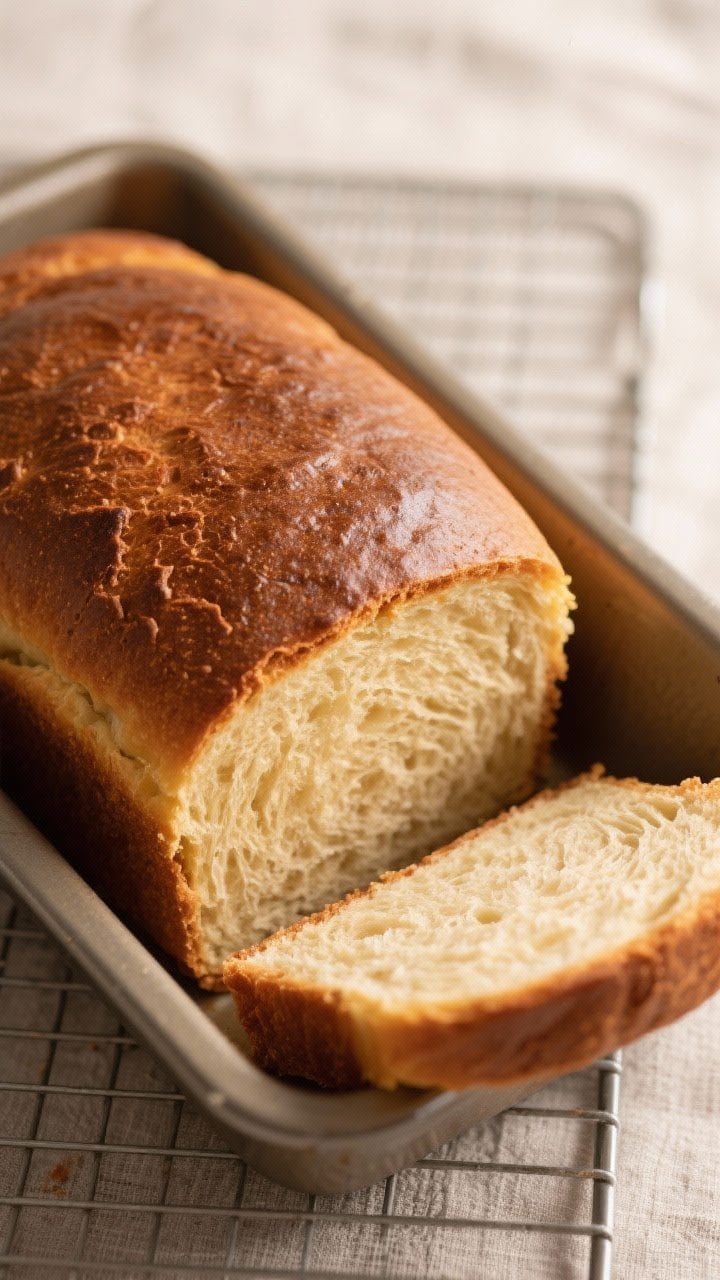
- Second rise. Place the shaped dough into a greased 9×5-inch loaf pan.Cover and let rise until the dough crowns about 1 inch above the rim, 35–60 minutes.
- Preheat and bake. Preheat the oven to 350°F (175°C). Bake for 28–35 minutes until the top is golden and the loaf sounds hollow when tapped. If it browns too fast, tent with foil for the last 10 minutes.
- Cool before glazing. Let the loaf cool in the pan for 10 minutes, then transfer to a wire rack.Cool until just warm. Glazing too hot will melt it; too cool and it won’t set nicely.
- Make the vanilla glaze. Whisk powdered sugar, 1 teaspoon vanilla, and 2 tablespoons milk or cream until smooth and pourable. Add a splash more liquid if needed.For extra shine, use cream instead of milk.
- Glaze and set. Drizzle the glaze over the warm loaf, letting it run down the sides. Allow 15–20 minutes for the glaze to set before slicing.
How to Store
Keep the loaf at room temperature, covered, for up to 3 days. A reusable bread bag or an airtight container works well.
Avoid the fridge; it dries bread out faster.
For longer storage, slice and freeze in a freezer bag for up to 2 months. Toast straight from frozen or let the slices thaw at room temperature. If freezing a whole loaf, wrap tightly in plastic, then foil.
Health Benefits
- Steady energy: The mix of carbs and a touch of fat provides sustained energy, making it a satisfying breakfast option.
- Protein from eggs and milk: These add structure and a bit of protein to keep you fuller than a simple pastry.
- Control the sweetness: This loaf is gently sweet, and the glaze amount is adjustable to your preference.
- Better ingredients: Making it at home means you can use quality butter, organic flour, or reduce sugar if you like.
Common Mistakes to Avoid
- Overheating the milk: Hot milk kills yeast.Keep it warm, not hot.
- Adding too much flour: The dough should be slightly sticky. Too much flour makes the loaf dense and dry.
- Rushing the rise: Let the dough double. Under-proofed dough won’t have that soft, airy crumb.
- Skipping the cool-down: Glazing a hot loaf melts the glaze; slicing too early squishes the crumb.
- Forgetting to tent: If the top browns too quickly, cover loosely with foil to prevent over-browning.
Alternatives
- Dairy-free: Use almond milk or oat milk and a dairy-free butter substitute.The texture will still be soft.
- Cinnamon swirl: Before shaping, roll the dough into a rectangle, brush with butter, and sprinkle with cinnamon sugar. Roll up and bake as directed.
- Lemon-vanilla glaze: Add lemon zest to the dough and use lemon juice in the glaze for a bright, citrusy finish.
- Almond twist: Add 1/2 teaspoon almond extract to the dough and top the glaze with sliced almonds.
- Whole wheat blend: Swap in up to 1 cup whole wheat flour. Add an extra tablespoon of milk if the dough feels stiff.
- Mini loaves: Divide into two smaller pans and bake 20–25 minutes.Great for gifting.
FAQ
Can I use instant yeast instead of active dry yeast?
Yes. Use the same amount and mix it directly with the dry ingredients. You can skip the activation step, but still make sure your liquid is warm and not hot.
How do I know the dough has been kneaded enough?
The dough should be smooth and elastic.
When you gently stretch a small piece, it should thin without tearing quickly (the “windowpane” test). If it tears immediately, knead a bit longer.
Why did my loaf turn out dense?
Common reasons include adding too much flour, not letting the dough rise fully, or using old yeast. Keep the dough slightly tacky, proof until doubled, and check your yeast’s expiration date.
Can I make the dough the night before?
Yes.
After the first rise, shape the loaf, place it in the pan, cover, and refrigerate overnight. Let it come to room temperature and rise until puffy, then bake.
What if I don’t have a loaf pan?
Shape the dough into a tight oval and bake on a parchment-lined sheet. It will spread a bit and bake faster; start checking around 25 minutes.
How thick should the glaze be?
It should be pourable but not watery—think heavy cream consistency.
If it’s too thin, add more powdered sugar; too thick, add a teaspoon of milk at a time.
Can I reduce the sugar?
Yes. Reduce the dough sugar to 1/4 cup and glaze lightly or skip the glaze. The bread will still be flavorful and soft.
How do I get a shiny, smooth glaze?
Use cream instead of milk and sift the powdered sugar before mixing.
Glaze while the loaf is warm so it sets with a slight sheen.
Is this good for French toast?
Absolutely. Slightly stale slices are perfect. The soft crumb soaks up custard beautifully and the hint of vanilla shines through.
Can I add mix-ins like raisins or chocolate chips?
Yes.
Fold in up to 3/4 cup after kneading, right before the first rise. Pat them in gently to distribute evenly.
Wrapping Up
Sweet Bread Loaf With Vanilla Glaze is simple, cozy, and endlessly adaptable. It’s soft enough to enjoy plain, yet sturdy enough to toast or turn into French toast.
With a few pantry basics and a little time, you’ll have a loaf that makes any morning feel special. Bake it once, and it’ll earn a spot in your regular rotation.
Printable Recipe Card
Want just the essential recipe details without scrolling through the article? Get our printable recipe card with just the ingredients and instructions.