Savory Chicken Stuffed Buns Recipe – Soft, Fluffy, and Packed With Flavor
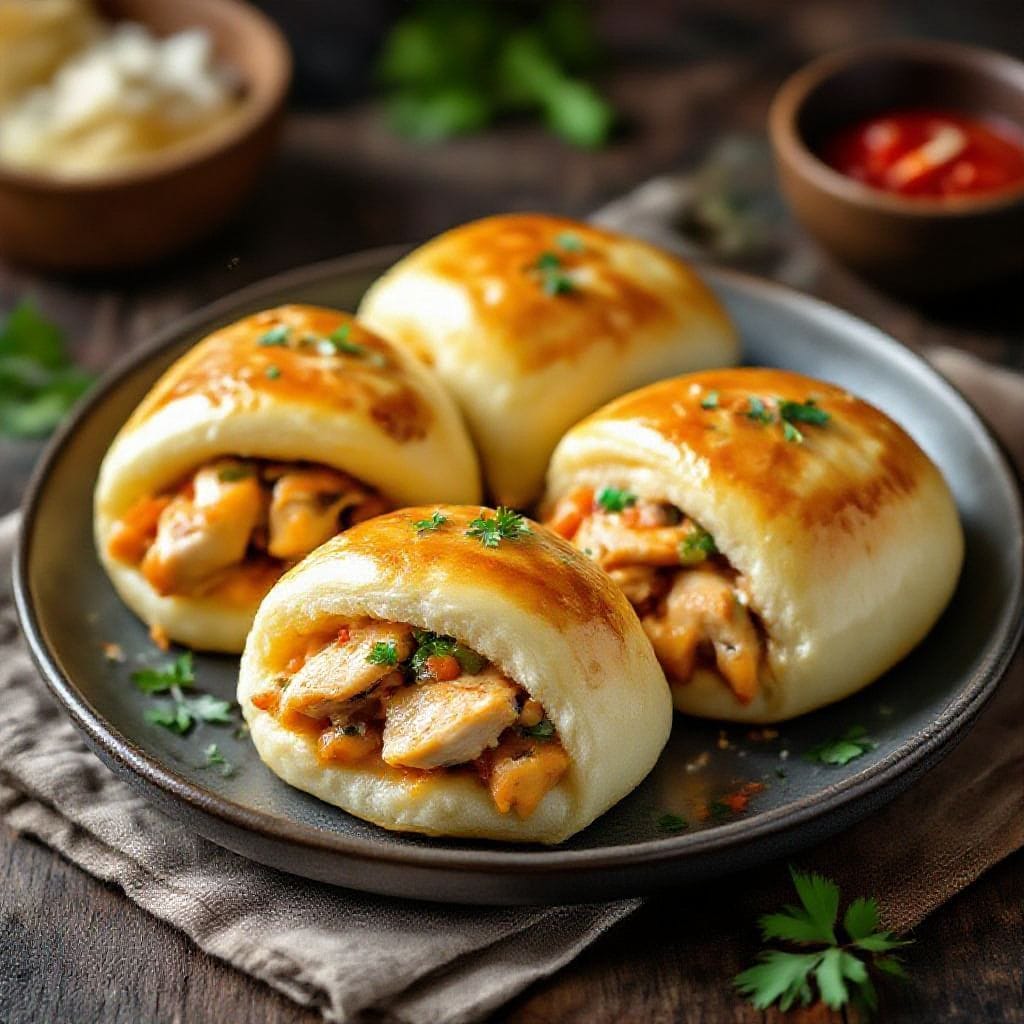
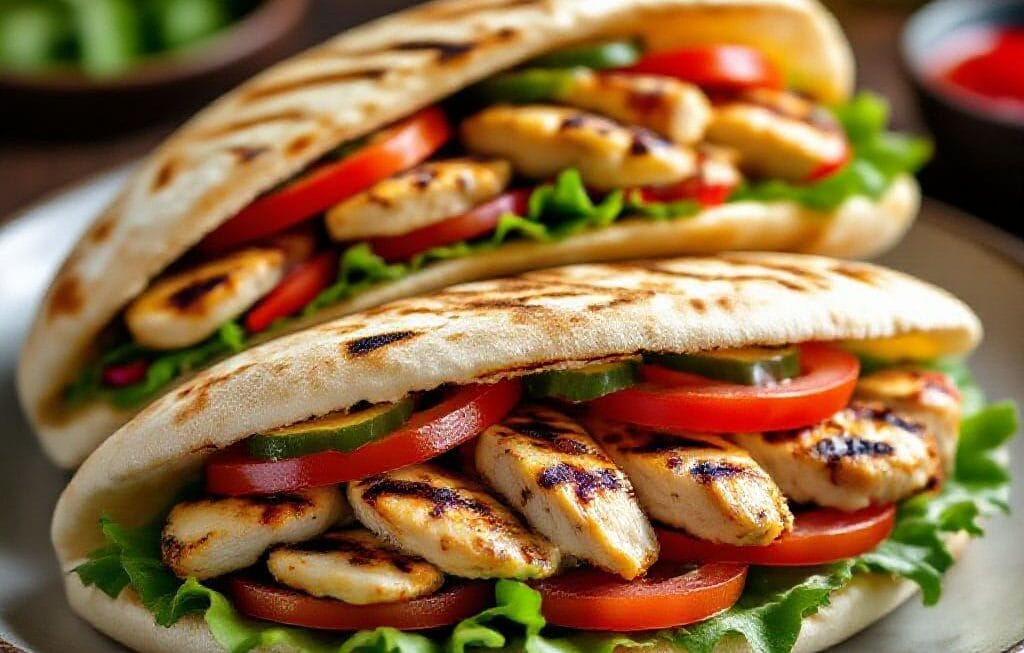
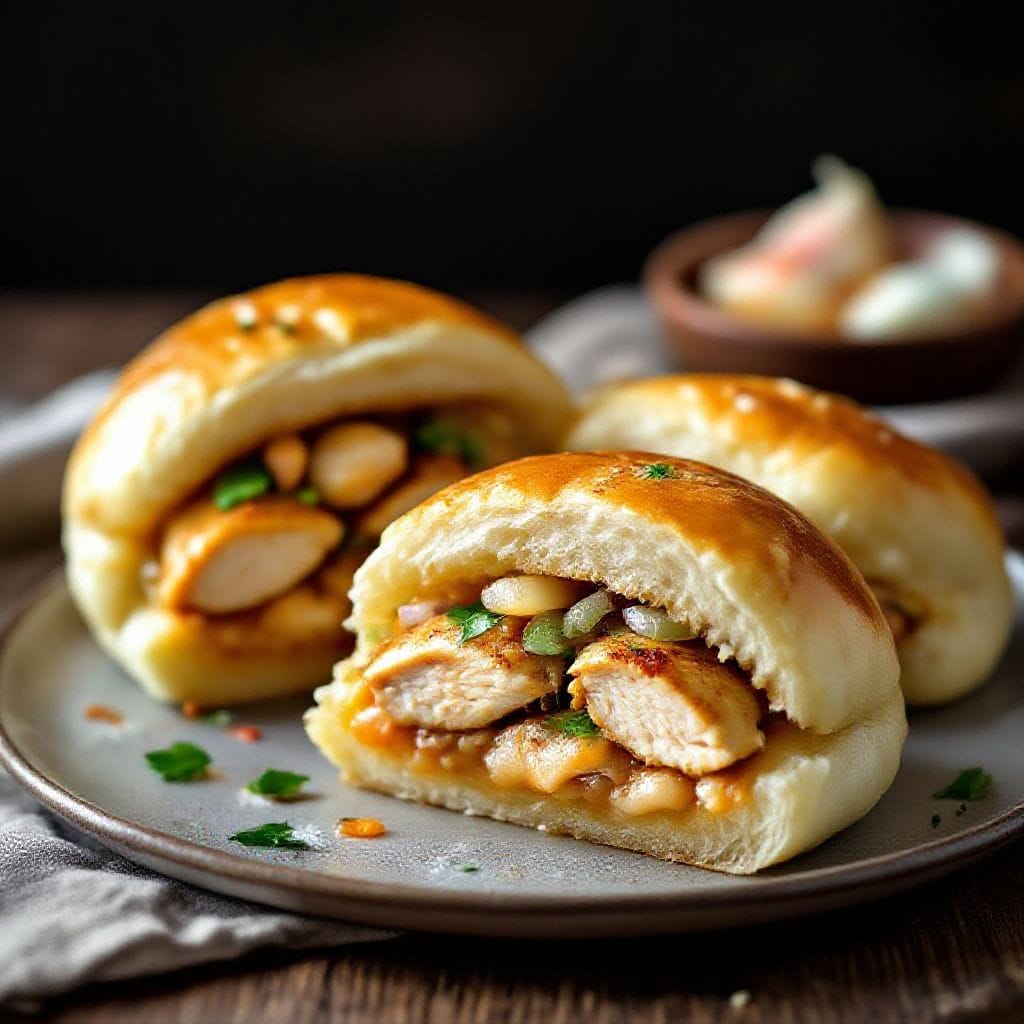
These buns are everything you want in a cozy, homemade snack: soft dough, a warm savory filling, and a golden top that smells like comfort. If you love a good bakery-style bun, this recipe brings it right to your kitchen without fuss. The chicken is juicy, well-seasoned, and balanced with a gentle sweetness from onions. The dough is simple and forgiving, making it great even if you’re new to baking. Serve them for lunch, game day, or as a make-ahead snack for the week.
Why This Recipe Works
Savory chicken stuffed buns recipe – Savory Chicken Stuffed Buns Recipe – Soft, Fluffy, and Packed With Flavor These buns are everything
- Soft, pillowy dough: A mix of milk, butter, and egg creates tender buns that stay soft even after cooling.
- Flavor-packed filling: The chicken is cooked with aromatics and spices, then moistened with a touch of stock to keep it juicy.
- Make-ahead friendly: The dough can be chilled overnight, and the cooked filling freezes well.
- Balanced texture: A light egg wash and optional sesame seeds add a delicate crust while keeping the inside fluffy.
- Customizable: Swap spices, add veggies, or use leftover rotisserie chicken without losing quality.
Ingredients
Savory chicken stuffed buns recipe – If you love a good bakery-style bun, this recipe brings it right to your kitchen without fuss
For the Dough
Savory chicken stuffed buns recipe – The chicken is juicy, well-seasoned, and balanced with a gentle sweetness from onions
- 3 cups all-purpose flour (360 g), plus extra for dusting
- 2 1/4 teaspoons instant yeast (1 packet)
- 2 tablespoons granulated sugar
- 1 teaspoon fine salt
- 3/4 cup warm milk (180 ml), about 105–110°F
- 1/4 cup warm water (60 ml)
- 1 large egg, room temperature
- 3 tablespoons unsalted butter, softened
For the Chicken Filling
- 1 tablespoon neutral oil (canola or vegetable)
- 1 small onion, finely chopped
- 2 cloves garlic, minced
- 1 teaspoon grated fresh ginger (optional but recommended)
- 1/2 pound (225 g) cooked chicken, finely chopped or shredded
- 1/2 cup finely diced bell pepper or peas (optional)
- 1/2 teaspoon ground cumin
- 1/2 teaspoon smoked paprika or regular paprika
- 1/4 teaspoon turmeric (optional for color)
- 1/4–1/2 teaspoon red pepper flakes or chili powder (to taste)
- 1/2 teaspoon salt, or to taste
- 1/4 teaspoon black pepper
- 2 tablespoons tomato paste or ketchup
- 1/4 cup chicken stock or water
- 2 tablespoons chopped cilantro or parsley
- 1 teaspoon lemon juice
For Finishing
- 1 egg, beaten with 1 tablespoon milk (egg wash)
- Sesame seeds or nigella seeds (optional)
- Soft butter for brushing, optional
Instructions
- Activate the dough: In a large bowl, whisk flour, yeast, sugar, and salt. In a separate bowl, mix warm milk, warm water, and egg. Pour wet ingredients into the dry, add butter, and stir until a shaggy dough forms.
- Knead until smooth: Turn the dough onto a lightly floured surface and knead 8–10 minutes until smooth and elastic. If using a stand mixer, knead on medium speed for 6–7 minutes. The dough should be soft and slightly tacky, not sticky.
- First rise: Place the dough in a lightly oiled bowl, cover, and let it rise in a warm spot until doubled, about 60–90 minutes.
- Make the filling: Heat oil in a skillet over medium. Sauté onion 3–4 minutes until soft. Add garlic and ginger; cook 30 seconds. Stir in spices, then add chicken and optional veggies. Mix in tomato paste and stock. Simmer 2–3 minutes until thick but moist. Season with salt, pepper, lemon juice, and herbs. Cool completely.
- Portion the dough: Punch down the risen dough. Divide into 10–12 equal pieces. Shape each into a ball, cover with a towel, and rest for 10 minutes to relax the gluten.
- Fill the buns: Working one at a time, flatten a dough ball into a 4–5 inch circle, slightly thicker at the edges. Add 2–3 tablespoons of filling to the center. Pinch the edges together firmly to seal, then flip seam-side down and gently round with your hands.
- Second rise: Place buns on a parchment-lined baking sheet, leaving space between them. Cover loosely and let rise 30–40 minutes until puffy.
- Preheat and glaze: Preheat oven to 375°F (190°C). Brush the tops with egg wash and sprinkle sesame or nigella seeds if using.
- Bake: Bake 16–20 minutes until golden brown. Rotate the tray halfway for even color. If you like extra softness, brush hot buns with a little melted butter.
- Rest and serve: Cool on a rack for 10 minutes. Serve warm with a simple salad, yogurt dip, or hot sauce.
Keeping It Fresh
- Room temperature: Store cooled buns in an airtight container for up to 2 days. Rewarm in a 300°F (150°C) oven for 8–10 minutes.
- Refrigerator: Keep for 4 days. Wrap well to prevent drying and reheat as above.
- Freezer: Freeze individually wrapped buns for up to 2 months. Thaw overnight in the fridge or 45 minutes at room temp, then warm in the oven.
- Make-ahead tips: The filling can be made 3 days ahead. The dough can be refrigerated after the first rise for up to 24 hours—bring to room temp before shaping.
Benefits of This Recipe
- Budget-friendly: Uses pantry spices and leftover chicken, cutting food waste.
- Portable: Great for lunch boxes, picnics, and road trips—no messy sauces needed.
- High protein, satisfying carbs: A balanced snack that keeps you full.
- Family-approved: Mild spice and familiar flavors make it kid-friendly, too.
- Versatile: Easily adapted to different cuisines with small spice swaps.
Common Mistakes to Avoid
- Wet filling: If the filling is too saucy, it will leak and make the dough soggy. Cook it until thick and let it cool.
- Skipping the second rise: Under-proofed buns bake dense. Give them time to puff before baking.
- Hot liquids with yeast: Overheating milk/water can kill yeast. Aim for warm, not hot.
- Overfilling: Too much filling makes sealing hard and causes bursts. Stick to 2–3 tablespoons per bun.
- Underbaking: Pale buns can be doughy. Look for deep golden tops and set bottoms.
Alternatives
- Spice swaps: Use curry powder and a pinch of garam masala for a South Asian twist, or Italian seasoning and olives for a Mediterranean vibe.
- Veggie add-ins: Try grated carrot, corn, mushrooms, or spinach. Sauté to remove excess moisture first.
- Cheesy version: Add a tablespoon of shredded mozzarella or cheddar to each bun for a melty center.
- Whole-wheat dough: Replace 1 cup of the all-purpose flour with whole-wheat flour. Add 1–2 tablespoons extra water if needed.
- No-egg wash: Brush with milk or cream for shine if you want to skip egg.
- Pan-fried option: After shaping, pan-sear the buns seam-side down in a little oil until golden, add a splash of water, cover, and steam 6–8 minutes for a hybrid sear-steam bun.
FAQ
Can I use rotisserie chicken?
Yes. Shred it finely, then follow the filling steps as written. Since rotisserie chicken is seasoned, taste before adding extra salt.
How do I know the dough is kneaded enough?
It should feel smooth and elastic. When you stretch a small piece, it should form a thin window without tearing easily. If it rips quickly, knead a few more minutes.
Can I make mini buns for appetizers?
Absolutely. Divide the dough into 16–18 pieces and use 1–1.5 tablespoons of filling each. Bake 12–15 minutes, watching closely.
What if I don’t have instant yeast?
Use active dry yeast. Bloom it in the warm milk and water with the sugar for 5–10 minutes until foamy, then proceed.
How do I prevent the bottoms from getting too dark?
Use a light-colored baking sheet and parchment. If your oven runs hot, bake on the upper-middle rack or double-stack baking sheets.
Can I make these dairy-free?
Yes. Use warm water or plant milk instead of dairy milk and replace butter with oil or dairy-free butter. Skip the butter brush at the end.
Why did my buns open while baking?
The dough may have been overfilled, the seam wasn’t sealed, or the filling was too wet. Pinch well, place seam-side down, and keep the filling thick.
Final Thoughts
These savory chicken stuffed buns hit that sweet spot between comfort food and practical meal prep. The dough is soft and reliable, the filling is flexible, and the results feel special every time. Make a batch on the weekend, and you’ll have grab-and-go goodness ready for busy days. Once you try them, you’ll start imagining new fillings and flavors—and that’s when it gets really fun.
Printable Recipe Card
Want just the essential recipe details without scrolling through the article? Get our printable recipe card with just the ingredients and instructions.