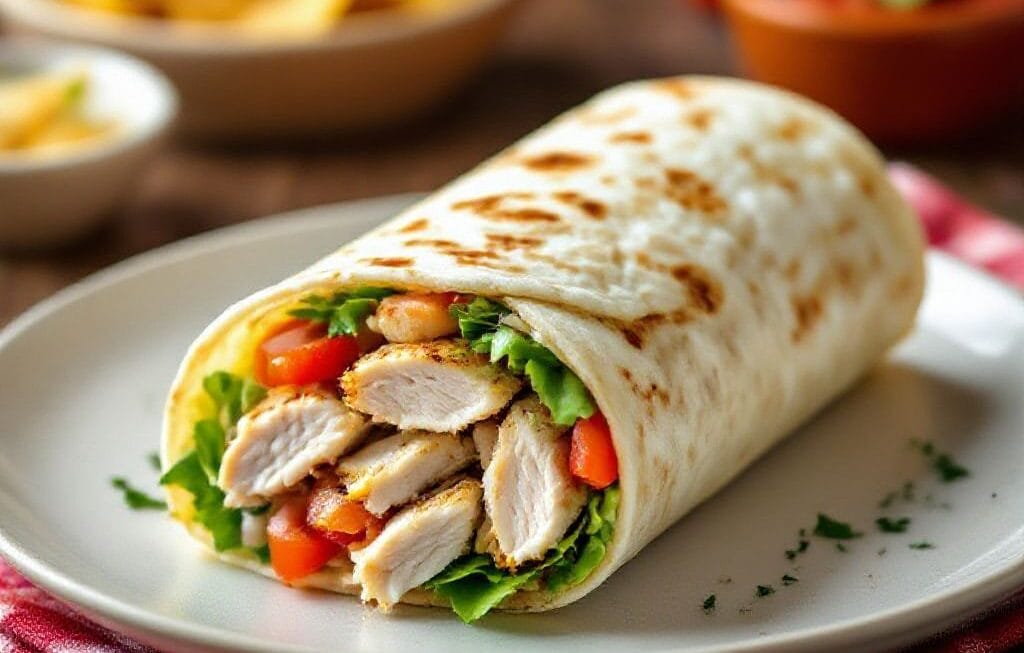
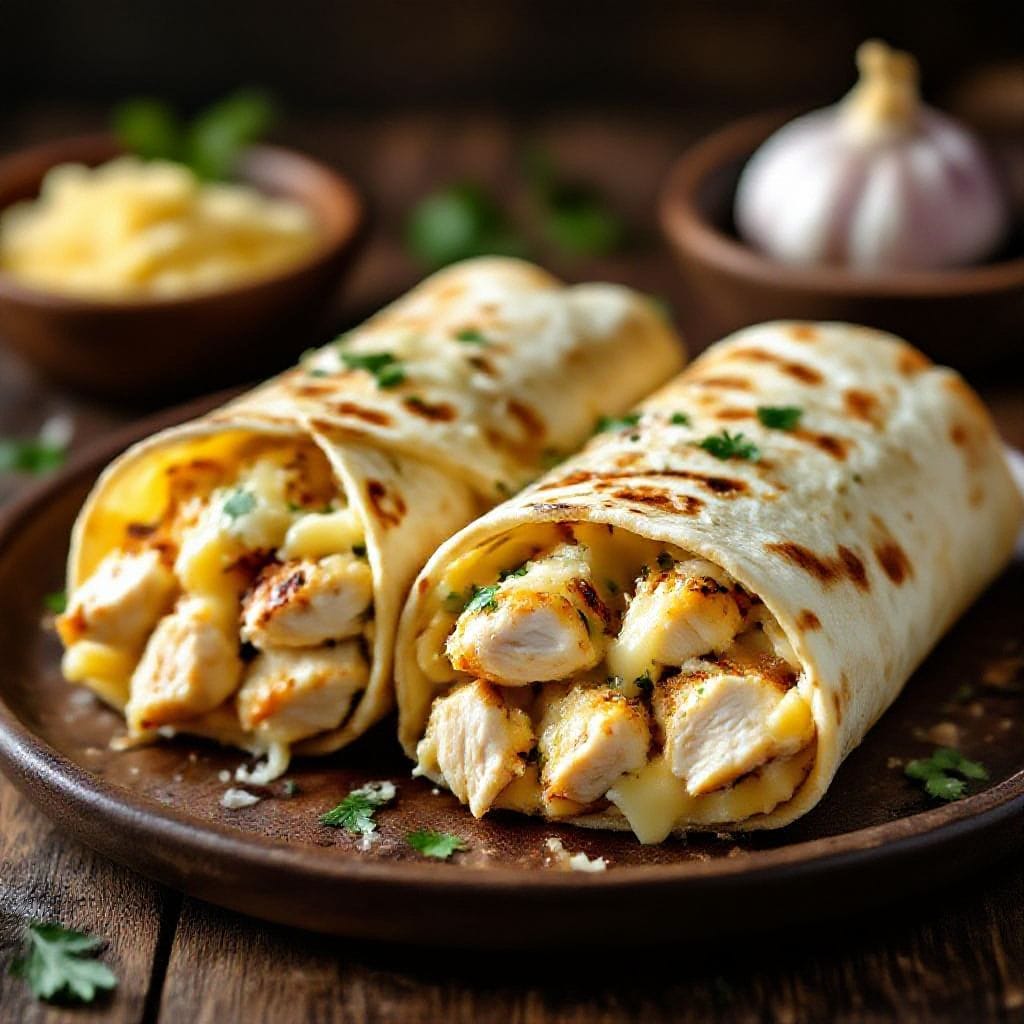
Cheesy Garlic Chicken Wraps Recipe – Easy, Comforting, and Packed With Flavor
If you love bold garlic, melty cheese, and juicy chicken tucked into a warm tortilla, this is your kind of recipe. Cheesy garlic chicken wraps hit that perfect spot between cozy and quick, making them ideal for weeknights or easy lunches. You don’t need fancy ingredients, just a few pantry staples and a skillet. The result is satisfying, flavorful, and customizable. Think crispy edges, gooey centers, and a garlicky kick in every bite.
What Makes This Special
Cheesy garlic chicken wraps recipe – Cheesy Garlic Chicken Wraps Recipe – Easy, Comforting, and Packed With Flavor If you love bold garli
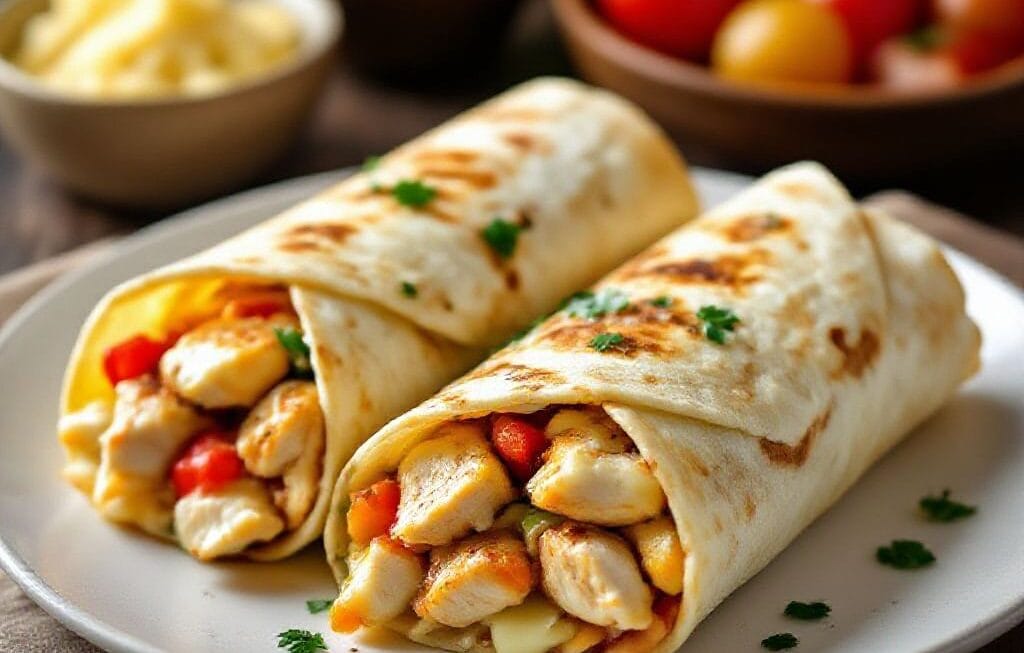
These wraps bring together three crowd-pleasers: garlic, cheese, and chicken. The garlic butter sauce adds rich flavor without being heavy, while the cheese melts into the chicken to hold everything together. A brief toast in the pan turns the tortilla golden and slightly crisp. It’s a simple technique that makes these wraps taste like something you’d get from a café. Plus, the filling is flexible—you can add veggies, switch cheeses, or use leftover rotisserie chicken.
Ingredients
Cheesy garlic chicken wraps recipe – Cheesy garlic chicken wraps hit that perfect spot between cozy and quick, making them ideal for week
- 2 cups cooked chicken, shredded or chopped (rotisserie works great)
- 4 large flour tortillas (8 to 10 inches)
- 1 1/2 cups shredded cheese (mozzarella, Monterey Jack, or a blend)
- 3 tablespoons unsalted butter
- 4 cloves garlic, minced (or 1 teaspoon garlic powder in a pinch)
- 1/2 teaspoon paprika (smoked or sweet)
- 1/2 teaspoon dried Italian seasoning (or oregano)
- 1/4 teaspoon red pepper flakes (optional, for heat)
- 1/2 teaspoon salt, plus more to taste
- 1/4 teaspoon black pepper
- 1/4 cup mayonnaise (or Greek yogurt for a lighter option)
- 2 tablespoons grated Parmesan
- 1 tablespoon lemon juice (or 1 teaspoon white wine vinegar)
- 1 cup baby spinach or arugula
- 1/2 small red onion, thinly sliced (optional)
- Olive oil or nonstick spray, for toasting the wraps
Instructions
Cheesy garlic chicken wraps recipe – You don’t need fancy ingredients, just a few pantry staples and a skillet
- Make the garlic butter. In a small skillet over low heat, melt the butter. Add minced garlic and cook gently for 30–60 seconds until fragrant, not browned. Stir in paprika, Italian seasoning, red pepper flakes (if using), salt, and pepper. Remove from heat.
- Mix the creamy binder. In a bowl, stir together mayonnaise, Parmesan, and lemon juice. This helps the filling hold together and adds tang. Taste and adjust salt if needed.
- Combine the filling. In a large bowl, add the cooked chicken, half of the garlic butter, and the mayo mixture. Toss to coat. Fold in half of the shredded cheese.
- Warm the tortillas. Briefly heat tortillas in a dry skillet for 10–15 seconds per side or microwave for 20 seconds wrapped in a towel. Warm tortillas roll without tearing.
- Assemble the wraps. Lay out each tortilla. Add spinach in a line down the center. Spoon the chicken mixture over the greens. Top with remaining shredded cheese and a few slices of red onion if you like.
- Wrap tightly. Fold the sides inward, then roll from the bottom up into a snug wrap. Press gently to keep everything compact.
- Toast for crisp edges. Heat a nonstick skillet over medium heat with a light swipe of olive oil or nonstick spray. Place wraps seam-side down. Cook 2–3 minutes per side until golden and the cheese melts. Brush or drizzle the remaining garlic butter over the tops as they toast for extra flavor.
- Rest and slice. Let the wraps sit for 1 minute so the cheese sets slightly. Slice in half on the diagonal and serve warm.
Storage Instructions
- Make-ahead filling:Store the chicken mixture in an airtight container for up to 3 days. Assemble and toast wraps just before eating for best texture.
- Assembled but untoasted:Wrap tightly in plastic or foil and refrigerate up to 24 hours. Toast right before serving.
- Leftover toasted wraps:Cool completely, then refrigerate up to 2 days. Reheat in a skillet or air fryer at 350°F (175°C) for 4–6 minutes to re-crisp.
- Freezing:Freeze assembled, untoasted spicy chicken tortilla wraps wrapped in foil and placed in a freezer bag for up to 2 months. Thaw overnight in the fridge, then toast.
Why This is Good for You
These wraps offer a solid balance: lean protein from chicken, calcium from cheese, and fiber if you choose whole wheat tortillas and add greens. Garlic brings potential heart-friendly benefits and big flavor, so you can use less salt. Using Greek yogurt instead of mayo trims saturated fat while keeping creaminess. You can also pack in extra veggies—spinach, peppers, or tomatoes—to boost vitamins and texture.
Pitfalls to Watch Out For
- Burning the garlic: Garlic cooks fast. Keep the heat low and pull the pan off the burner as soon as it smells fragrant.
- Soggy wraps: Too much sauce or wet veggies can make tortillas soggy. Pat greens dry and avoid overfilling.
- Cheese spillover: If the pan is too hot, cheese may ooze out and scorch. Medium heat gives you a golden crust without leaks.
- Tearing tortillas: Use fresh, pliable tortillas and warm them briefly. Old or cold tortillas crack easily.
- Underseasoned filling: Taste the chicken mixture before rolling. Add a pinch more salt, pepper, or lemon for balance.
Variations You Can Try
- Buffalo twist: Add 1–2 tablespoons buffalo sauce to the chicken and use blue cheese crumbles with mozzarella. Serve with celery sticks.
- Pesto and tomato: Swap the garlic butter for 2 tablespoons basil pesto. Add sliced cherry tomatoes and provolone.
- Mushroom melt: Sauté sliced mushrooms and fold them into the filling. Use Swiss or Gruyère for a deeper, savory flavor.
- Veggie-forward: Replace chicken with roasted cauliflower or chickpeas. Keep the garlic butter and cheese for that same cozy feel.
- Low-carb option: Use low-carb or high-fiber tortillas and Greek yogurt. Add extra greens for volume.
- Herb lover’s: Stir chopped fresh parsley, chives, or dill into the filling right before assembling.
FAQ
Can I use raw chicken instead of cooked?
Yes, but cook it first. Season bite-size pieces with salt, pepper, and paprika, then sauté in a little oil until fully cooked and lightly browned. Let it cool slightly before mixing with the garlic butter and creamy base.
What’s the best cheese for melting?
Mozzarella and Monterey Jack melt beautifully and stay creamy. Cheddar works but can be oilier. A blend of mozzarella and a sharper cheese like cheddar or provolone gives both stretch and flavor, perfect for Cheesy Chicken Stuffed Flatbread Pockets.
How do I keep the wrap from falling apart?
Don’t overfill, warm the tortilla first, and roll it snugly while tucking in the sides. Toast seam-side down to seal it. A little cheese inside acts like edible glue as it melts, similar to the technique in Cheese and Ham Stuffed Wraps.
Can I make these in the oven or air fryer?
Yes. Brush wraps with a bit of garlic butter, place seam-side down, and bake at 400°F (200°C) for 10–12 minutes, flipping once. In an air fryer, cook at 375°F (190°C) for 6–8 minutes, flipping halfway, until crisp and hot.
What sauces go well on the side?
Garlic aioli, ranch, marinara, or a yogurt-lemon sauce are excellent. For heat, try chipotle mayo or a drizzle of hot honey.
Can I make it dairy-free?
Use a dairy-free butter alternative, vegan cheese that melts well, and a plant-based mayo or thick dairy-free yogurt. Season a touch more to keep the flavor bold.
How can I add more veggies without making it soggy?
Use dry, sturdy vegetables like baby spinach, arugula, roasted peppers, or sautéed zucchini. Pat them dry and layer greens under the chicken to create a moisture buffer.
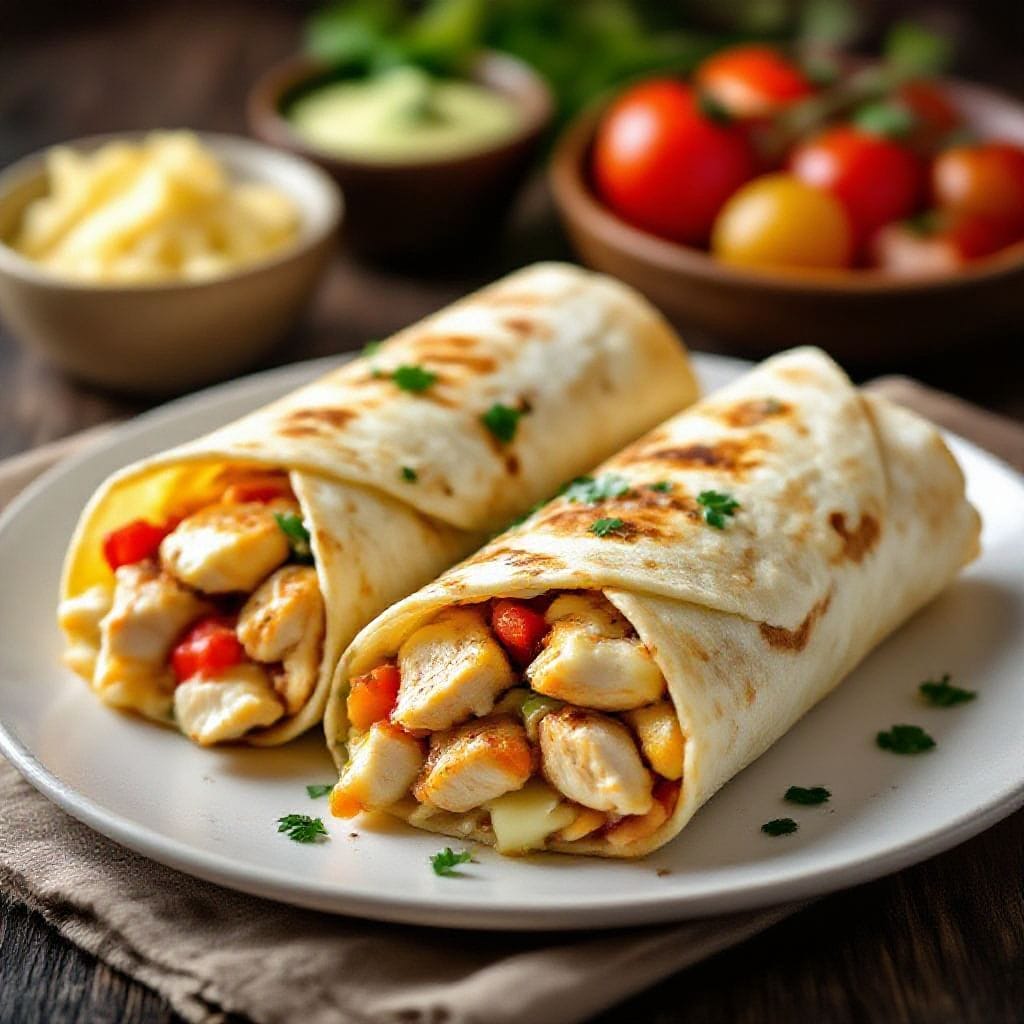
Wrapping Up
Cheesy garlic chicken wraps are all about comfort with minimal fuss. The garlic butter does the heavy lifting, the cheese locks everything together, and a quick toast gives that craveable crunch. Keep the base recipe handy, then tweak it with your favorite add-ins or sauces. Whether it’s a quick lunch, a kid-approved dinner, or a game-day snack, this recipe delivers every time. Warm, melty, and boldly garlicky—what’s not to love?
Printable Recipe Card
Want just the essential recipe details without scrolling through the article? Get our printable recipe card with just the ingredients and instructions.