Gluten Free Sandwich Bread Recipe – Soft, Sliceable, and Easy
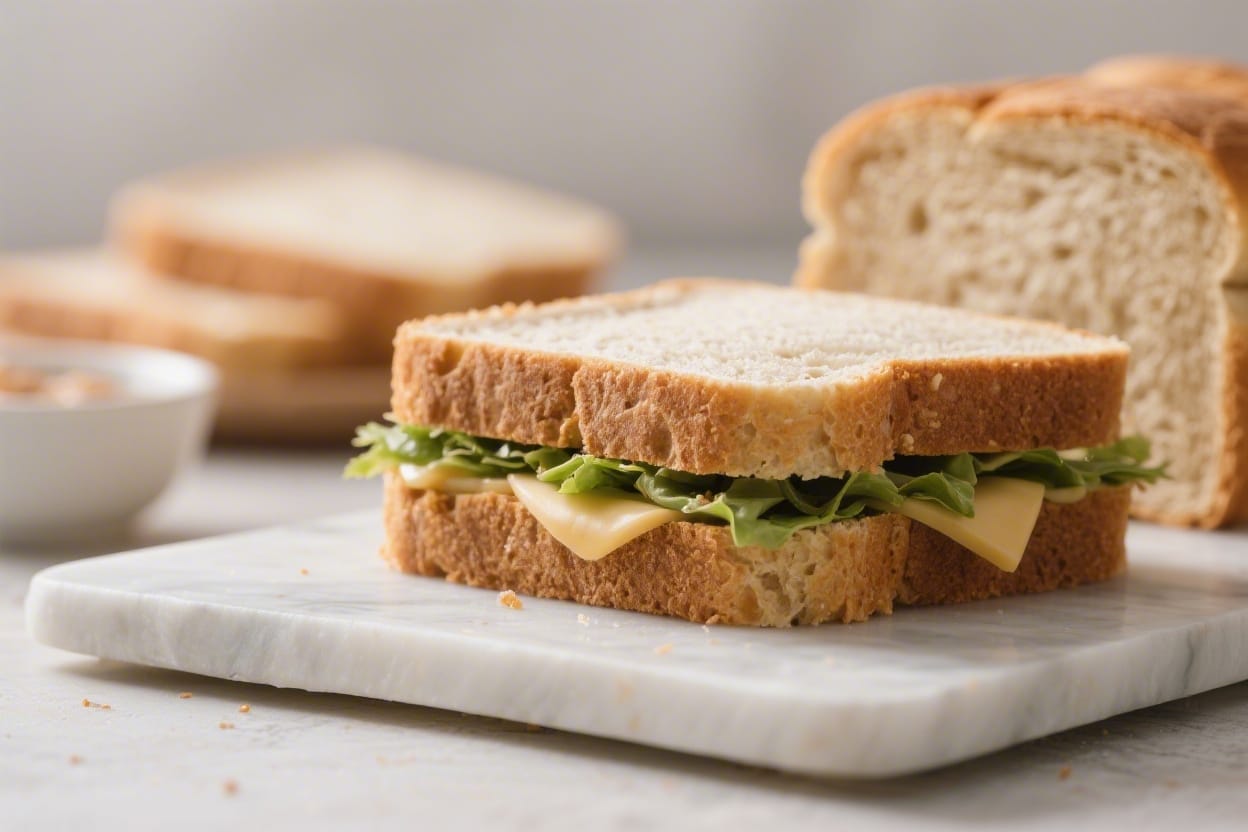
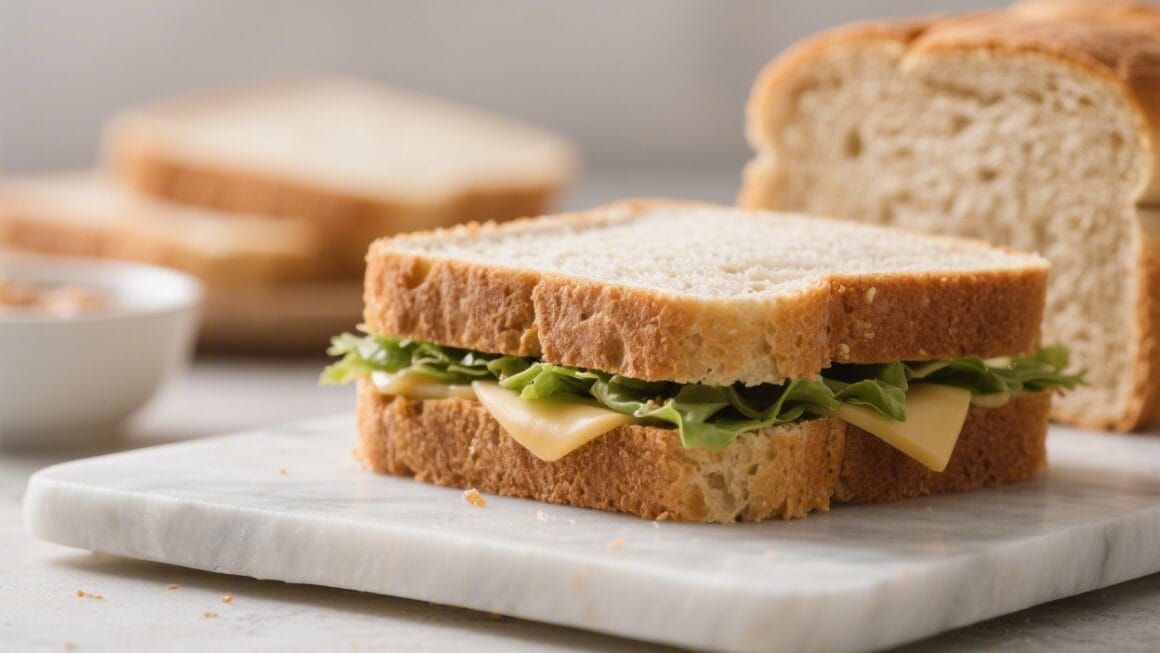
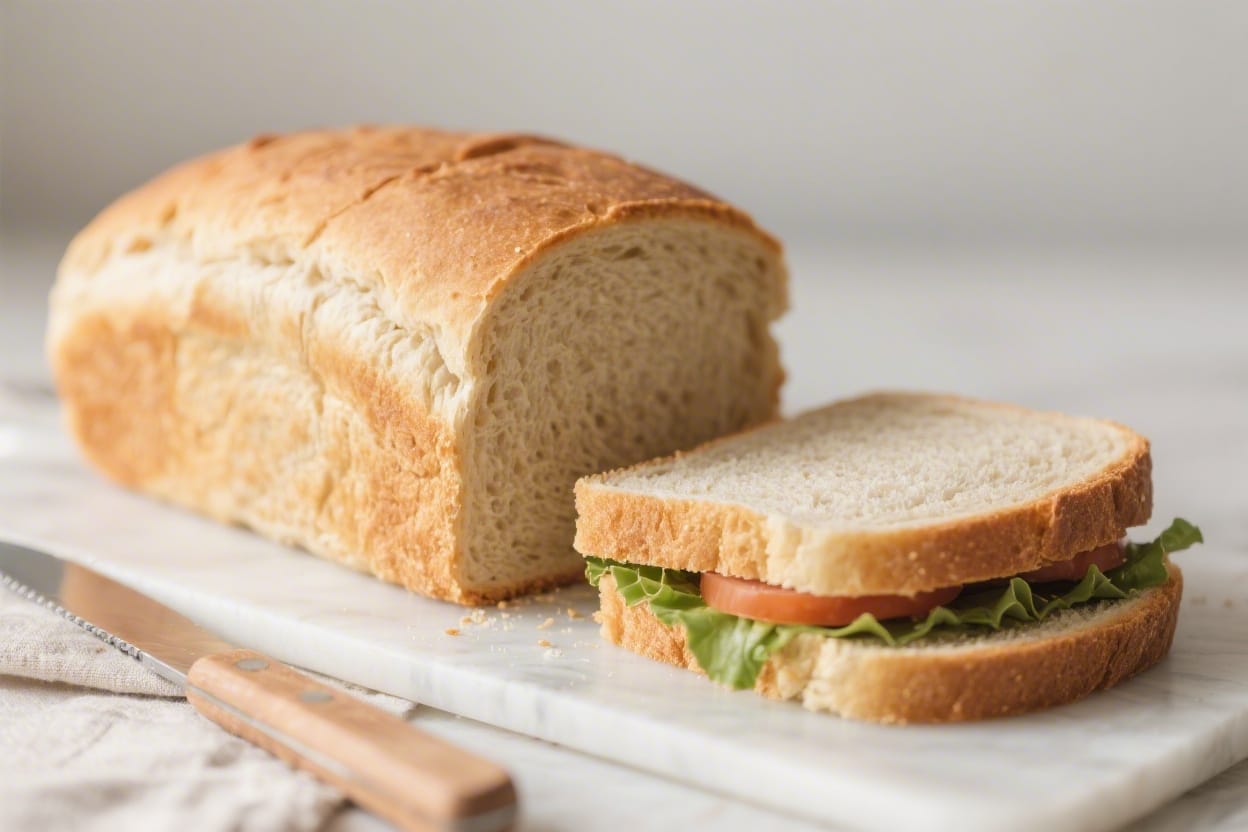
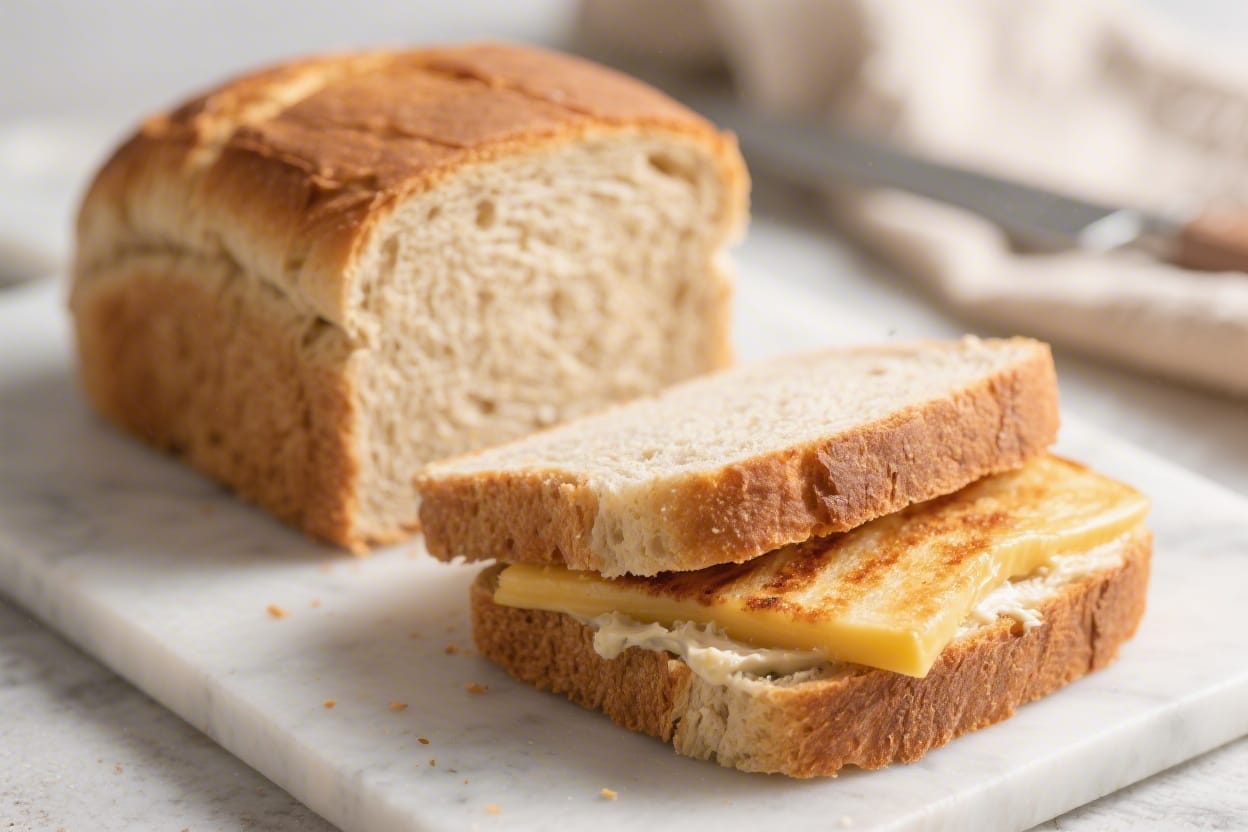
Homemade gluten free sandwich bread doesn’t have to be dense or crumbly. This recipe gives you a soft, flexible loaf that actually behaves like classic sandwich bread. It slices cleanly, toasts beautifully, and holds up to spreads, grilled cheese, and packed lunches. The process is straightforward, and you don’t need a specialty bread machine. If you’re ready for a reliable everyday loaf, this one’s a keeper.
Why This Recipe Works
Gluten free sandwich bread recipe – Gluten Free Sandwich Bread Recipe – Soft, Sliceable, and Easy Homemade gluten free sandwich bread do
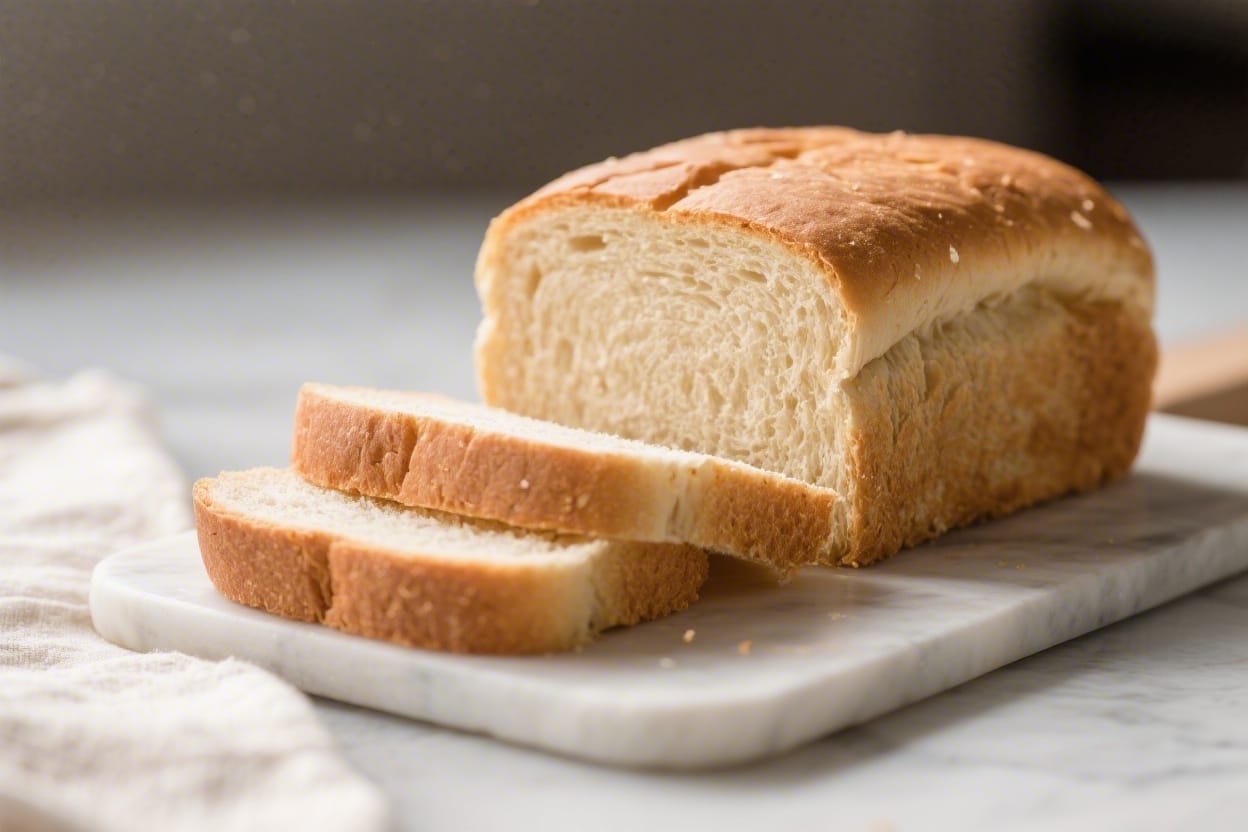
This bread is built on a blend of gluten free flours that balance structure and tenderness. Tapioca starch adds stretch and chew, while white rice flour keeps the crumb light. Psyllium husk replaces gluten’s binding power and traps gas for a better rise. The dough is mixed like a thick batter, which makes it easy to handle and quick to proof. With the right hydration and a warm rise, you get a tall loaf with a soft, sandwich-worthy crumb.
Ingredients
Gluten free sandwich bread recipe – This recipe gives you a soft, flexible loaf that actually behaves like classic sandwich bread
- 1 1/4 cups warm water (about 105–110°F / 40–43°C)
- 2 large eggs, room temperature
- 3 tablespoons neutral oil (such as avocado or light olive oil)
- 1 tablespoon honey or sugar
- 2 1/4 teaspoons instant yeast (one packet)
- 1 1/2 cups white rice flour (not sweet rice flour)
- 3/4 cup tapioca starch
- 1/2 cup sorghum flour (or millet flour)
- 2 tablespoons psyllium husk powder (not whole husks)
- 1 1/2 teaspoons kosher salt
- 1 teaspoon baking powder
- Optional: 2 tablespoons milk powder for extra tenderness
- Optional: 1 teaspoon apple cider vinegar for a lighter crumb
- For the pan: Oil or nonstick spray
Instructions
Gluten free sandwich bread recipe – It slices cleanly, toasts beautifully, and holds up to spreads, grilled cheese, and packed lunches
- Prep the pan. Grease a 9×5-inch loaf pan and line it with a parchment sling for easy removal. Set aside.
- Mix wet ingredients. In a large bowl, whisk warm water, eggs, oil, honey, and vinegar (if using) until smooth.
- Whisk dry ingredients. In a separate bowl, combine white rice flour, tapioca starch, sorghum flour, psyllium husk powder, salt, and baking powder. Stir until evenly mixed.
- Combine. Add the dry mixture to the wet mixture. Using a stand mixer with the paddle attachment or a sturdy hand mixer, beat on medium speed for 2–3 minutes. The dough will be thick, like a sticky cake batter. It should not be dry.
- First rest. Let the batter sit for 5 minutes so the psyllium can hydrate. It will thicken slightly.
- Fill the pan. Scrape the batter into the prepared loaf pan. Smooth the top with a wet spatula, creating a slight dome for an even rise.
- Proof. Cover the pan loosely with lightly oiled plastic wrap. Place in a warm, draft-free spot (75–85°F). Let it rise until the loaf crowns about 1 inch above the rim, 35–55 minutes. Do not overproof.
- Preheat the oven. While the bread proofs, preheat to 375°F (190°C). Place a rack in the center.
- Bake. Uncover and bake for 40–48 minutes, until the top is deep golden and the internal temperature reaches 205–210°F (96–99°C). If browning too quickly, tent loosely with foil in the last 10–15 minutes.
- Cool in the pan. Set the pan on a rack and cool for 10 minutes. This helps set the structure.
- Finish cooling. Lift out using the parchment and cool completely on a rack, at least 2 hours. Slicing while warm will compress the crumb.
- Slice and serve. Use a serrated knife for clean slices. Toasting brings out the best texture.
Storage Instructions
- Room temperature:Store tightly wrapped for up to 2 days. Avoid the fridge; it accelerates staling.
- Freezer:Slice the loaf, separate slices with parchment, and freeze in a zip-top bag up to 2 months. Toast from frozen or thaw at room temp.
- Refresh:If the bread feels dry, a quick toast or 5 minutes in a 300°F oven softens the crumb. For a soft homemade sandwich bread recipe, see the full guide.
Health Benefits
- Gluten free and celiac-friendly: Designed for those avoiding gluten without sacrificing texture or taste.
- Better fiber: Psyllium husk adds soluble fiber that supports digestion and helps with fullness.
- Balanced carbs: Using sorghum or millet adds vitamins, minerals, and a more complex nutrient profile than pure starch-based loaves.
- Customizable: You control the sweetener, salt, and oils, making it easier to fit dietary goals.
Common Mistakes to Avoid
- Skipping the psyllium: It’s key for structure and elasticity. Do not omit or swap with whole husks without adjusting amounts.
- Under-hydrating: Gluten free dough should be a thick batter, not kneadable. If it’s crumbly, you need more water.
- Overproofing: If the loaf rises too high, it may collapse. Bake when it’s about 1 inch over the rim.
- Slicing too soon: Cutting while warm compresses the crumb and makes it gummy. Let it cool fully.
- Cold ingredients: Room-temperature eggs and warm water help the yeast perform and the batter emulsify.
Recipe Variations
- Dairy-free: Skip milk powder and use oil only. The loaf will still be soft.
- Seeded sandwich bread: Fold 1/4 cup each of sunflower and pumpkin seeds into the batter after mixing. Sprinkle extra seeds on top before baking.
- Whole-grain boost: Swap half the white rice flour for brown rice flour for a nuttier flavor and more fiber. Add 1–2 tablespoons extra water if needed.
- Herb and garlic: Mix in 1 teaspoon garlic powder and 2 teaspoons dried Italian herbs. Great for grilled cheese and panini.
- Oat version: Replace sorghum with certified gluten free oat flour. The crumb turns tender and slightly sweet.
FAQ
Can I use a gluten free all-purpose blend?
Yes, if it contains rice flour and starches but no added xanthan. Still include the psyllium for best structure. Start with 2 3/4 cups of the blend and add a splash more water if the batter seems stiff.
Do I need a stand mixer?
No. A hand mixer or sturdy whisk works, but mix thoroughly for a few minutes to hydrate the flours and activate the psyllium.
Can I make this egg-free?
Yes. Replace the eggs with 1/2 cup aquafaba or 1/2 cup unsweetened applesauce plus 1 tablespoon oil. The loaf will be slightly denser but still sliceable.
How do I keep the crust soft?
Brush the hot loaf with a teaspoon of oil or melted dairy-free butter right after baking. Cooling the bread covered with a clean towel also softens the crust.
Why is my loaf gummy?
It’s usually from underbaking or slicing too soon. Check for a 205–210°F internal temp, then cool completely before slicing. If your oven runs cool, add 5–8 minutes.
Can I bake this in a bread machine?
Yes, on the gluten free cycle. Add wet ingredients first, then dry, then yeast on top. Scrape down the sides during the initial mix if needed.
What if I don’t have psyllium powder?
Use 3 tablespoons finely ground whole psyllium husks. Grind them in a blender until powdery, then measure. Do not skip entirely.
How do I tell when proofing is done?
The batter should rise to about 1 inch above the pan, feel puffy, and spring back slowly when gently tapped. If it deflates with a poke, it’s overproofed.
In Conclusion
This gluten free sandwich bread recipe gives you a dependable, everyday loaf with a soft crumb and a sturdy slice. With the right flour mix and a batter-style dough, it rises well and bakes up beautifully at home. Keep psyllium in the mix, watch the proof, and let it cool fully for the best texture. Once you taste it toasted with butter, you’ll want to keep a loaf sliced and ready in your freezer for quick meals all week.
Printable Recipe Card
Want just the essential recipe details without scrolling through the article? Get our printable recipe card with just the ingredients and instructions.