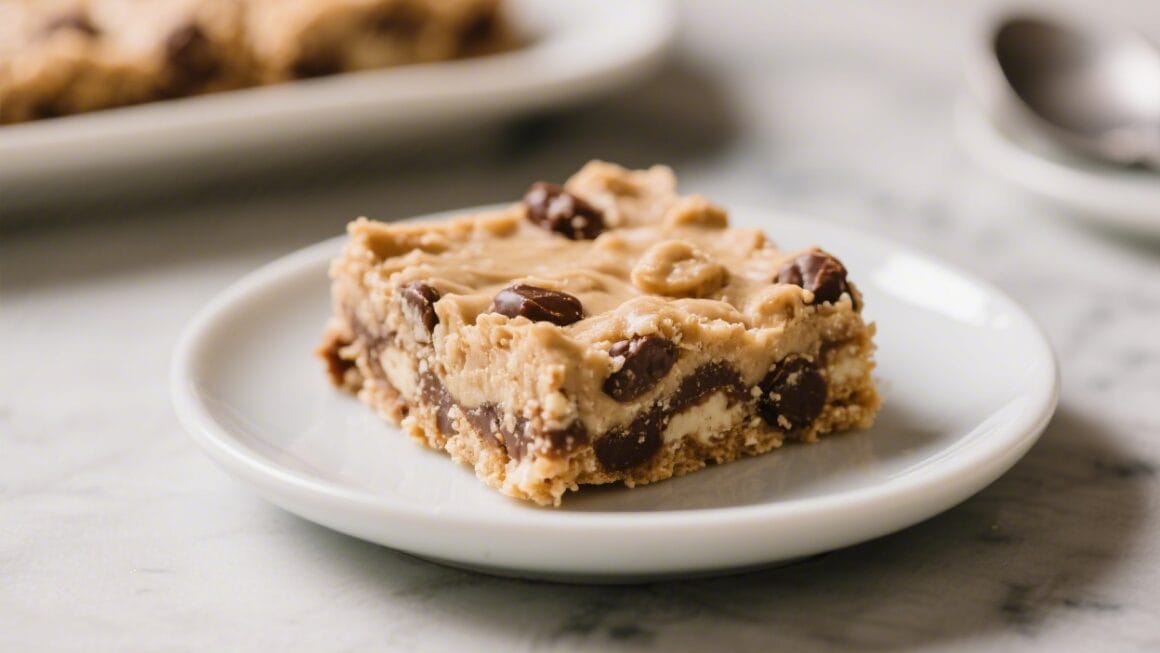
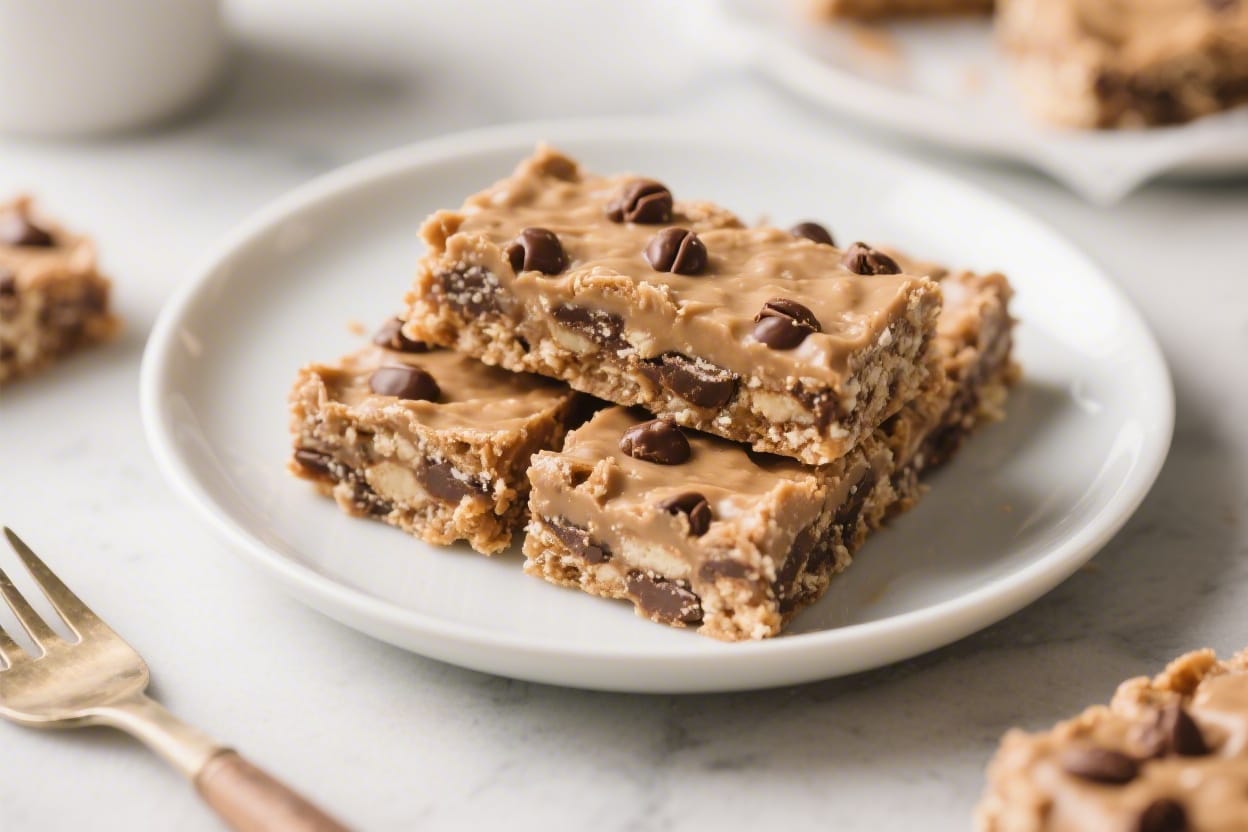
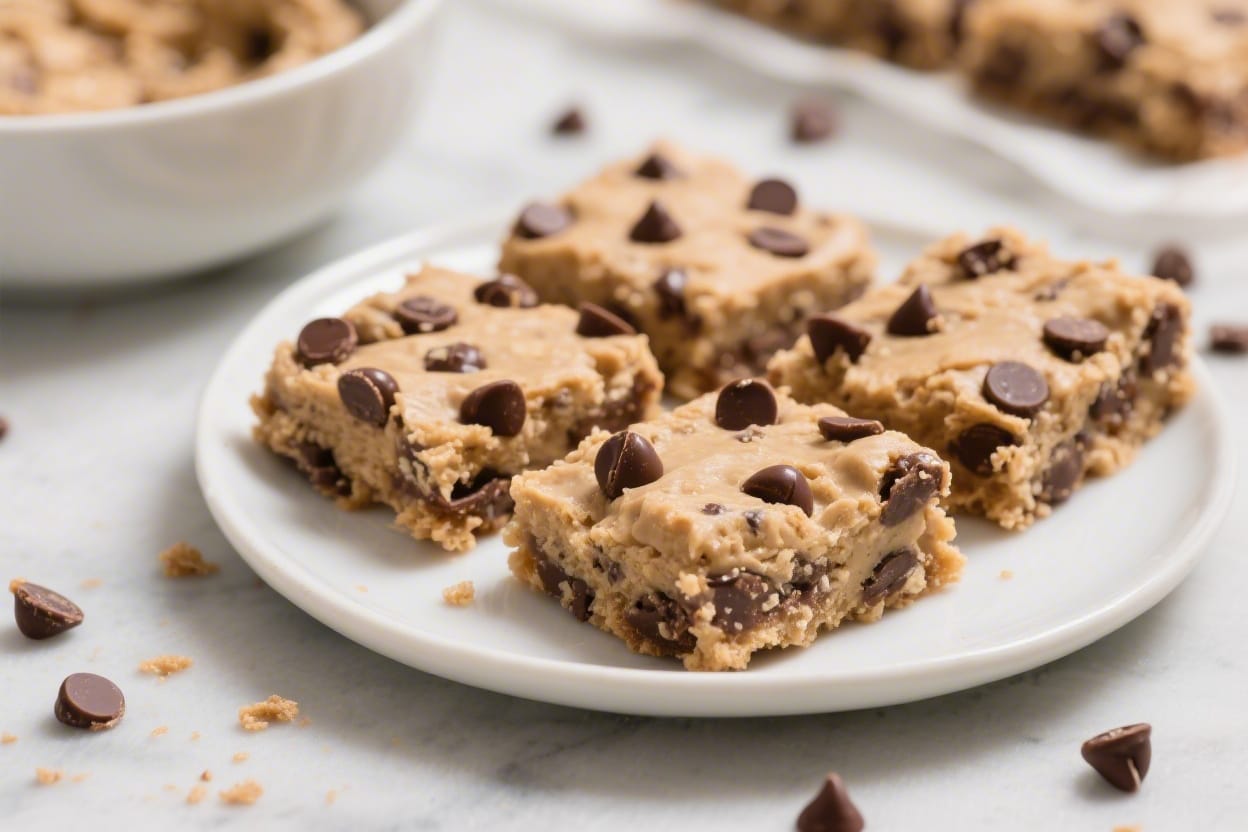
No Bake Cookie Dough Bars Recipe – Easy, Safe, and Seriously Delicious
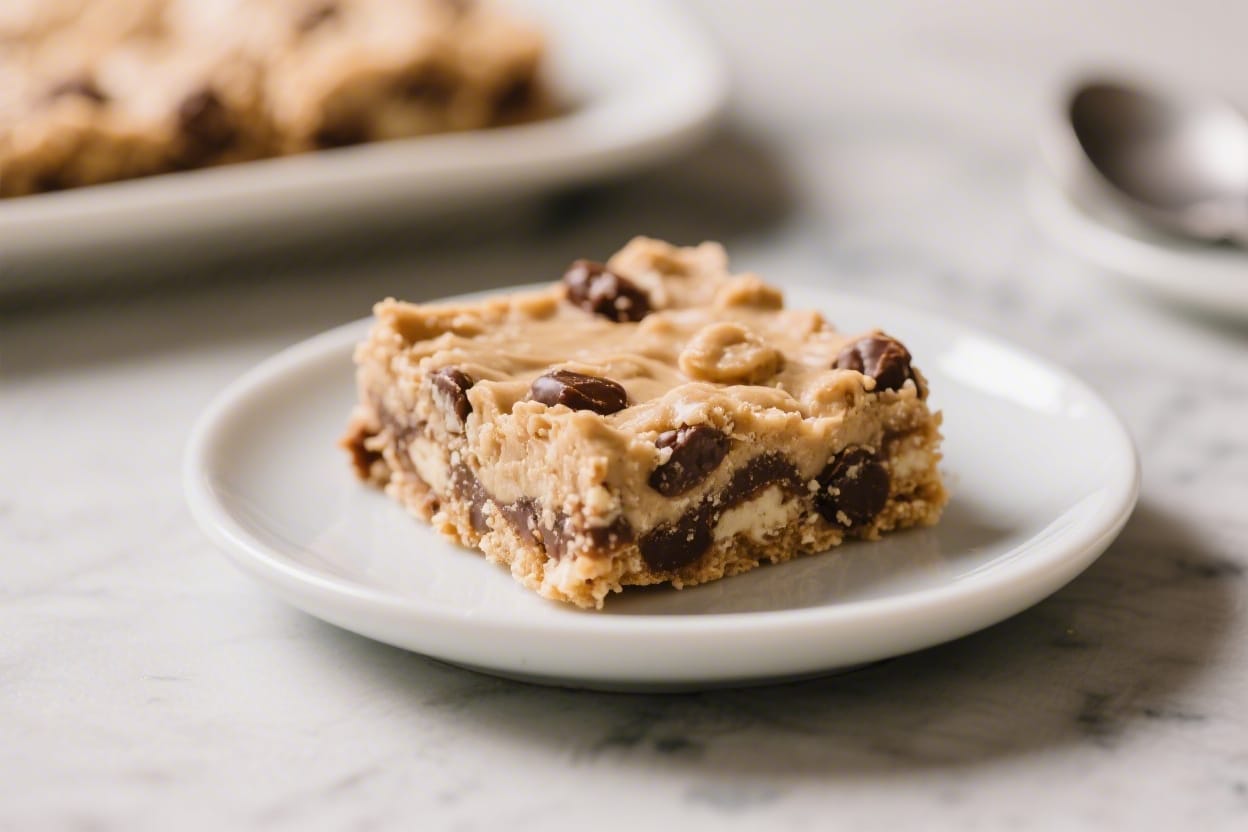
No oven, no stress, just pure cookie dough goodness in every bite. These no bake cookie dough bars taste like the best part of baking—without the actual baking. They’re rich, soft, and studded with chocolate chips, but made safe to eat with a quick step you can do in minutes. Perfect for parties, after-school snacks, or late-night cravings. If you love cookie dough, this is your new go-to.
What Makes This Recipe So Good
No bake cookie dough bars recipe – No Bake Cookie Dough Bars Recipe – Easy, Safe, and Seriously Delicious No oven, no stress, just pure
- Authentic cookie dough flavor without raw eggs. You’ll get that classic taste and texture you love, made safe with heat-treated flour.
- Quick and no bake. From mixing bowl to fridge, it comes together fast with everyday ingredients.
- Customizable. Swap chips, add nuts, drizzle with chocolate—make it your own.
- Perfect texture. Soft, chewy, and sliceable, with a crisp chocolate topping that snaps when you bite.
- Great make-ahead treat. Stores well in the fridge or freezer, so you can keep a stash ready.
Ingredients
No bake cookie dough bars recipe – These no bake cookie dough bars taste like the best part of baking—without the actual baking
- 1 1/2 cups all-purpose flour (heat-treated; see instructions)
- 1/2 cup unsalted butter, softened to room temperature
- 1/2 cup light brown sugar, packed
- 1/4 cup granulated sugar
- 2 tablespoons milk (plus 1–2 more if needed)
- 1 teaspoon vanilla extract
- 1/2 teaspoon fine salt
- 3/4 cup mini chocolate chips (or regular chips, chopped)
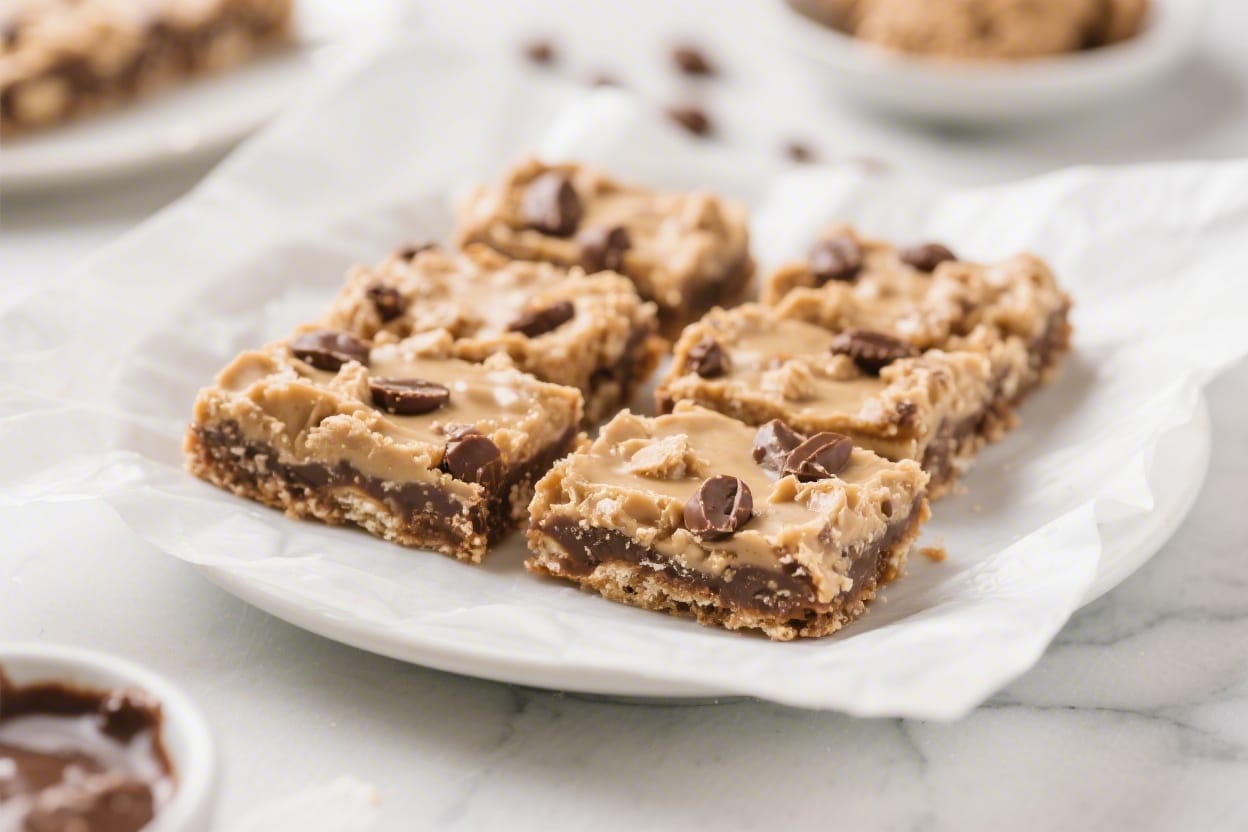
Chocolate Topping (Optional but recommended):
- 1 cup semisweet chocolate chips
- 1 tablespoon coconut oil or butter (for smooth melting)
- Flaky sea salt, for garnish (optional)
Instructions
No bake cookie dough bars recipe – They’re rich, soft, and studded with chocolate chips, but made safe to eat with a quick step you can
- Heat-treat the flour. Spread the flour on a baking sheet and bake at 300°F (150°C) for 5–7 minutes, stirring once, until it reaches 165°F throughout. Let it cool completely. Alternatively, microwave the flour in a bowl in 30-second bursts, stirring between each, until it reaches 165°F. This step makes the flour safe to eat.
- Prep the pan. Line an 8×8-inch pan with parchment paper, leaving overhang on two sides for easy lifting. Lightly grease the parchment if your paper sticks.
- Cream the butter and sugars. In a mixing bowl, beat the softened butter with brown sugar and granulated sugar for 2–3 minutes, until light and fluffy. This creates a smooth, creamy base.
- Add wet ingredients. Mix in the vanilla and 2 tablespoons of milk until fully combined.
- Combine dry ingredients. Whisk the cooled, heat-treated flour with the salt. Add to the bowl and mix on low just until a dough forms. If it looks crumbly, add milk 1 teaspoon at a time until it holds together but isn’t sticky.
- Fold in the chocolate chips. Use a spatula to stir in the mini chips evenly.
- Press into the pan. Transfer the dough to the lined pan. Press it into an even layer with clean hands or the back of a measuring cup. For neat edges, place another sheet of parchment on top while pressing.
- Make the chocolate topping. Melt the chocolate chips with coconut oil or butter in the microwave in 20–30 second bursts, stirring between each, until smooth. Pour over the dough and spread evenly. Sprinkle with flaky sea salt if using.
- Chill. Refrigerate for 1–2 hours, or until the topping is set and the bars are firm enough to slice.
- Slice and serve. Lift the slab out using the parchment overhang. Use a sharp knife to cut into 16 squares or 12 larger bars. Wipe the knife between cuts for clean edges.
Keeping It Fresh
- Refrigerator: Store in an airtight container for up to 1 week. Separate layers with parchment to prevent sticking.
- Freezer: Freeze for up to 2 months. Wrap the whole slab well or freeze bars individually. Thaw in the fridge or enjoy slightly chilled.
- Room temperature: These are best kept cold. If serving at room temp, limit to 1–2 hours, especially in warm weather.
Benefits of This Recipe
- Fast and simple: Minimal steps, no oven, everyday pantry ingredients.
- Kid-friendly and party-ready: Easy to slice into small squares for sharing.
- Flexible: Works with dairy-free butter, gluten-free flour blends, or different mix-ins.
- Make-ahead: The flavor and texture actually improve after chilling.
- Comforting and nostalgic: Tastes like licking the beater, but safely.
Pitfalls to Watch Out For
- Skipping the flour step: Raw flour can contain bacteria. Heat-treat to 165°F for safety.
- Overheating the chocolate: Melt in short bursts and stir often. Burned chocolate turns grainy.
- Dry, crumbly dough: Add milk in tiny amounts until the dough presses together smoothly.
- Using salted butter without adjusting: If you use salted butter, reduce added salt to a pinch.
- Cutting too soon: Let the bars chill fully so the topping doesn’t crack and the slices stay neat.
Alternatives
- Flavor swaps: Try white chocolate chips with dried cranberries, peanut butter chips, or toffee bits.
- Gluten-free: Use a 1:1 gluten-free baking flour and heat-treat it the same way.
- Dairy-free/vegan: Use vegan butter and plant-based milk; choose dairy-free chocolate chips.
- Nutty twist: Fold in chopped toasted pecans, walnuts, or almonds for crunch.
- Peanut butter version: Replace 2 tablespoons of butter with creamy peanut butter and use milk chocolate topping.
- Protein boost: Stir in 1–2 tablespoons of unflavored or vanilla protein powder and add extra milk if needed for consistency.
- Bar size: Press into a 9×5-inch loaf pan for thicker bars, or a 9×9-inch pan for thinner bites.
FAQ
Do I really need to heat-treat the flour?
Yes. Raw flour isn’t safe to eat. Heating it to 165°F reduces the risk of harmful bacteria. It only takes a few minutes and makes a big difference.
Can I use almond flour instead?
You can, and you don’t need to heat-treat almond flour. The texture will be softer and slightly more moist. Start with the same amount and add milk slowly to avoid over-hydrating.
What if I don’t have coconut oil for the topping?
Use butter or skip the added fat. The chocolate will still set; the oil just helps create a smooth, glossy finish and a softer bite.
How can I make the bars less sweet?
Use dark chocolate chips (60–70% cacao) in both the dough and topping. You can also reduce the granulated sugar to 2 tablespoons and keep the brown sugar for flavor.
Why is my dough greasy or too soft?
Your butter may have been too warm or you added too much milk. Chill the dough for 10–15 minutes, then press into the pan. It will firm up as it cools.
Can I double the recipe?
Yes. Use a 9×13-inch pan and double all ingredients. Increase chilling time as needed until set.
Can I skip the chocolate topping?
Absolutely. The bars are great without it. For a lighter finish, drizzle a little melted chocolate instead of adding a full layer.
What’s the best way to slice clean bars?
Use a sharp knife warmed under hot water and dried. Press straight down rather than sawing. Wipe the blade between cuts.
Final Thoughts
These no bake cookie dough bars feel special but take almost no effort. The ingredients are simple, the steps are easy, and the results are consistently delicious. Keep a batch chilled for whenever the craving hits, and customize them to match your mood or what’s in your pantry. Safe, sweet, and satisfying—this is the cookie dough fix you’ll want on repeat.
Printable Recipe Card
Want just the essential recipe details without scrolling through the article? Get our printable recipe card with just the ingredients and instructions.