How to Measure Flour Correctly for Baking – Simple Steps for Perfect Results
Measuring flour sounds easy, but it’s one of the biggest reasons baked goods turn out dry, dense, or inconsistent. A little too much flour and your cookies won’t spread; a little too little and your bread won’t hold shape. The good news is, once you learn a few simple techniques, your results will improve immediately. This guide walks you through exactly how to measure flour the right way, with tips, tools, and common mistakes to avoid. Think of it as a small habit that makes a big difference in your baking.
What Makes This Recipe So Good
How to measure flour correctly for baking – How to Measure Flour Correctly for Baking – Simple Steps for Perfect Results Measuring flour sounds
- Reliable results: Correct measurement gives you consistent texture and flavor every time.
- Beginner-friendly: Simple methods you can master in minutes, no special skills required.
- Works with any flour: All-purpose, cake, bread, whole wheat—these steps apply to them all.
- Prevents waste: No more tossing dry muffins or tough cakes—get it right from the start.
- Professional-standard tips: Learn how bakers use volume and weight correctly for accuracy.
Ingredients
How to measure flour correctly for baking – A little too much flour and your cookies won’t spread; a little too little and your bread won’t hold
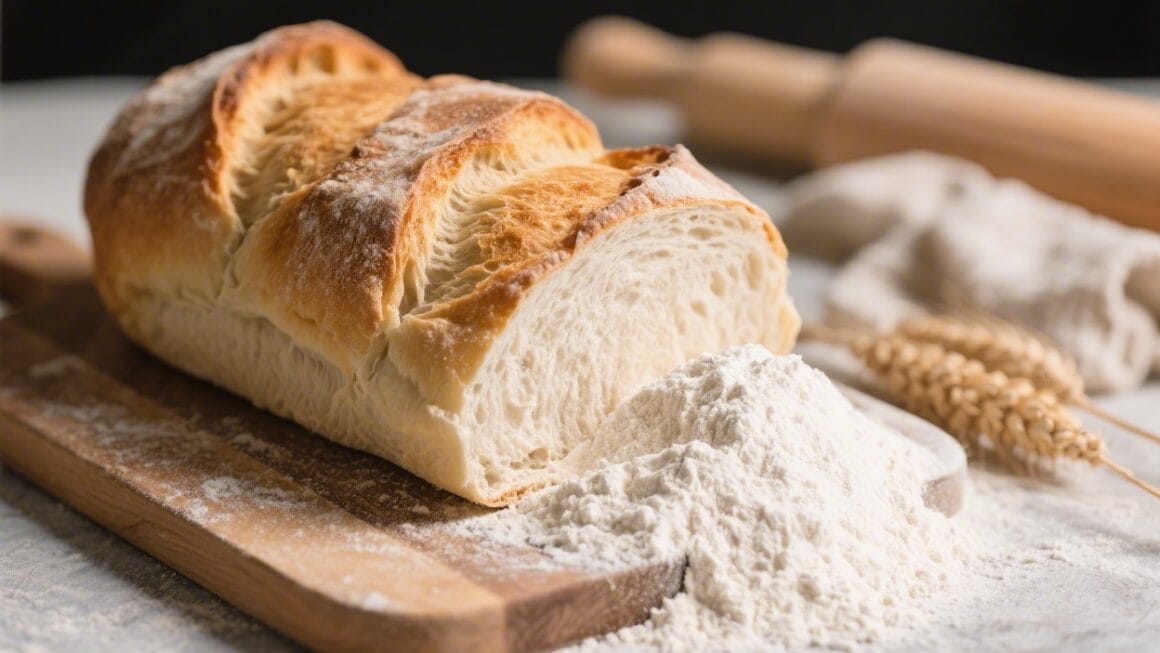
- Flour: All-purpose flour for general baking, plus any specialty flour your recipe calls for (cake, bread, whole wheat, etc.).
Instructions
How to measure flour correctly for baking – The good news is, once you learn a few simple techniques, your results will improve immediately
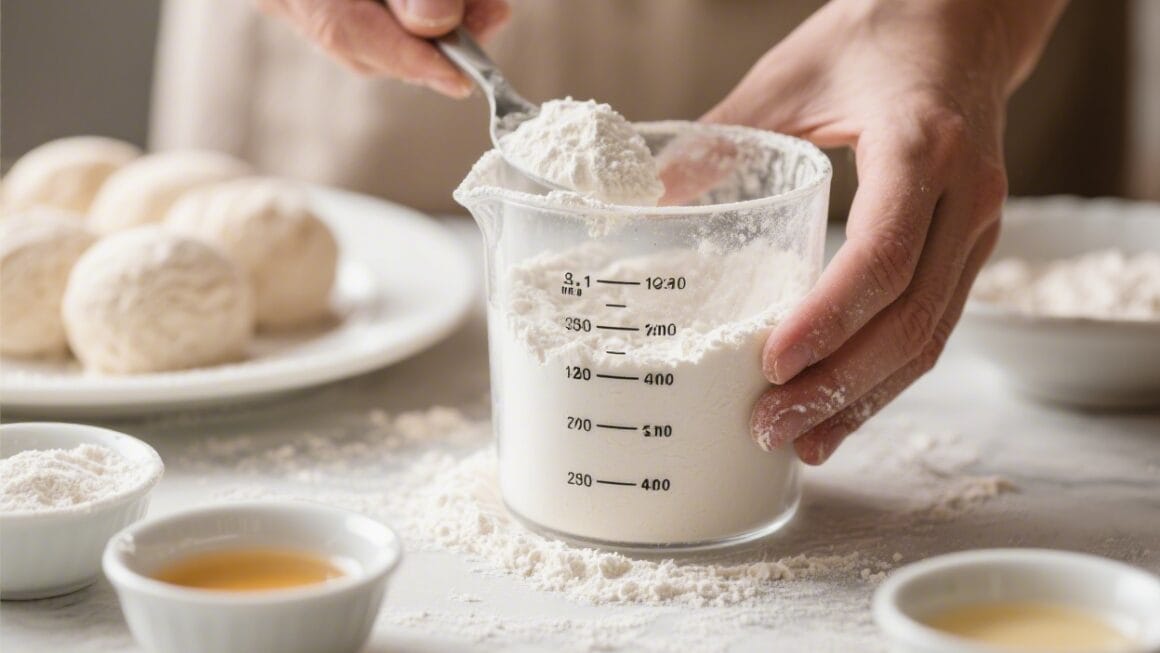
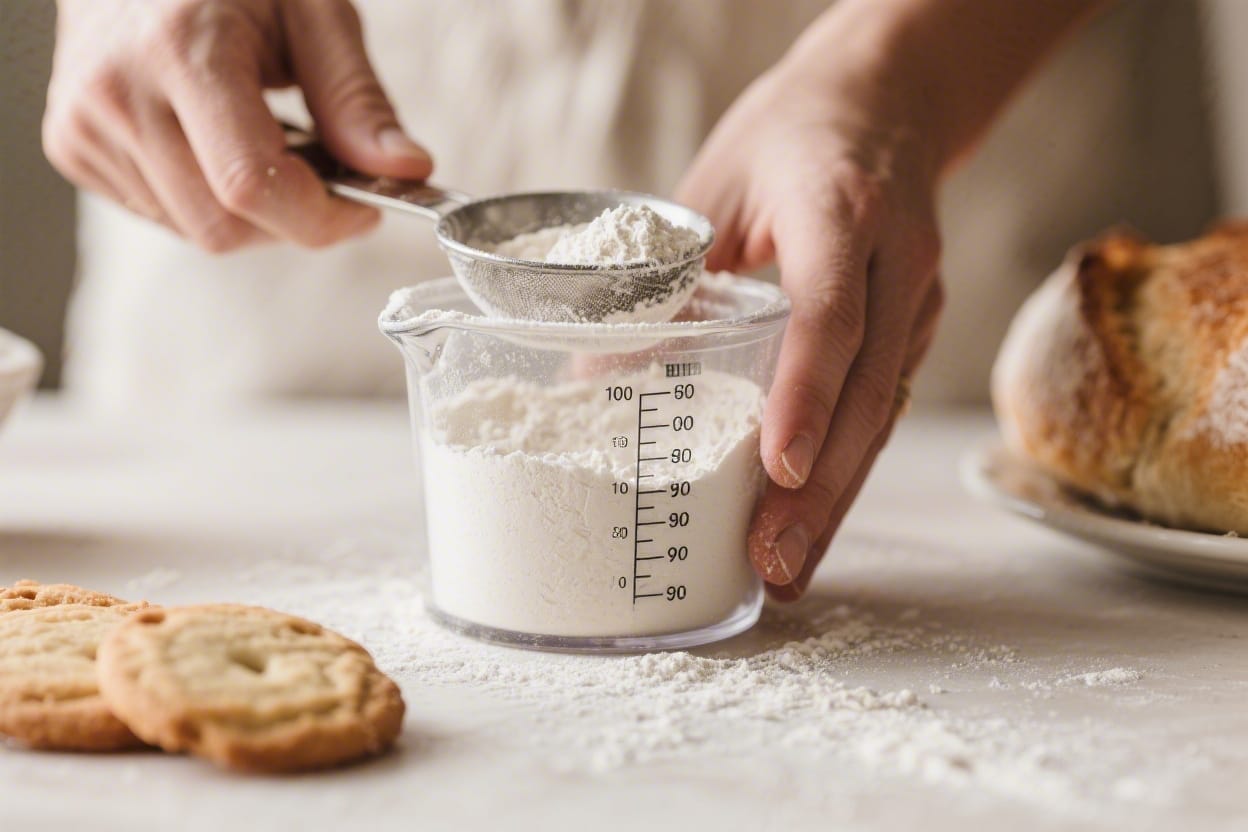
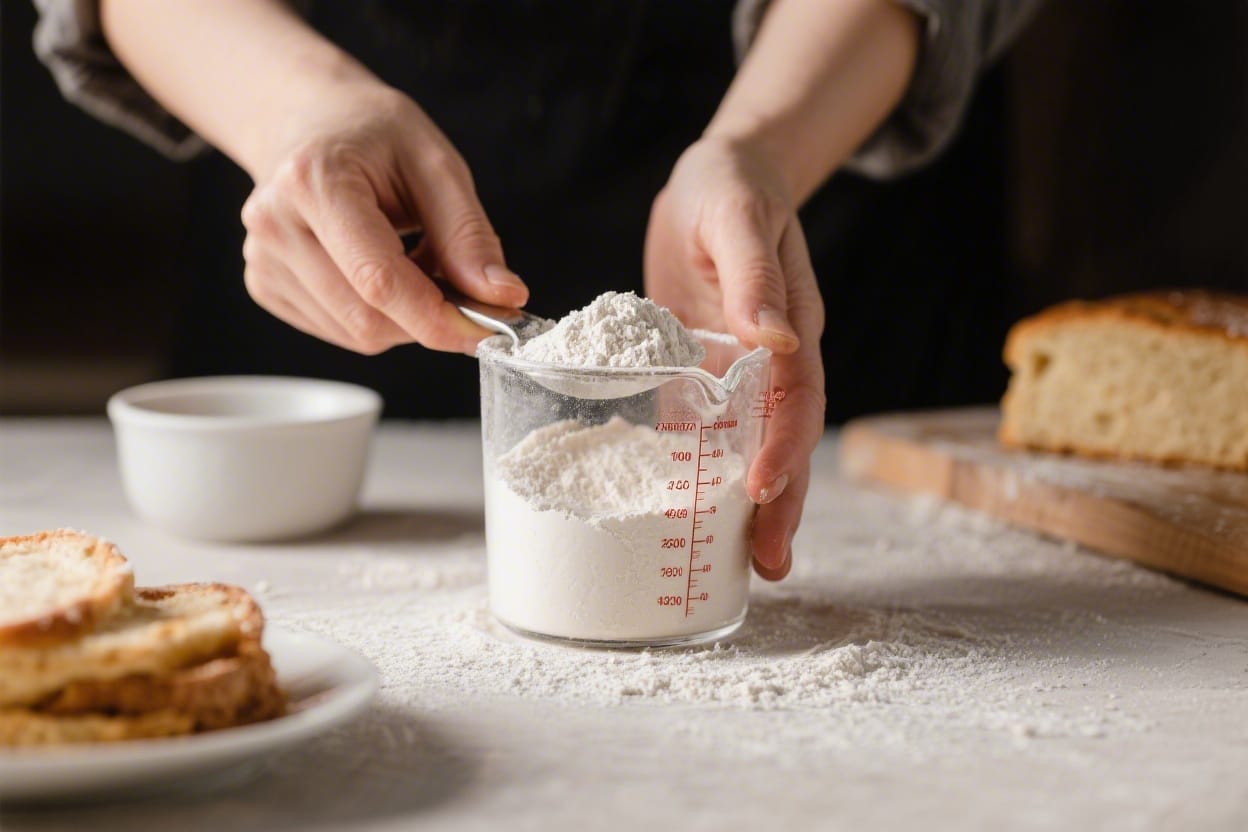
- Fluff the flour: Use a spoon or whisk to stir and aerate the flour in its container. This loosens compacted flour and prevents over-measuring.
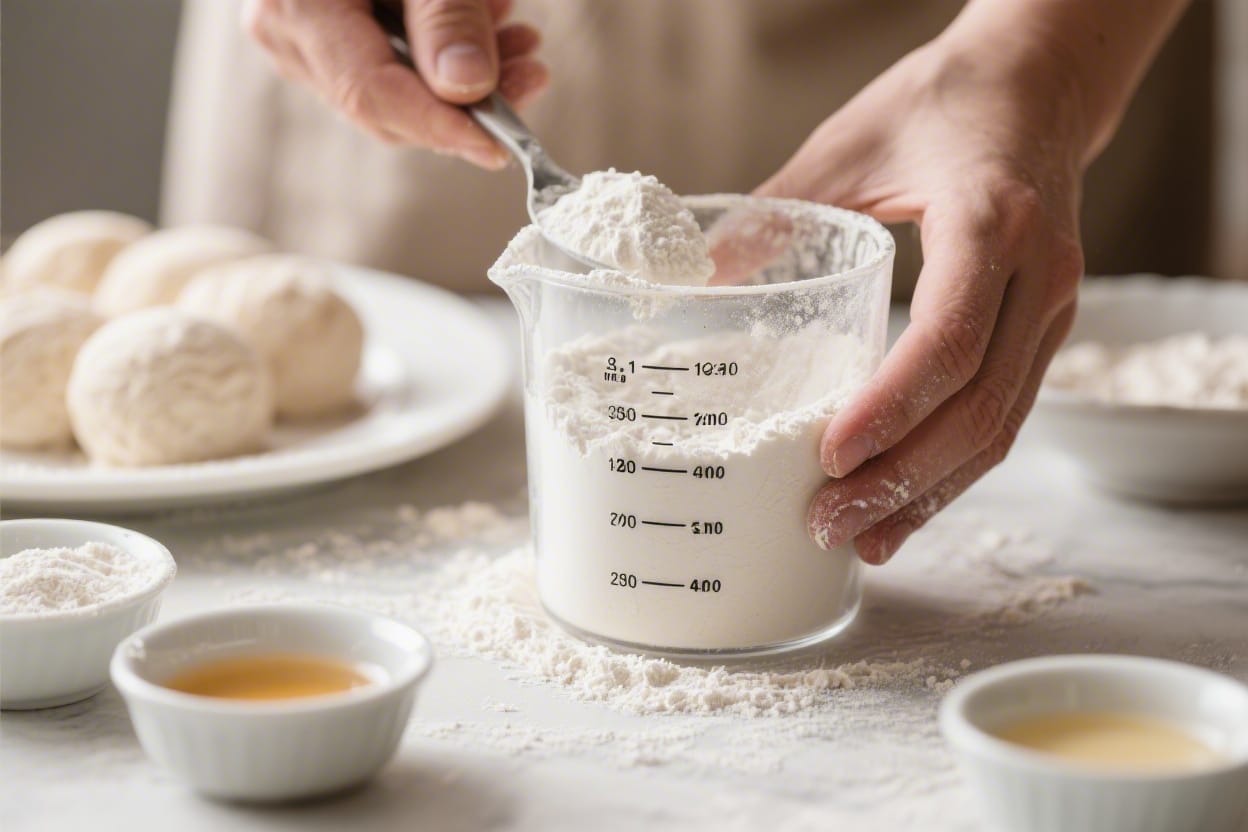
- Spoon into the cup: Gently spoon flour into a dry measuring cup. Do not scoop directly with the cup; that packs the flour and adds too much.
- Level it off: Use a straight edge (like the back of a knife) to sweep off the excess so the flour is exactly level with the rim.
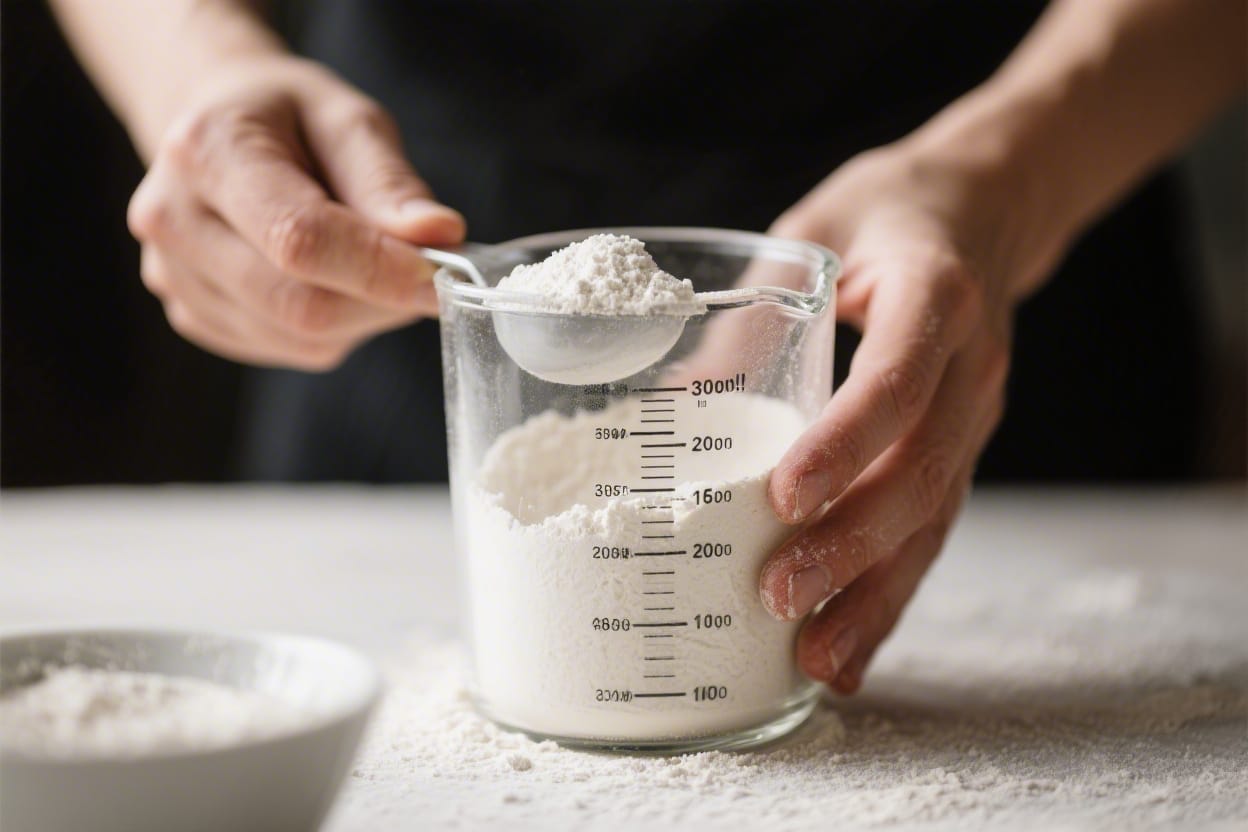
- Weigh for precision (best method): If you have a digital kitchen scale, set a bowl on it, tare to zero, and add flour by weight. Standard: 1 cup all-purpose flour = about 120 grams (some brands list 125 g). Check your recipe’s preferred weight if available.
- Measure by type: For cake flour, use the same spoon-and-level method; 1 cup cake flour ≈ 110 g. For bread flour, 1 cup ≈ 120–130 g depending on brand and humidity.
- Don’t tap or pack: Avoid shaking the cup, pressing down, or compacting the flour. That can add 20–30% more flour than intended.
- Sift only if called for: If the recipe says “1 cup sifted flour,” sift first and then measure. If it says “1 cup flour, sifted,” measure first, then sift.
- Match your measuring tools: Use dry measuring cups for flour, not liquid cups. Liquids should be measured in a clear, spouted liquid measuring cup.
- Keep flour fresh and dry: If your flour is clumpy from humidity, whisk it well or sift before measuring for accuracy.
- Record your standard: If you always use 120 g per cup for all-purpose flour, note it on your recipes to stay consistent across bakes.
Storage Instructions
- Seal it tight:Store flour in an airtight container to prevent moisture and odors from getting in.
- Cool and dark:Keep flour in a cool, dark cupboard. Heat and light can degrade flavor and performance.
- Freeze for long-term:For whole grain flours (which contain natural oils), store in the fridge or freezer to prevent rancidity. Let it come to room temperature before measuring.
- Label and date:Write the purchase date on the container. All-purpose flour is best within 6–12 months; whole wheat within 3–6 months at room temp. For the best flour for bread baking, follow these guidelines.
Health Benefits
- Portion awareness: Accurate measuring helps you manage calories and macros in baked goods.
- Better digestion: Correct ratios of flour to liquid produce lighter textures that are easier on the stomach.
- Whole grain options: Measuring properly lets you swap in whole wheat or alternative flours more successfully, adding fiber and nutrients without ruining texture.
- Reduced waste: Getting it right the first time means fewer failed bakes and less food waste overall.
Pitfalls to Watch Out For
- Scooping with the cup:This is the fastest way to over-measure and end up with dry baked goods.
- Not leveling:Mounded flour equals extra flour. Always level the top.
- Ignoring flour type:Cake, bread, and whole wheat flours have different densities. Weight is your friend.
- Measuring in a humid kitchen:Moisture can clump flour and affect weight. Break up clumps and consider weighing.
- Wrong cup for the job:Dry and liquid measuring tools are not interchangeable. Use the right one for accurate results.
- Skipping the recipe cue:“Sifted flour” vs. “flour, sifted” matters. Follow the order given. For a simple and reliable cake, using the correct measuring method is key.
Variations You Can Try
- Switch to weight-only: Use a scale for all baking. Note the standard weights you prefer and stick to them.
- DIY cake flour: For 1 cup: measure 1 cup all-purpose flour, remove 2 tablespoons, and add 2 tablespoons cornstarch. Whisk and measure by weight if possible.
- Half-and-half whole wheat: Replace up to half the all-purpose flour with white whole wheat flour. Weigh for best results and add a teaspoon or two of extra liquid if needed.
- Gluten-free blends: Use a reputable 1:1 gluten-free flour blend. Always weigh; blends vary widely in density.
- High-altitude adjustment: At altitude, doughs can feel drier. Measure correctly, then adjust liquid in small increments if needed.
FAQ
Is weighing flour really necessary?
Weighing flour is the most accurate and consistent method. While the spoon-and-level method works well, a digital scale removes guesswork and gives you bakery-level precision.
What if my recipe doesn’t list gram weights?
Use the standard of about 120 g per cup for all-purpose flour unless the recipe author specifies otherwise. Many U.S. recipes assume this range. Note that some brands suggest 125 g; either is fine as long as you’re consistent.
Do I need different measuring cups for flour and liquids?
Yes. Dry measuring cups are designed to be filled and leveled. Liquid measuring cups are meant to be read at eye level and allow you to pour without spilling. Using the right tool improves accuracy.
When should I sift flour?
Sift when a recipe calls for it, when flour is clumpy, or when making very delicate cakes. If the instruction says “1 cup sifted flour,” sift first, then measure. If it says “1 cup flour, sifted,” measure first, then sift.
Why do my cookies come out too thick?
You’re likely adding too much flour, often by scooping with the cup. Try spoon-and-level or weigh the flour. Also check butter temperature and mixing time, but start by fixing the flour.
Can humidity affect my measurements?
Yes. Flour absorbs moisture from the air, which can change both its behavior and how it packs. In humid conditions, break up clumps, fluff before measuring, and consider weighing for accuracy.
How long does flour last?
All-purpose flour lasts about 6–12 months in a sealed container at room temperature. Whole wheat and other whole grain flours have natural oils and turn rancid faster; store them in the fridge or freezer for longer life.
What’s the difference between cake flour and all-purpose flour?
Cake flour has a lower protein content, which creates a softer, more tender crumb. It’s also slightly lighter by volume. If substituting, weigh your flour and consider the DIY cake flour method for better texture.
In Conclusion
Measuring flour correctly is a small step that transforms your baking. Use the spoon-and-level method for volume or a scale for the most reliable results. Pay attention to flour type, avoid packing, and follow recipe cues about sifting. With these habits, your cakes will be tender, your cookies will spread just right, and your breads will rise like they should—batch after batch.
Printable Recipe Card
Want just the essential recipe details without scrolling through the article? Get our printable recipe card with just the ingredients and instructions.