

Easy Chocolate Chip Cookie Bars Recipe – Soft, Chewy, and Simple
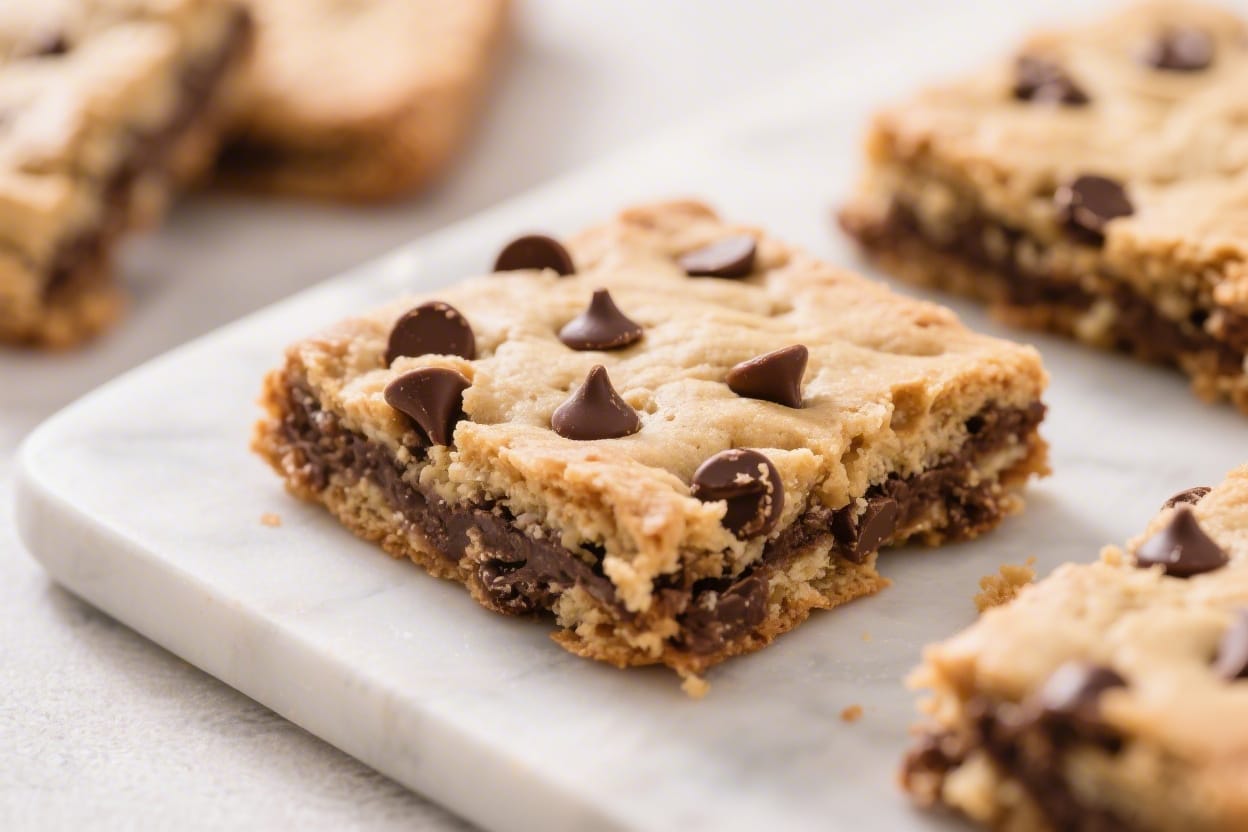
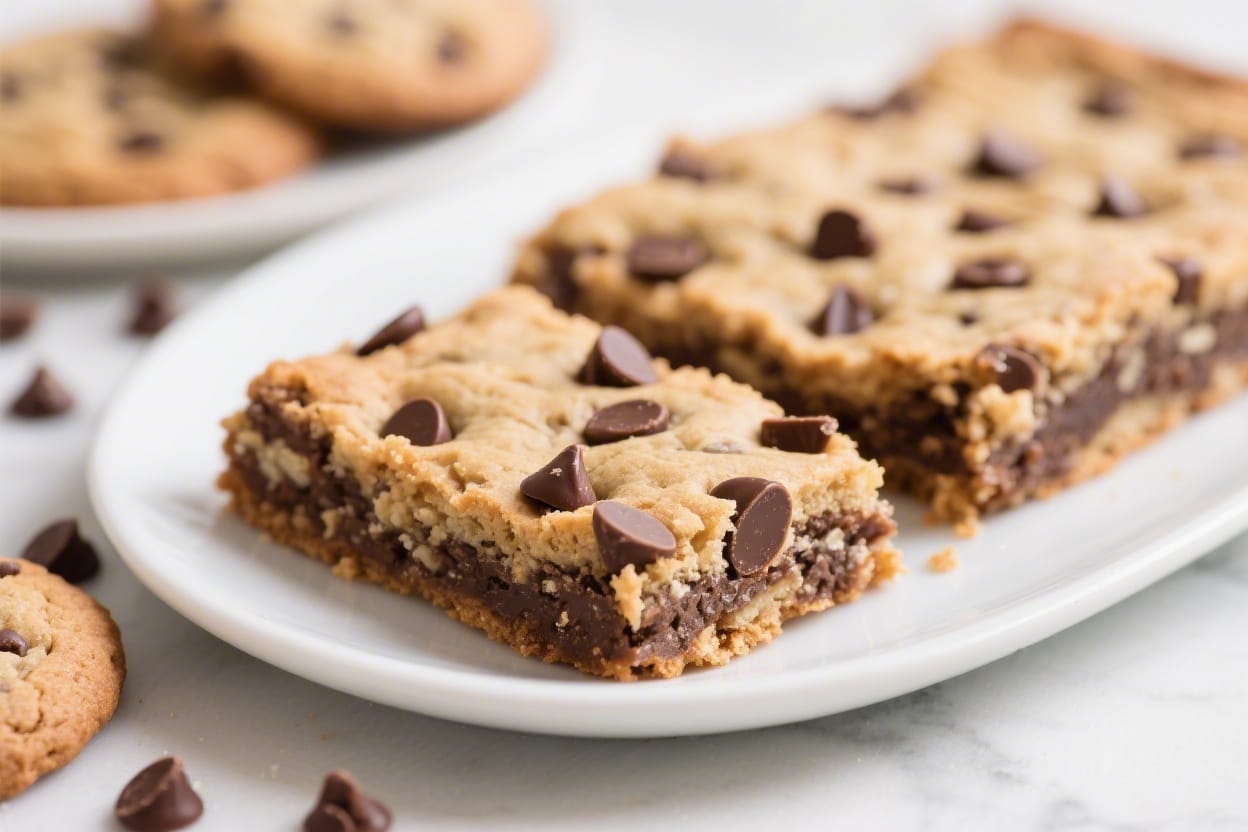
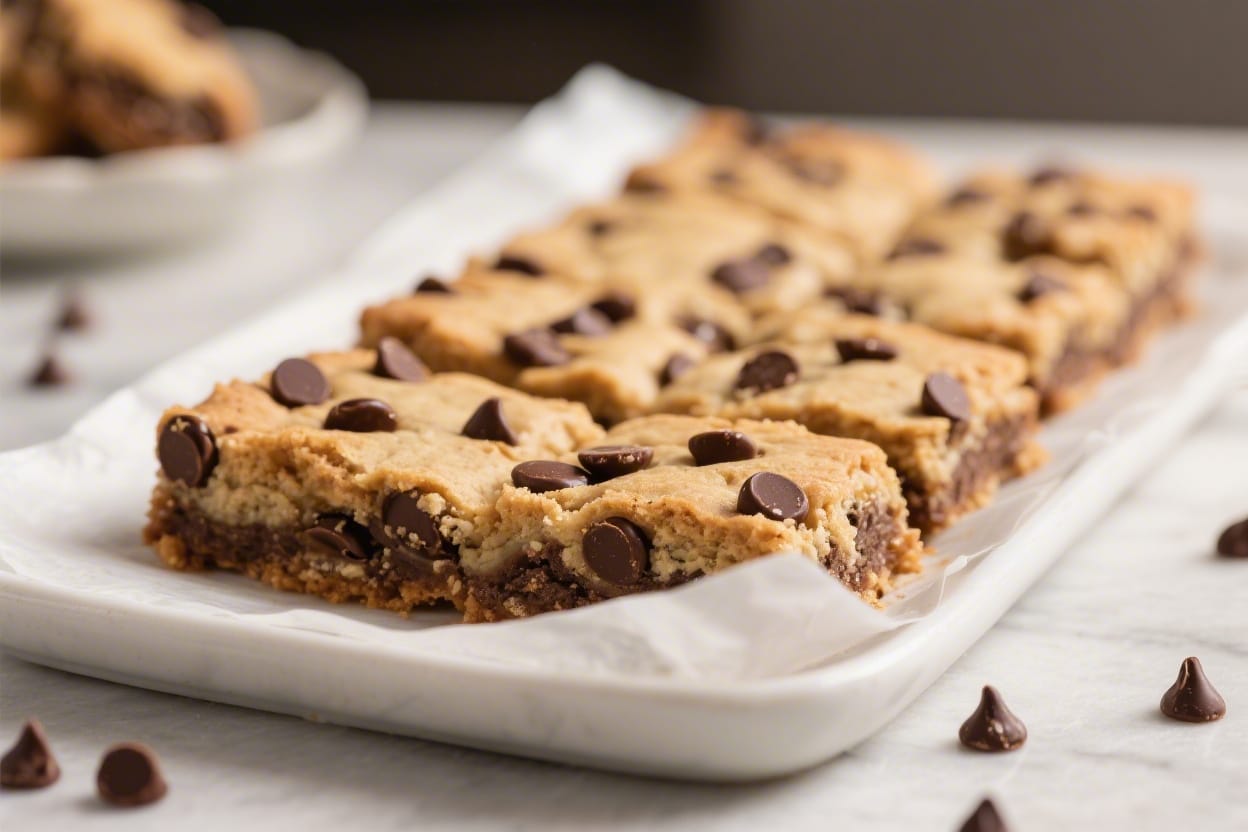
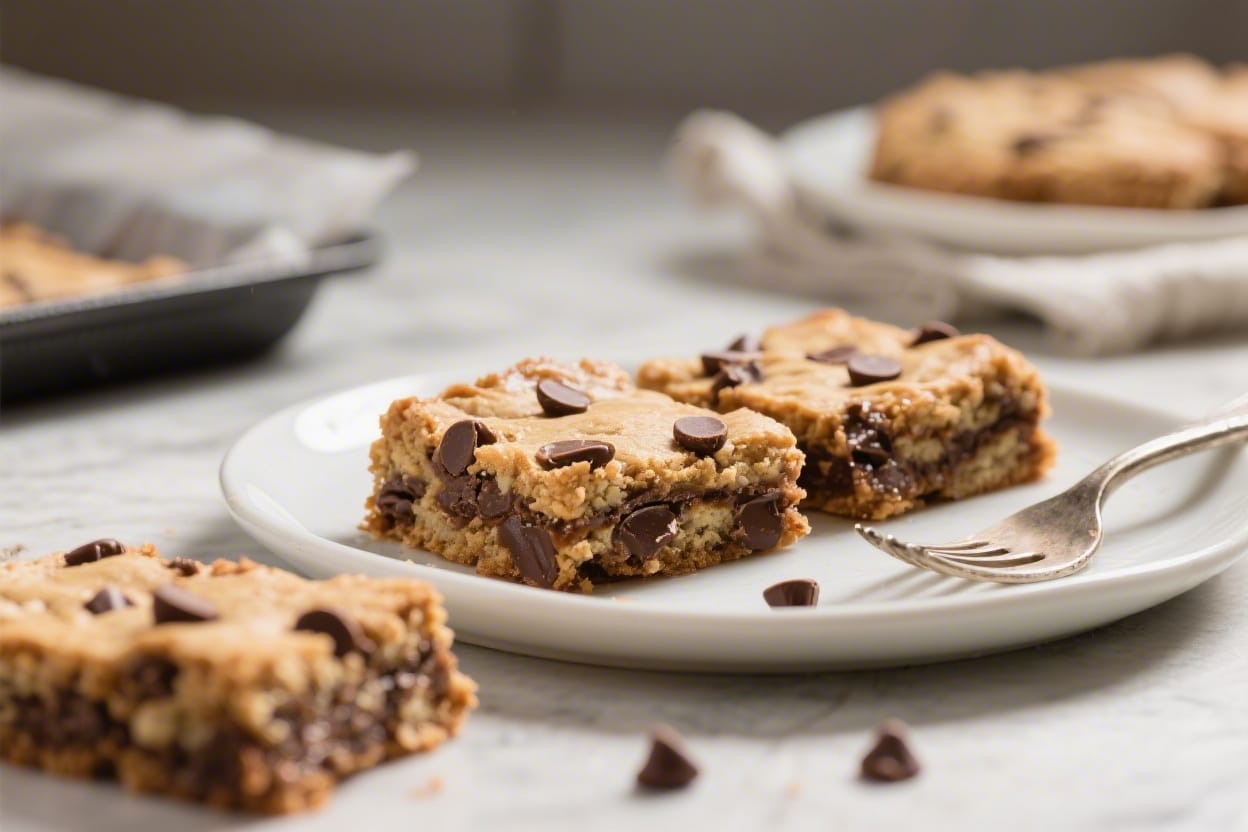
If you love chocolate chip cookies but don’t feel like scooping dough or watching multiple baking sheets, cookie bars are the answer. These easy chocolate chip cookie bars deliver that classic, buttery, gooey cookie flavor in a no-fuss format. You mix, spread, bake, and slice—done. They’re perfect for parties, potlucks, or a quick weeknight treat. The edges are slightly crisp, the centers stay soft, and every bite has melty chocolate.
What Makes This Recipe So Good
Easy chocolate chip cookie bars recipe – Easy Chocolate Chip Cookie Bars Recipe – Soft, Chewy, and Simple If you love chocolate chip cookies
- Quick and low-effort: One bowl, one pan, no chilling, no scooping. It’s as simple as stir, spread, and bake.
- Soft and chewy texture: With the right ratio of butter, sugar, and flour, these bars bake up tender with perfect chew.
- Reliable and forgiving: This recipe works in a standard 9×13-inch pan and doesn’t require special equipment.
- Customizable: Mix in nuts, use different chocolate, or add a swirl of peanut butter. It all works here.
- Feeds a crowd: One batch makes plenty of squares for sharing, packing in lunches, or freezing for later.
Ingredients
Easy chocolate chip cookie bars recipe – These easy chocolate chip cookie bars deliver that classic, buttery, gooey cookie flavor in a no-fus
- 1 cup (2 sticks) unsalted butter, melted and slightly cooled
- 1 cup packed light brown sugar
- 1/2 cup granulated sugar
- 2 large eggs, at room temperature
- 2 teaspoons vanilla extract
- 2 1/4 cups all-purpose flour
- 1 teaspoon baking soda
- 1/2 teaspoon fine salt
- 1 1/2 to 2 cups semisweet chocolate chips (or a mix of chips and chunks)
- Optional: 1/2 cup chopped walnuts or pecans
- Optional finishing touch: Flaky sea salt, for sprinkling
- For a safe-to-eat version, try our No Bake Cookie Dough Bars Recipe
Instructions
Easy chocolate chip cookie bars recipe – You mix, spread, bake, and slice—done
- Prep the pan and oven: Heat the oven to 350°F (175°C). Line a 9×13-inch baking pan with parchment paper, leaving overhang on two sides for easy lifting. Lightly grease the parchment and sides.
- Melt the butter: Melt the butter and let it cool for 5 to 7 minutes. It should be warm, not hot, so it doesn’t scramble the eggs or make the batter greasy.
- Mix the sugars and butter: In a large bowl, whisk the melted butter with the brown sugar and granulated sugar until glossy and smooth, about 30 seconds.
- Add eggs and vanilla: Whisk in the eggs one at a time, then add the vanilla. Mix until the batter looks thick, satiny, and well combined.
- Combine dry ingredients: In a separate bowl, whisk together the flour, baking soda, and salt. This prevents clumps and ensures even rise.
- Bring it together: Add the dry ingredients to the wet ingredients. Switch to a spatula and fold gently until just combined. Do not overmix—a few streaks of flour are okay.
- Add the chocolate (and nuts if using): Fold in the chocolate chips and any nuts until evenly distributed. Reserve a small handful of chips to press on top for a bakery-style look.
- Spread in the pan: Scrape the dough into the prepared pan. Use an offset spatula or the back of a spoon to spread it into an even layer. Sprinkle the reserved chips on top.
- Bake: Bake for 22 to 28 minutes, until the edges are lightly golden and the center is set but still soft. A toothpick should come out with a few moist crumbs, not wet batter.
- Finish and cool: If you like, sprinkle a pinch of flaky sea salt over the hot bars. Cool in the pan on a rack for at least 20 to 30 minutes. Lift out using the parchment and slice into squares.
Storage Instructions
- Room temperature: Store in an airtight container for up to 4 days. A slice of bread in the container helps keep them soft.
- Refrigerator: They’ll keep for about a week, but let them come to room temp before serving for the best texture.
- Freezer: Freeze cut bars in a single layer until solid, then transfer to a freezer bag. They keep for up to 3 months. Thaw at room temperature or warm briefly in the microwave.
Benefits of This Recipe
- Time-saving: No need to portion cookies or rotate trays. One bake and you’re done.
- Consistent results: Bars are less prone to spreading or overbaking compared to individual cookies.
- Great for sharing: Easy to slice into neat squares for lunchboxes, bake sales, or parties.
- Flexible add-ins: Dark chocolate, milk chocolate, toffee bits, shredded coconut—this dough welcomes it all.
- Beginner-friendly: Simple technique, minimal equipment, and clear visual cues for doneness.
Pitfalls to Watch Out For
- Overbaking: The bars keep cooking as they cool. Pull them when the center looks set but soft to keep them chewy.
- Hot butter issues: If the butter is too hot, it can cook the eggs or make the dough greasy. Let it cool slightly first.
- Overmixing: Stir just until the flour disappears. Overworking the dough can make the bars tough.
- Pan size swap: A smaller pan will require more time and yields thicker bars; a larger pan bakes faster and thinner. Adjust bake time accordingly.
- Uneven spreading: Thick spots may underbake while edges overcook. Press the dough evenly in the pan before baking.
Alternatives
- Brown butter bars: Cook the butter until golden and nutty, cool to warm, then proceed. This adds deep, toasty flavor.
- Gluten-free: Use a 1:1 gluten-free all-purpose flour blend with xanthan gum. Check that your chocolate chips are gluten-free.
- Dairy-free: Swap in plant-based butter and dairy-free chocolate chips. The texture remains soft and chewy.
- Blondie twist: Skip the baking soda and add 1 teaspoon baking powder. Stir in white chocolate chips and macadamia nuts.
- Peanut butter swirl: Dollop 1/3 cup creamy peanut butter over the spread dough and swirl with a knife before baking.
- Oatmeal cookie bars: Replace 1/2 cup of flour with quick oats and add a pinch of cinnamon for a cozy twist.
FAQ
Can I use salted butter instead of unsalted?
Yes. If you use salted butter, reduce the added salt to a pinch or skip it entirely. The bars will still taste great and well-seasoned.
How do I know when the bars are done?
Look for lightly golden edges and a center that’s set but soft. A toothpick should come out with a few moist crumbs. If it’s clean, they may be a bit overbaked.
Can I halve the recipe?
Absolutely. Bake in an 8×8-inch pan and start checking around 18 to 22 minutes. Thickness may vary, so use visual cues to judge doneness.
What kind of chocolate works best?
Semisweet chips are classic, but a mix of chips and chopped chocolate gives varied texture and melty pockets. Dark, milk, or even white chocolate all work.
Why are my bars dry or cakey?
This usually comes from too much flour or overbaking. Spoon and level the flour instead of packing it, and pull the bars when they’re just set in the center.
Do I need a mixer?
No. A whisk and spatula are enough. The melted butter makes the batter easy to mix by hand.
Can I add caramel or toffee?
Yes. Stir in toffee bits or drizzle caramel over the batter and lightly swirl. If using soft caramels, keep slices small and monitor the edges to avoid burning.
How do I get clean slices?
Let the bars cool for at least 30 minutes, then use a sharp knife. Wipe the blade between cuts. For very neat edges, chill briefly before slicing.
Can I make these ahead?
Yes. Bake a day in advance, cool fully, and store airtight at room temperature. They stay soft and flavorful, and some say they’re even better the next day.
How can I make them extra gooey?
Use the higher end of the chocolate range, slightly underbake by a minute or two, and don’t overmix. Let them rest just until warm before slicing.
Wrapping Up
These easy chocolate chip cookie bars are everything you want in a homemade treat: quick, cozy, and reliably delicious. With simple ingredients and a one-pan bake, they’re perfect for busy days or last-minute gatherings. Keep the basics in your pantry and you’ll always be a half-hour away from warm, gooey squares. Slice them big for a crowd-pleaser, or stash a few in the freezer for future cravings. Either way, this recipe is a keeper.
Printable Recipe Card
Want just the essential recipe details without scrolling through the article? Get our printable recipe card with just the ingredients and instructions.