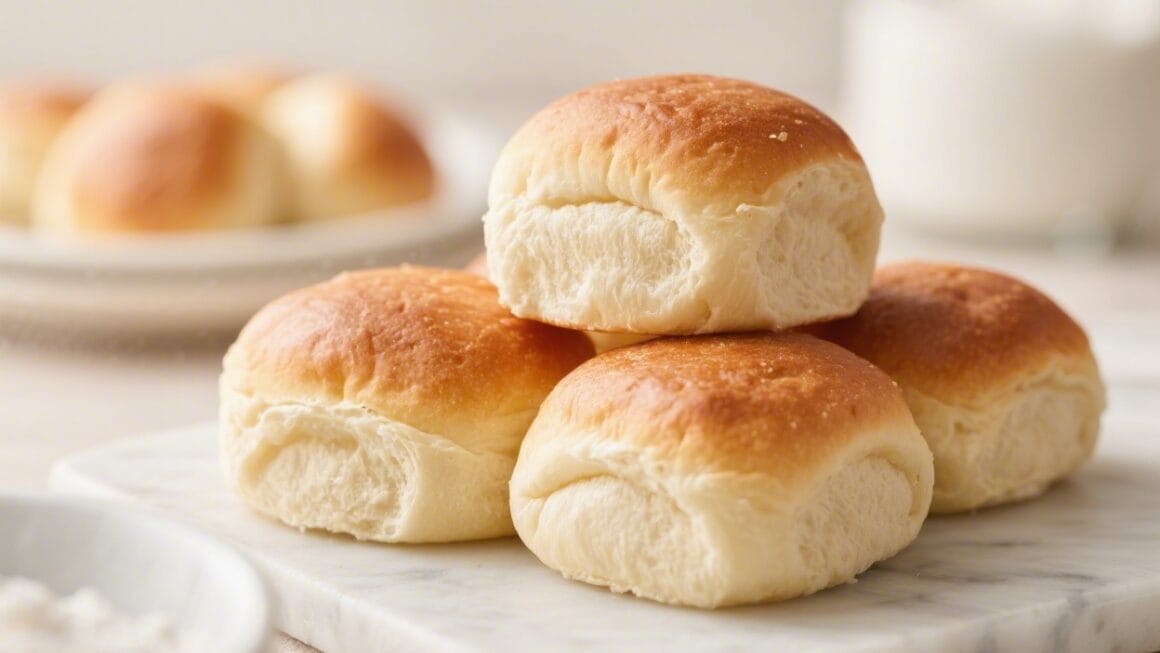
Soft Dinner Rolls Without Mixer – Easy, Fluffy, and Homemade
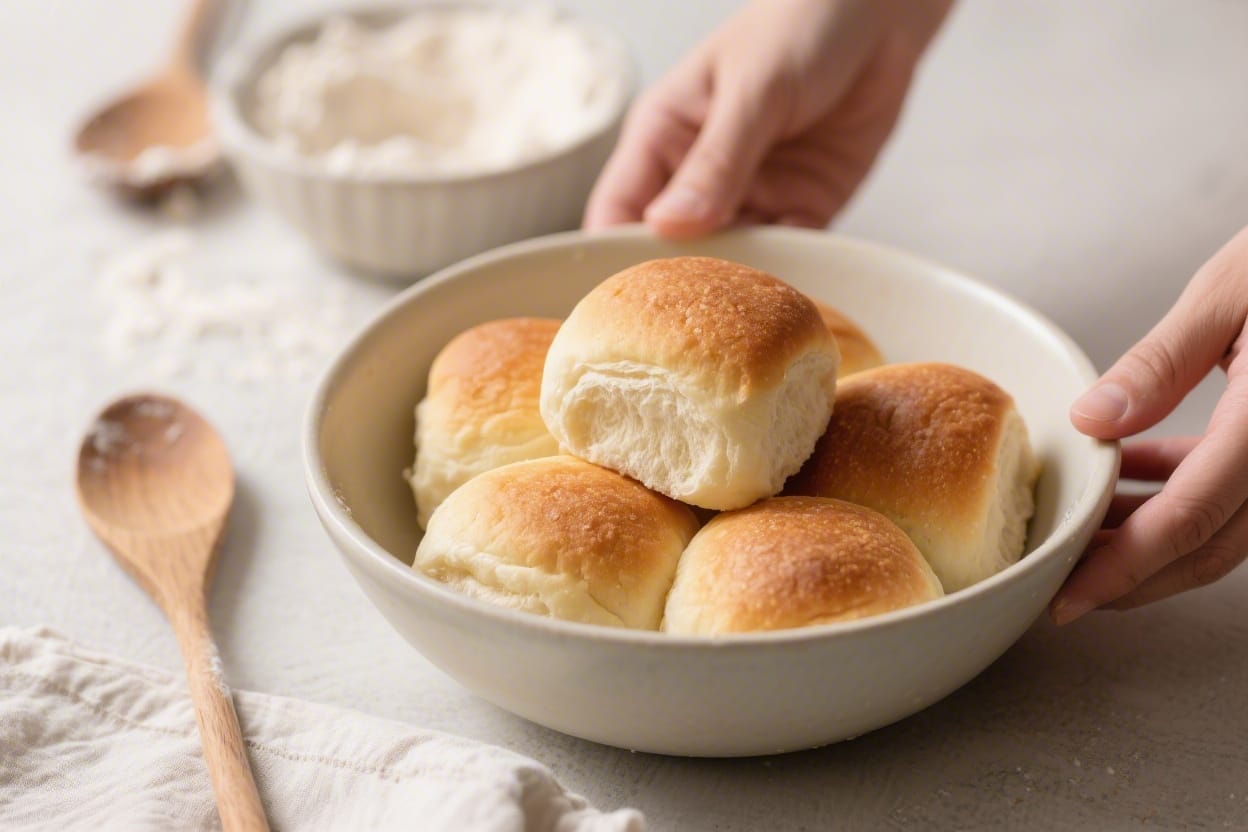
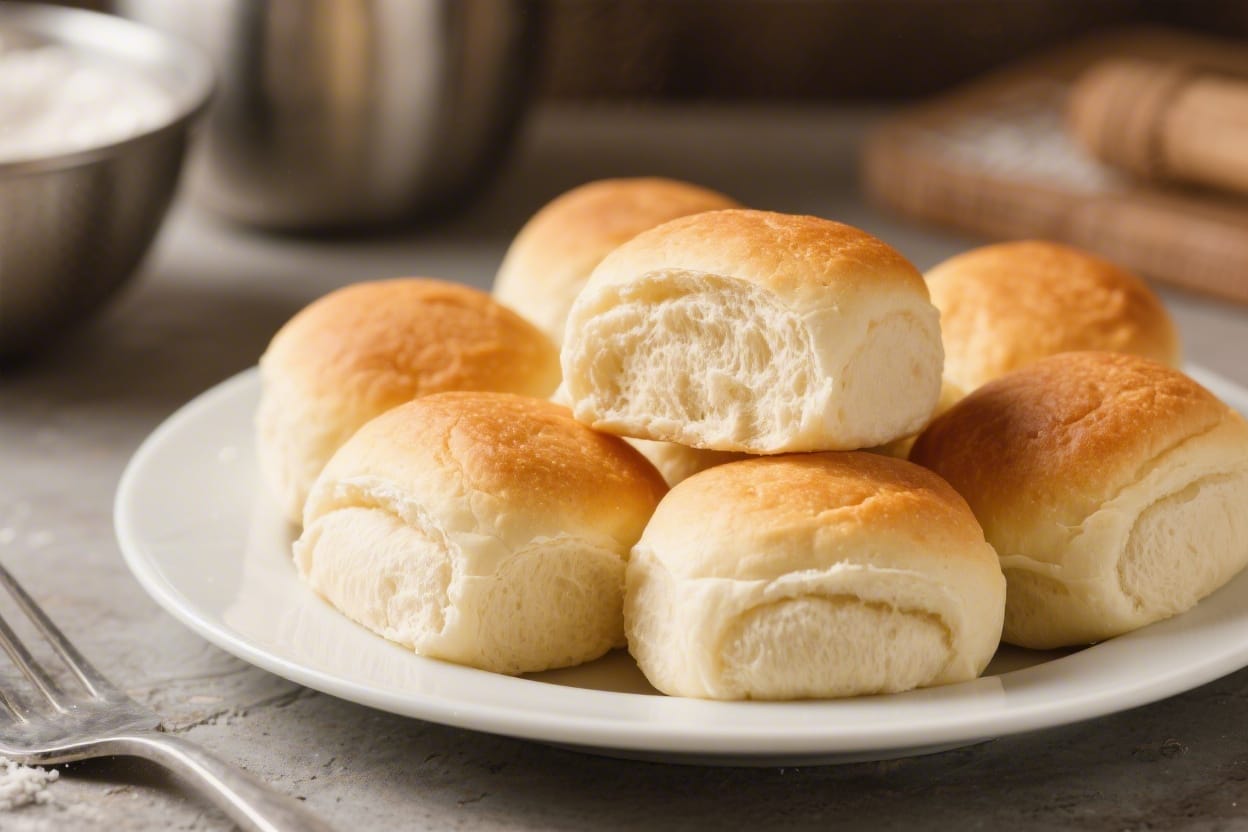
Warm, pillowy dinner rolls don’t need fancy equipment or years of practice. If you’ve got a bowl, a wooden spoon, and your hands, you can make bakery-style rolls at home. These soft dinner rolls rise tall, bake golden, and pull apart with a gentle tug. They’re perfect for weeknights, holidays, or whenever you want real bread with minimal fuss. You’ll knead by hand, but the dough is forgiving and satisfying to work with.
Why This Recipe Works
Soft dinner rolls without mixer – Soft Dinner Rolls Without Mixer – Easy, Fluffy, and Homemade Warm, pillowy dinner rolls don’t need f
This recipe uses a touch of sugar and butter to create a tender, slightly sweet crumb that stays soft for days. Warm milk helps the yeast activate quickly and enriches the dough without making it heavy. A short rest after mixing builds gluten naturally, so you don’t have to knead for ages. Shaping into small balls gives you even baking and that classic, pull-apart dinner roll feel. Finally, a quick butter brush after baking locks in moisture and adds shine.
Ingredients
Soft dinner rolls without mixer – If you’ve got a bowl, a wooden spoon, and your hands, you can make bakery-style rolls at home
- 3 cups (360 g) all-purpose flour, plus more for dusting
- 2 1/4 teaspoons (1 packet) instant or active dry yeast
- 1 cup (240 ml) warm milk (about 105–115°F / 40–46°C)
- 3 tablespoons (38 g) granulated sugar
- 1 teaspoon fine salt
- 1 large egg, room temperature
- 4 tablespoons (57 g) unsalted butter, melted and slightly cooled, plus more for brushing
- Neutral oil for greasing the bowl
Instructions
Soft dinner rolls without mixer – These soft dinner rolls rise tall, bake golden, and pull apart with a gentle tug
- Warm the milk: Heat the milk until warm to the touch, not hot. If using a thermometer, aim for 105–115°F. Too hot can kill the yeast; too cool will slow it down.
- Mix the base: In a large bowl, whisk the warm milk, sugar, and yeast. Let it sit for 5–10 minutes until foamy on top. If it doesn’t foam, your yeast may be inactive or the milk too hot/cold.
- Add egg and butter: Whisk in the egg and melted butter until smooth. The mixture may look slightly curdled; that’s fine.
- Add dry ingredients: Stir in the salt, then add 2 1/2 cups of flour. Use a wooden spoon to mix until a shaggy dough forms. If very sticky, add the remaining 1/2 cup flour a tablespoon at a time.
- Rest (autolyse): Cover the bowl and let the dough rest for 10 minutes. This short rest makes the dough easier to knead and improves texture.
- Knead by hand: Turn the dough onto a lightly floured surface. Knead for 6–8 minutes, adding only light dustings of flour as needed. Aim for a soft, slightly tacky dough that springs back when gently pressed.
- First rise: Lightly oil a clean bowl and place the dough inside, turning to coat. Cover tightly and let rise in a warm, draft-free spot until doubled, about 60–90 minutes.
- Prepare the pan: Grease a 9×13-inch baking pan or line with parchment. This size creates tightly nestled rolls that bake up extra soft.
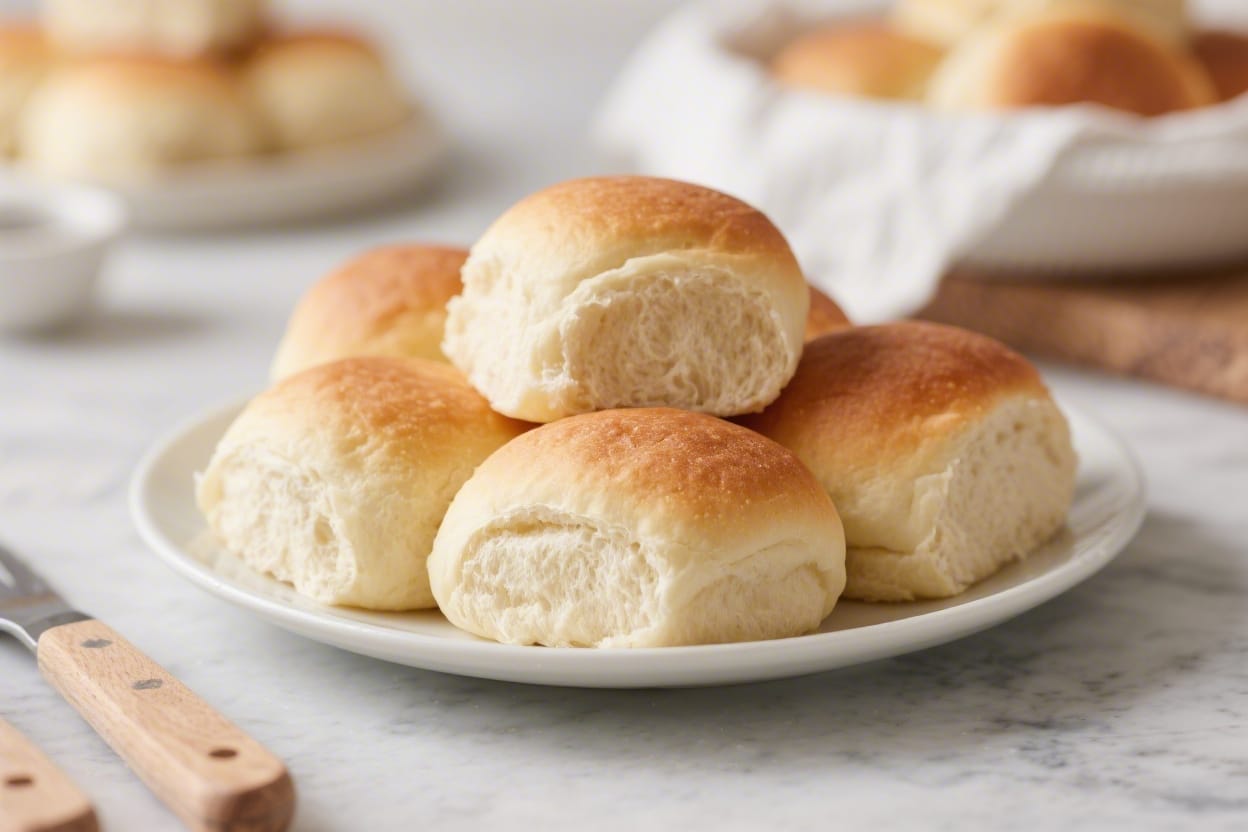
- Divide and shape: Gently deflate the dough. Turn it out and divide into 12 equal pieces (about 65–70 g each). Shape each piece into a smooth ball by tucking edges underneath and rolling under your palm.
- Second rise: Arrange the balls in the pan, spaced evenly in 3 rows of 4. Cover loosely and let rise until puffy and touching, 35–50 minutes depending on room temperature.
- Preheat and bake: While the rolls rise, preheat the oven to 375°F (190°C). Bake for 15–18 minutes, until the tops are golden and the centers reach 190–195°F (88–90°C) when checked with a thermometer.
- Butter finish: Remove from the oven and immediately brush the tops with melted butter. This keeps them soft and glossy.
- Cool slightly and serve: Let the rolls cool in the pan for 10–15 minutes before serving. They’ll be easier to pull apart and won’t lose steam too quickly.
How to Store
- Room temperature: Keep cooled rolls in an airtight container or zip-top bag for 2–3 days. Add a paper towel to absorb moisture and prevent sogginess.
- Freezer: Wrap rolls tightly in plastic, then foil, or place in a freezer bag. Freeze for up to 2 months. Thaw at room temperature, then warm in a 300°F (150°C) oven for 8–10 minutes.
- Reheat: For soft, fresh-from-the-oven texture, warm rolls covered with foil at 300°F (150°C) for 6–8 minutes. Brush with a little melted butter if desired.
Why This is Good for You
- Control over ingredients: You skip preservatives and unnecessary additives common in store-bought rolls.
- Balanced energy: Milk, egg, and a bit of butter add protein and fat for a more satisfying side, reducing blood sugar spikes compared to sugary breads.
- Portion-friendly: Individual rolls help with mindful serving. You can choose smaller sizes if that fits your goals.
- Skill-building: Kneading by hand is a hands-on, calming task that connects you to your food and builds kitchen confidence.
What Not to Do
- Don’t overheat the milk: Hot liquid can kill yeast. Keep it warm, not steaming.
- Don’t add too much flour: A slightly tacky dough makes softer rolls. Excess flour leads to dense results.
- Don’t skip the rests: The 10-minute rest and proper rise times create structure and flavor. Rushing makes tight, heavy rolls.
- Don’t overbake: Watch the last few minutes closely. Overbaked rolls dry out fast.
- Don’t slice immediately: Letting them sit for a few minutes after baking keeps steam inside and preserves softness.
Variations You Can Try
- Garlic butter: Mix minced garlic and parsley into melted butter and brush on after baking.
- Honey wheat: Swap 1 cup flour for whole wheat and add 1 tablespoon honey. Increase rise time slightly.
- Herb and sea salt: Add 1–2 teaspoons dried herbs (rosemary, thyme, or Italian seasoning) to the dry ingredients. Sprinkle flaky salt on top before baking.
- Cheese rolls: Fold 1/2 cup finely shredded cheddar or parmesan into the dough during the last minute of kneading.
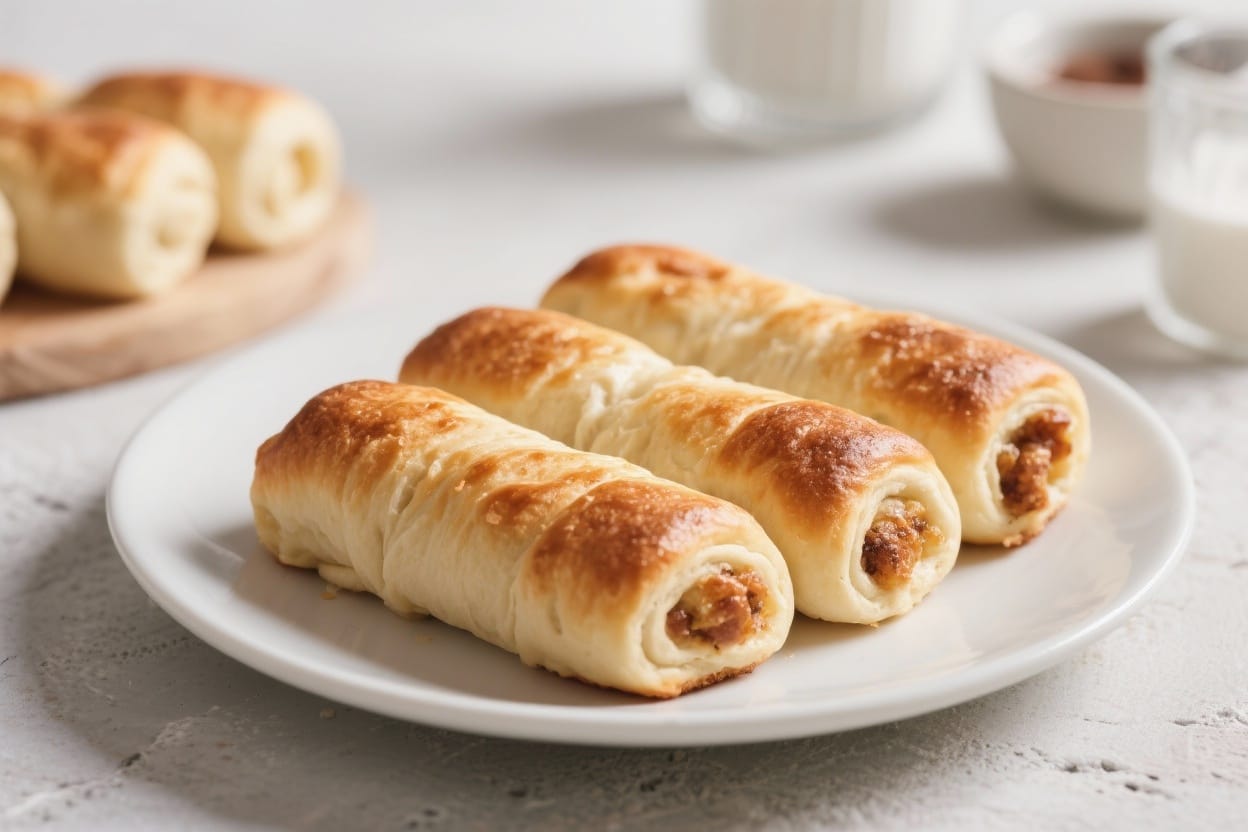
- Parker House style: Roll each ball flat, brush with butter, fold in half, and arrange in the pan for layered, buttery rolls.
FAQ
Can I use water instead of milk?
Yes, but the rolls will be a little less rich. If using water, consider adding an extra tablespoon of butter to keep the texture soft.
What if I only have active dry yeast?
Active dry yeast works fine. Bloom it in the warm milk with sugar as directed until foamy before adding the remaining ingredients.
How do I know when I’ve kneaded enough?
The dough should be smooth, slightly tacky, and spring back when pressed. If you stretch a small piece, it should form a thin “windowpane” without tearing easily.
Can I make the dough ahead?
Yes. Let it rise once, then cover tightly and refrigerate up to 24 hours. Bring to room temperature, shape, let rise again, and bake.
My kitchen is cold. How can I help the dough rise?
Place the covered bowl in an unheated oven with just the oven light on, or near a warm appliance. Avoid hot spots that could overheat the dough.
How can I get even-sized rolls?
Use a kitchen scale and weigh each piece (around 65–70 g). Even sizes bake uniformly and look great in the pan.
Why are my rolls dense?
Common reasons are too much flour, under-kneading, or short rise times. Make sure the dough feels soft and puffy before baking, and resist the urge to add excess flour.
Can I brush with something other than butter?
Olive oil works for a dairy-free finish. For a glossy top, you can also use a light egg wash before baking, then a quick brush of oil afterward for softness.
Wrapping Up
These soft dinner rolls without a mixer are simple, reliable, and downright comforting. With a warm rise, gentle knead, and a buttery finish, they deliver bakery-level fluff at home. Keep the dough soft, be patient with the proof, and enjoy the smell that fills your kitchen. Once you make them, you’ll want them on every table—from weeknight soups to holiday feasts.
Printable Recipe Card
Want just the essential recipe details without scrolling through the article? Get our printable recipe card with just the ingredients and instructions.